Surfpacking the Canary Islands
Share This
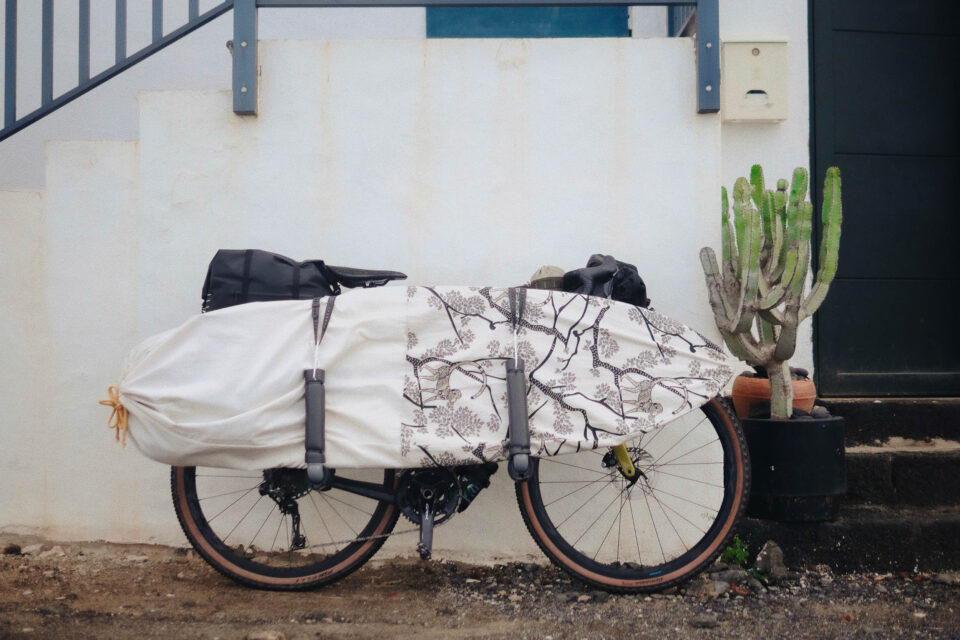
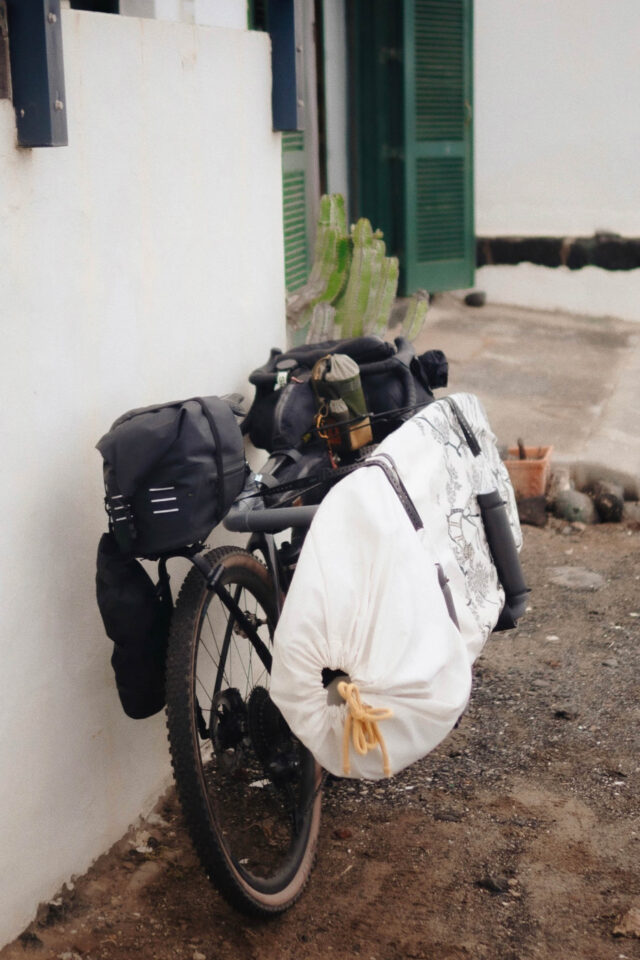
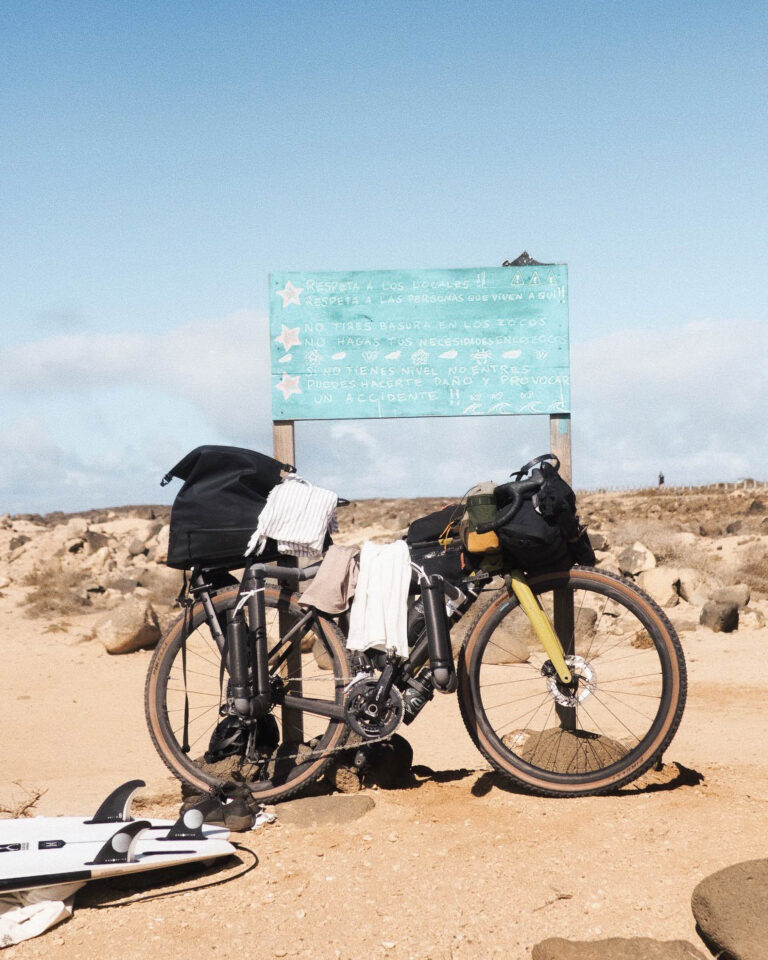
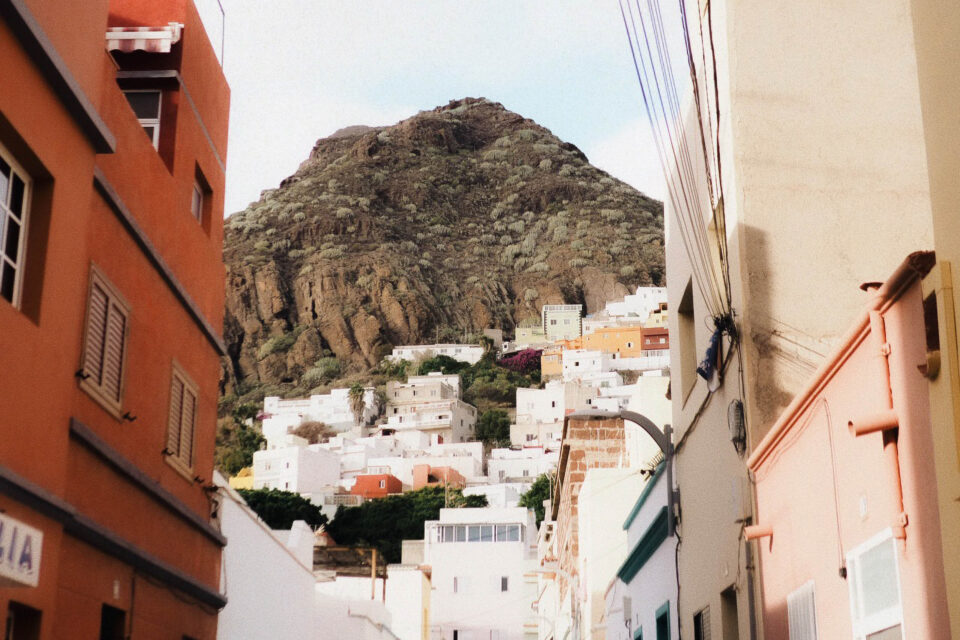
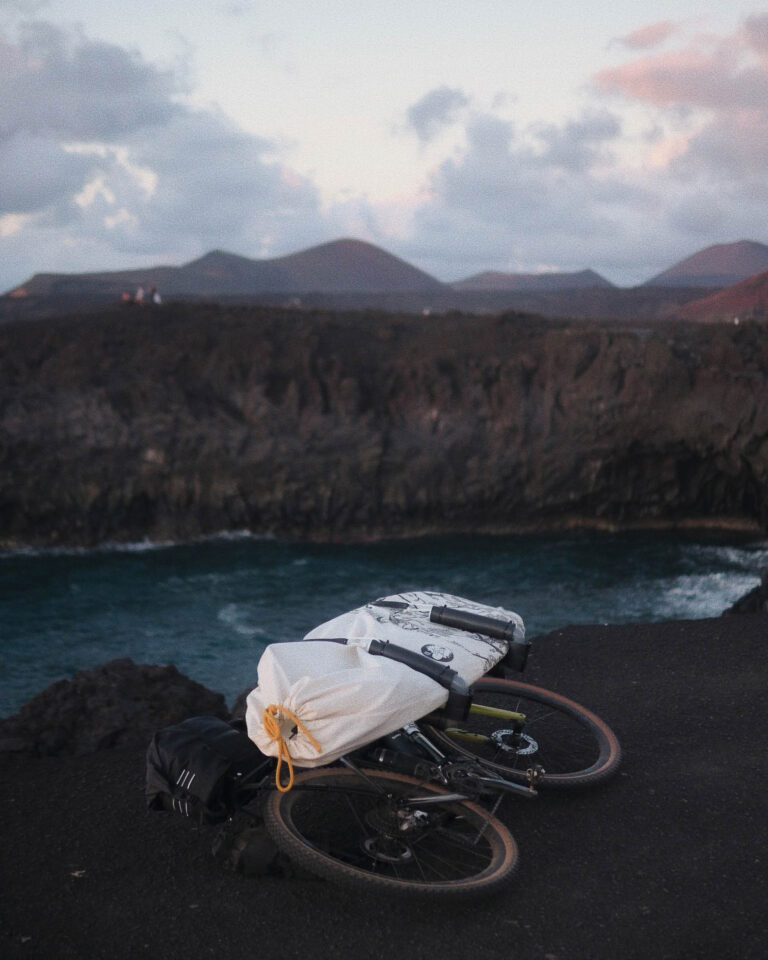
Seeking a winter escape and an exciting new challenge, Henna Palosaari figured out how to haul her surfboard by bike and headed to Spain’s Canary Islands for two weeks of pedaling around in search of waves. Find Henna’s story of first-time surfpacking, insights on how she made it all work, and a dreamy gallery of photos here…
Words and photos by Henna Palosaari
We sometimes get ideas that, even though they feel far-fetched or surreal to us, stick with us and will only leave us alone once we turn them into action. When I first saw someone surfpacking a few years back and realized it was possible, the seed of an idea was planted. However, I kept on sticking to bikepacking trips as bikepacking trips and surf trips as surf trips for quite a while.
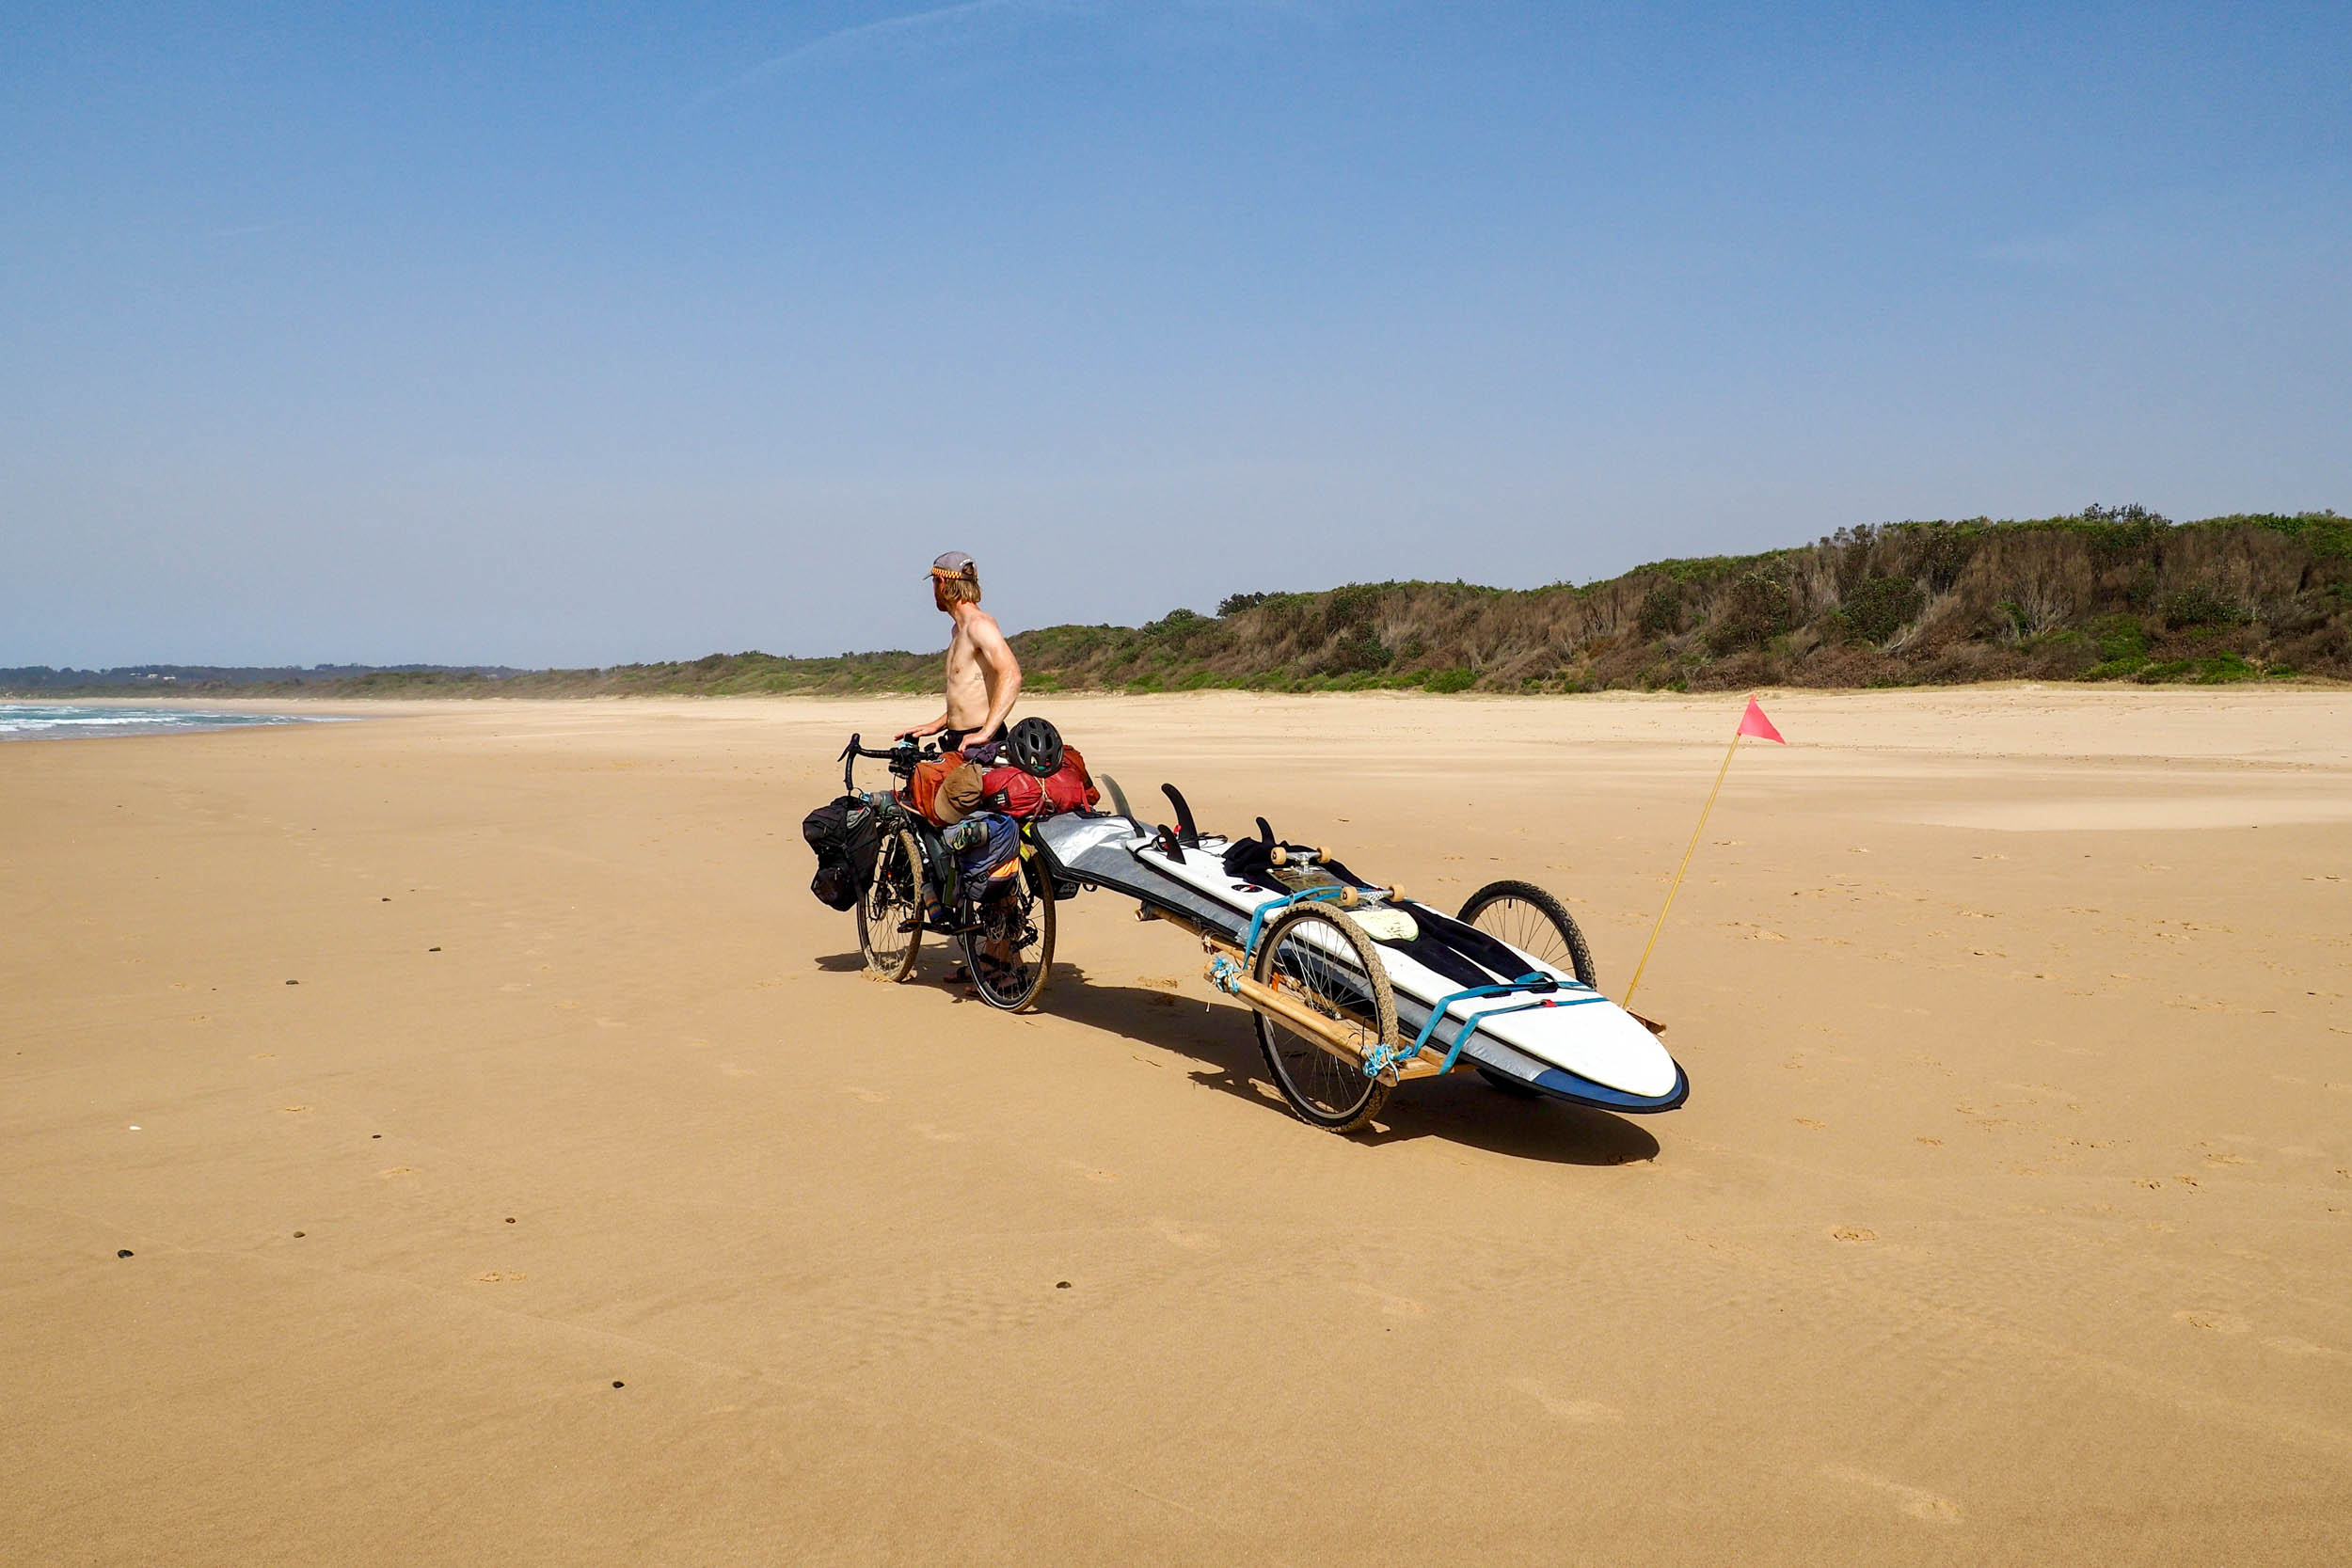
Then, last winter, after completing my first splitboarding and bikepacking trip (as shared here), the surfpacking seed turned into a sapling, and I couldn’t stop it from growing. I decided it was time to execute the idea. I first had to figure out where such a trip would make sense, how to build a surf rack that fits my gravel bike, and how to attach it to the carbon frame without damaging it. I had my work cut out for me, but I was excited about the possibilities.
Where and How?
When my four weeks of vacation turned into two, my original plan of going to Baja no longer made sense. I questioned whether the whole idea was worth pursuing at all. However, it wouldn’t leave me alone, so I opened the map again for another look. November in mainland Europe is already quite cold; the waves can be great but also very big on the Atlantic coast when the north swells start rolling. I needed a place close to Europe with warm weather, reasonably constant waves, interesting riding, and safe to travel by myself. The answer was so obvious that I felt almost ashamed for not thinking about it before: the Canary Islands, of course. I was only missing the surf rack.
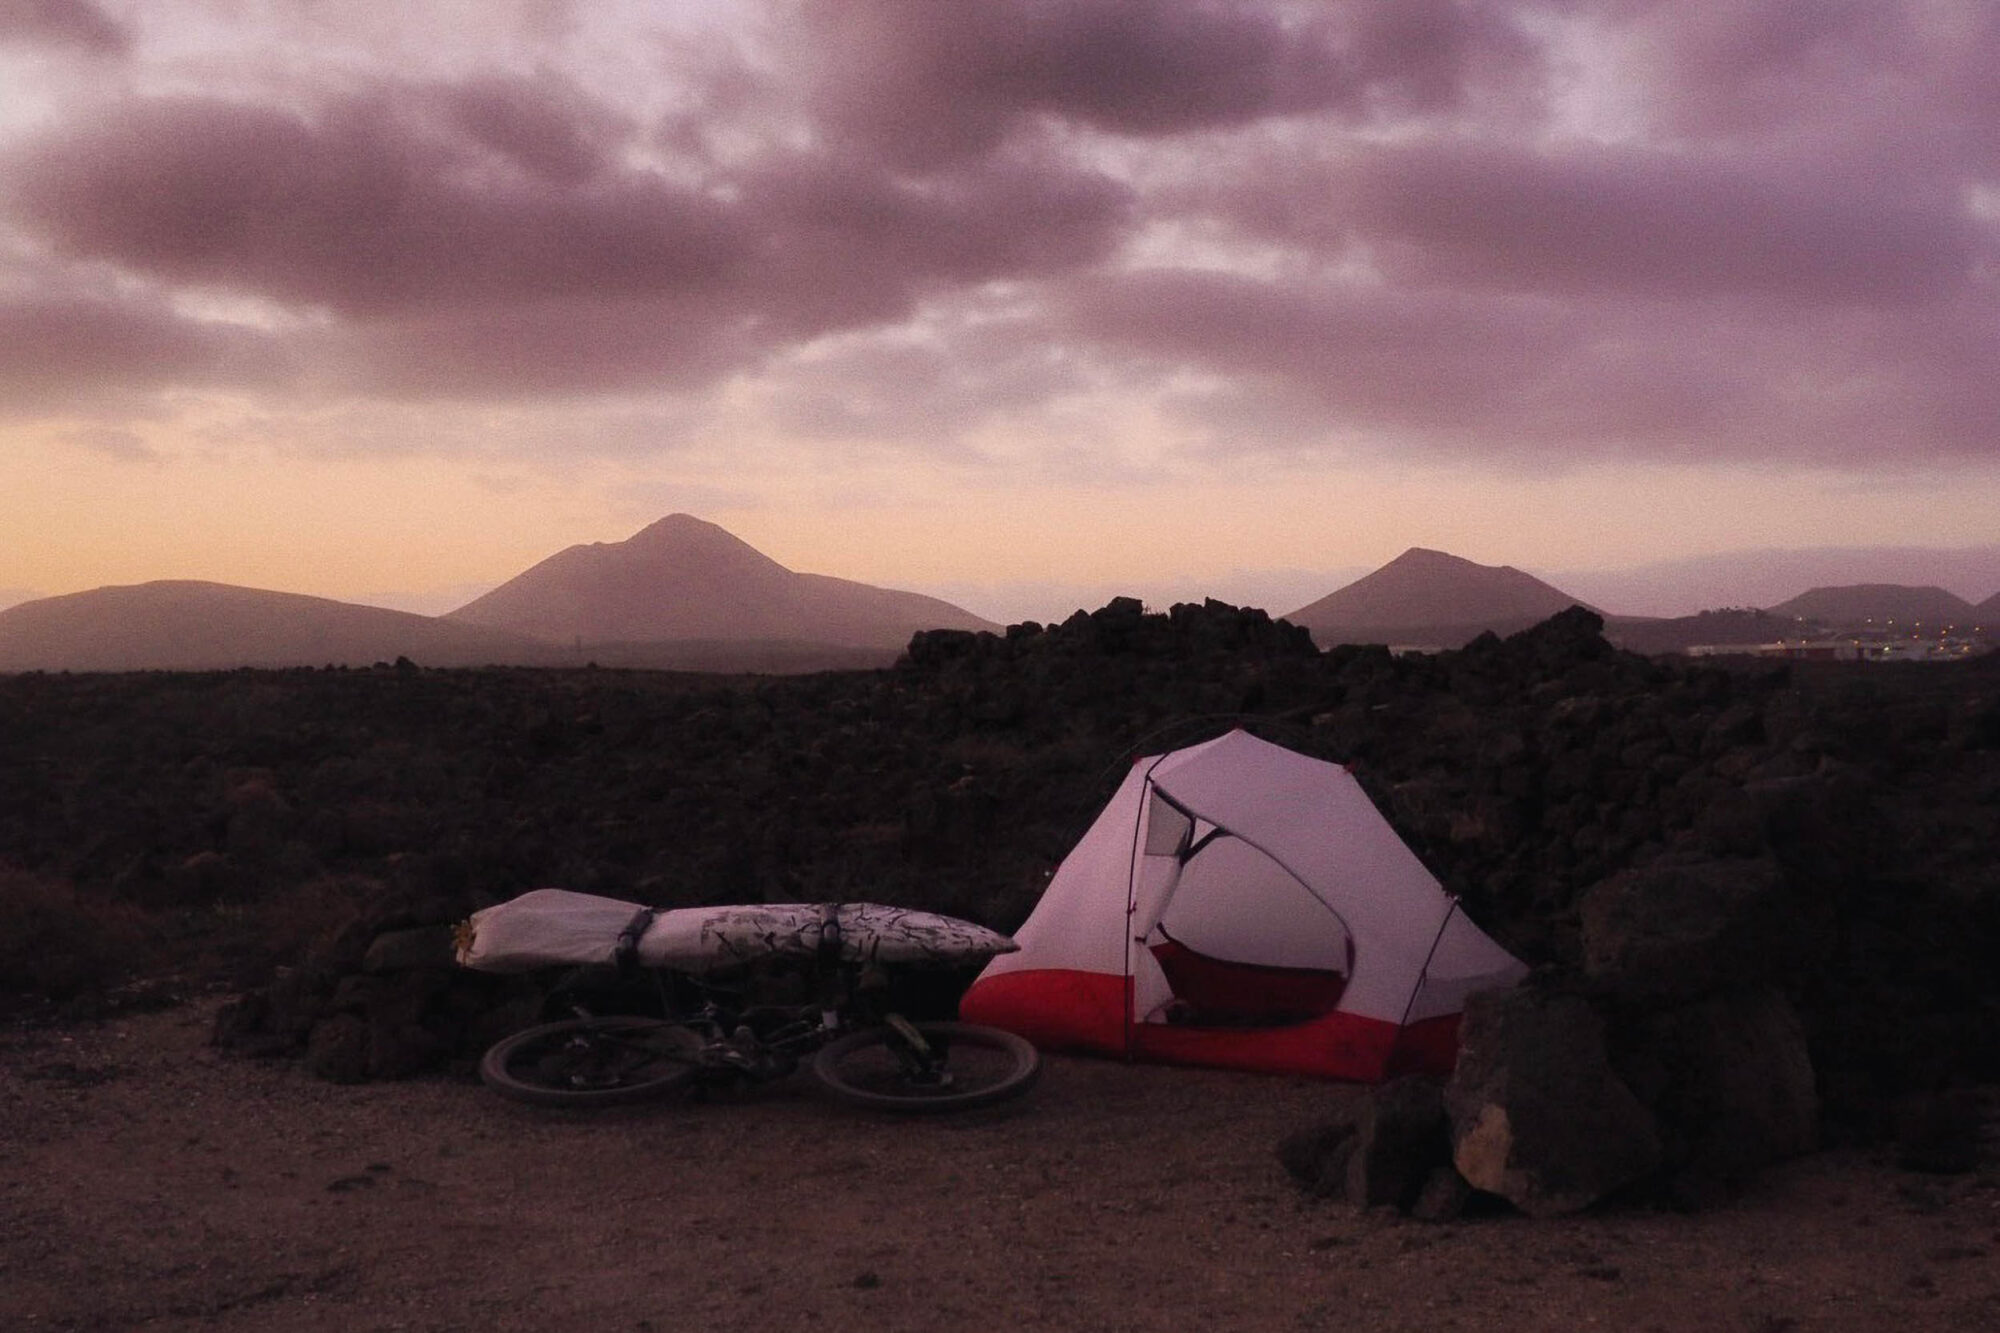
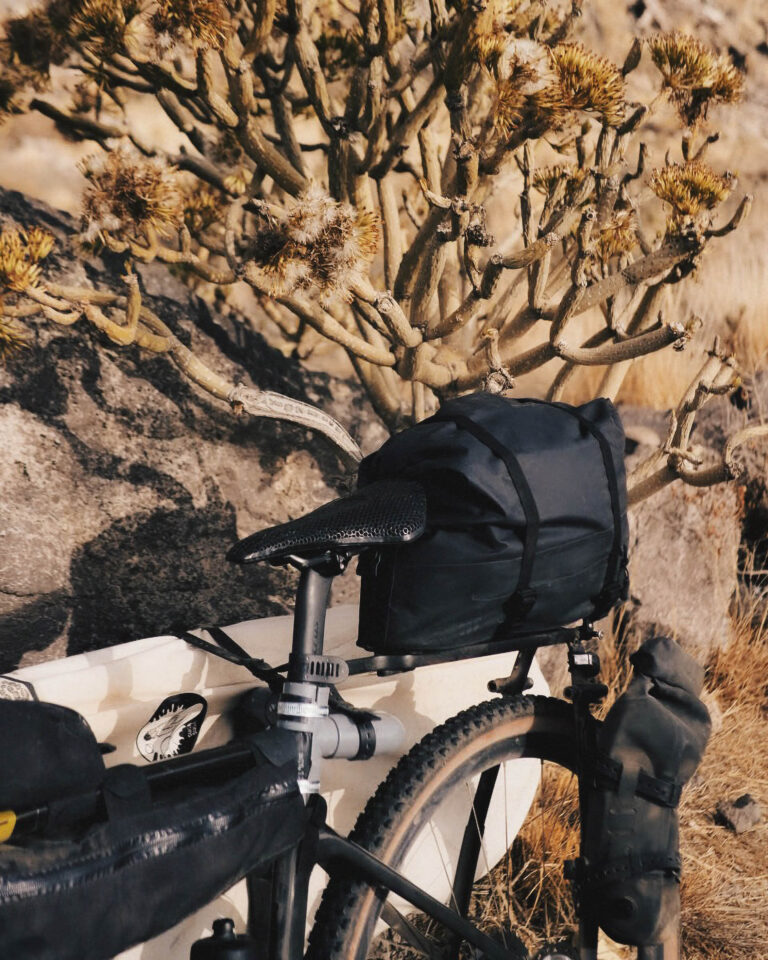
Luckily, the internet is full of smart people, so I didn’t need to develop a design myself. I found some great instructions on how to build a surf rack out of PVC pipes. However, I didn’t find anything for a carbon frame like mine, so I decided to try it out at home before flying to the Canaries. Around 9 a.m. on the night before my departure, I gasped desperately to my dad, “There’s no way to attach it from here without it touching my leg when I’m pedaling.”
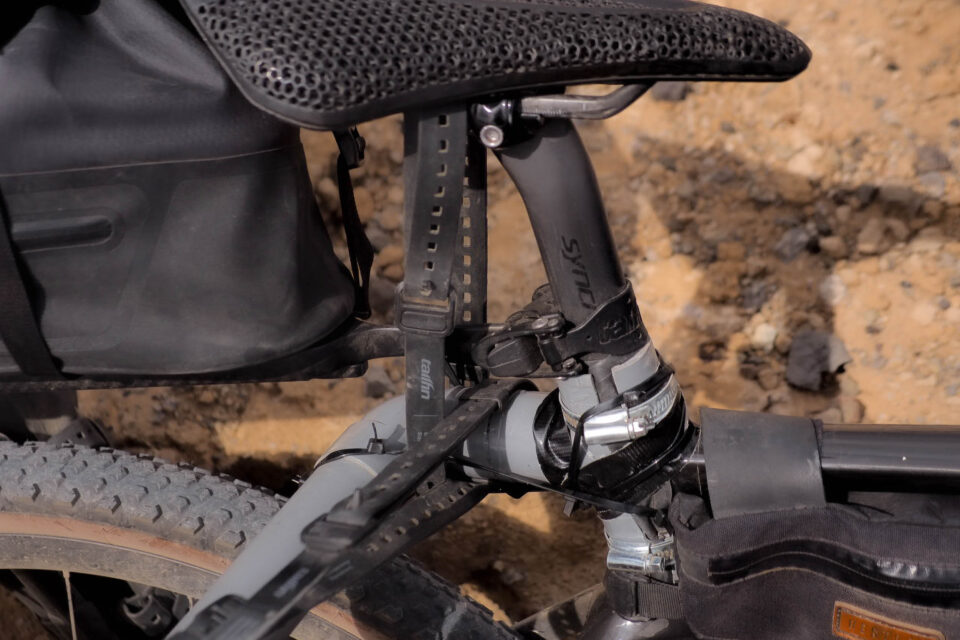
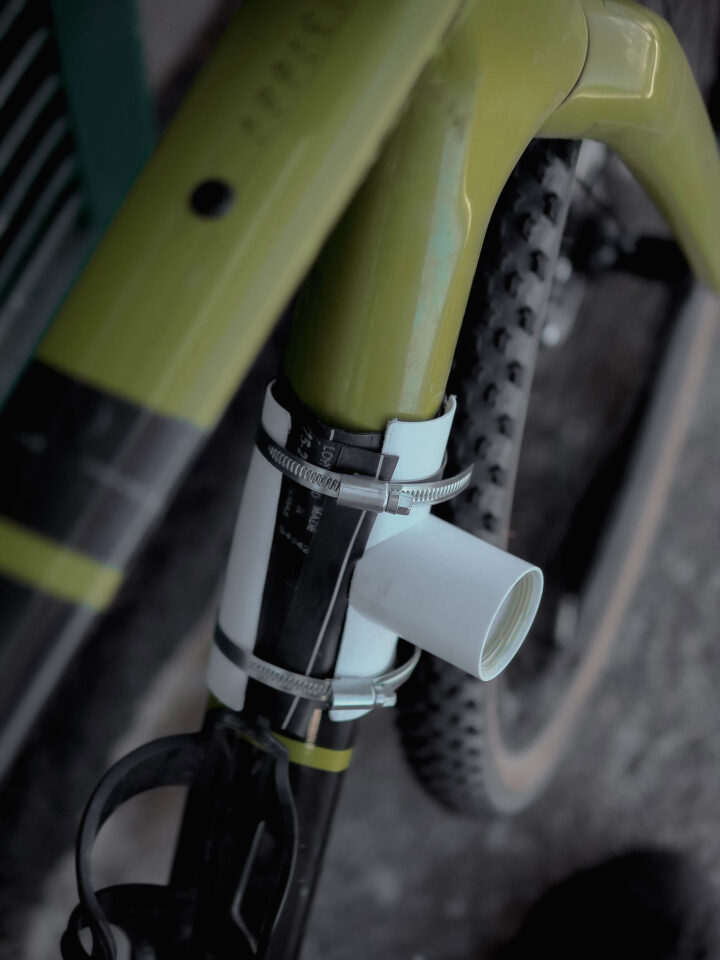
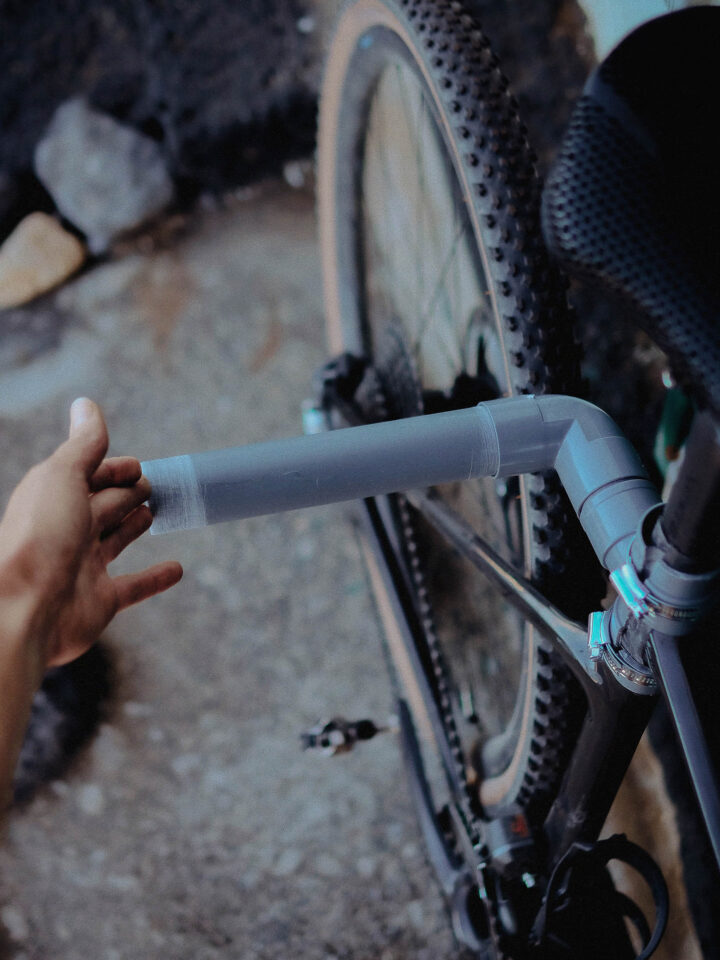
In the instructions, they attached the rack on the seat stay just above the bottle holder, but if I stuck it there, even with an extra PVC elbow, the rack was still precisely where my leg was supposed to be moving when pedaling. My mind raced between two thoughts: “Maybe this is simply not possible,” and “There has to be a way.” I turned the pieces around and moved them around the frame until I got an idea. Could it work if I sawed the counterpiece of the T-joint in two, attached it behind the seat post, and added one PVC elbow behind the seat post to make an angle? The answer was as simple as that. It worked!
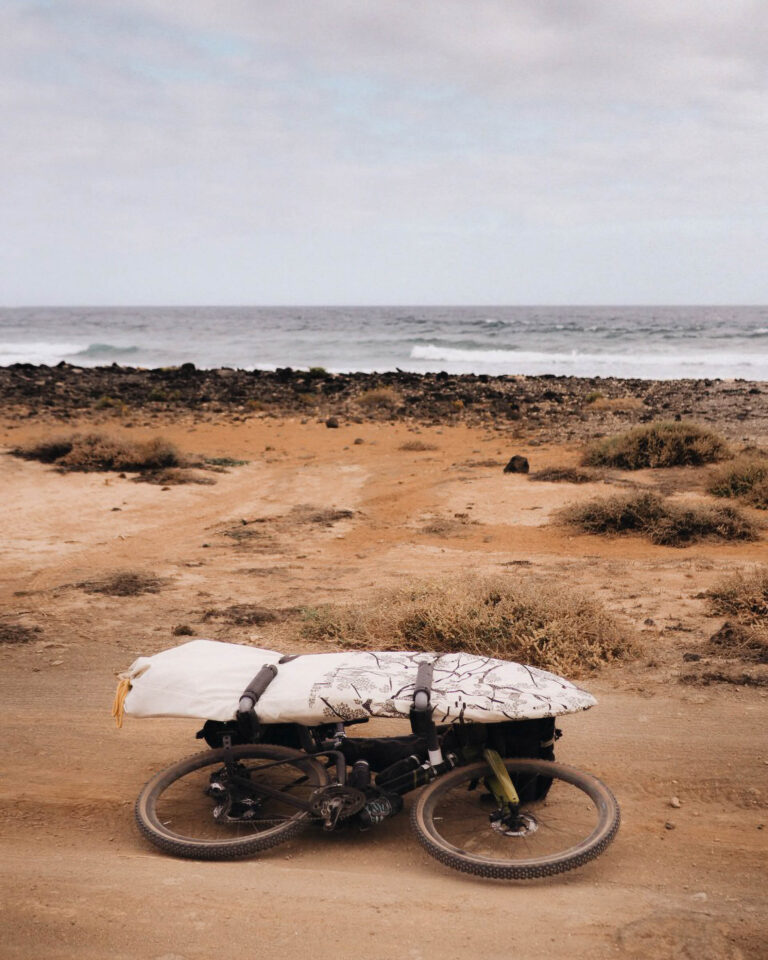
I packed everything in, asked my dad to return the rest of the PVC pipes in Finland, and decided to buy them again from Spain. It turned out that in Spain, one PVC elbow cost 0.35€, and in Finland, 5.90€. So, buying it in your destination country can save weight in your luggage and possibly also some money. The great thing is you can find all the supplies (outlined below) nearly anywhere, and that’s all you need for building this rack, other than at least four Voile Straps to hold the board in place.
Building My Surfpacking Rig
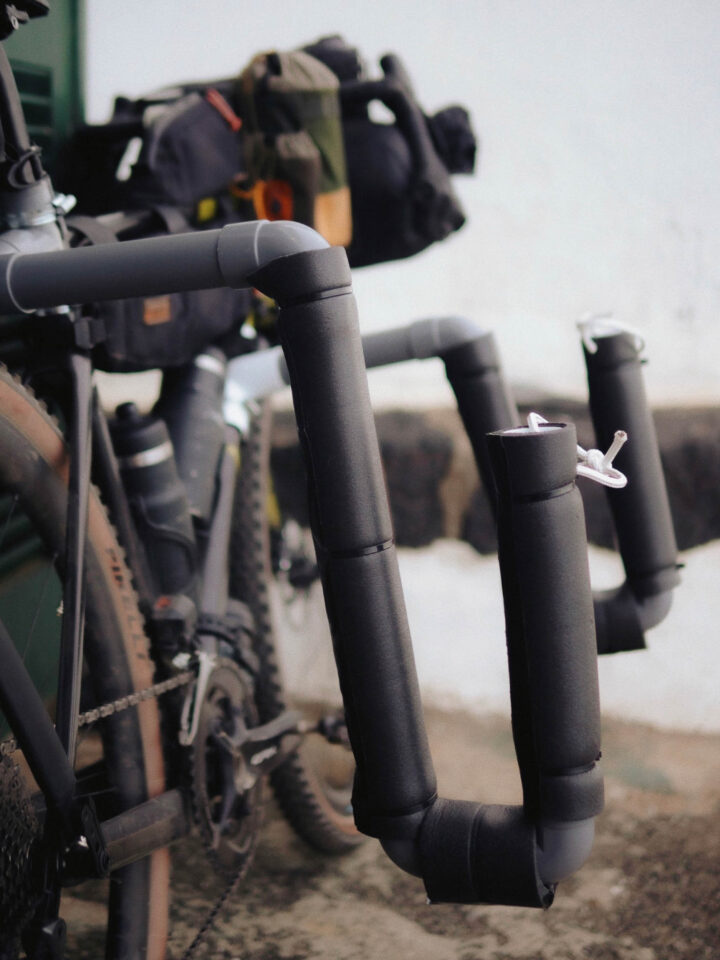
The following are the materials needed and the basic steps of the building process. The rack worked perfectly on my trip until the bike fell and the T-joint on the seat post cracked. So, if you plan to build your surf rack out of PVC pipe, it’s good to know that PVC is not bulletproof. I managed to fix my rack with a lot of duct tape and by supporting the rack with a ski strap under the seat.
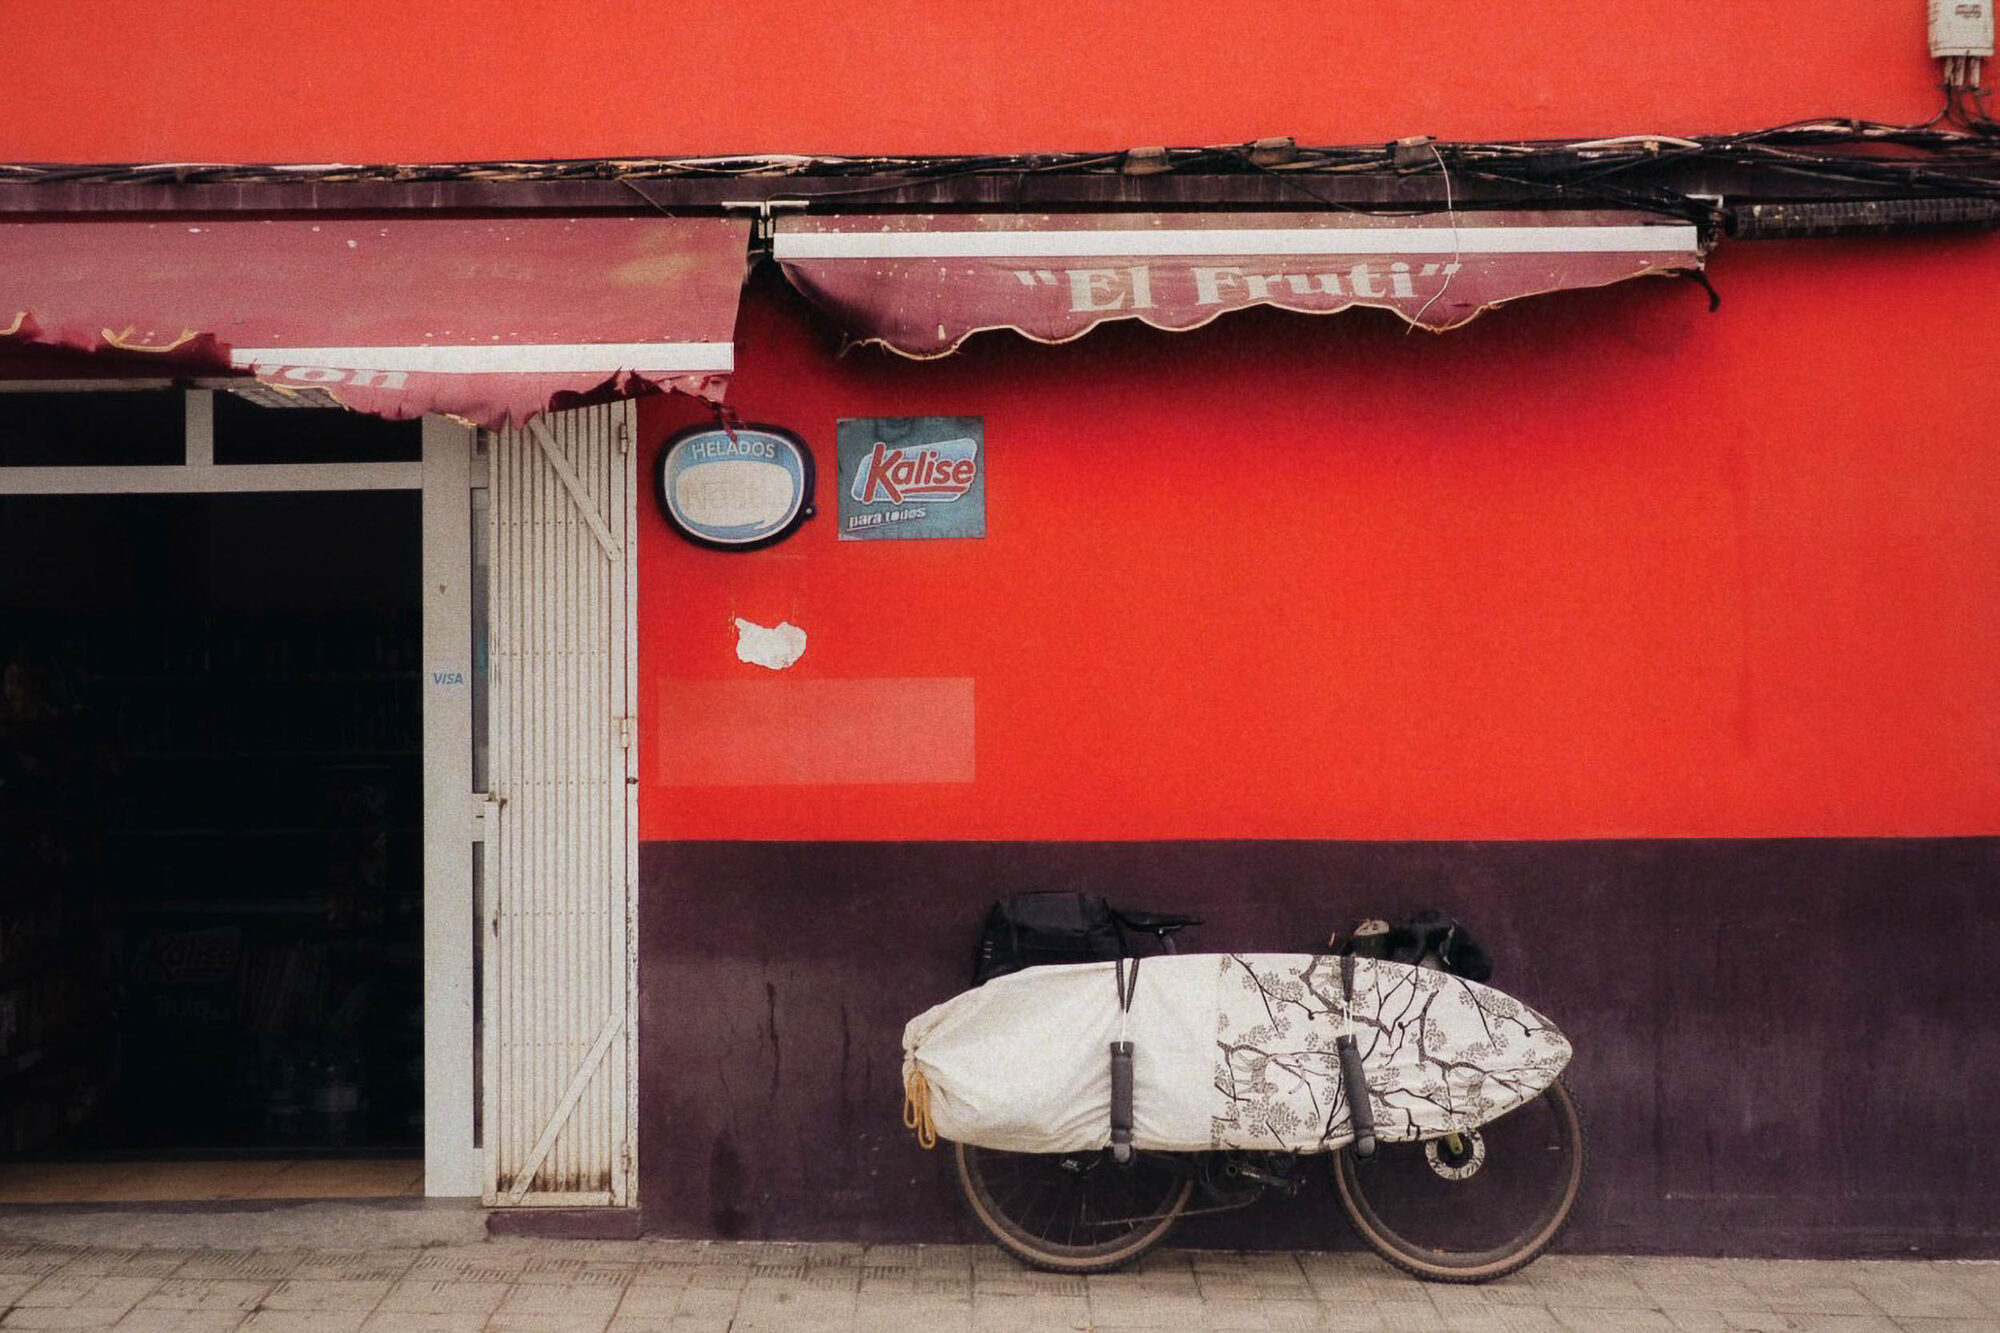
In hindsight, I think I should have supported the rear T-joint with a ski strap or similar from the beginning. I also used two types of PVC pipe because I had bought some in Finland and some in Spain, but I learned that this made the rack more prone to breaking because the diameters of the pipes were ever-so-slightly different, and they didn’t glue together as well as the parts made from the same PVC.
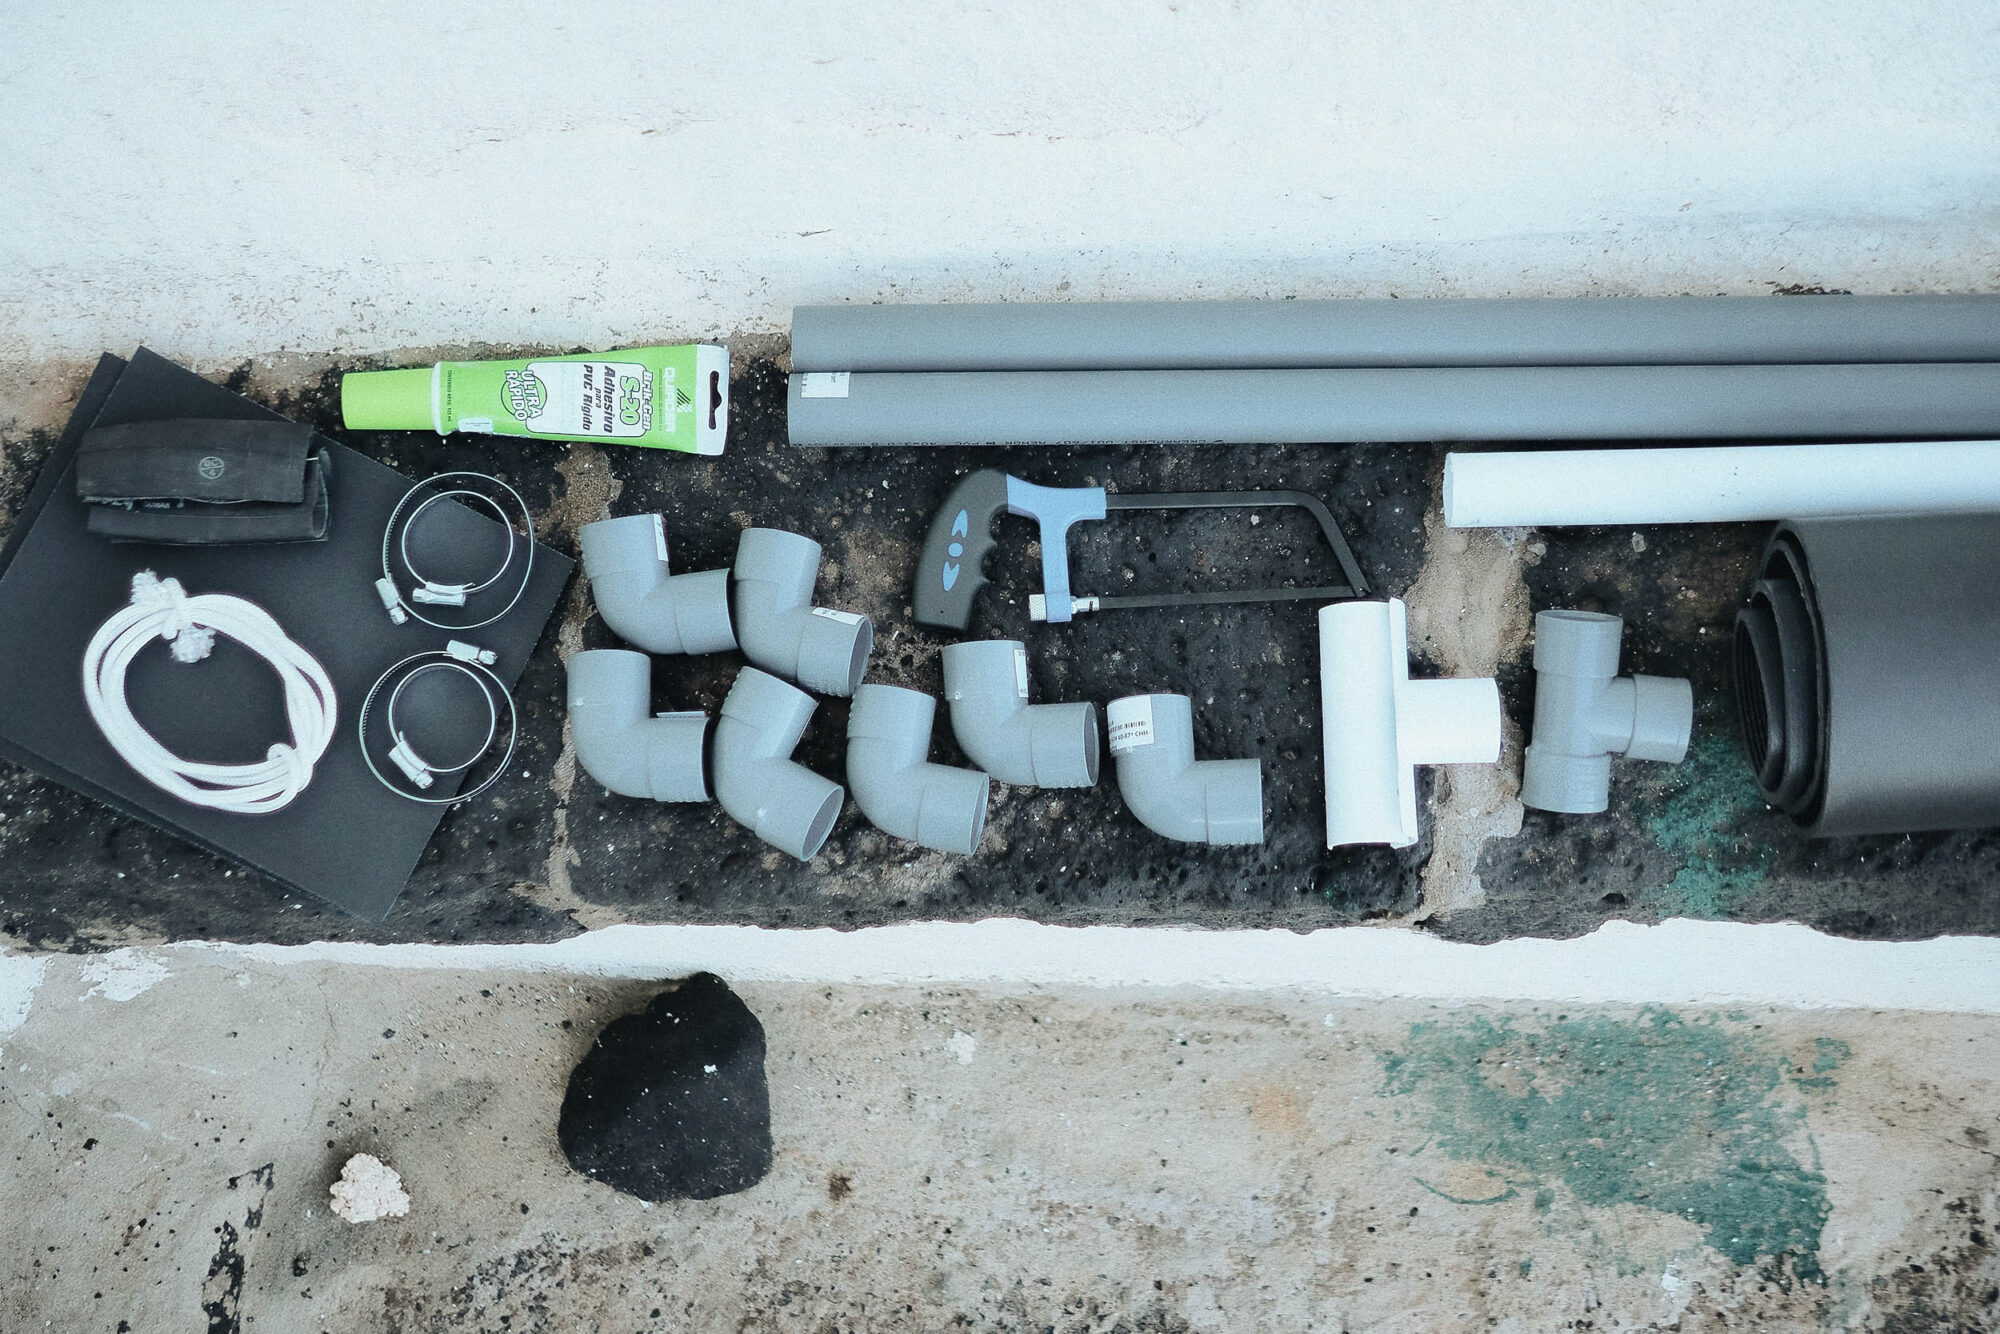
Materials and Tools Needed
- 2.5m of PVC pipe
- 7x 90-degree PVC elbows
- 2x PVC T-joints
- Hose clamps to fit around the PVC pipe/your frame
- Old inner tube for padding the frame
- 180cm of pipe insulation or other padding
- About 2 meters of 6-8mm thick nylon rope (not stretchy)
- Duct tape
- Zip ties
- PVC glue
- Sandpaper (100-150 grit)
- Measuring tape
- Saw
- Marker
- Rag
- Lighter/matches
Step-by-step instructions
- Find spots on your bike frame to attach the surfboard frame. Test for the best positions on your bike and ensure you can pedal normally. Choose the sizing of T-joints and piping depending on the outer diameter of your frame.
- Saw the T-joints third or half or so, depending on your frame size, to fit around it. Cut pieces out of the inner tube, pad the frame, attach the T-joints on both sides, and attach them using the hose clamps. If you attach the other T-joint on the seatstay, saw the counter plastic into two.
- Next, if you attached the other T-joint on the seatstay, cut a short piece of a PVC pipe to attach the extra PVC elbow Note: Do all these phases without gluing the pipes together yet. Once you’re sure everything is correct and it fits your bike, you can move
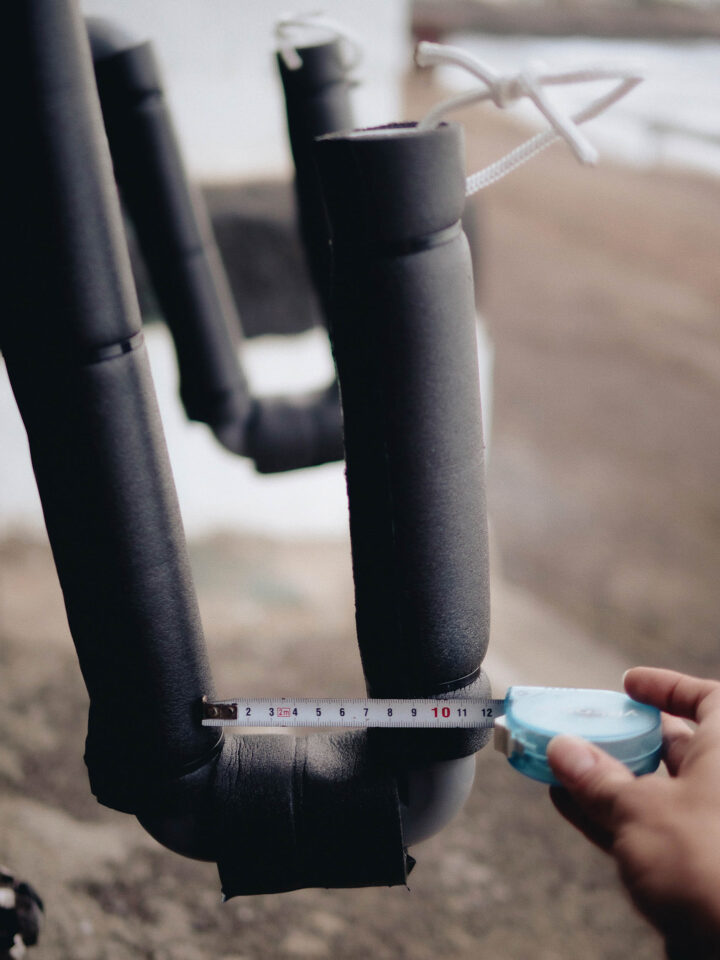
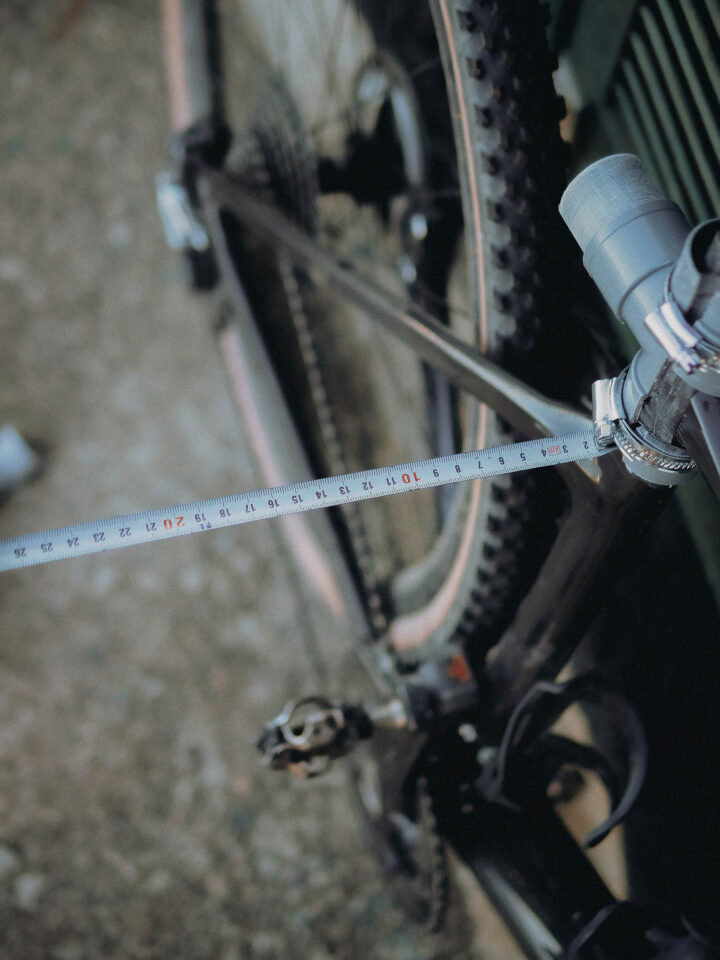
- Determine how far from the bike the rack will sit by measuring the distance from your frame to the outer edge of your pedal and add a few extra centimeters. Cut the correct length pieces out of the PVC pipe, dry fit the rack to make sure they stick out roughly the same distance and you can pedal, and then add new elbows.
- Measure the width of your surfboard to determine the depth of the surf rack. Having the rack a bit over half the width of the board should be enough. Make sure you cut different length pieces for the front and back so the rack will be aligned. Add the PVC elbows.
- Measure your surfboard’s thickness to determine the rack’s width. Count 1-3cm extra, depending on the thickness of the padding. It’s good to have it snug but not too snug, especially if you plan to store a wetsuit or towel in your board bag. Cut the pieces and add elbows.
- Cut the outer pieces of the rack so they align with the other side of the rack. Drill holes to the correct spots at the end of the PVC pipes to attach the nylon ropes.
- Sand the PVC pipes, clean the dust, try them on, mark the correct angle, and glue them together one by one.
- Cut the padding to fit your rack with zip ties and duct tape, then tie the nylon ropes.
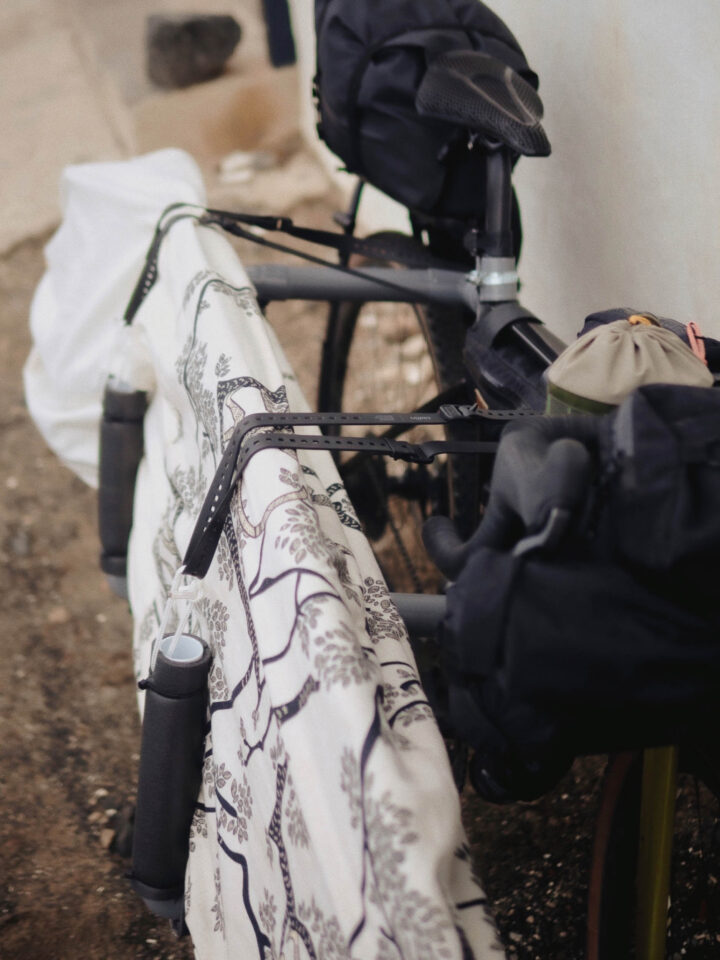
- The rack is ready. Attach the surfboard with ski straps to the nylon ropes and the bike frame and go for a test ride.
From Dream to Reality
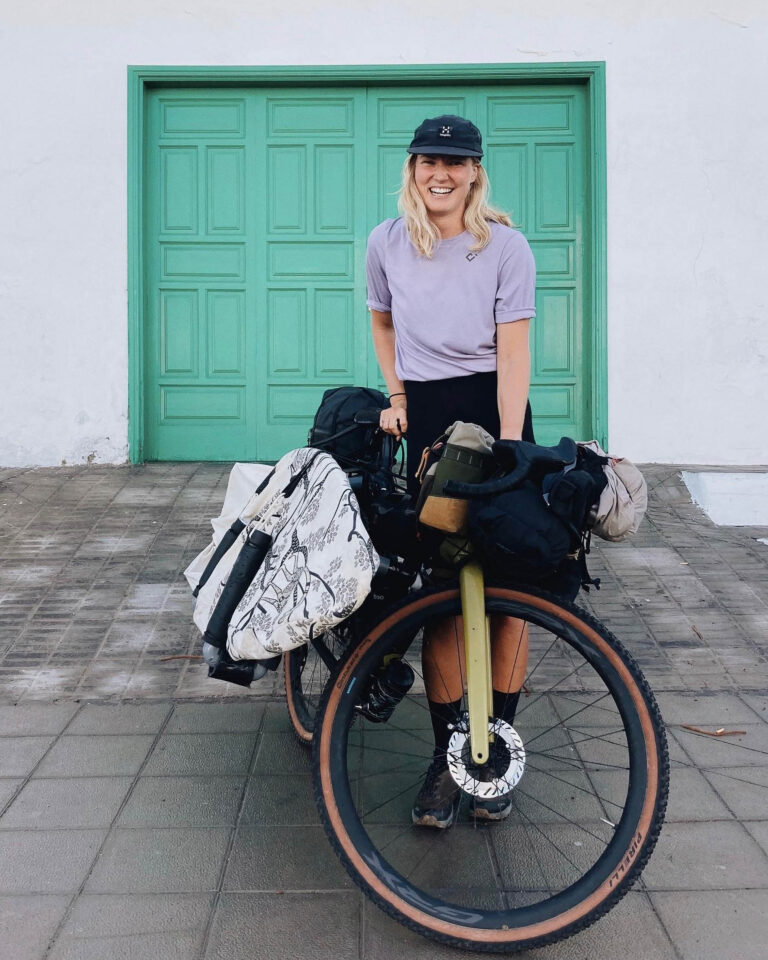
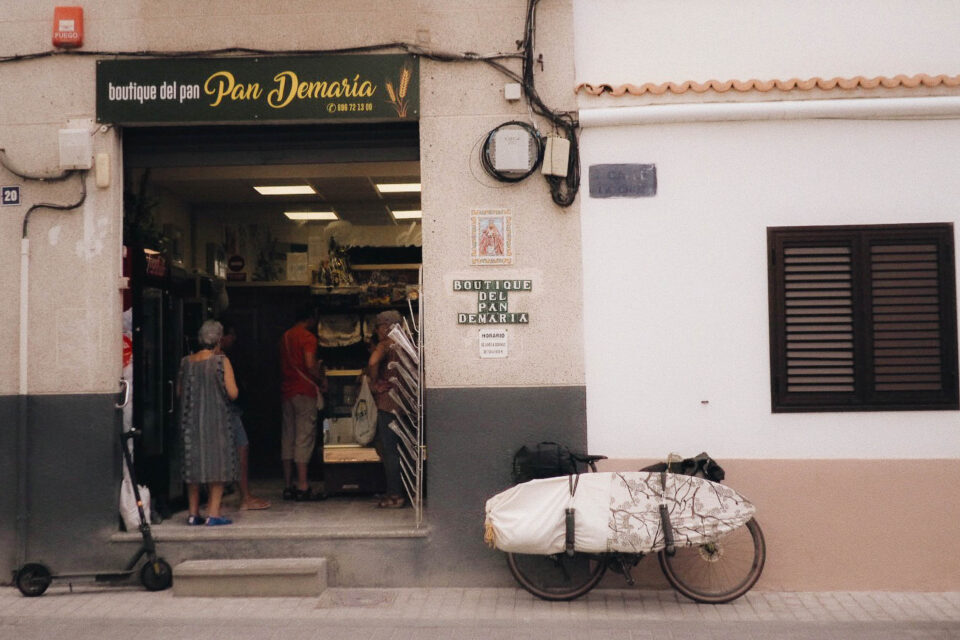
The rack was ready, and it looked promising. I tightened the surfboard on the rack and went for a few-hundred-meter test ride to see how it felt. To my surprise, it felt more than alright, though I didn’t let the excitement bubbling under the surface overtake me. I had been thinking about this trip since last winter; it had been my dream, and here I was, ready to start my trip tomorrow. At that moment, it almost didn’t matter how the trip would go; the main thing was that I was doing it. I had found a way to make it work!
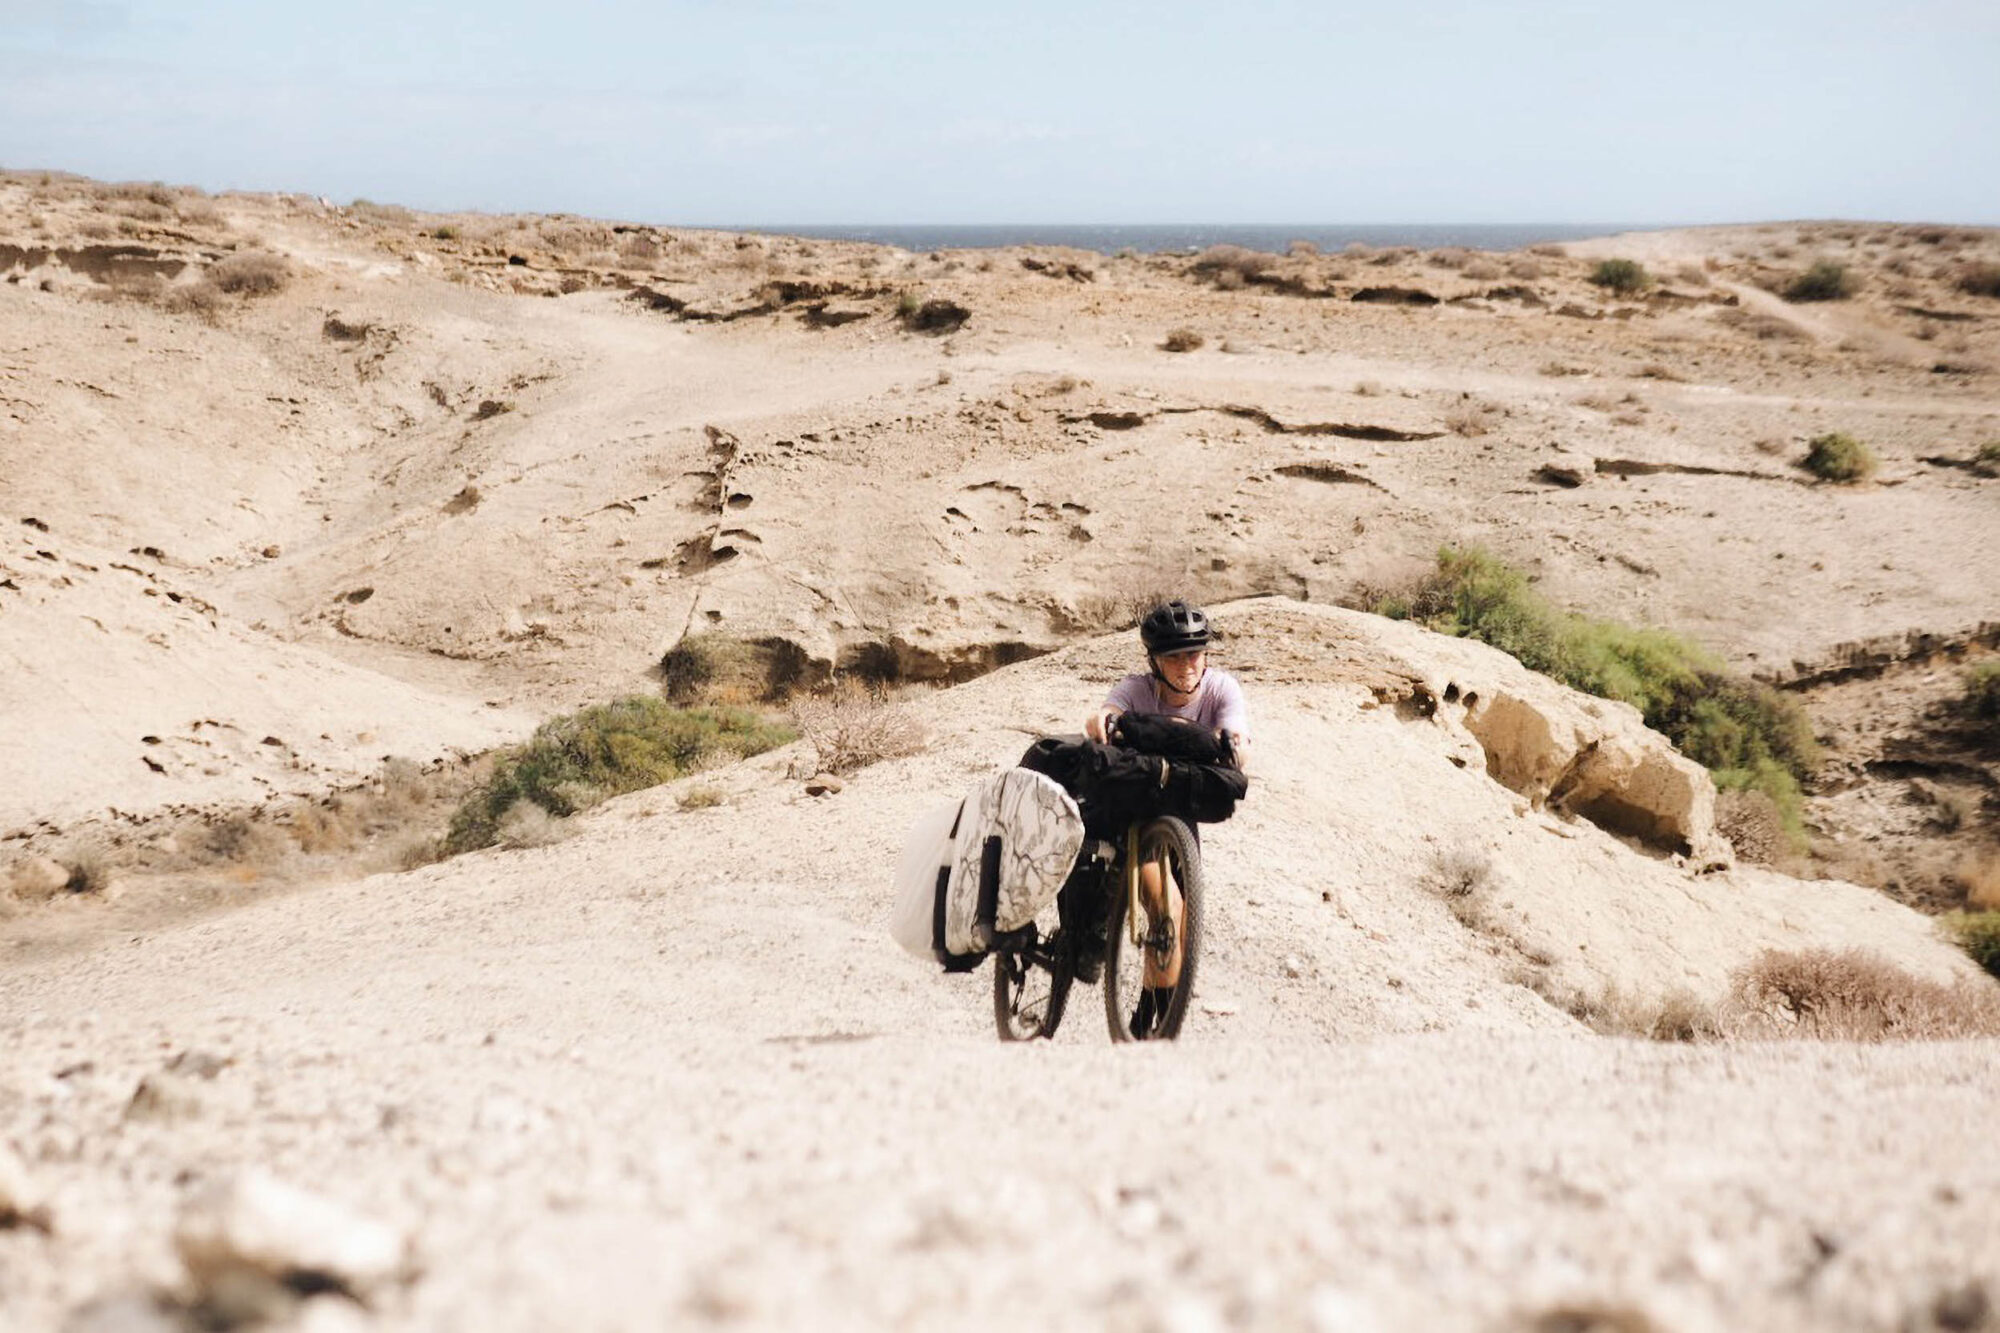
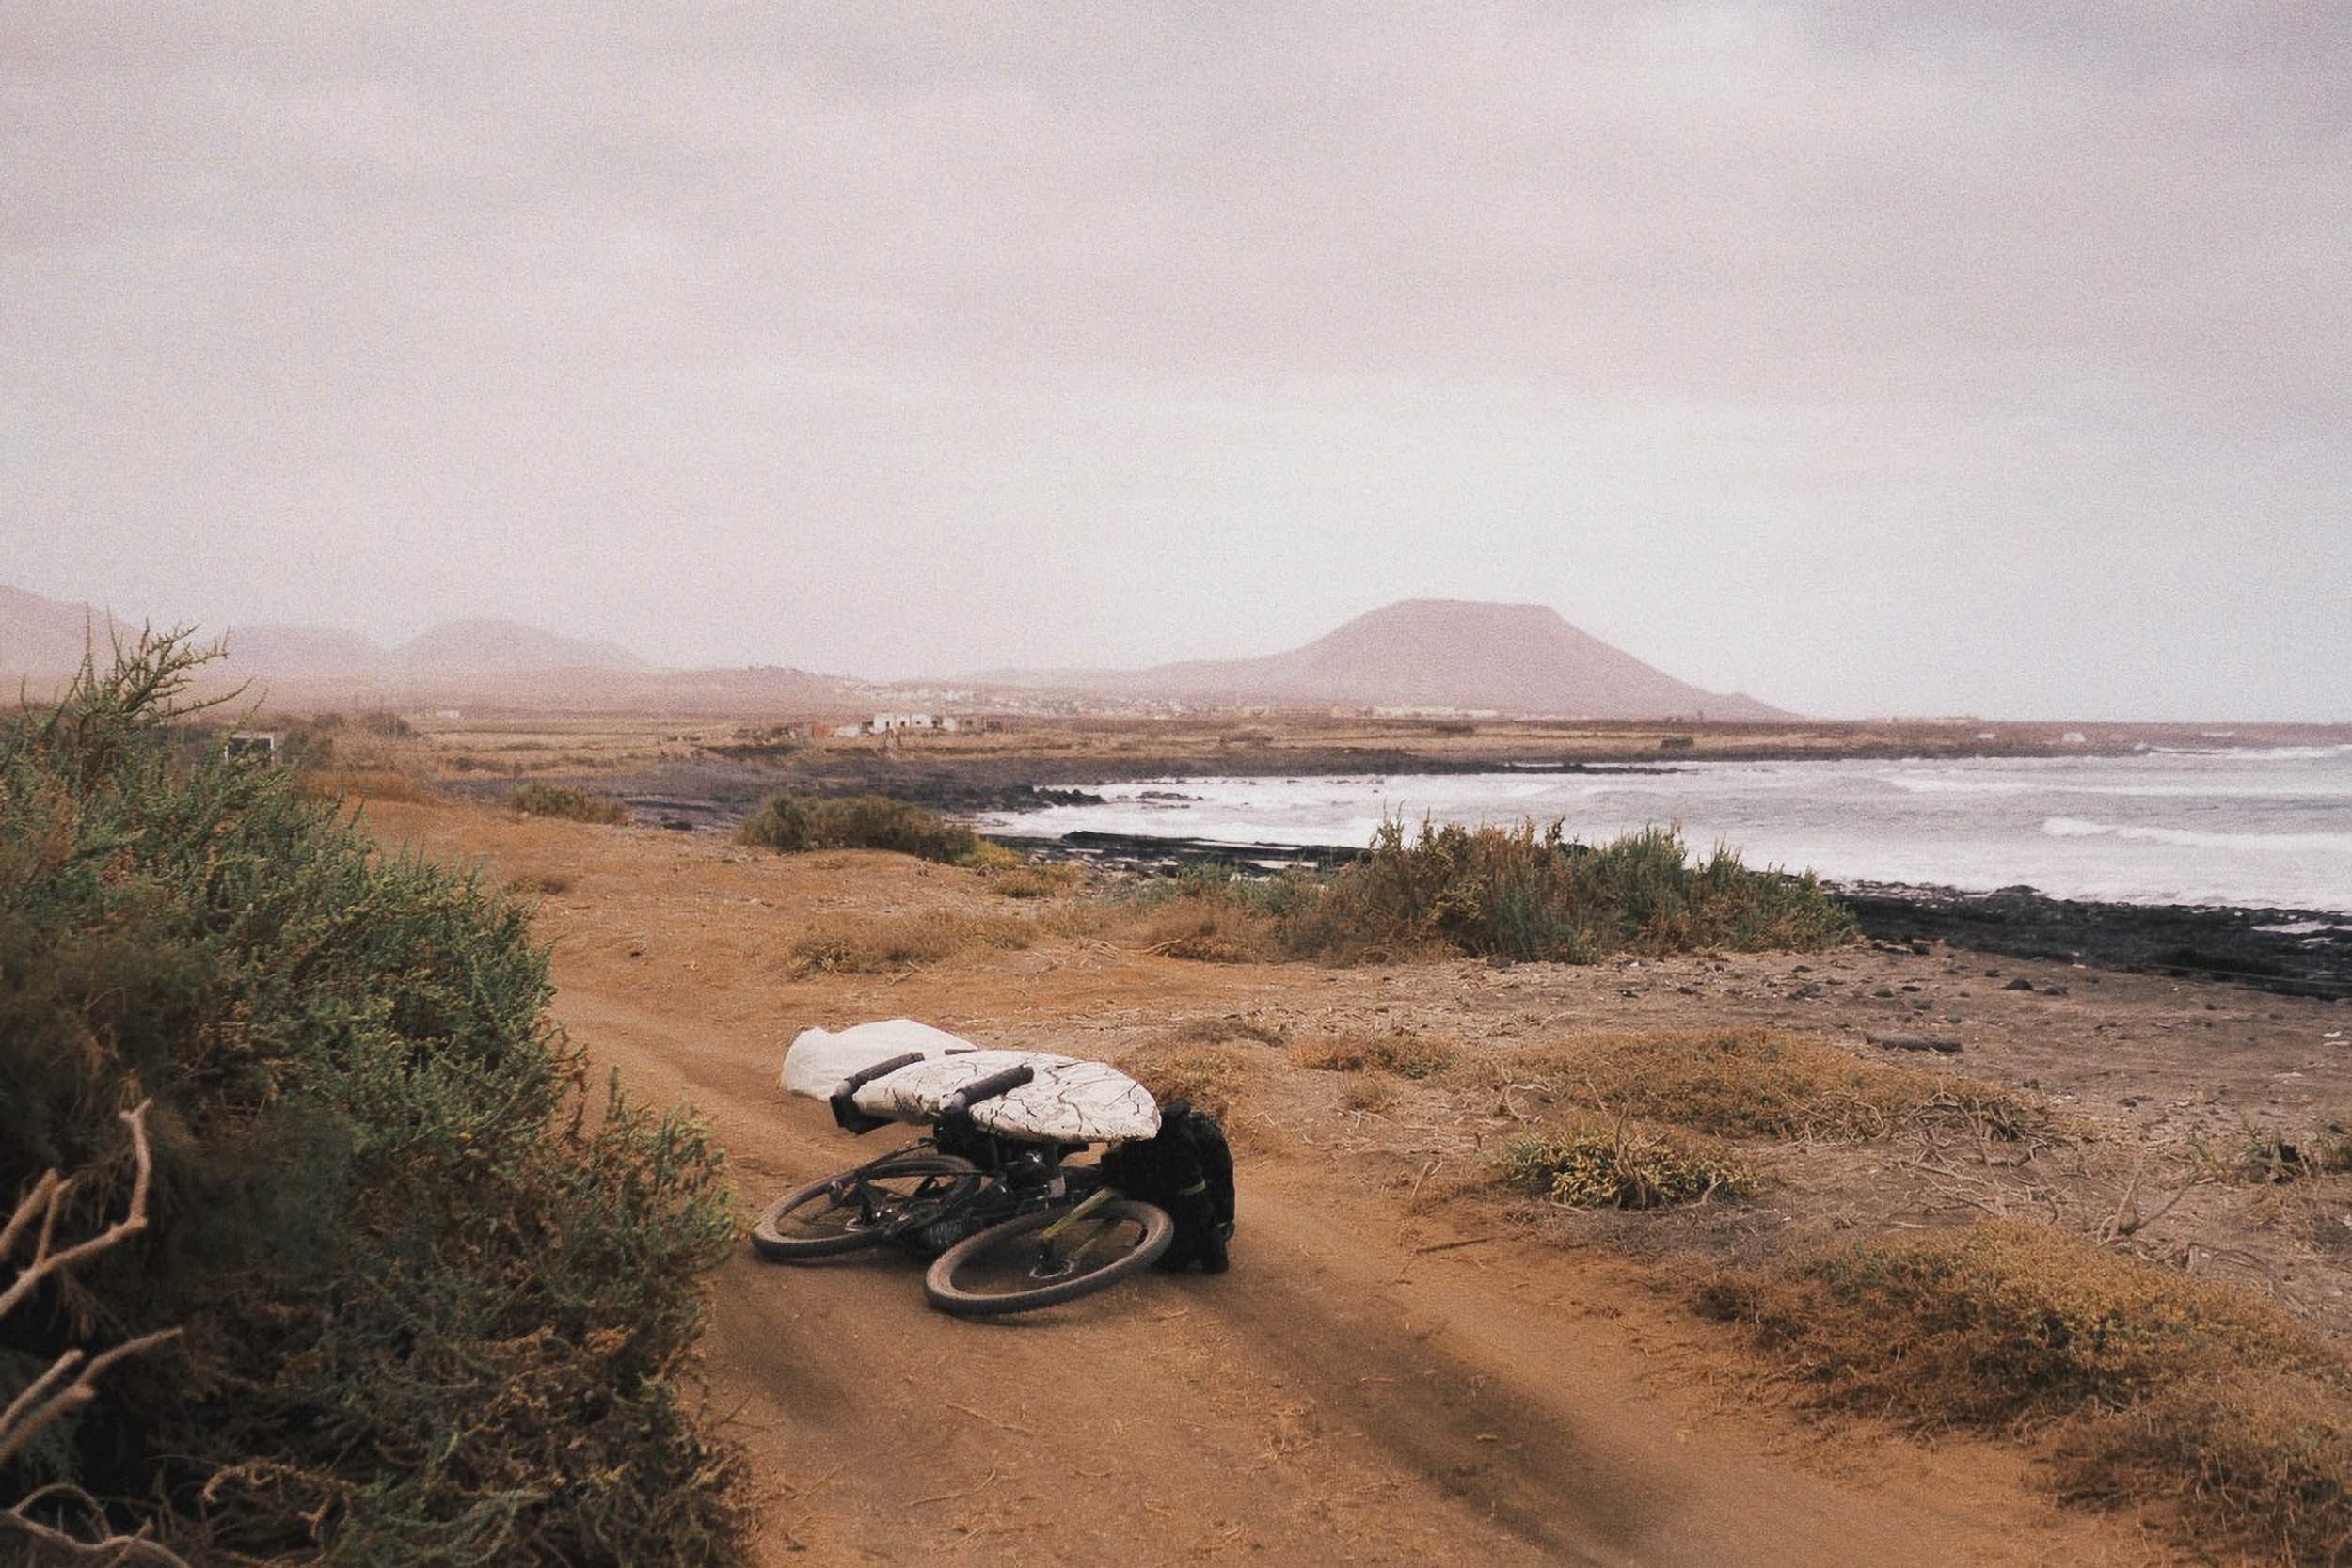
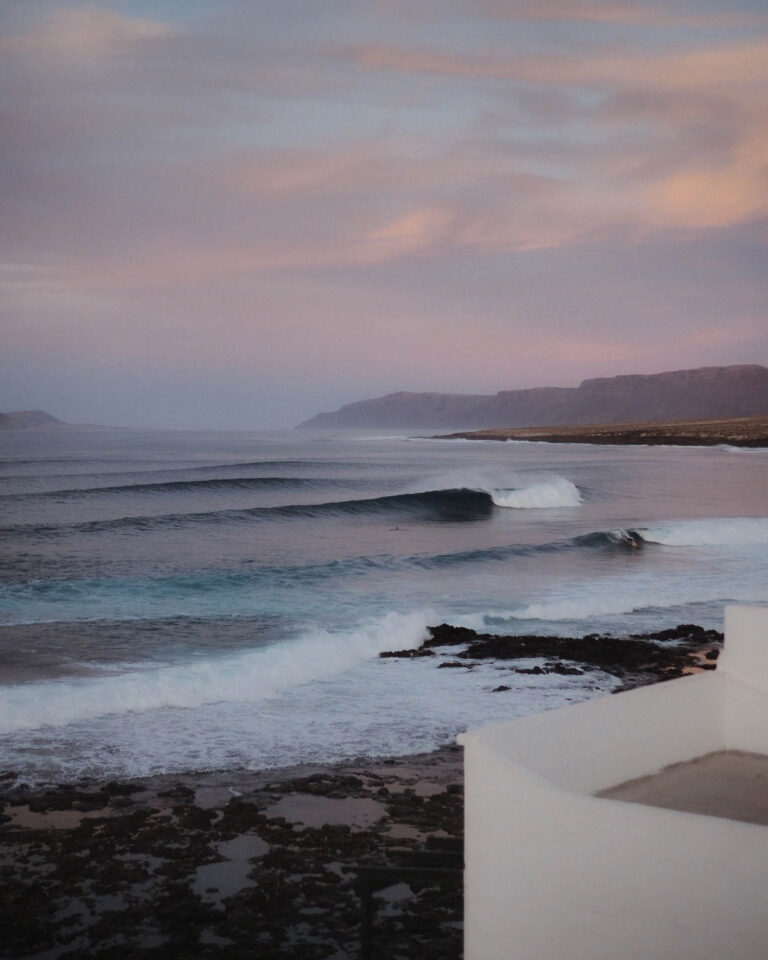
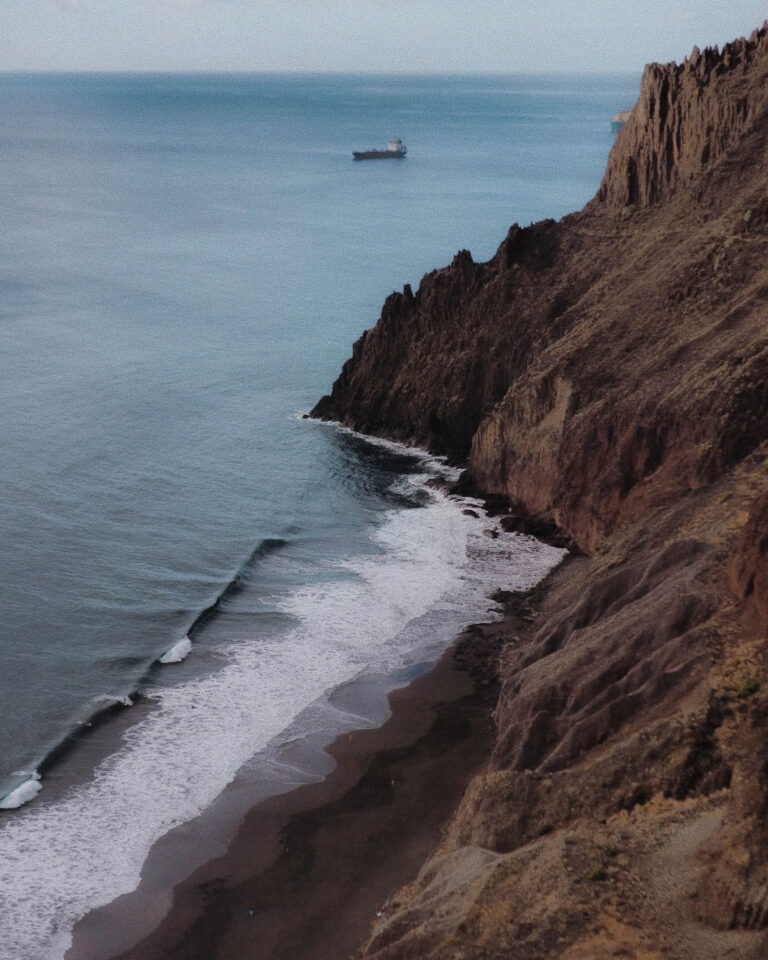
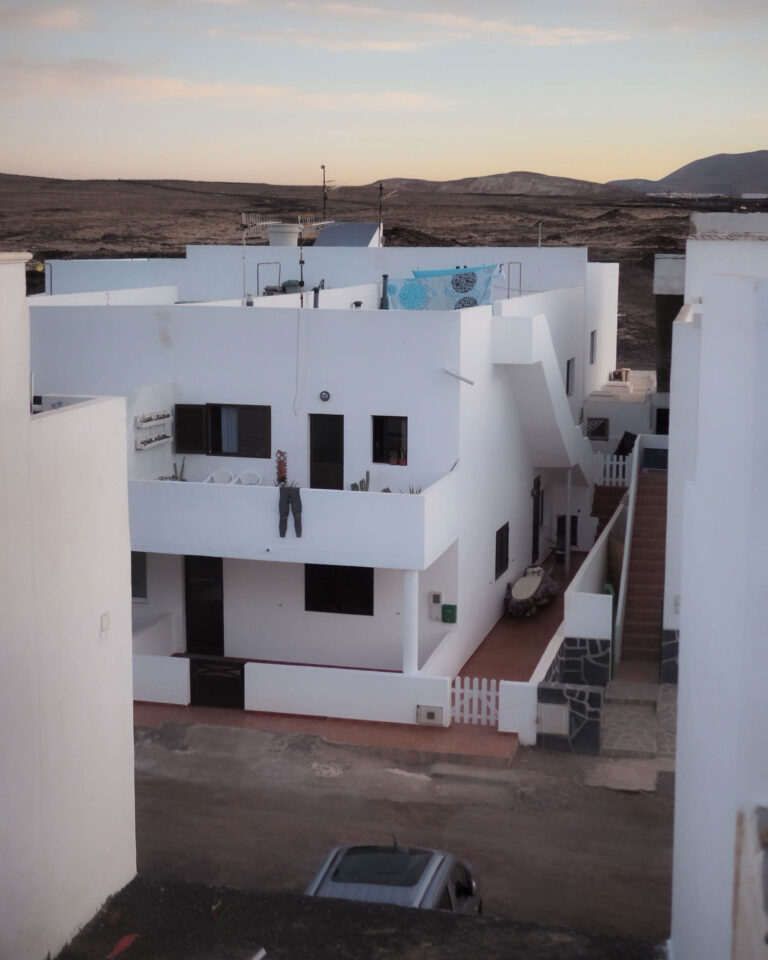
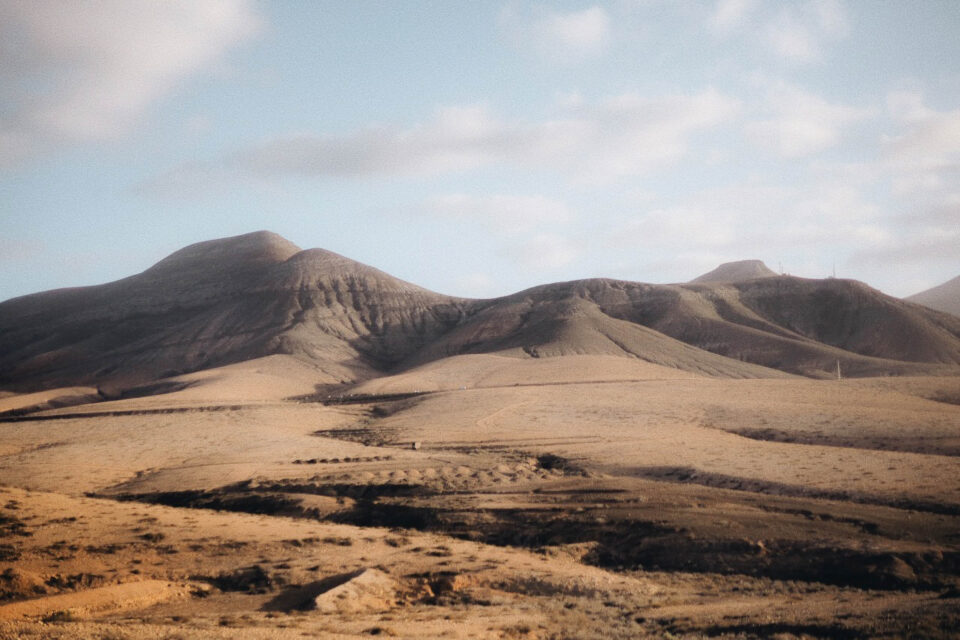
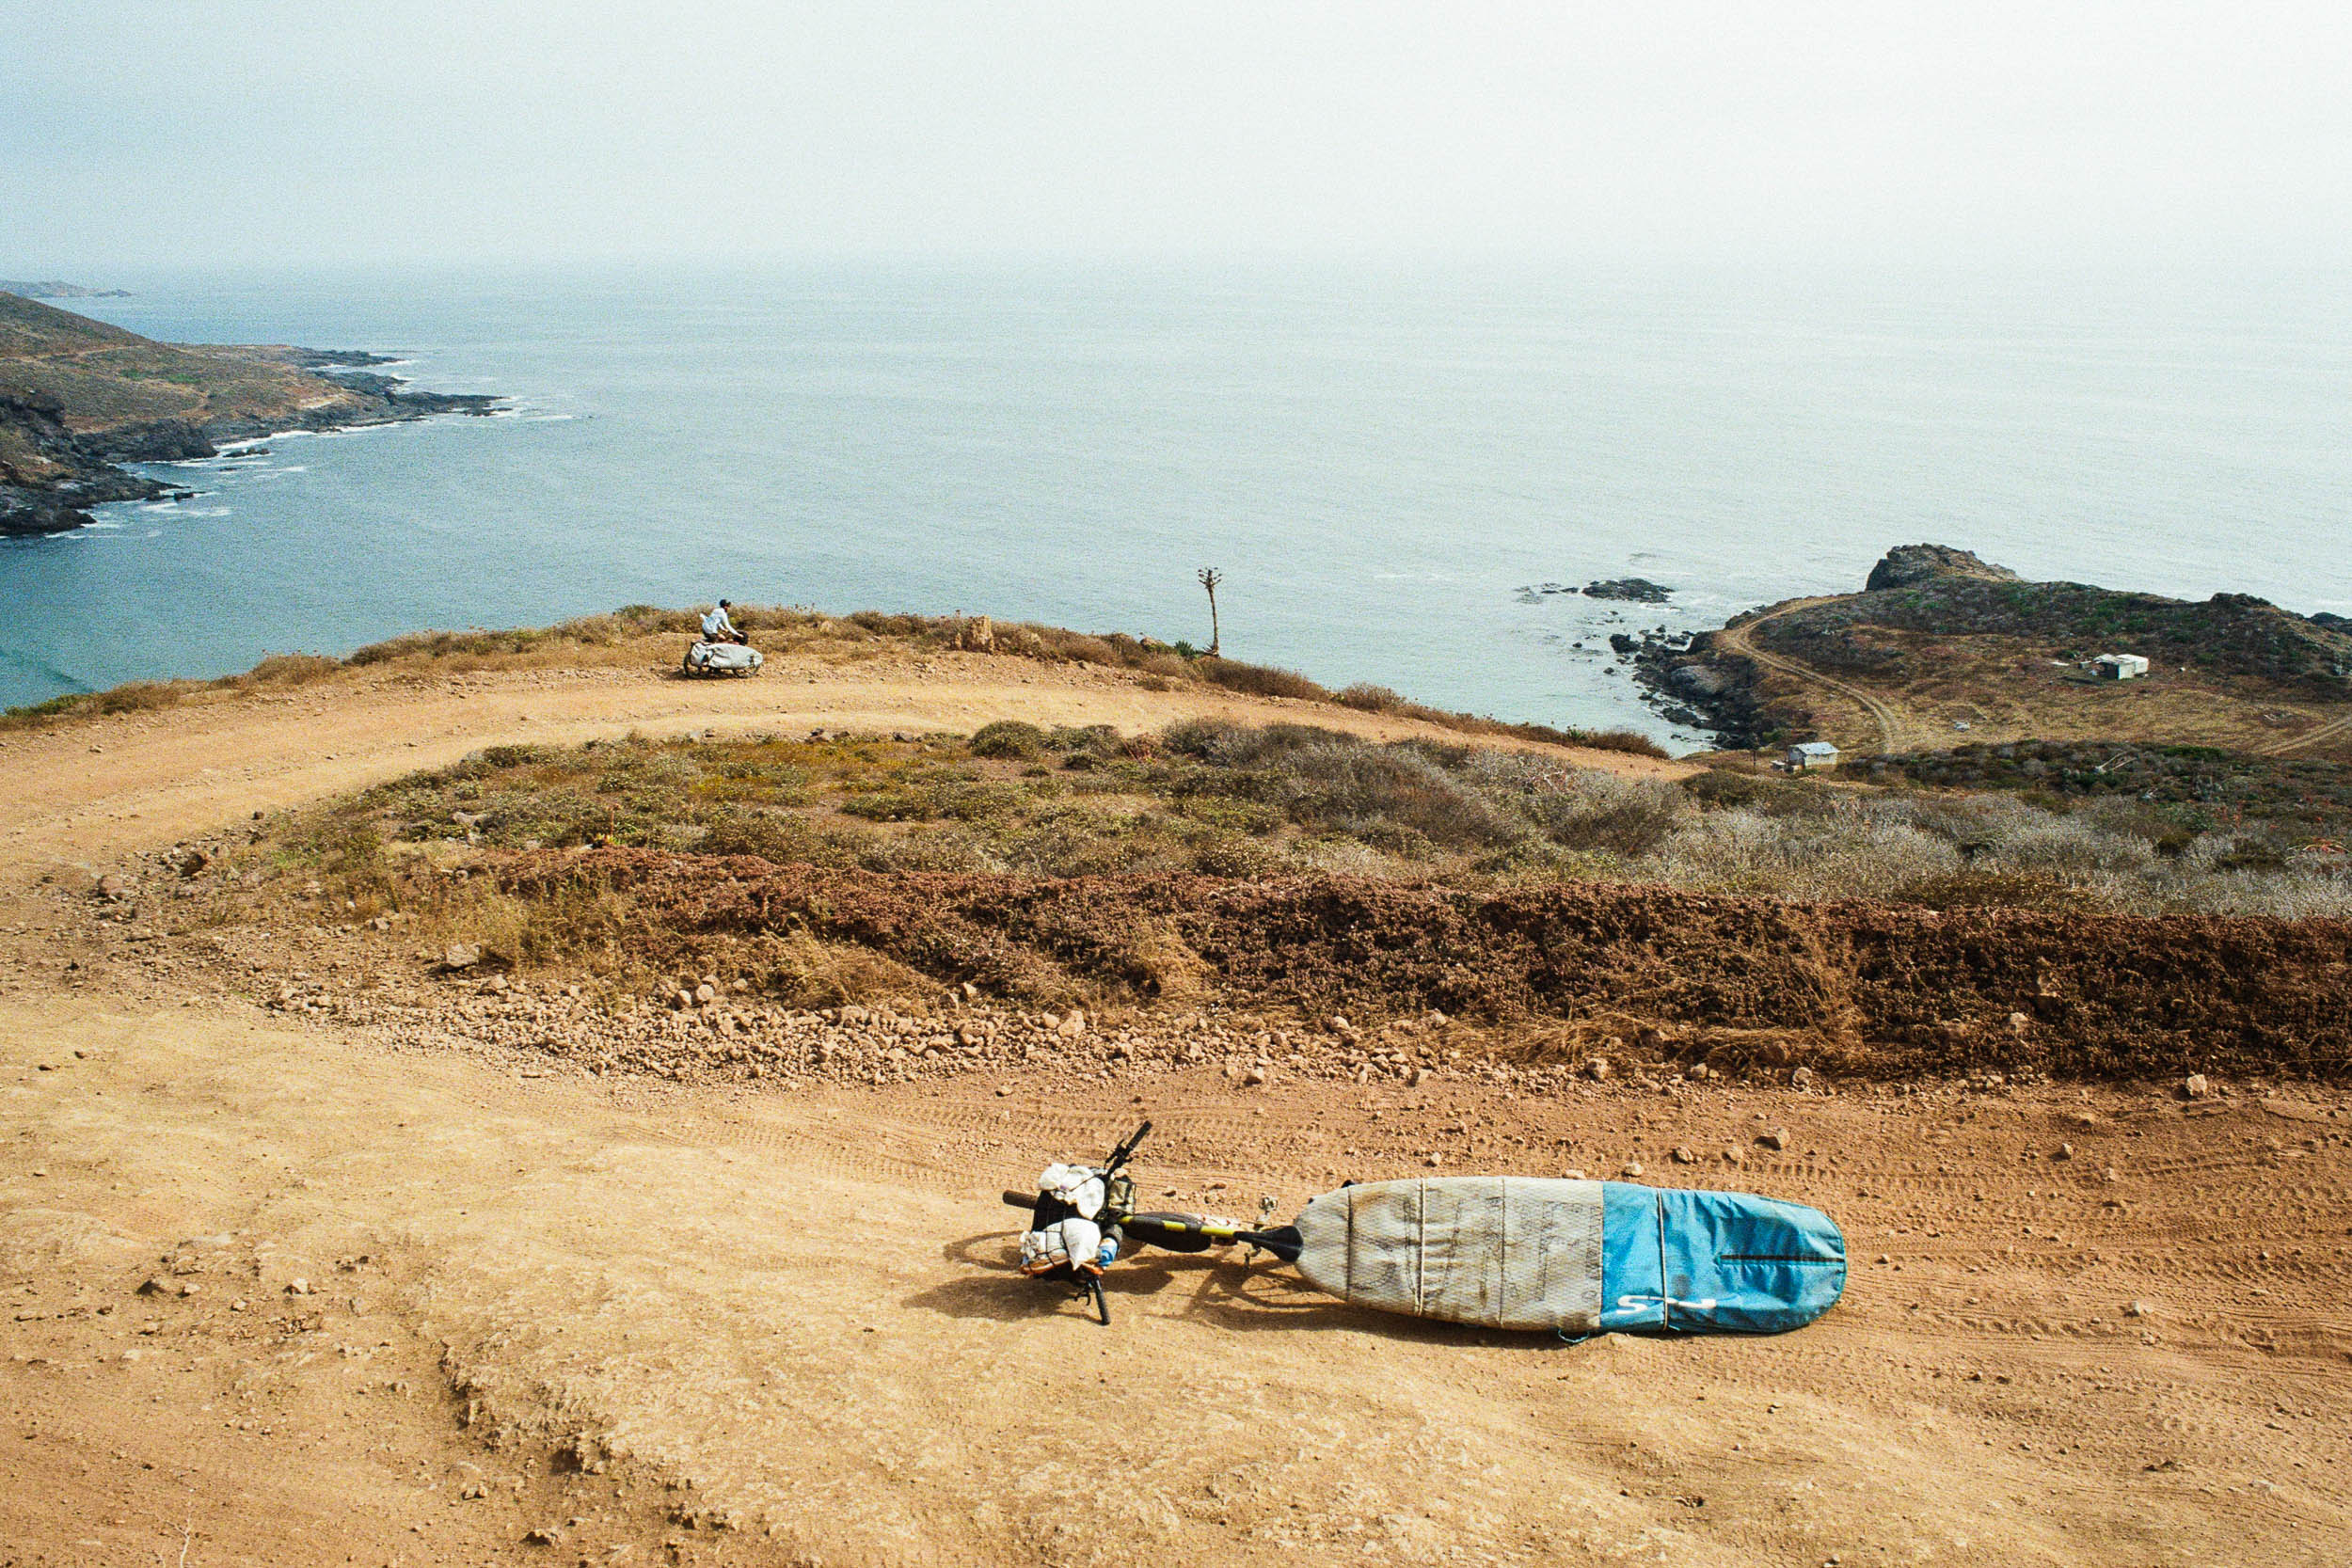
I started from the northwest corner of Lanzarote, with Fuerteventura as my next destination. I would make the rest of the plan on the go based on the surf forecast. Four kilometers of paved and flat roads took me to the first surf spot; the waves were a bit mushy, but I hopped in because I came here to surf, after all. I carefully placed my feet on the sharp and slippery volcanic rocks as I exited the water and went back to my bike, which I’d locked on a signpost. I couldn’t help but smile. This is going to be good. I had no schedule or rush to cover absurd distances, just time to surf, ride, and enjoy the moment.
Waves, Wind, and Ferries
The wind picked up as I boarded a ferry to Fuerteventura the next morning. I checked the surf forecast for the upcoming days, and it didn’t look promising. It called for strong northerly winds combined with a big northerly swell, which would mess up the waves on both the north and west sides of the island. Unfortunately, the swell didn’t wrap around the corner to the east, so that wasn’t an option either.
I began riding along the coastal gravel road, checking the spots along the way. The forecast was as bad as it had promised. One spot seemed a bit more protected, so I jumped in the water, surfed wind-chopped, messy waves until I got tired, and decided to rest on the beach. I continued to browse the forecast and the map, but there was simply no shelter from the wind for the next five days. Maybe this wasn’t going to be so easy.
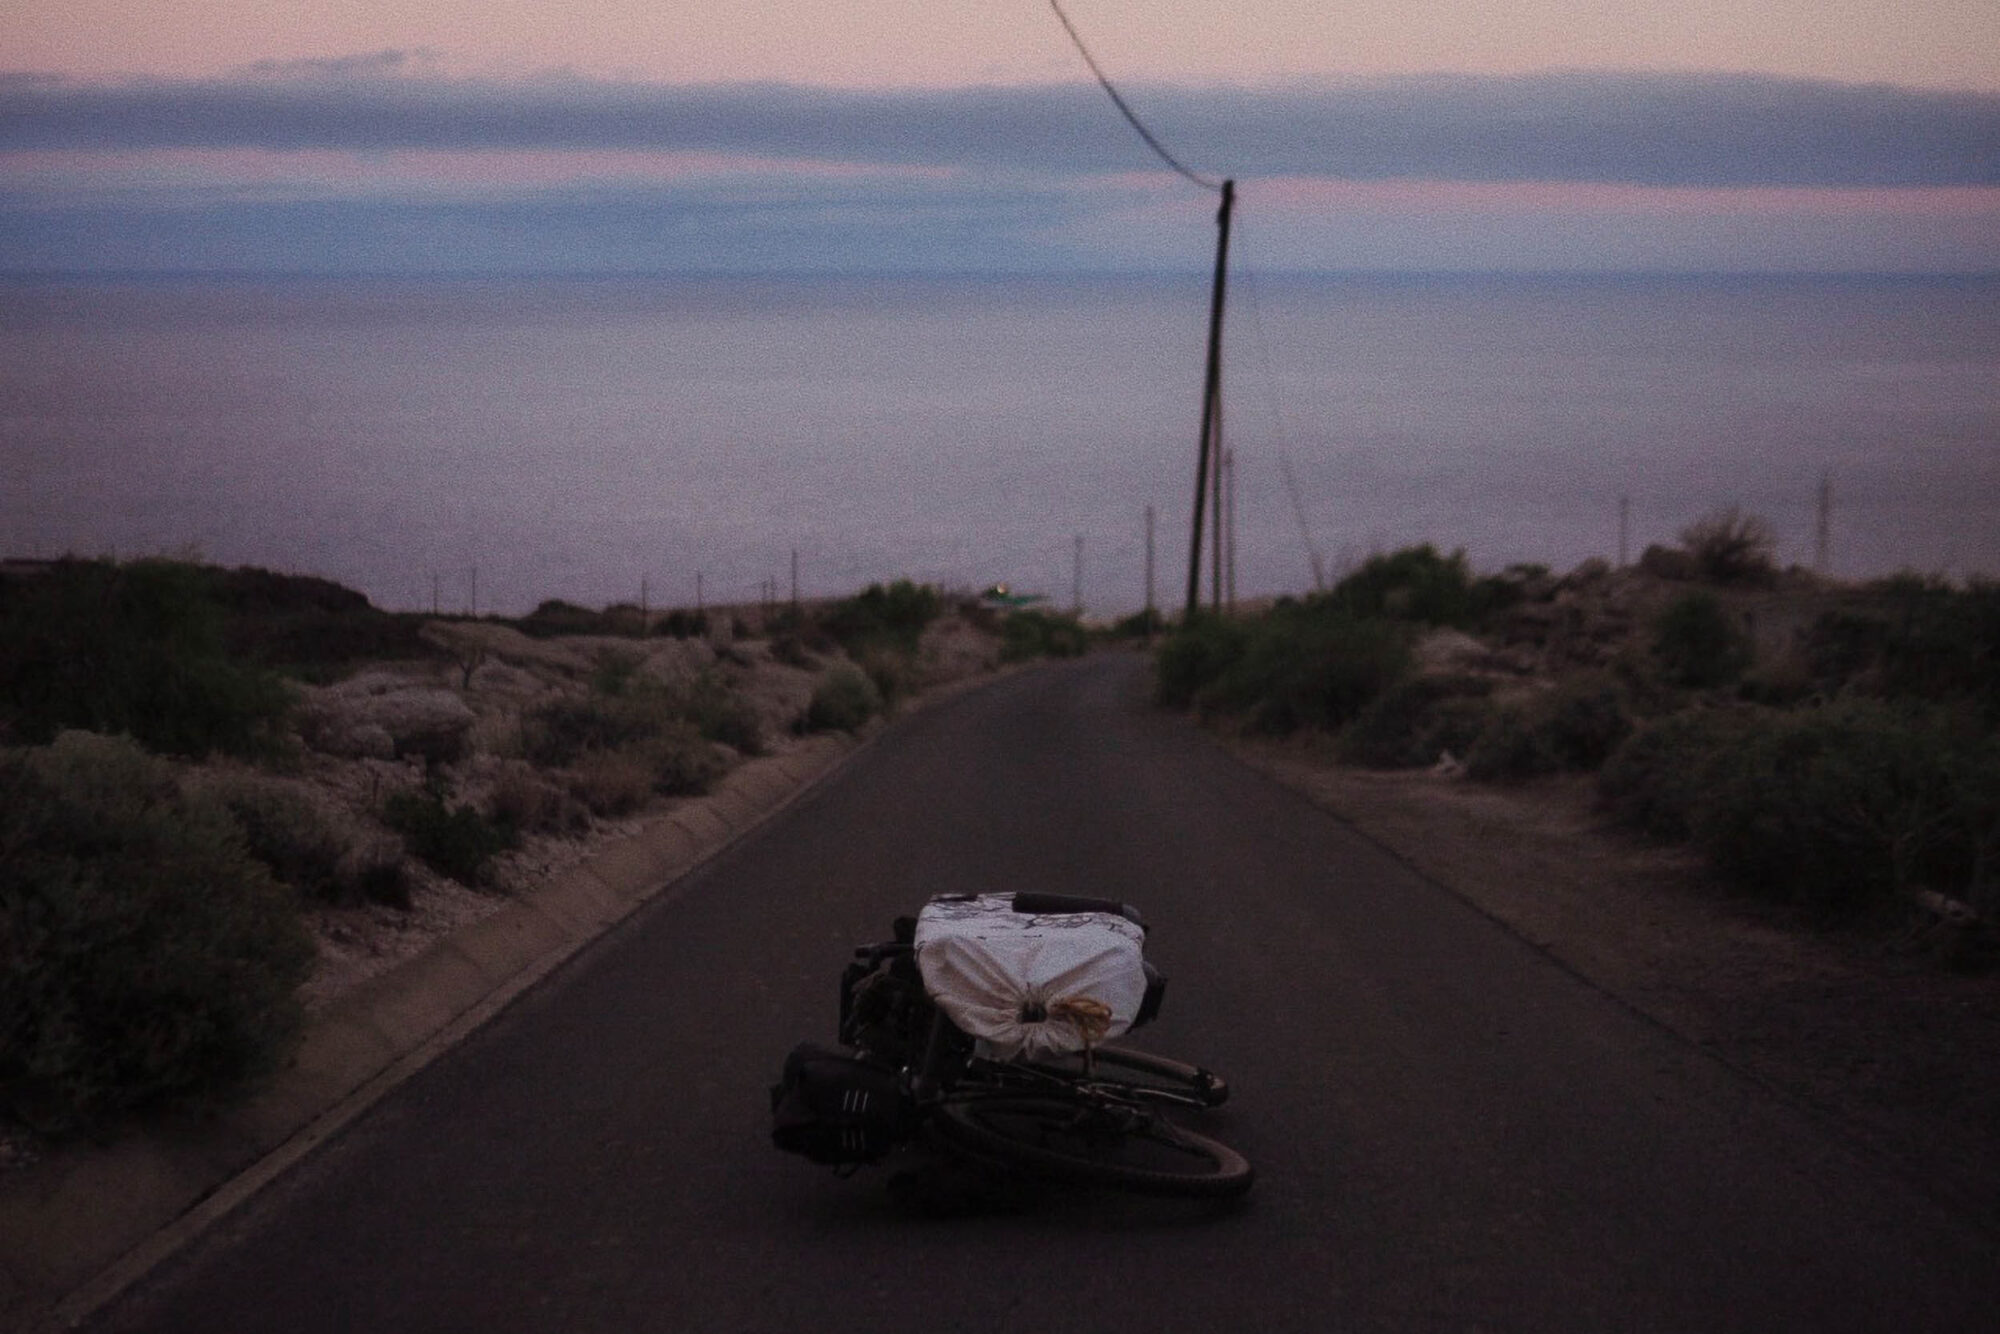
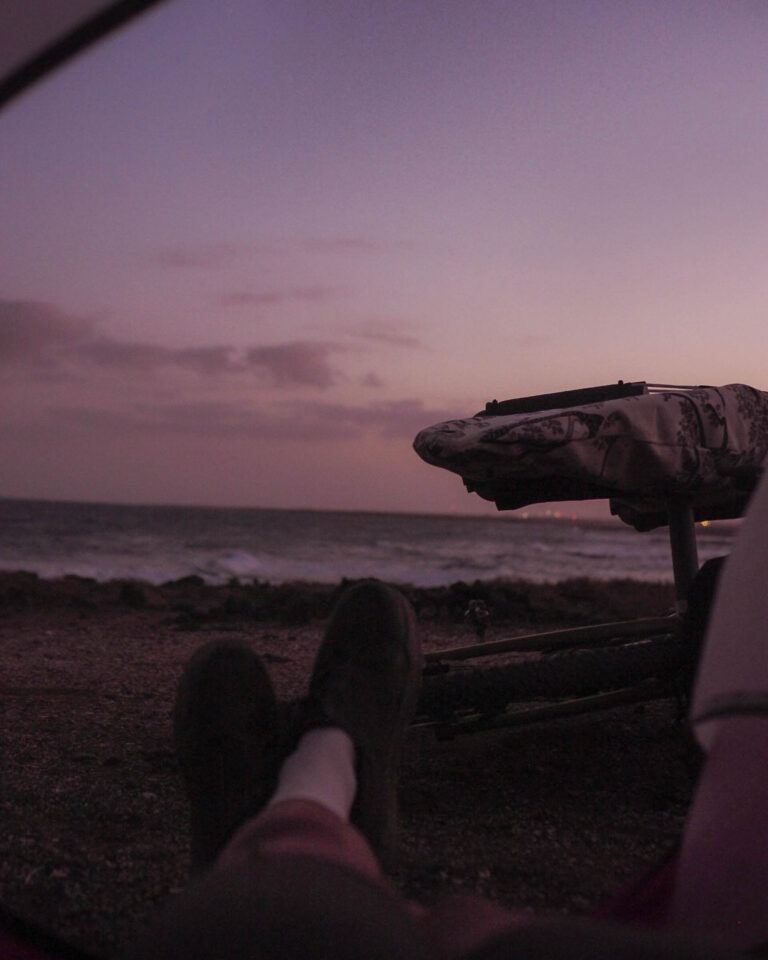
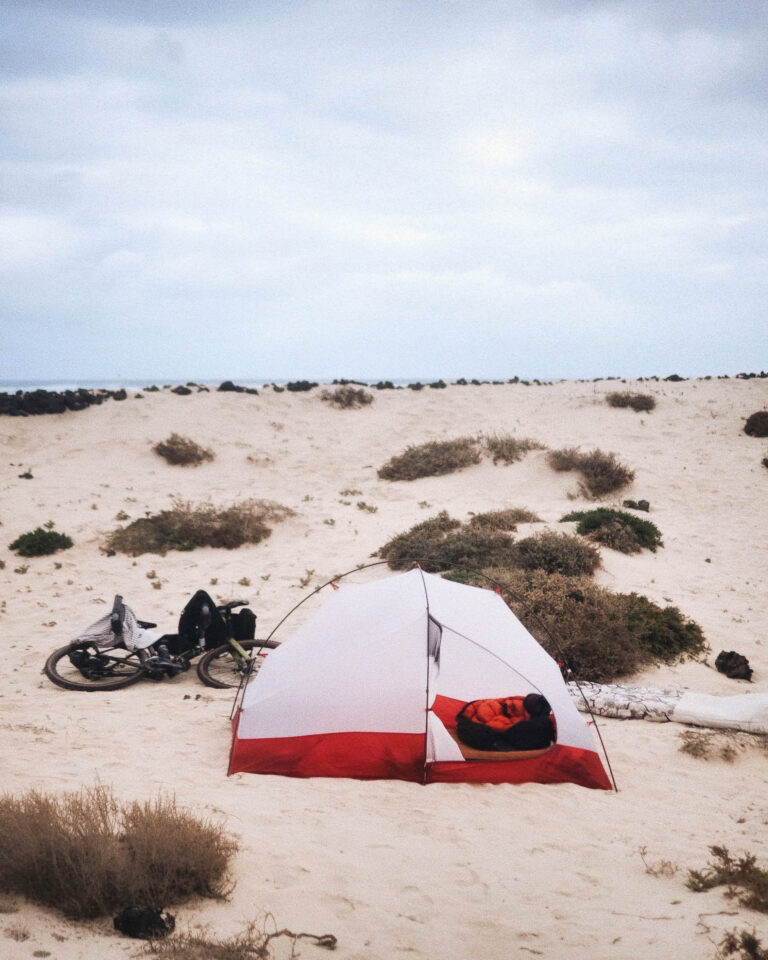
The strong, gusty wind occasionally caught my bike and board as I rode to the next town to buy more water and food. I thought the wind would have been a problem for biking, but it was only a problem for the waves. I decided to give it one more chance. I rode to a surf beach where you’re allowed to camp, washed up by catching a few messy small waves, found some shelter behind the dunes, and set up camp for the night. All night, I listened to the wind whipping the tent around. The gusts grew stronger overnight, so I started the morning by browsing all the weather and surf forecasts a few more times.
Las Americas in Tenerife was the only spot sheltered from the wind and where the northerly winds were offshore. It was also ideally situated around the corner, so the big northern swell didn’t get there in full force. But to reach there, I would need to ride 50 kilometres to Fuerteventura, travel 10 hours on the ferries, and then ride another 180 kilometres across the south coast of Tenerife. I decided I would rather bike all that distance and see new places than sit on the beach in Fuerteventura, waiting for the wind to die magically.
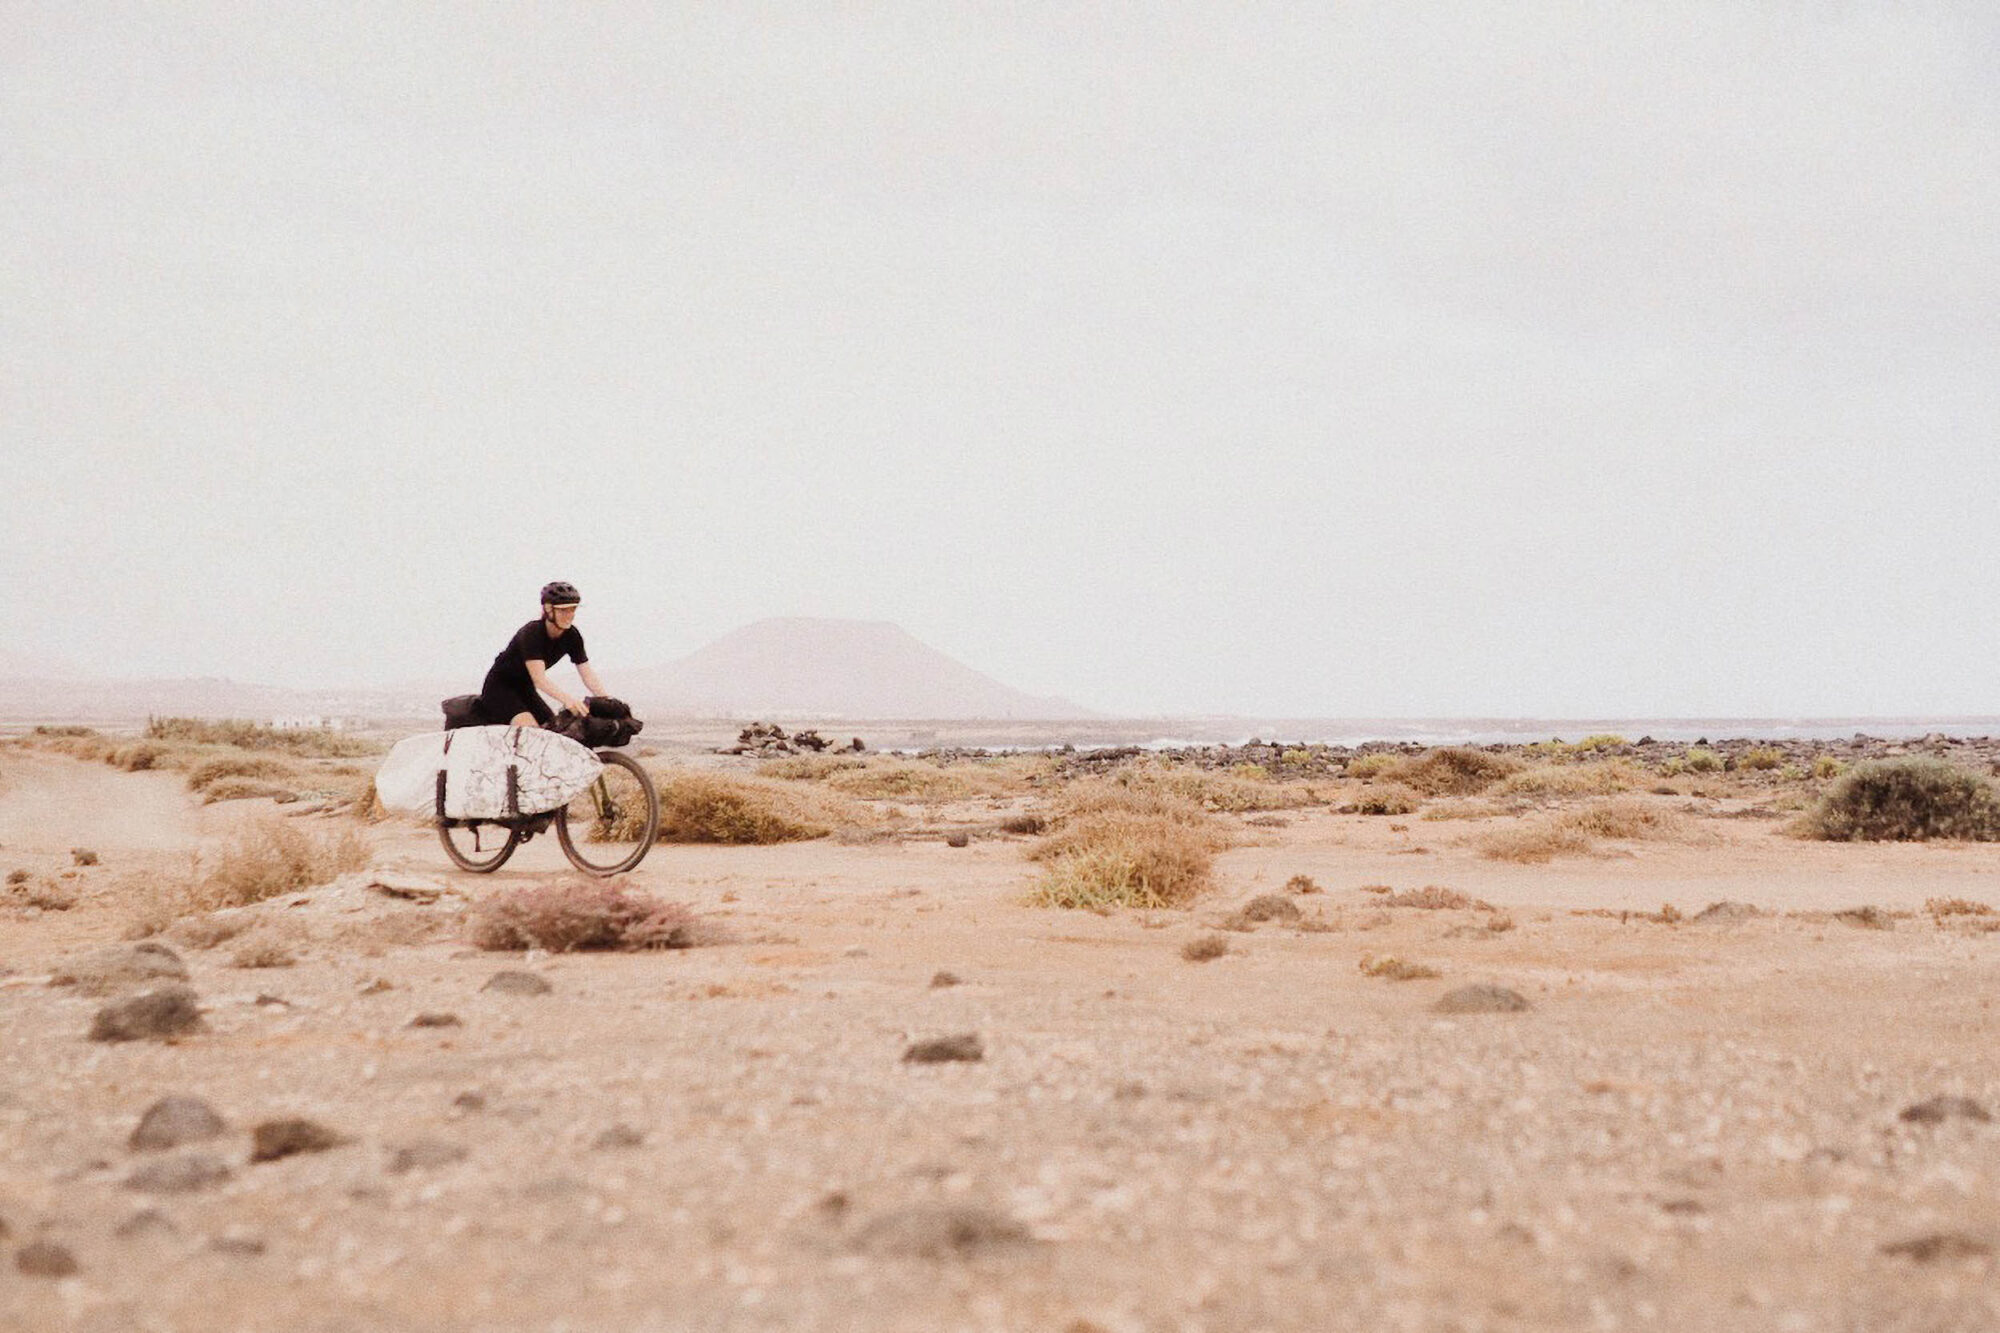
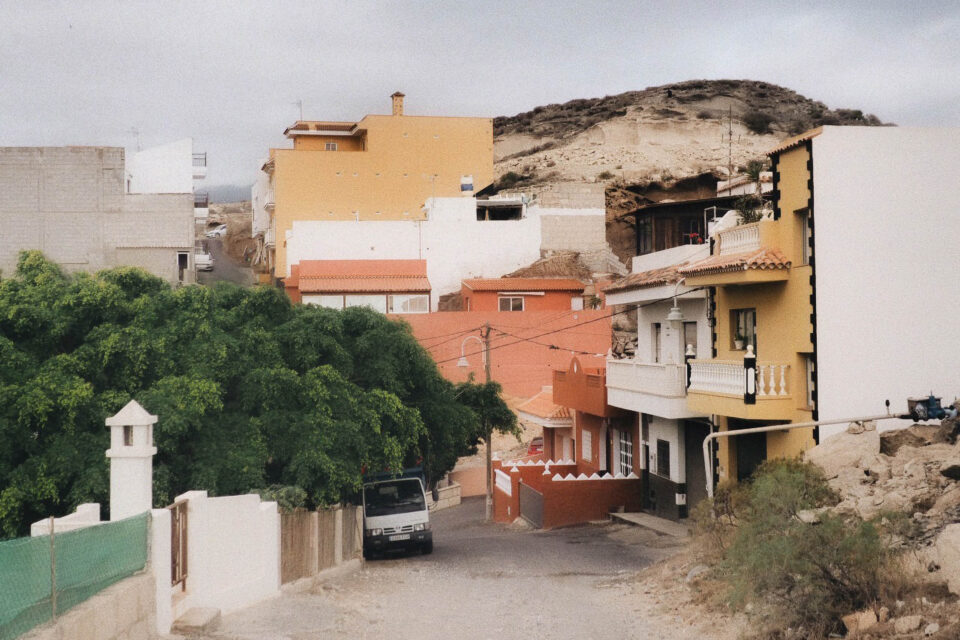
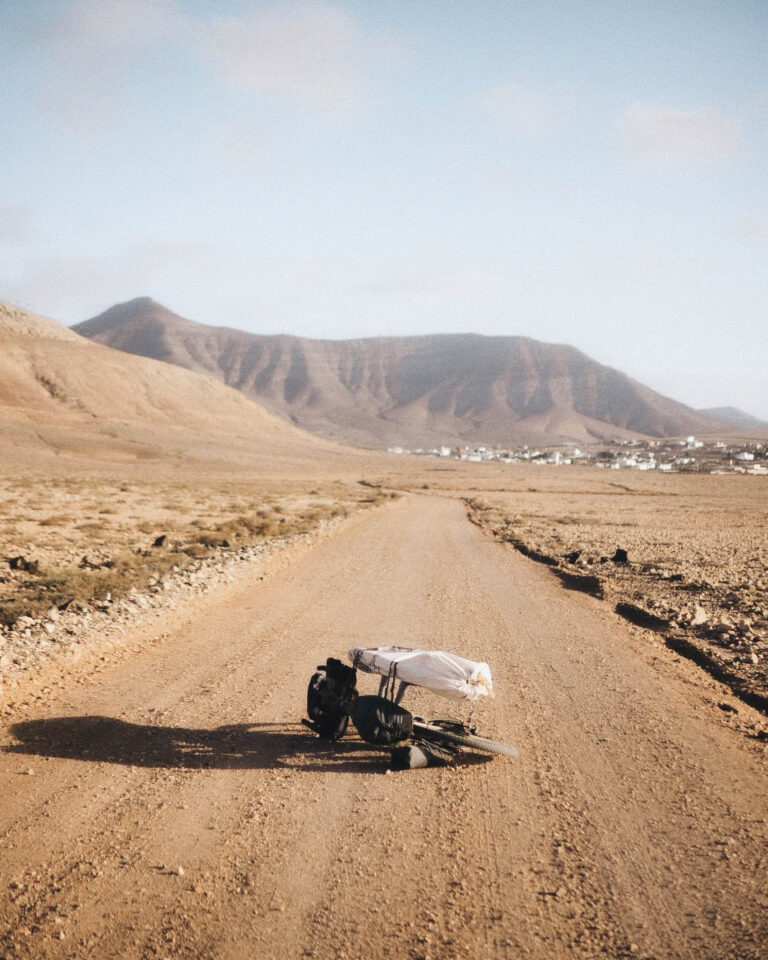
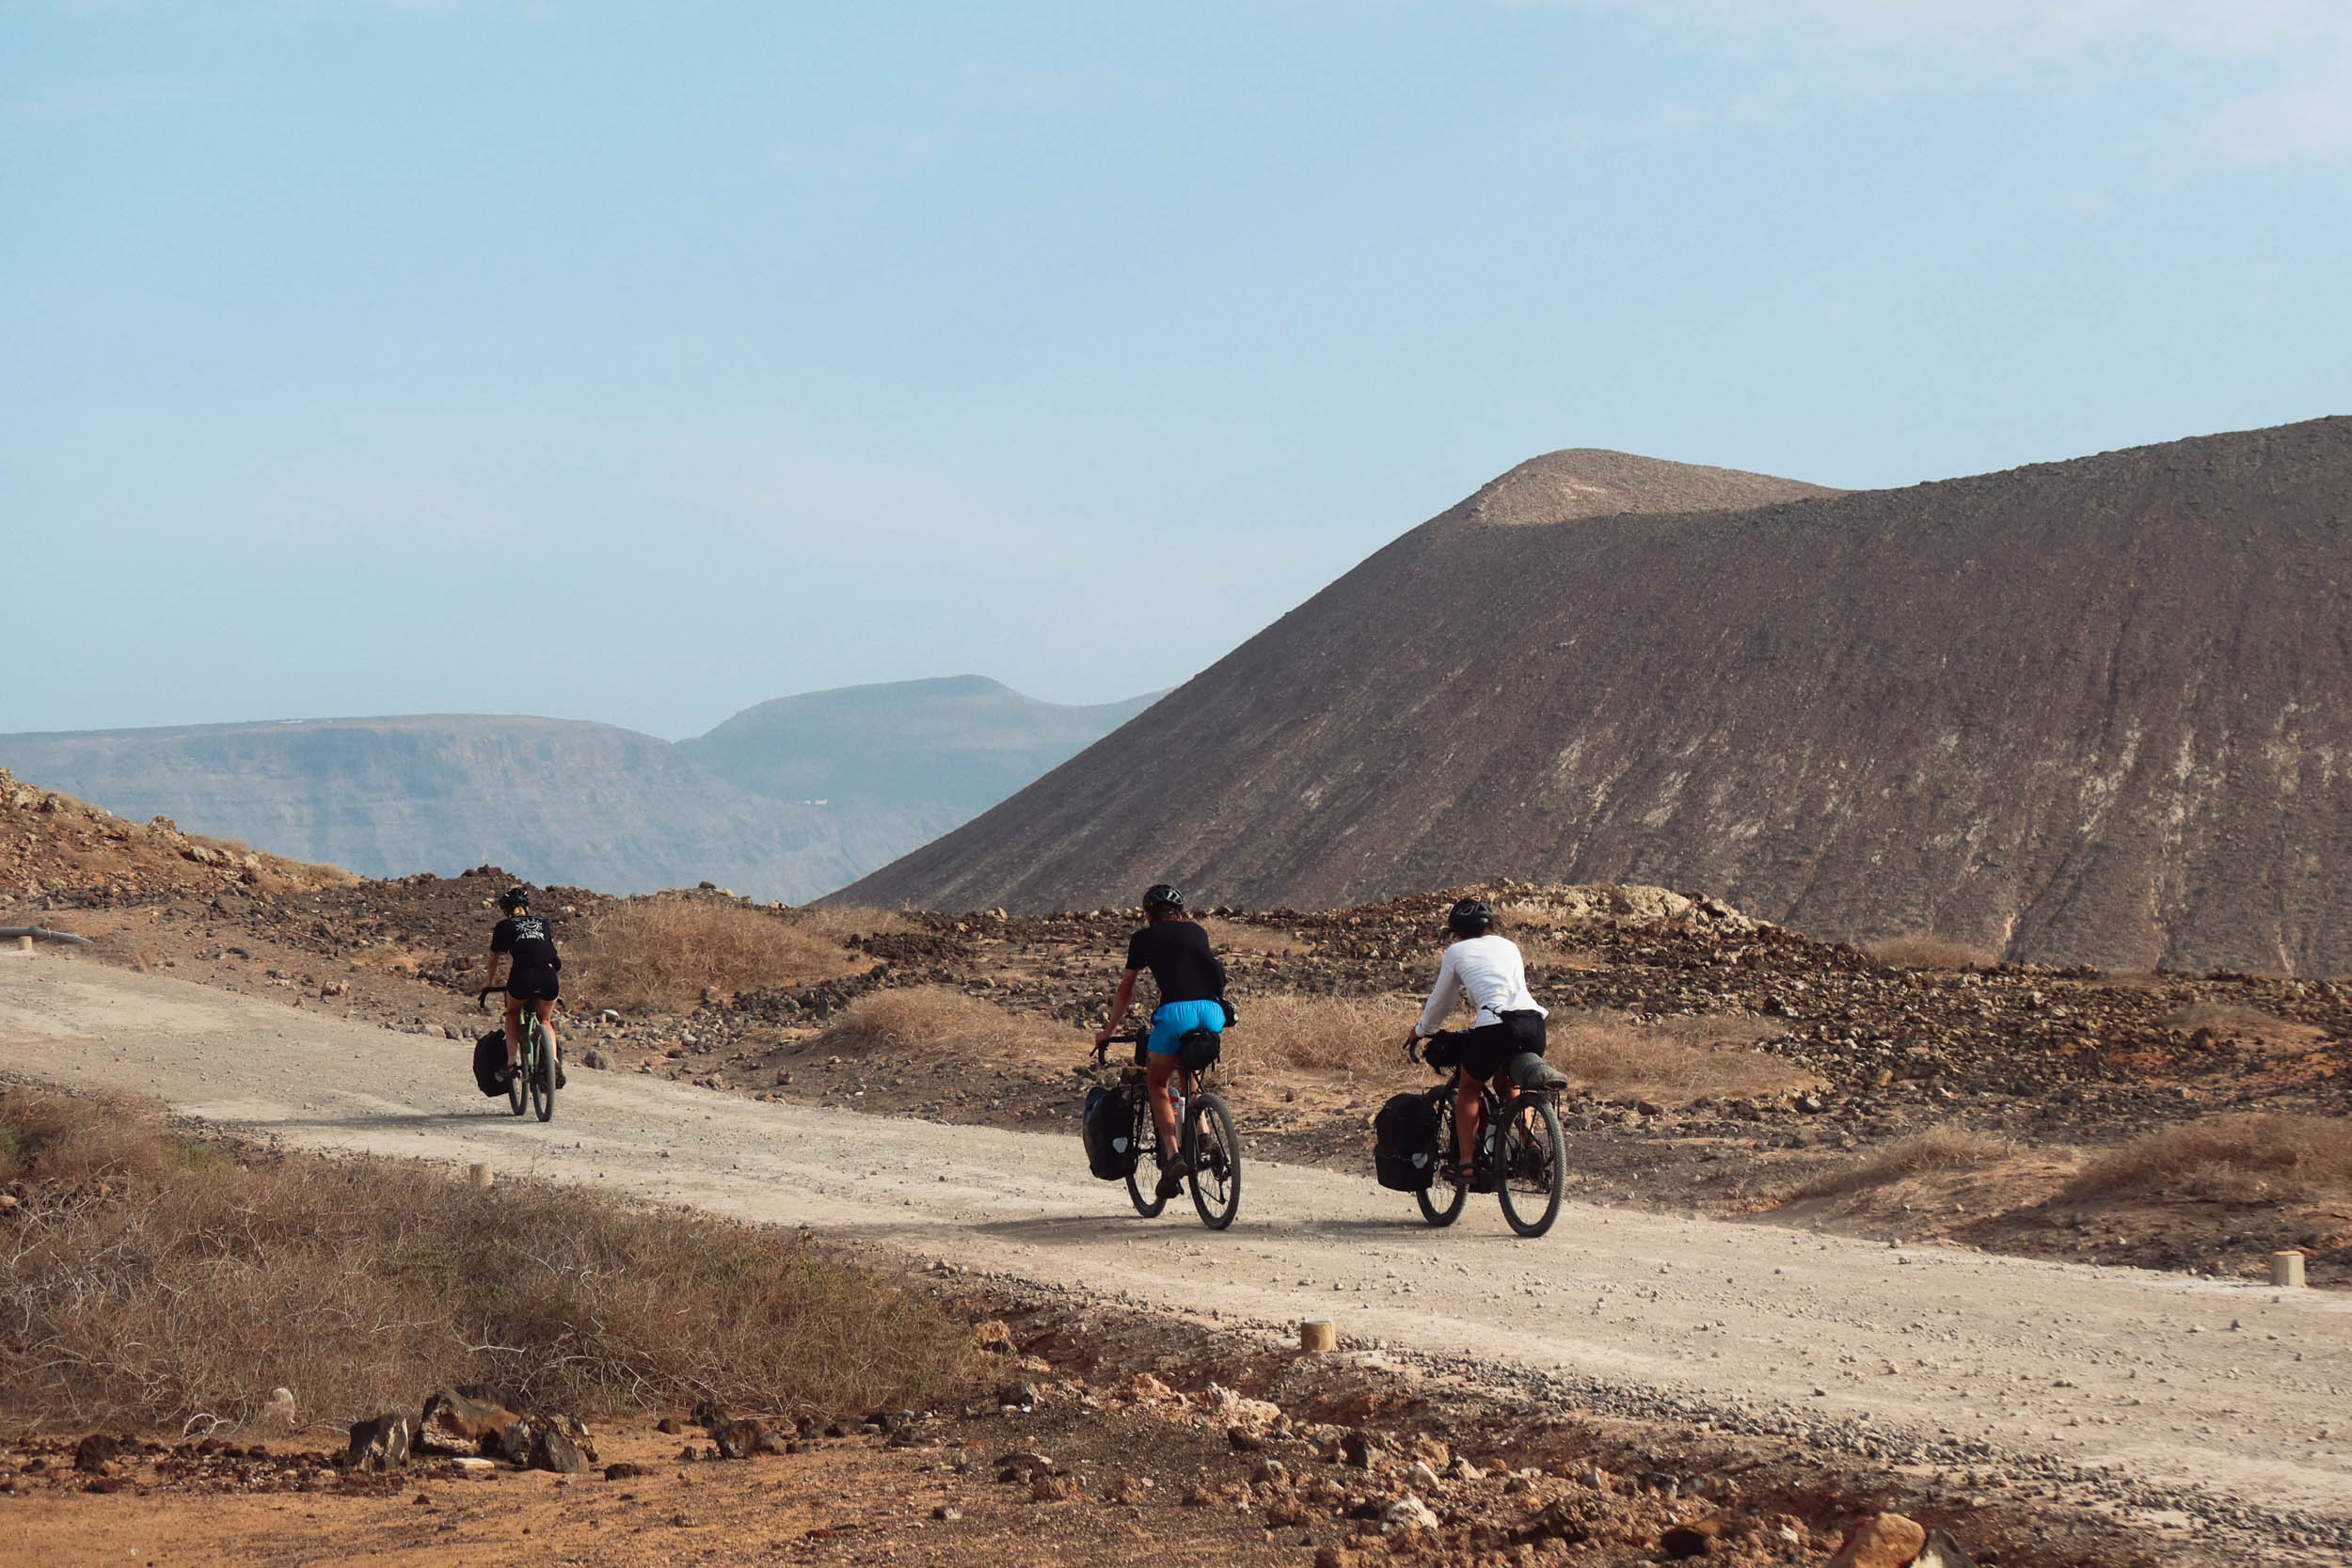
The next morning, as I began riding along the east coast of Fuerteventura to the harbor, I loved covering the distance by bike and making the most out of it instead of blasting down a highway with a car from one surf spot to another. However, soon after I got to Tenerife, this thought faded away. I was climbing up the hills with my heavy bike and carrying the surfboard with me, even though I had not seen waves for three days. Deciding to follow the gravel roads along the coast for the last 50 kilometres didn’t help either because, in the south of Tenerife, gravel means rocks the size of your head. I heard constant squeaking as I pushed my bike up a steep hill. I looked down to see that the T-joint of the PVC pipe on the seat stay had cracked; the bike had fallen in the morning when it was leaning against the wall, and that was the result. Great.
An Quick Fix and Some Waves
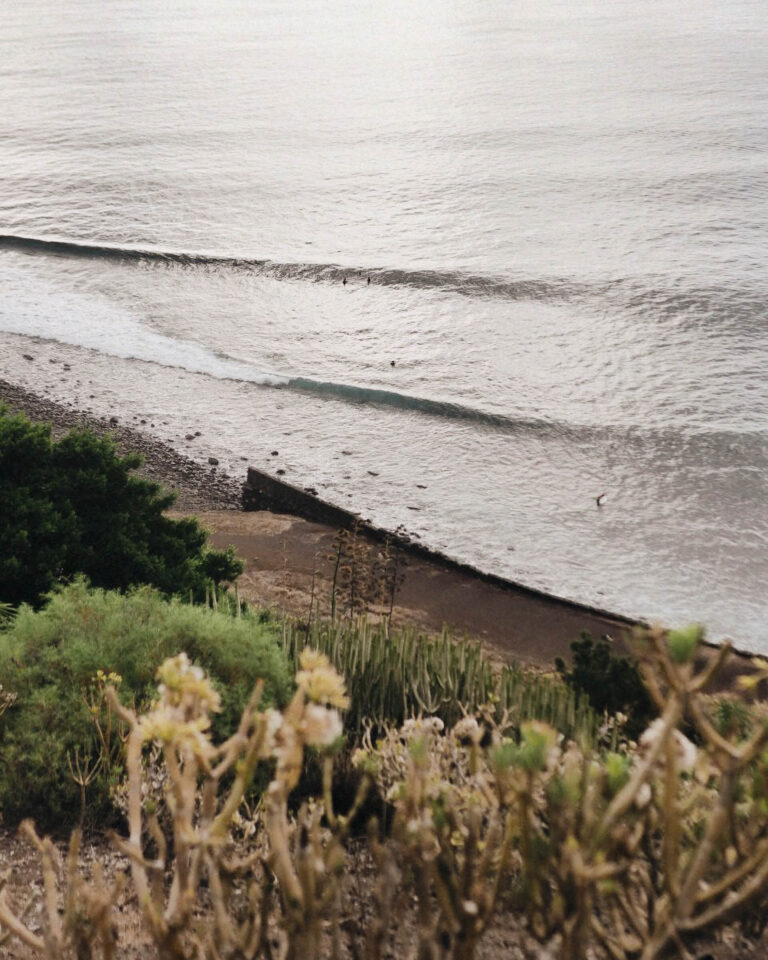
The downside of the PVC pipe is that it’s not bulletproof. With the help of duct tape, zip ties, and ski straps to support the rack, I finally rolled the last meters into the beach of Las Americas, where I saw waves breaking. Thank you, world!I was already pulling on my wetsuit as my tyres touched the sand. I didn’t bike all the way here for nothing. The lineup was busy as the waves were firing, but I got mine and happily paddled out of the water.
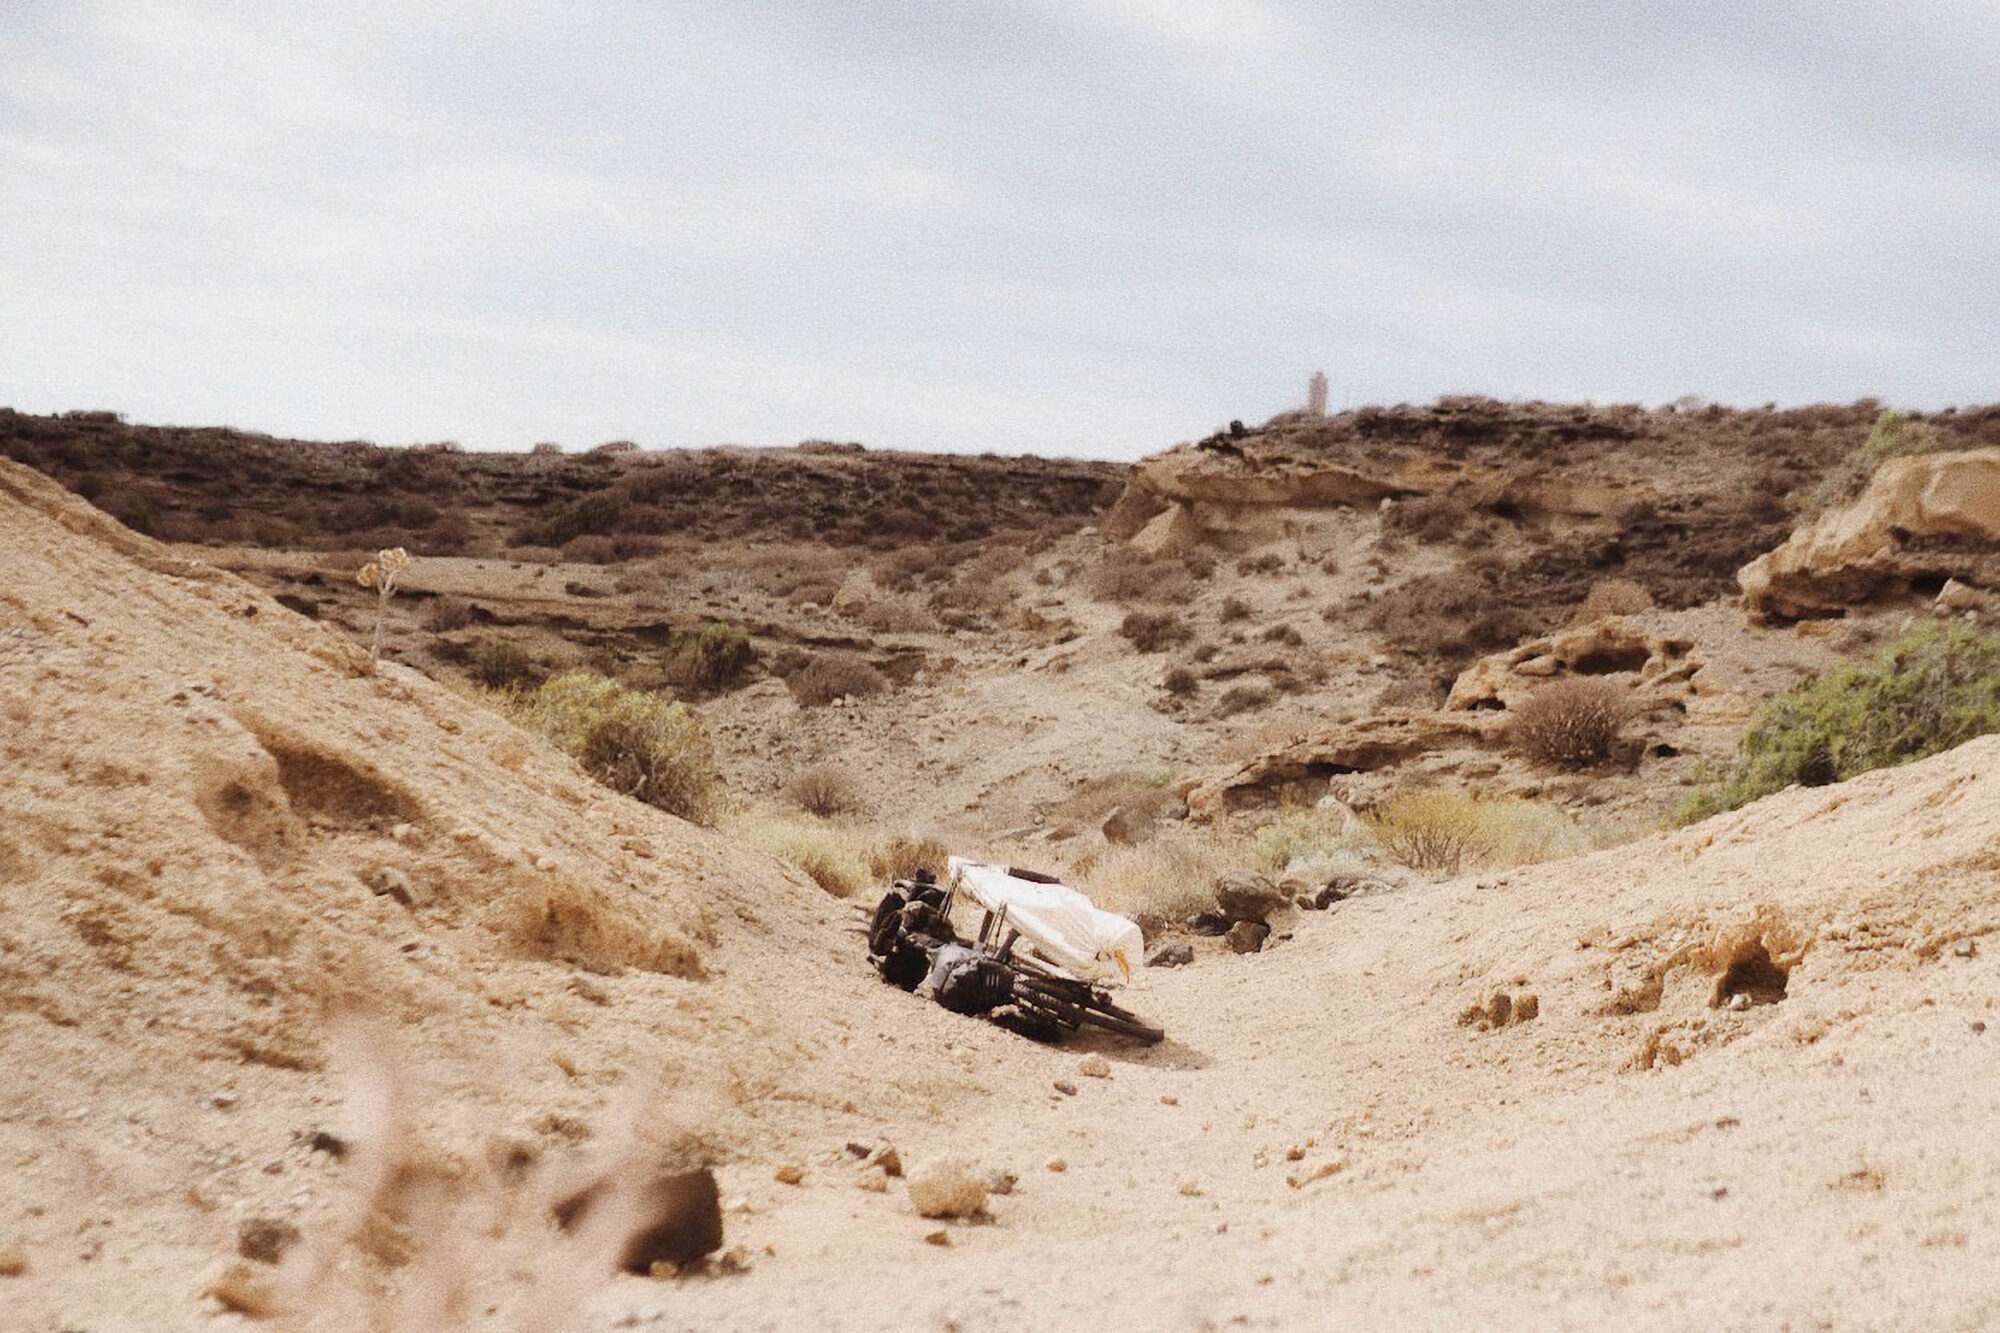
I was tired; the plan had changed completely, the rack had broken, but now I was here, and everything would be alright. I met other surfers and went to have beer and dinner with them. I could fix the rack properly later; now it was time to enjoy the efforts. I returned to the bike and loaded the surfboard, but the glue gave up on the bottom of the rack, so the U-shape didn’t stay together anymore. Panic set in. Thankfully, the surf shop where I’d left my bike miraculously had PVC glue and duct tape, so they helped me fix it, allowing me to get to my hostel.
The next day, with new energy, I went to surf first and then headed to a hardware store to fix the rack. I bought a roll of duct tape and a pack of zip ties. I wrapped at least a dozen rounds of tape around the T-joint to secure it on the bike and then supported it with zip ties and a ski strap. It wasn’t pretty, but it would do the job.
For the next few days, I only biked the five kilometres from the hostel to the beach to surf and back. I had unloaded all the other bags from the bike and enjoyed the lightweight bike and the handiness of this transport mechanism, even in a city environment. After three days of surfing, the swell turned northeast, and the waves flattened. I browsed online to see if the surfing would be good anywhere nearby, but it didn’t look promising, so I decided to stay, hang out with people I had met, and relax. I was on vacation, after all.
Return Ride and Thoughts on Planning
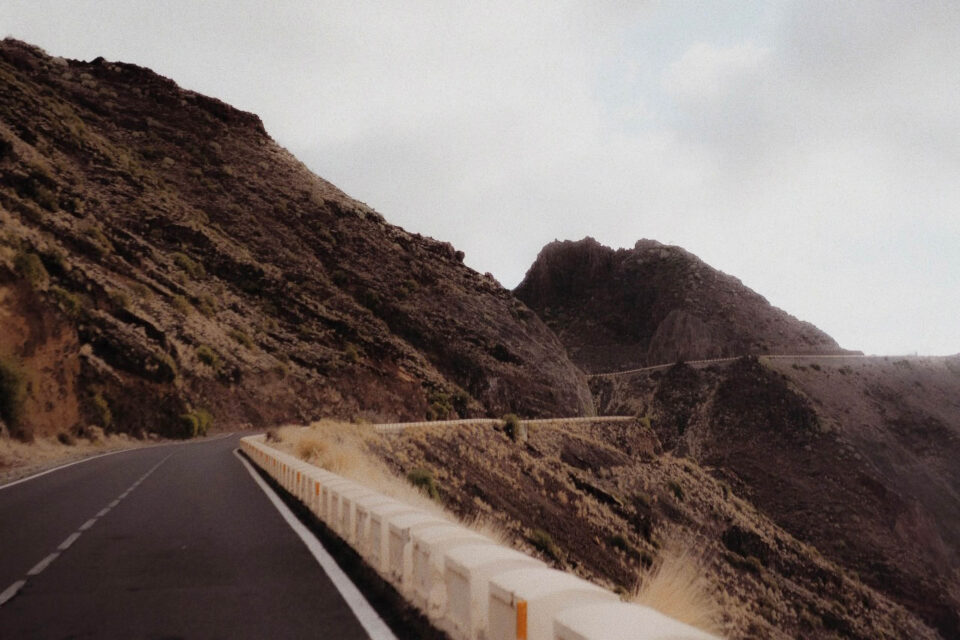
I decided no more gravel roads for this rack when I started planning my route back to Lanzarote. I opted for taking the smaller road higher in the mountains back to Santa Cruz, where the ferry would leave. My 105-kilometre journey was punctuated by surprised smiles and occasional encouraging comments from passing road cyclists. A few days of only surfing had done the job; I felt great and strong on the bike despite the heavy load. I truly enjoyed being able to combine these two sports into one trip.
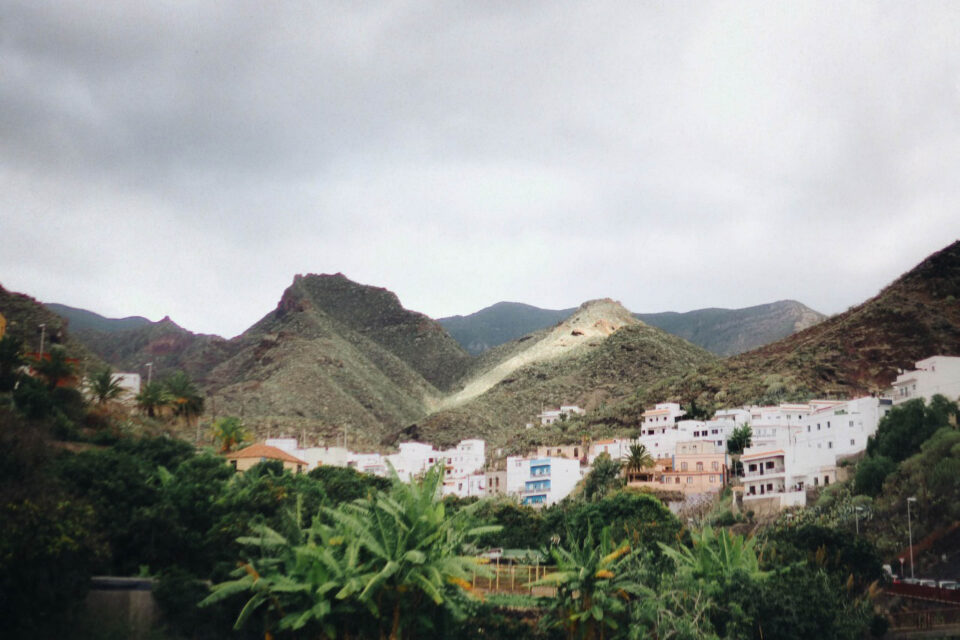
Without question, planning a surfpacking trip is harder than planning a normal bikepacking trip. Usually, I could only focus on finding small gravel roads, but now, instead, I had to spend hours browsing the surf forecast and calculating if I could make it there on time with my bike. That’s why choosing the right location for the trip is crucial—a place with consistent waves and several spots with reasonable distances in between them. The pros of the Canary Islands are the good ferry connections between islands and ample surf spots.
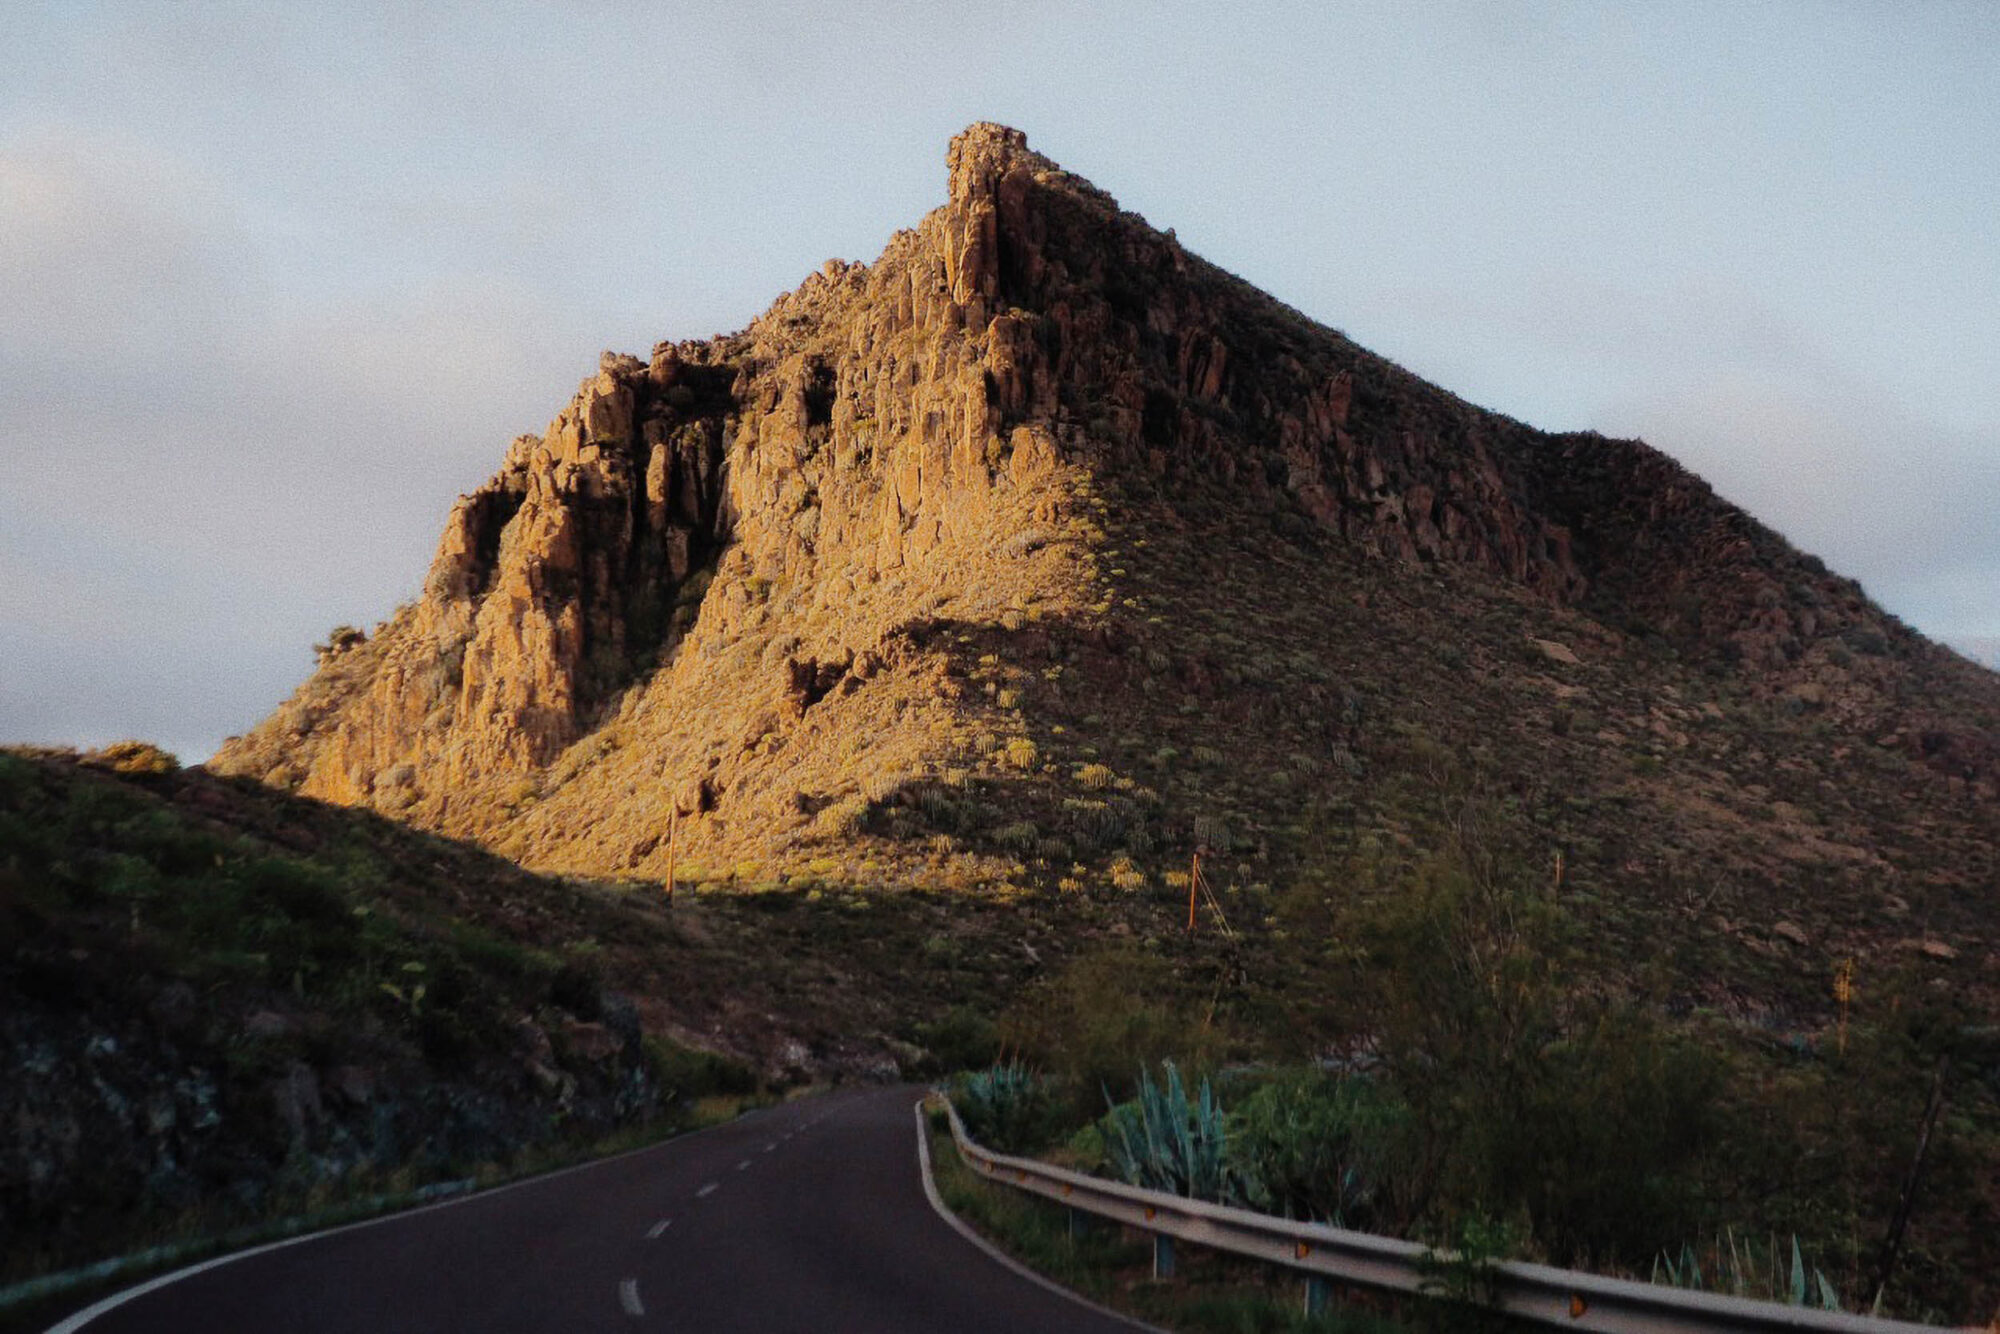
However, in the fall, a double-edged pro/con is that the winter swell starts rolling in, making waves really big on the northern aspects. This is good for some, but it’s not what I was looking for. What made finding good waves hardest, though, was the strong northerly winds. Based on this trip, I would say that the best tactic for surfpacking success is waiting for the surf forecast to be perfect for the place you’re planning to go or choosing a place with consistent waves. Still, I’m happy to report that combining bikepacking and surfpacking is possible and absolutely worthwhile, so give it a go!
Further Reading
Make sure to dig into these related articles for more info...
Please keep the conversation civil, constructive, and inclusive, or your comment will be removed.


