The Real-World Guide to Dynamo Hubs, Lighting, and Charging
Share This
Dynamo-curious? In this easy-to-follow guide, we shine some light on what makes always-on dynamo lighting and charging a perfect fit for bikepacking and more. Read on to find essential concepts about dynamo hubs, guiding questions, and advice for assembling a transformative dynamo setup that’s right for you…
Cars come with dependable lights and on-board power, so why don’t bicycles? A dynamo setup makes it possible, and the benefits for bikepacking are clear: with free electricity and always-on lighting, no time of day or season is off-limits. While battery-powered lights and USB power banks are powerful and affordable these days, there’s nothing like the freedom, safety, and peace of mind provided by dynamo hubs and lights.
Table of Contents
If you’re curious about dynamos, this introductory guide is for you. We’ll explore dynamo systems’ unique benefits and also where their limits lie. After equipping you with the basic concepts, we’ll provide pointers for appropriate component choices for different riding styles and clear up confusion surrounding mounting and wiring. Finally, we’ll take a look at two very different dynamo-equipped bikepacking rigs.
By the end of this guide, we hope you’ll have an intuition about the kind of dynamo setup that’s right for you. Best of all, it need not be expensive. With that quick introduction out of the way, let’s dive in!
Dynamo benefits for bikepacking
Dynamo setups and bikepacking go together like peanut butter and jelly.1 Dynamos are a game-changer like wider tires and lightweight soft bags.2 Here are some of the most compelling reasons why:
See and be seen
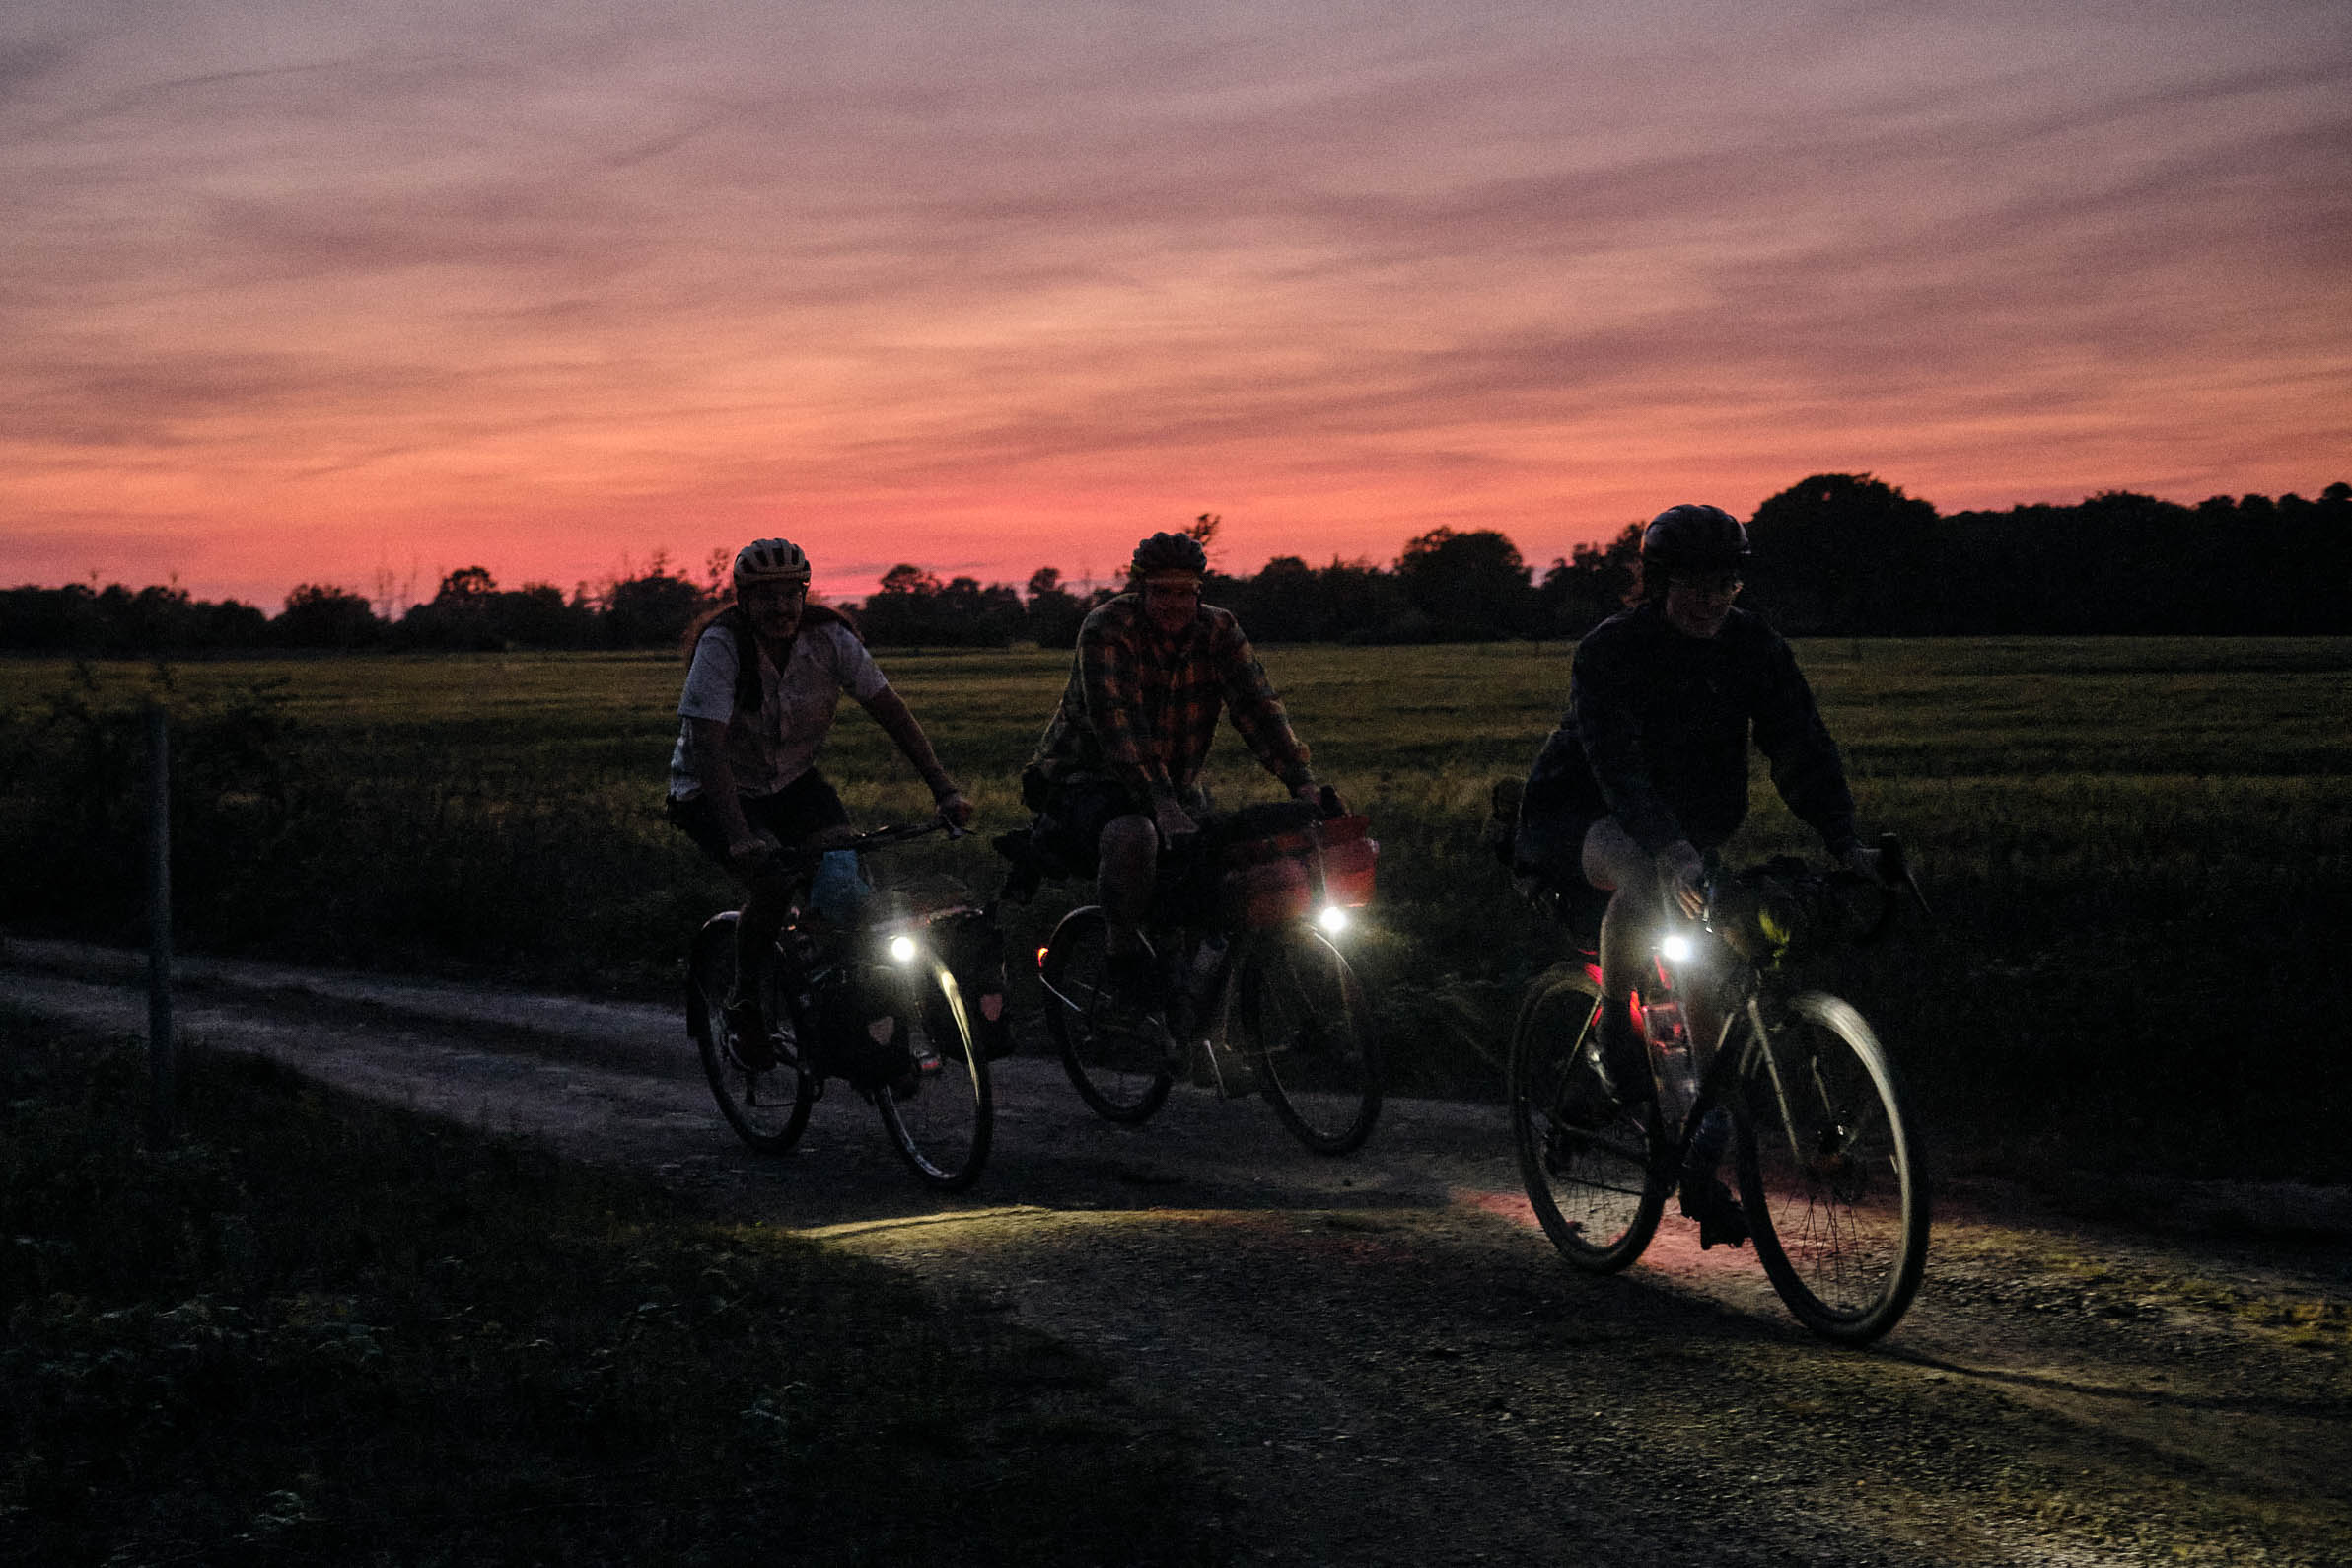
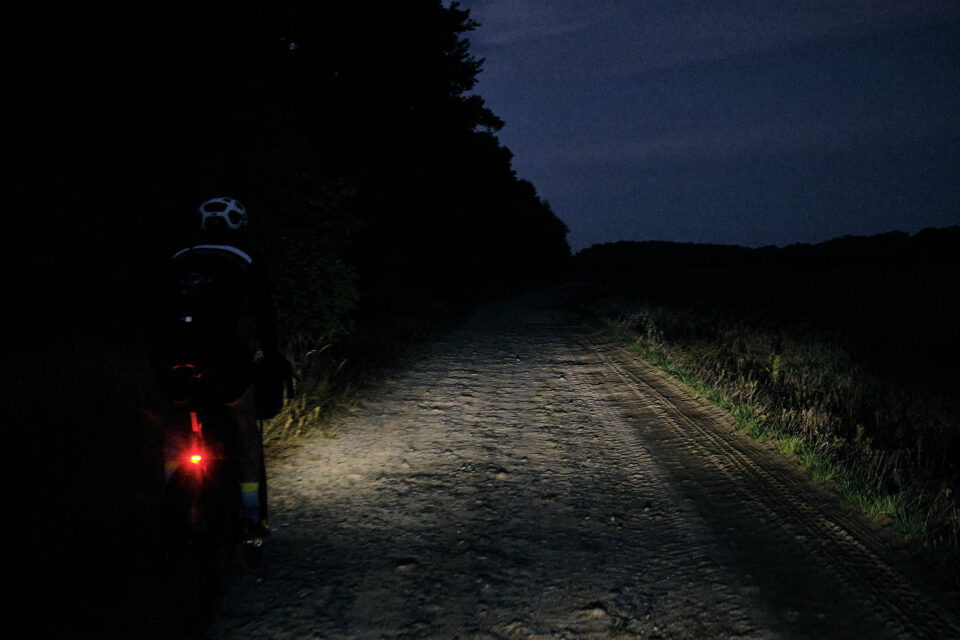
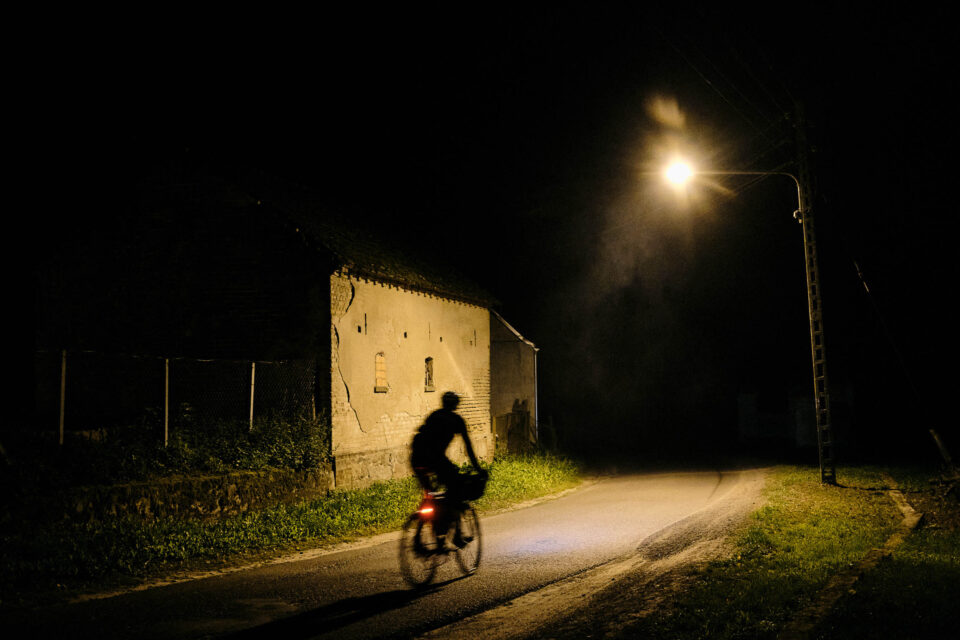
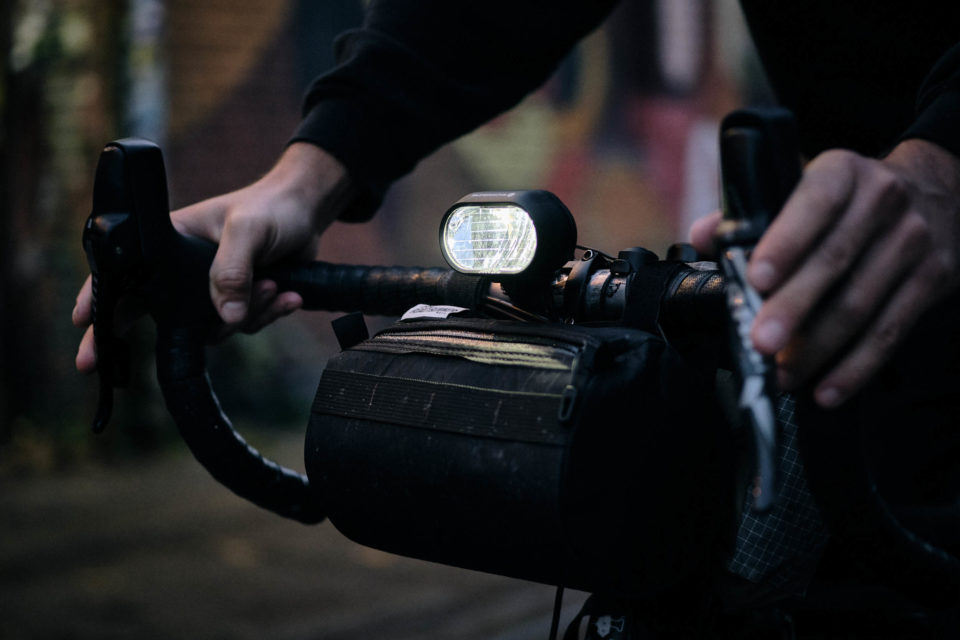
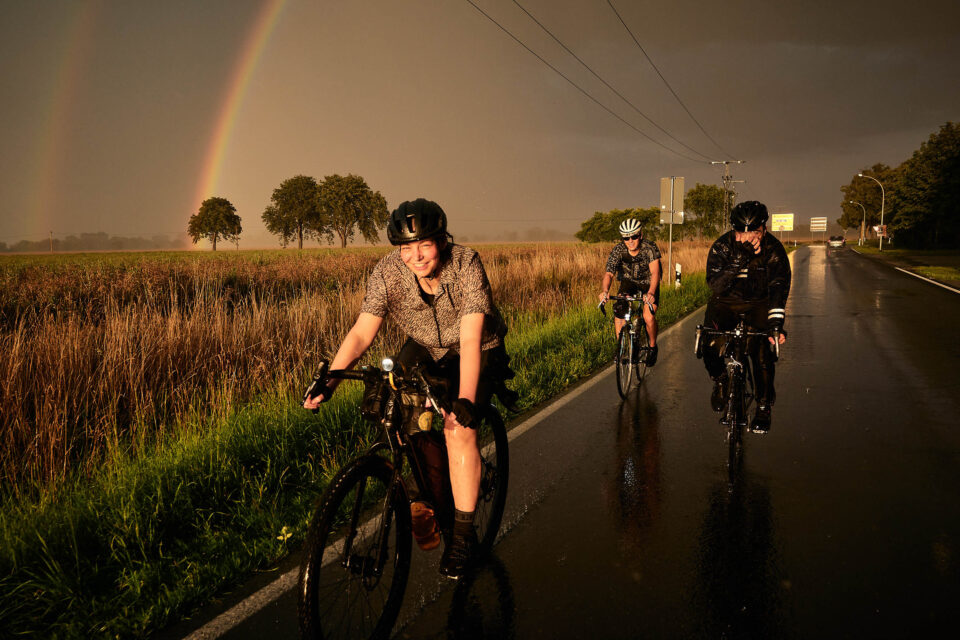
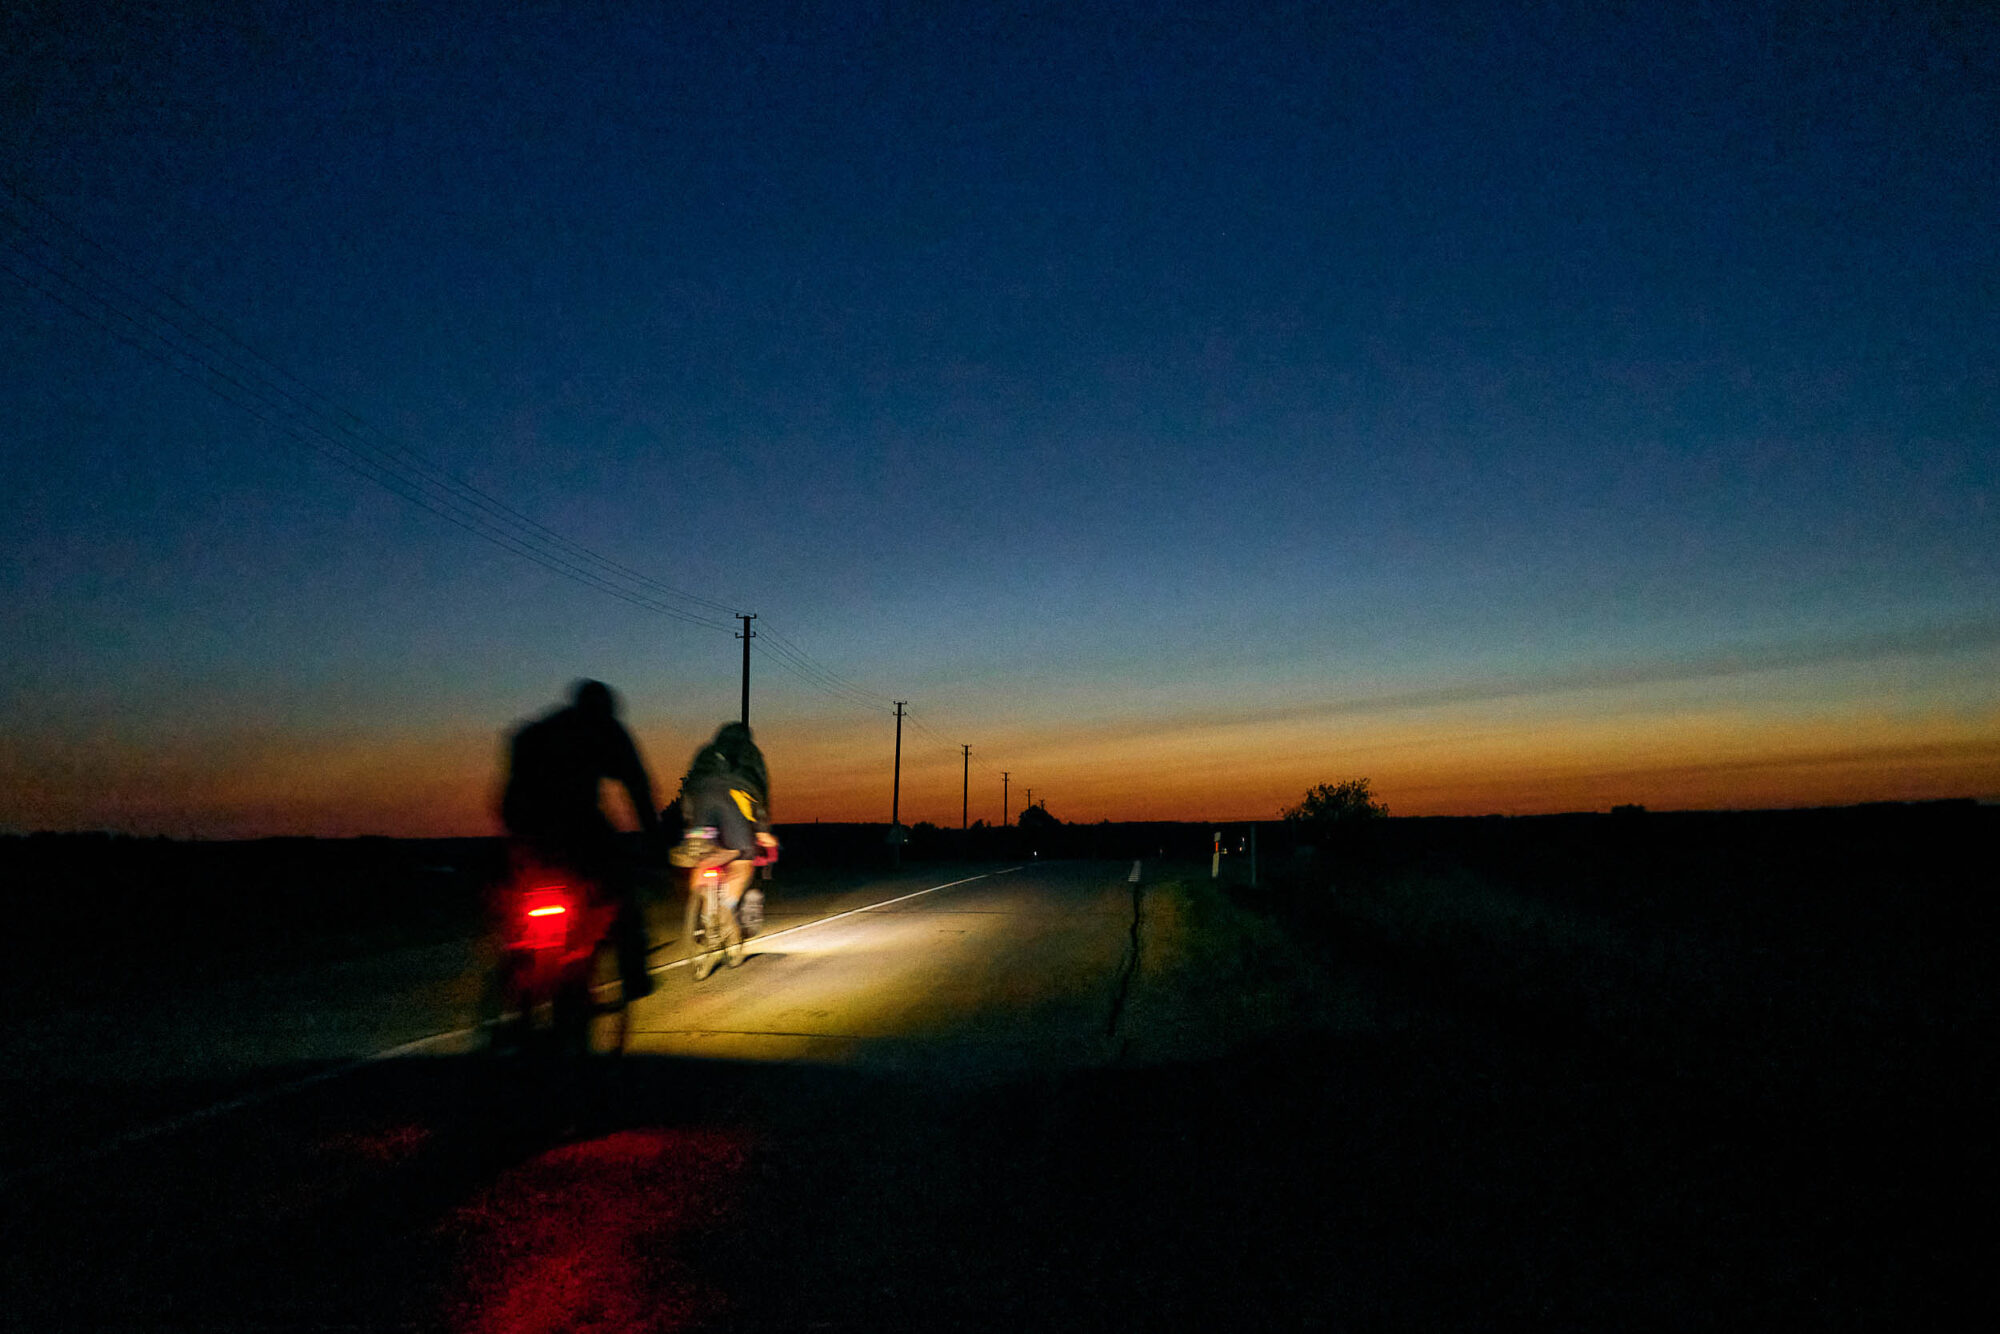
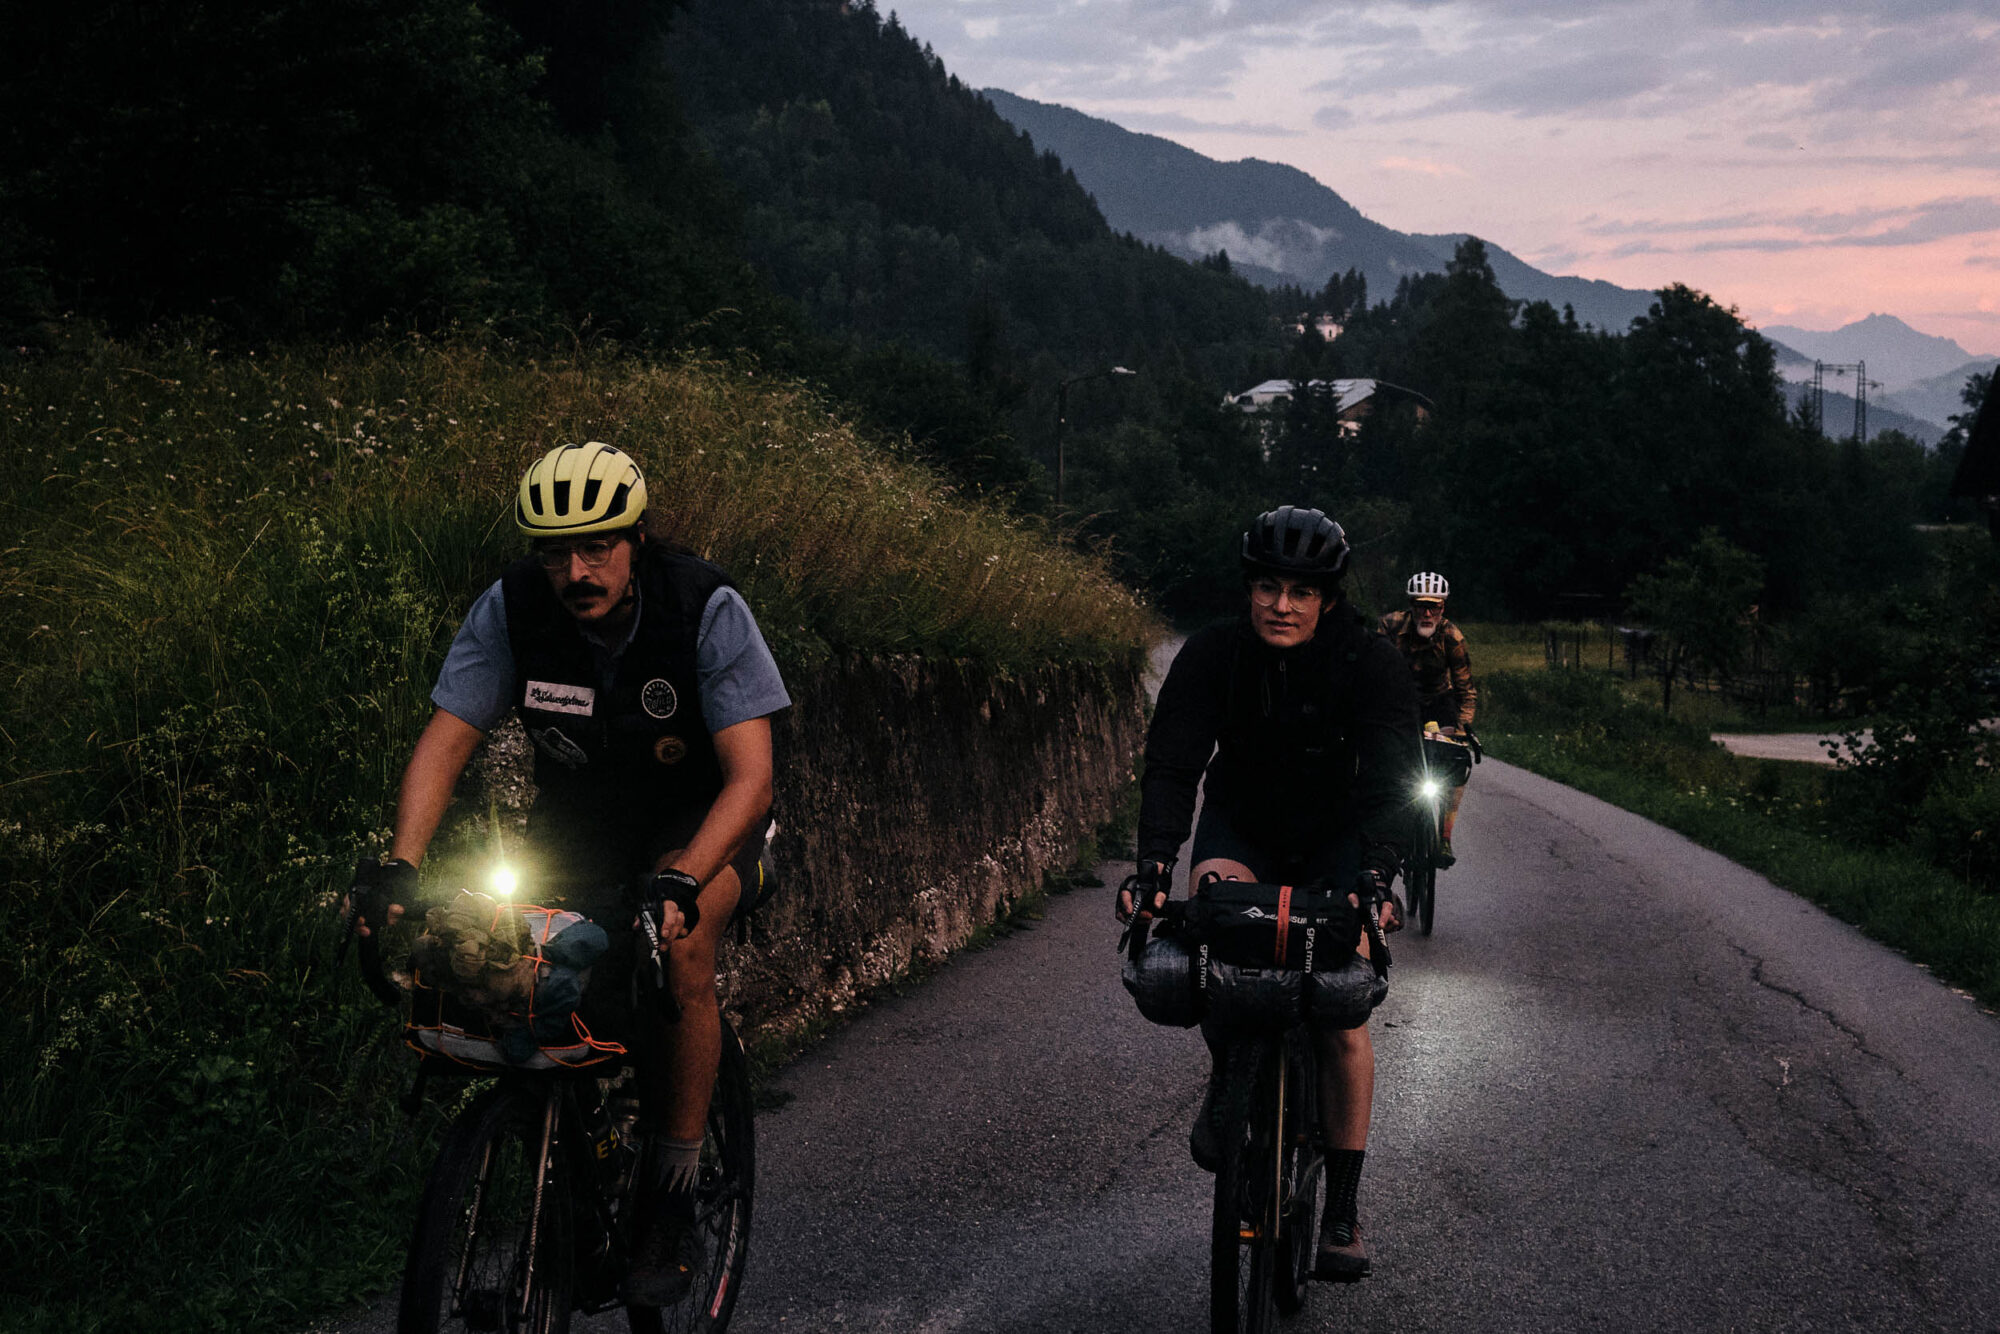
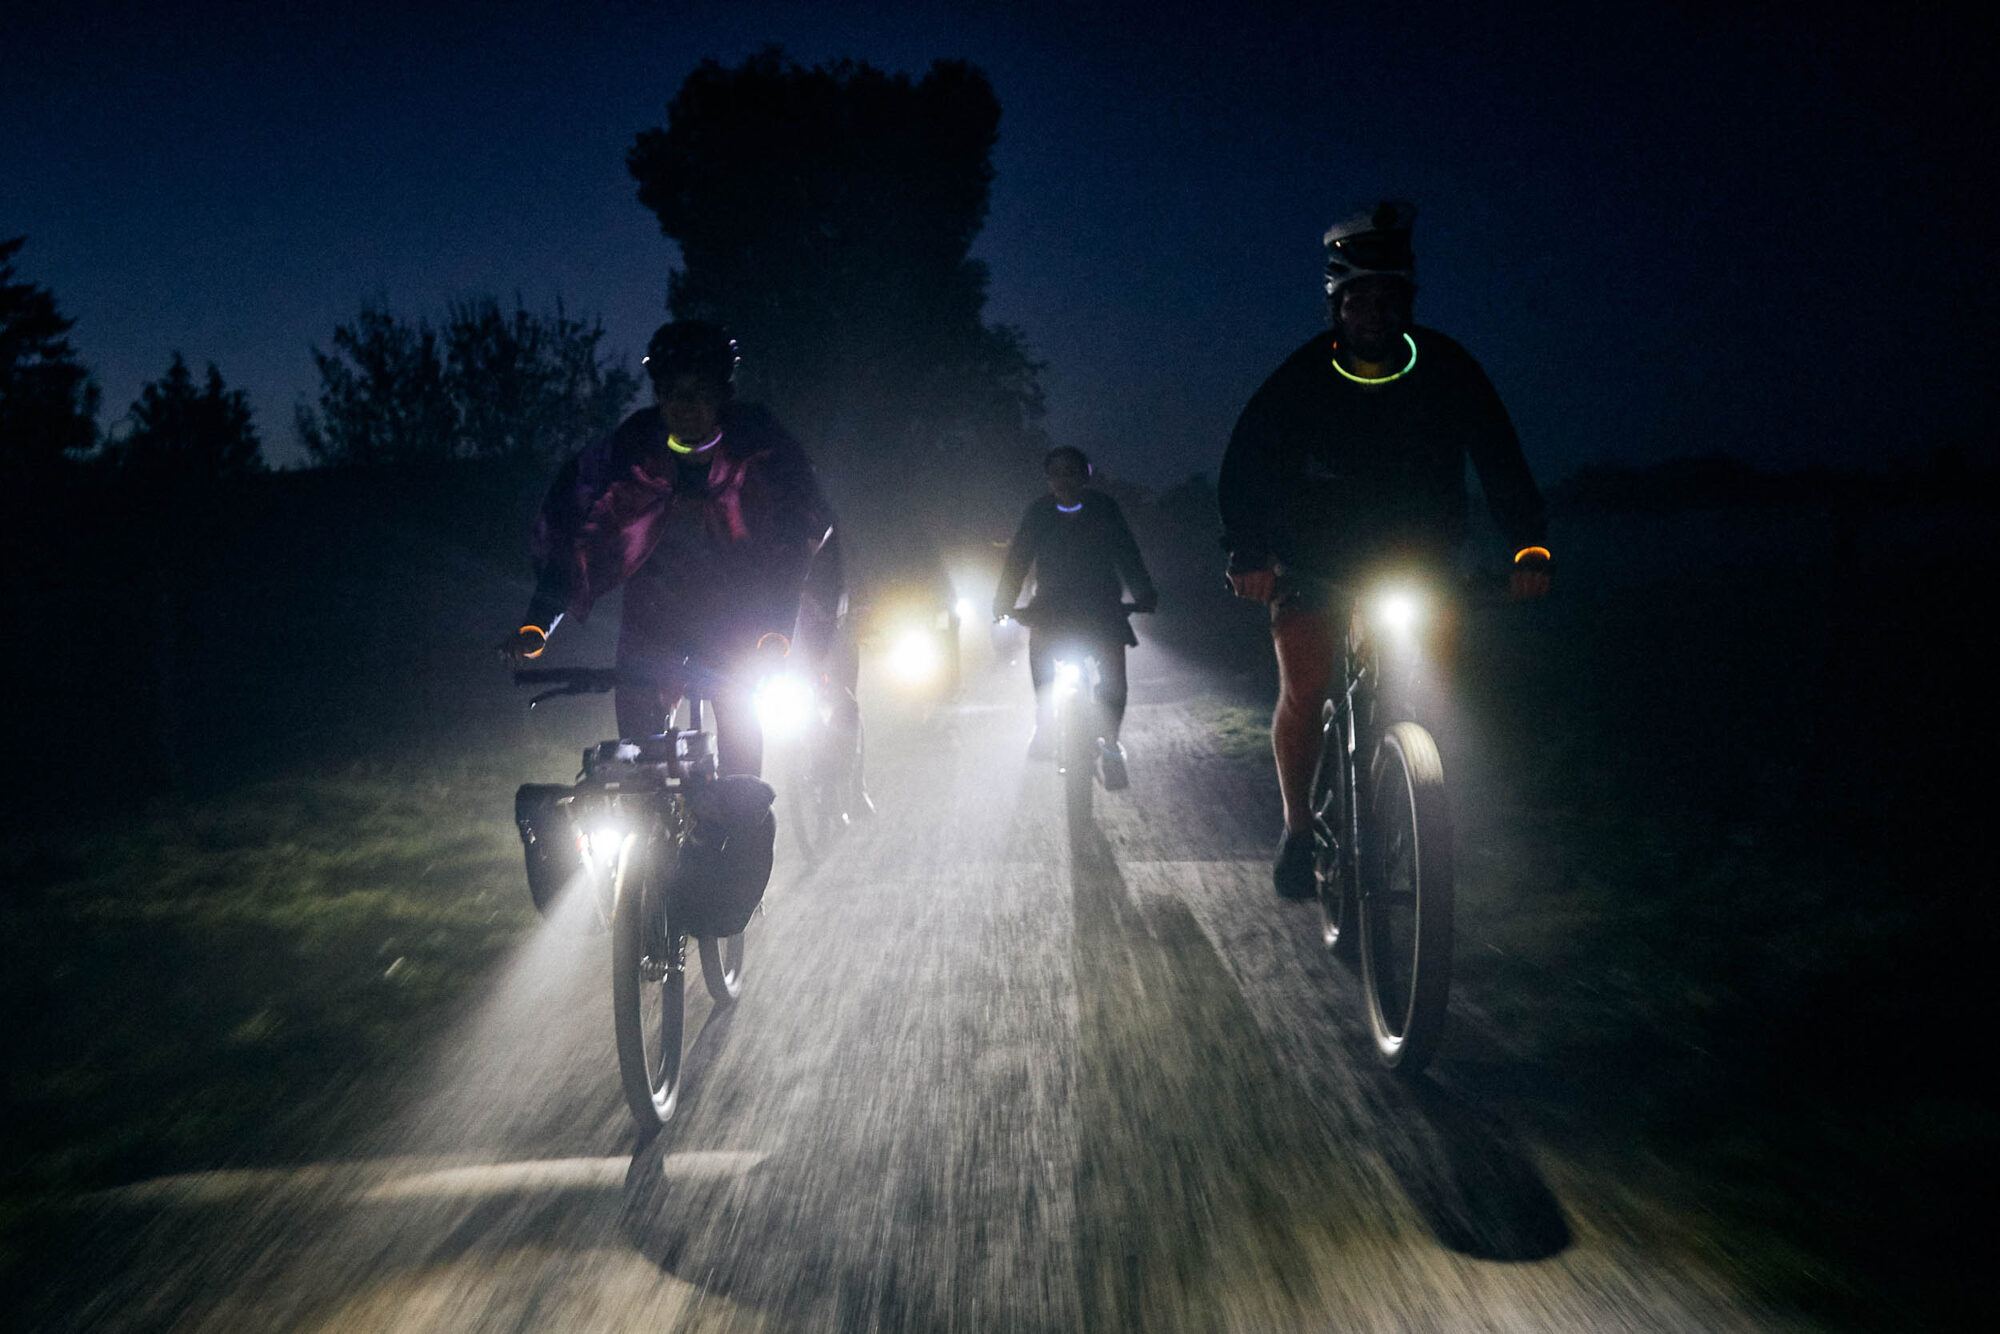
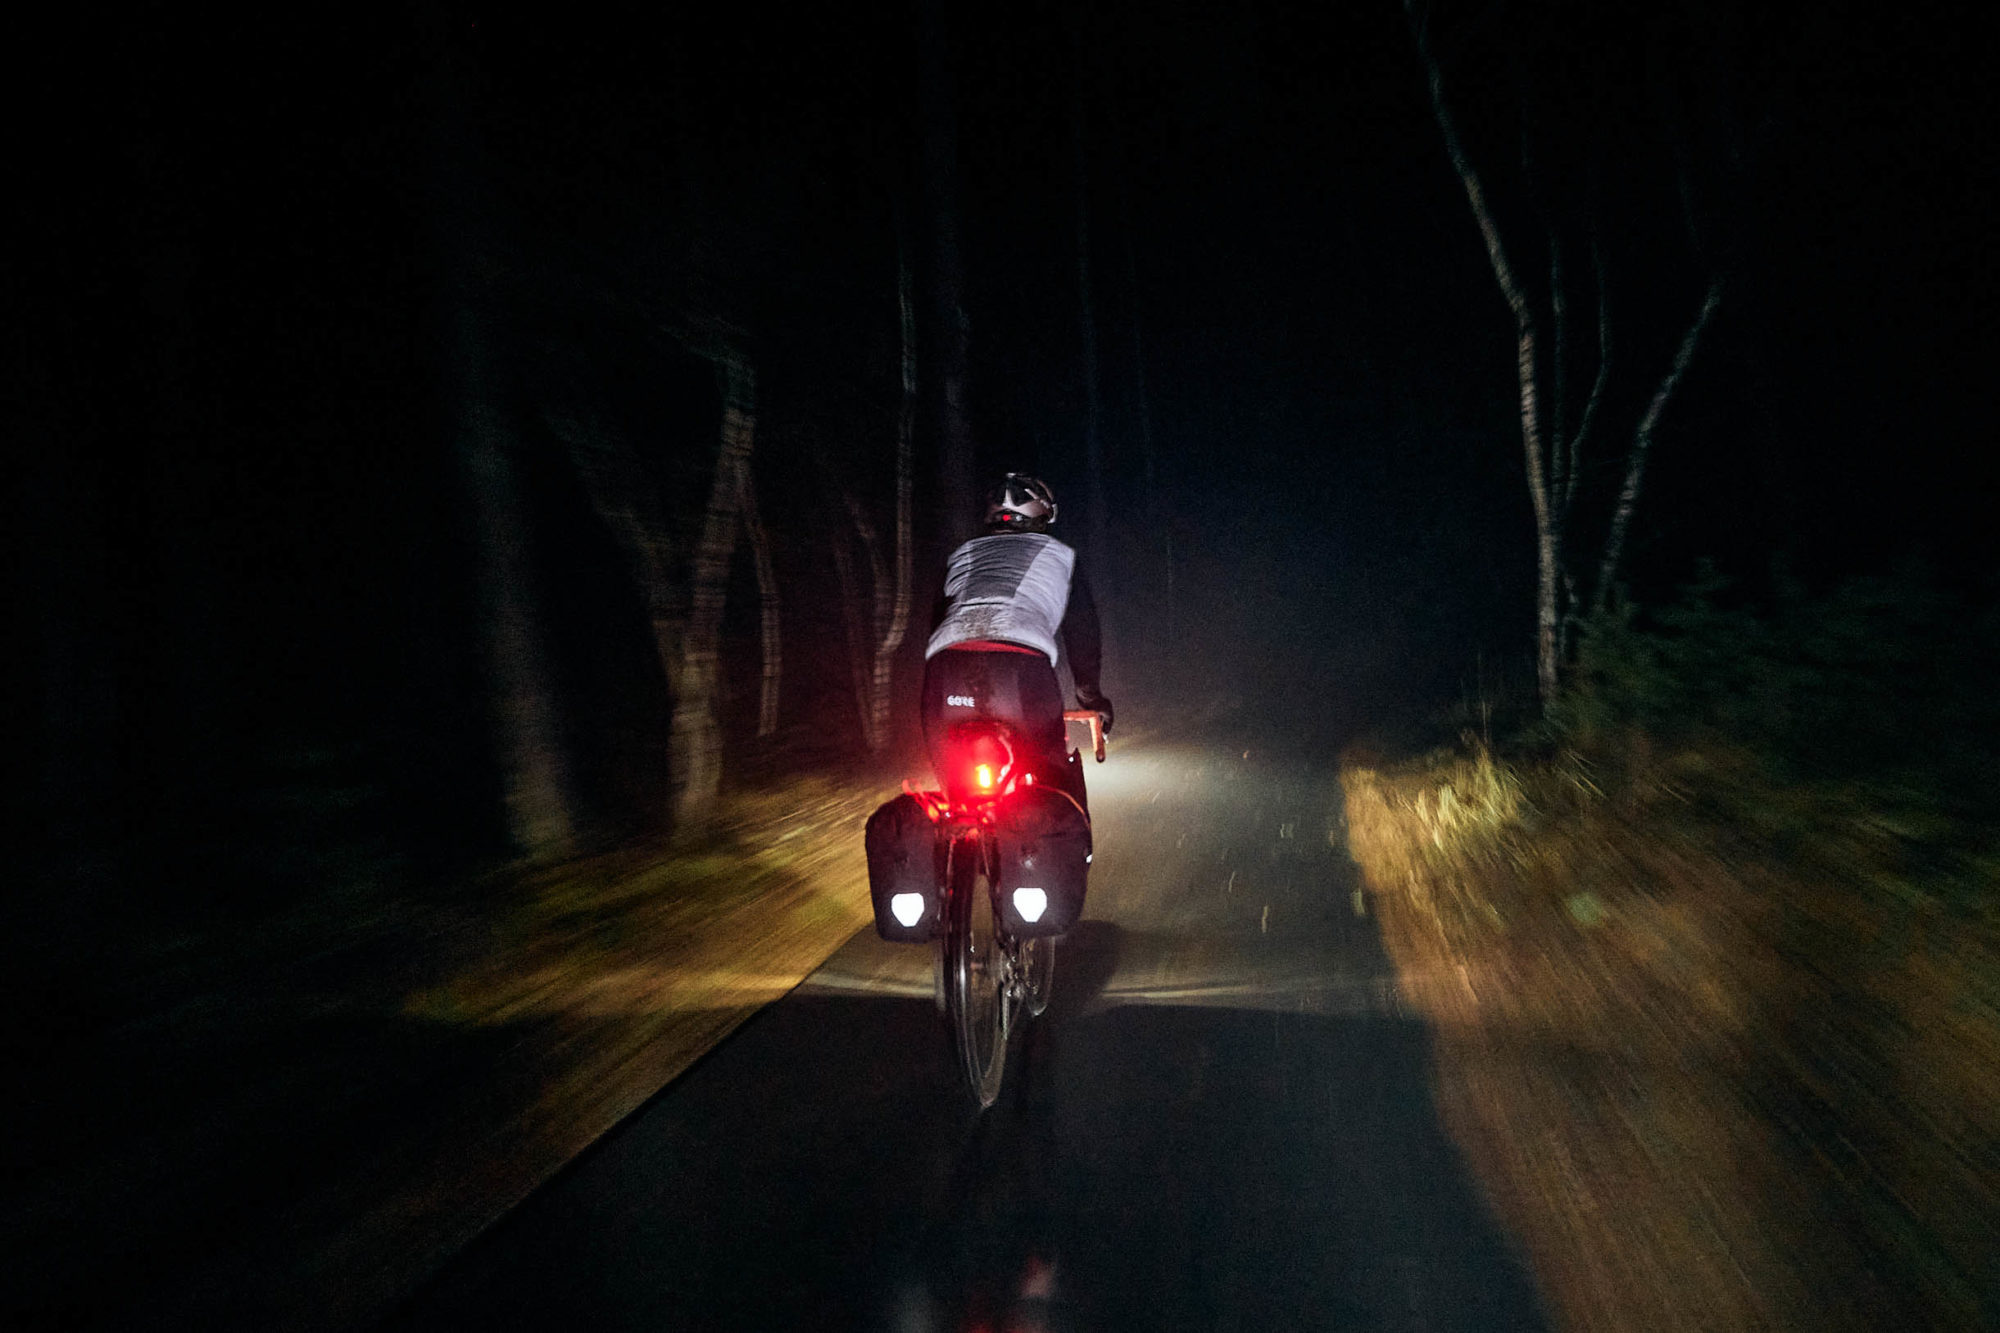
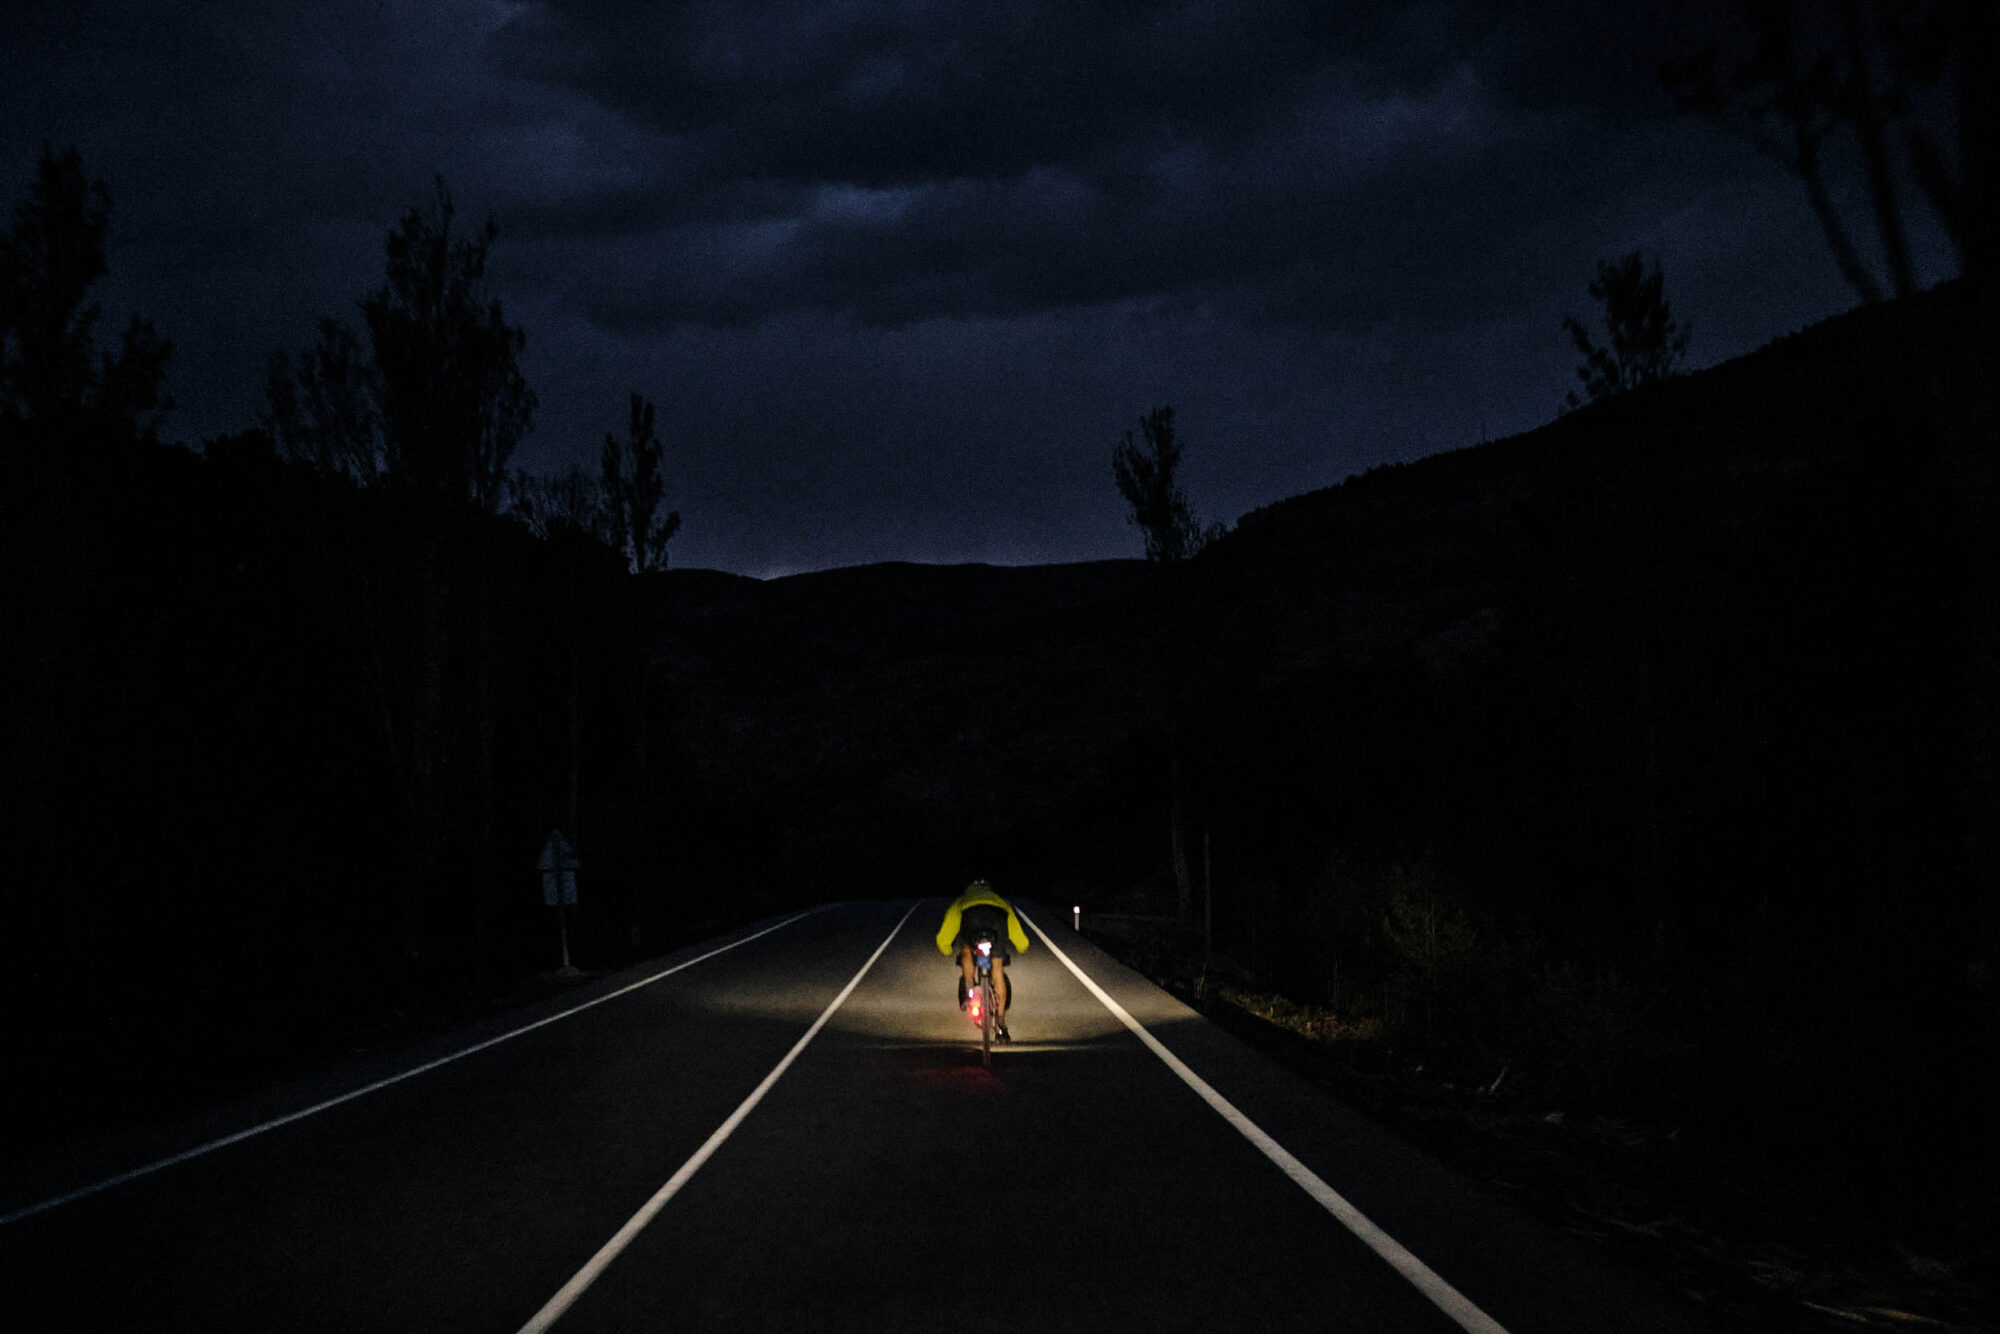
Always-on lights provide freedom and safety. They strip away complexity in planning and while underway, particularly when the days are short. No more racing the sun to the campsite or cutting a ride short because of lack of light. Connecting dirt with trafficked roads becomes a less harrowing affair. Riding at night can be a super fun and enjoyable way of viewing the world in a different way.
Always there
Dynamo systems provide unmatched dependability and peace of mind. The lights are fixedly attached and powered by your movement, so they can’t be forgotten at home and are never out of charge. You can let yourself lose track of time without battery level anxiety. One thing less to worry about.
Fully autonomous (sort of)
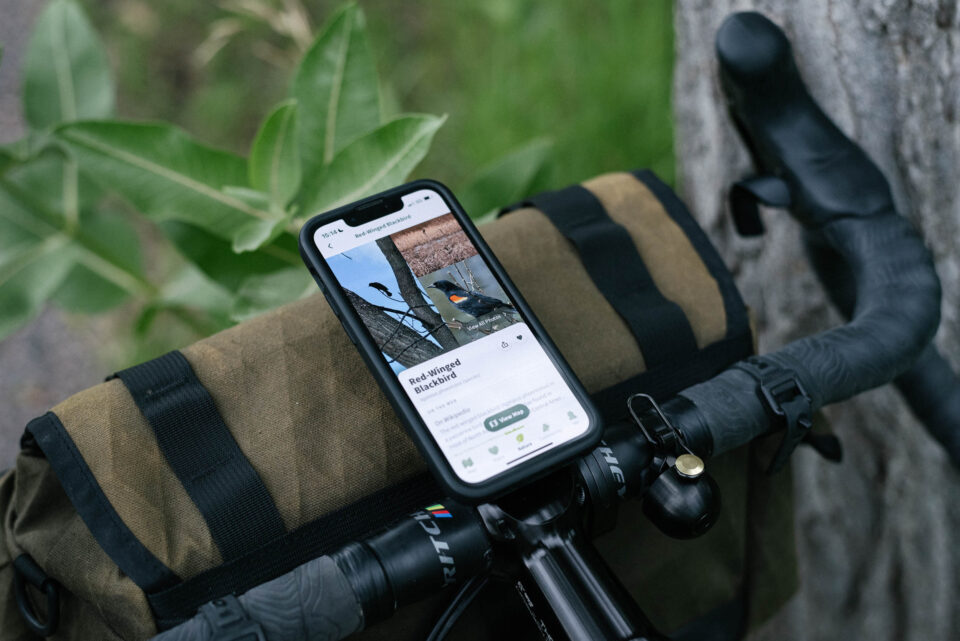
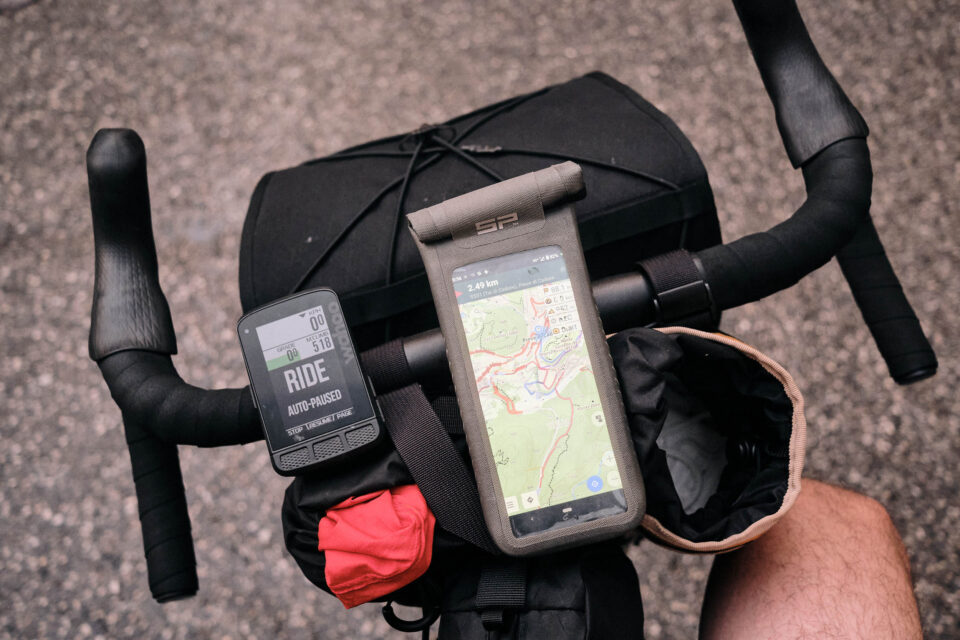
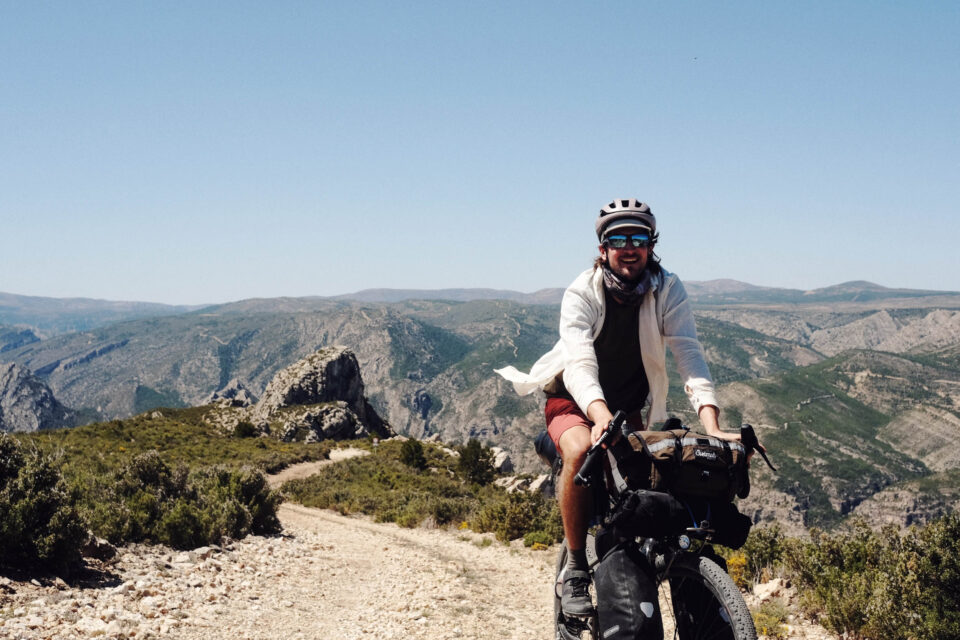
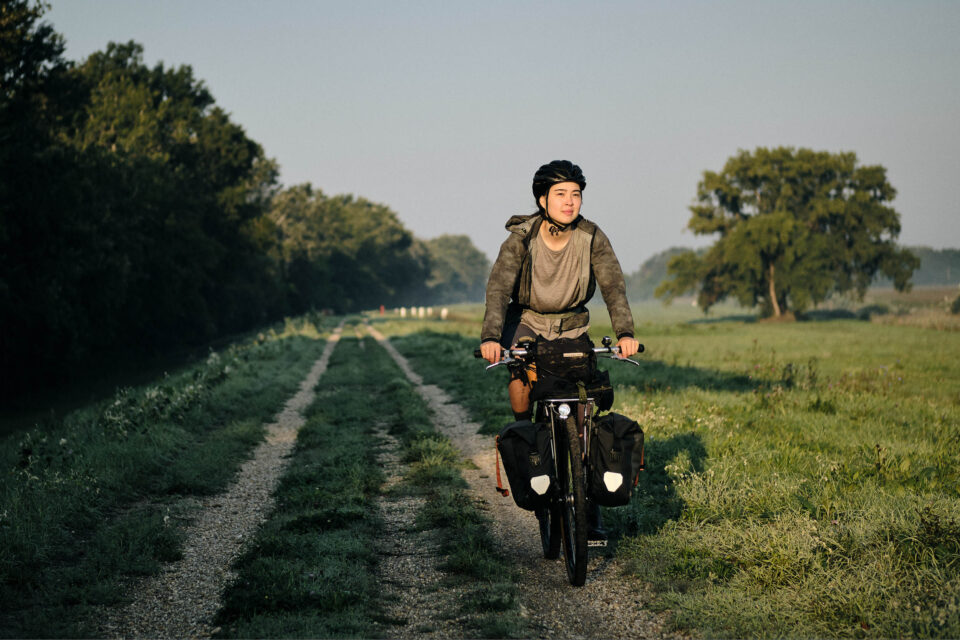
Perhaps most attractive for bikepackers, dynamos afford a degree of autonomy, allowing you to charge devices like phones, GPS units, and cameras even when you’re off the grid. However, dynamo charging comes with some caveats that we’ll discuss below.
Reliability
Dynamo hubs and lights are as reliable as mechanical components get and are trusted by ultra-racers, bikepackers, and long-distance tourers alike. The BIKEPACKING.com team has no hesitations in recommending dynamo hubs for bikepacking from a reliability perspective.
Why you might not want a dynamo
While a dynamo setup is a transformative upgrade to any bicycle, there are good reasons—beyond the cost—why it might not be ideal or necessary for you. Here are four questions that might give you insight into whether a dynamo setup makes sense for your bikepacking rig. If your answer to any of them is a strong “yes,” there’s a chance dynamo-based lighting/charging isn’t quite suitable, and the investment is better spent on a different solution (or, even better, put toward your next trip).
Is most of my riding on steep and/or technical singletrack?
A typical dynamo headlight will dim and/or flicker at low speeds, becoming usable around 8-10km/h (5-6mph) and reaching full brightness at 15-20km/h (9-13mph), depending on the setup.3 The Sinewave Beacon and kLite Ultra are exceptions and particularly well-suited for low-speed riding. While modern LED dynamo headlights are more than bright enough for almost all riding, only battery lights have the power to turn the night into day.
Is riding in the dark something I avoid (even with powerful lights)?
If you prefer to see the scenery by day, a dynamo light won’t change that. But even mid-tier dynamo lights offer an astonishing beam, and you might be surprised by how enjoyable night riding becomes when the stress of managing batteries is gone.
Do I have a large rotation of bikes that all need lights?
Dynamo lights are affixed to the bike, which will be impractical if you find yourself switching bikes regularly. A high-quality detachable option might be the way to go unless you have the funds to equip multiple bikes with dynamo hubs and lights.
Am I expecting a dynamo charger to keep high-power devices such as a phone charged through intensive use?
If you rely heavily on your phone or other power-hungry devices, a dynamo USB charger won’t keep up. Even under ideal conditions, a dynamo charger can’t compete with a USB wall charger and is best suited for supplying low-power devices.
How do dynamo systems work?
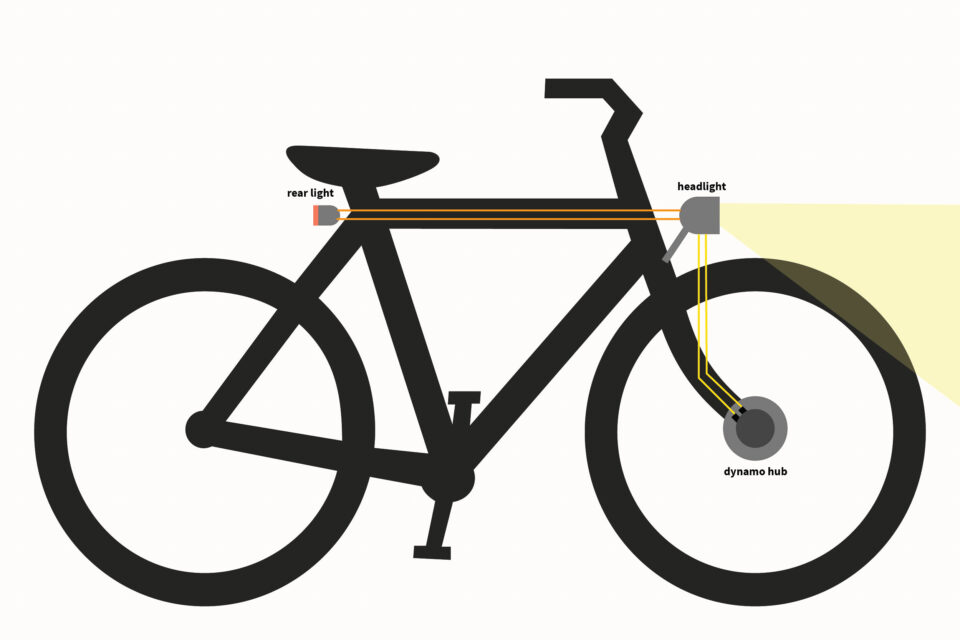
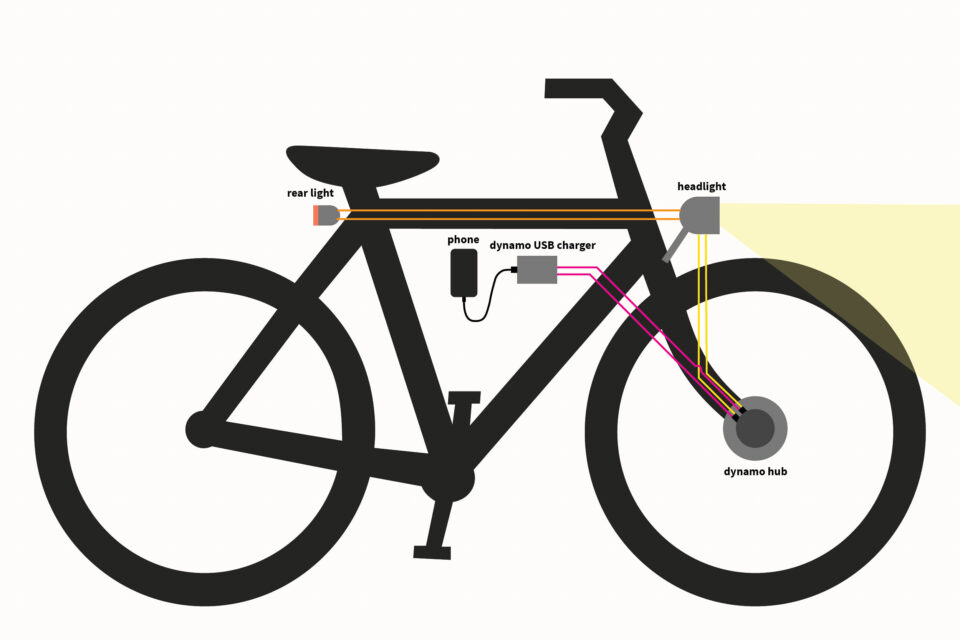
A dynamo system is made up of a dynamo hub, which acts as your onboard, muscle-powered generator, and connected devices, such as lights and chargers, that put that electricity to good use.
Hub power
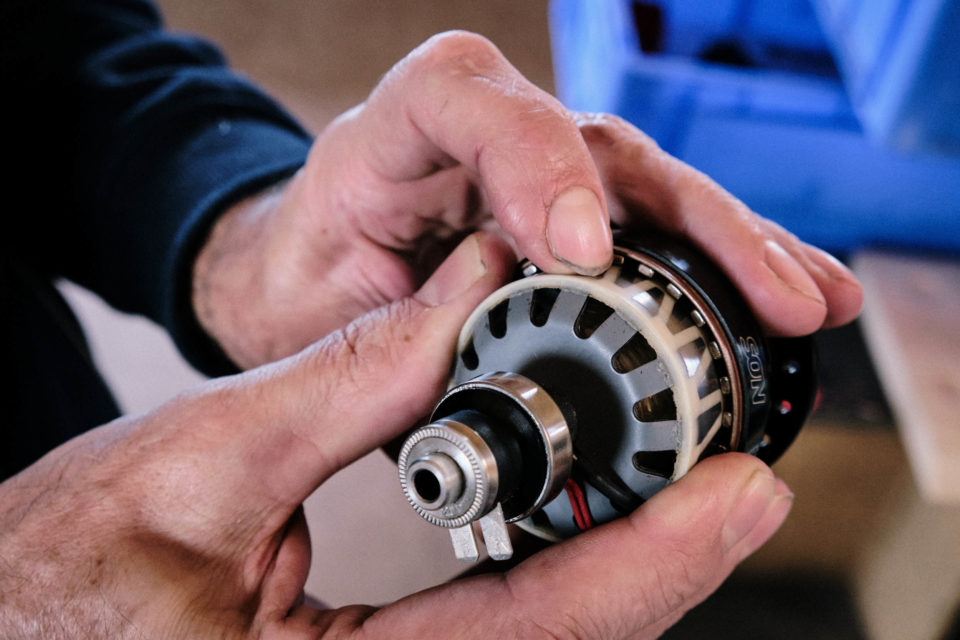
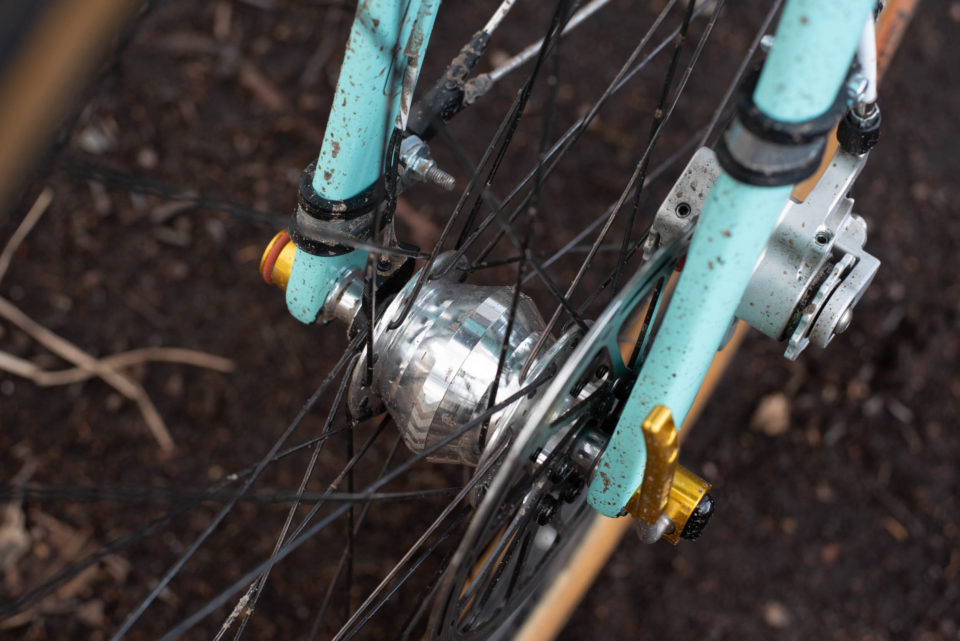
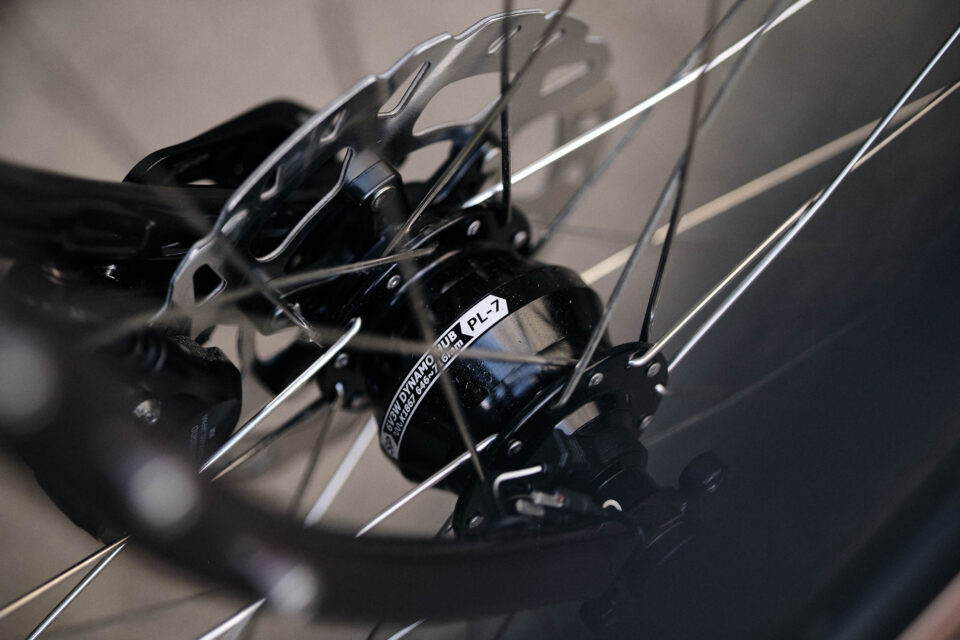
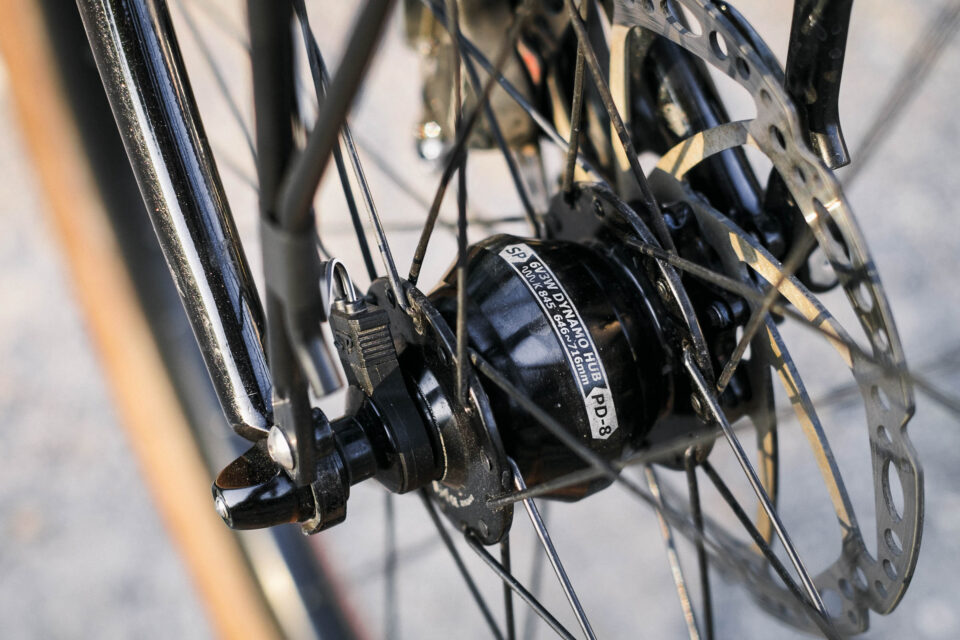
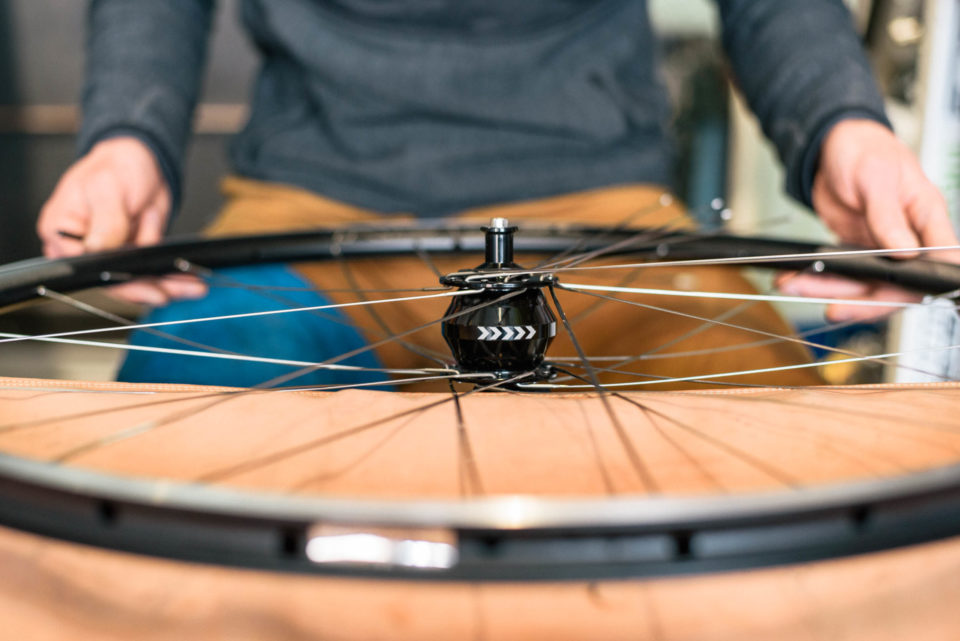
A dynamo hub (more correctly called a generator hub, but we’ll stick with the colloquial term) is a front wheel hub—the part at the center of the spokes that allows the wheel to turn—that also acts as an electrical generator. When the front wheel turns, the dynamo hub produces an alternating current (AC), which is conducted via wires to the dynamo lights and/or USB chargers.
Dynamo lights contain the circuitry to rectify AC to a direct current (DC) that drives the light-emitting diode (LED), producing bright light. A dynamo USB charger converts the raw AC into smooth 5V DC USB power and features a USB port for devices to plug in.
The dynamo hubs we’re interested in are rated at 3 watts of power, though they may provide up to around 6 watts at high speeds.4 For comparison, an iPhone wall charger provides 18 watts.
Beam patterns tailored for different uses
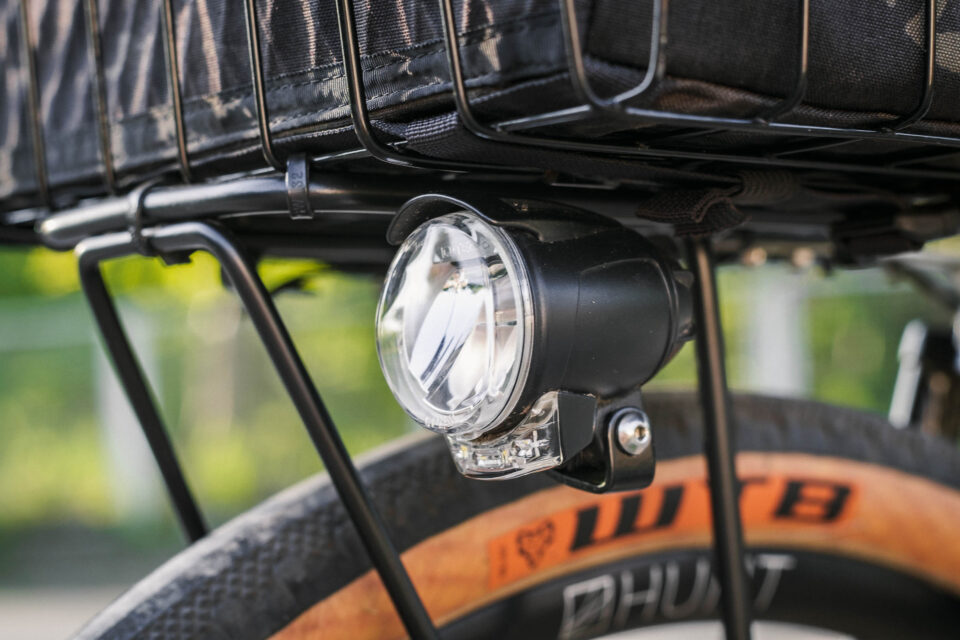
The optics of dynamo headlights are designed to shape the beam according to the headlight’s intended use. There are lights with rotationally symmetric, round beams, like a common flashlight, and asymmetric, cut-off beams, just like the low-beam in cars.
A round beam projects a circle of light. The brightness diminishes from the hotspot in the center. This beam style is favored for off-road riding, as it better illuminates low-hanging branches and other trail obstacles. On the flip side, the top part of the beam also dazzles oncomers, which is distracting and potentially dangerous when sharing roads and paths. If aimed below the horizon, the beam creates a hotspot, which is inefficient and may detract from your night vision.

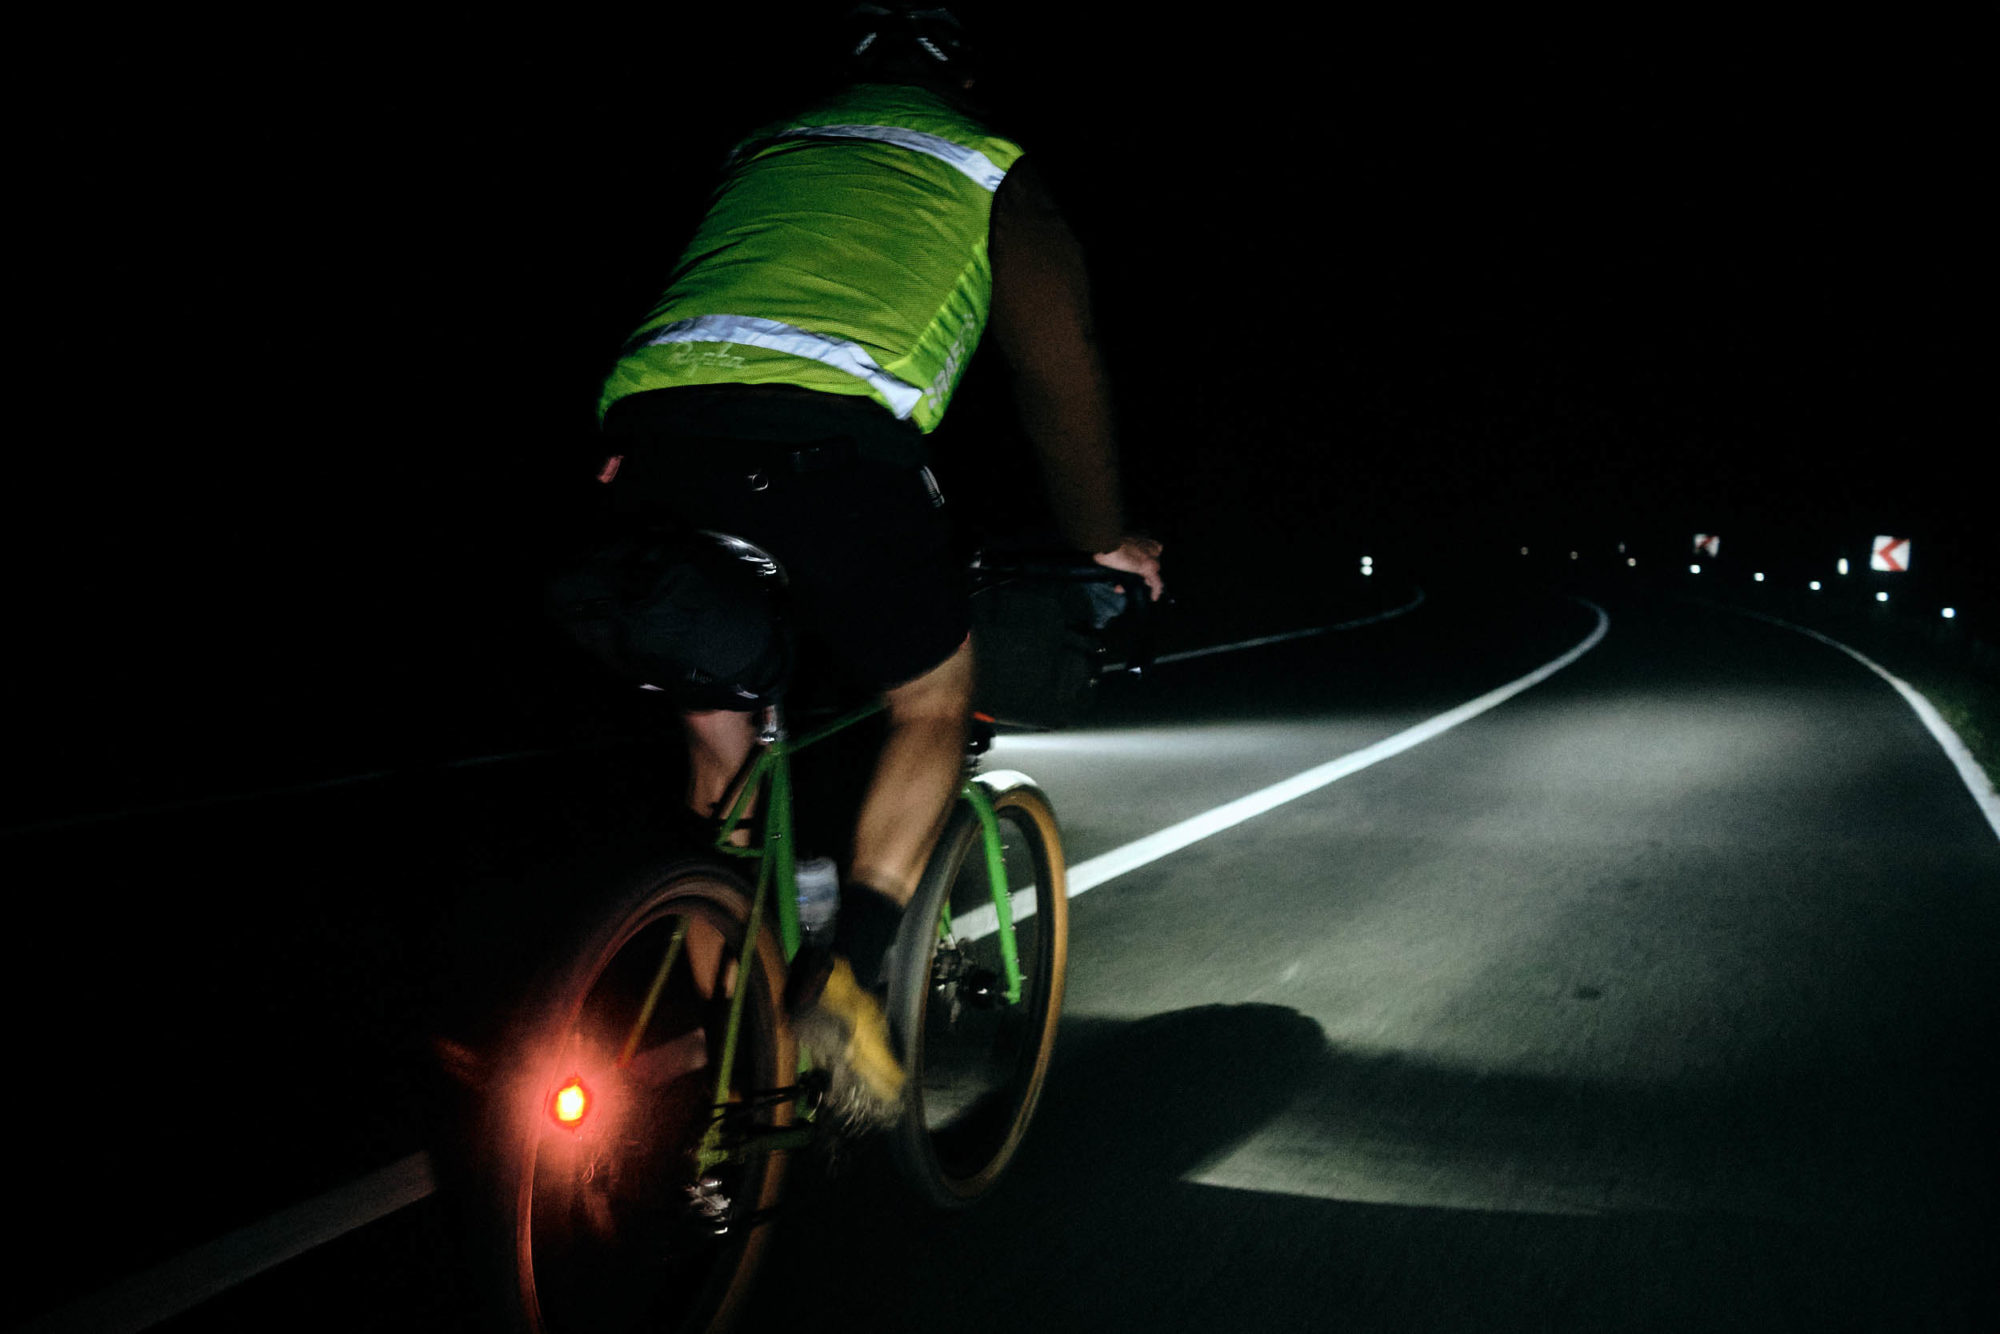
A cut-off beam projects a graded light field. When aimed level, the beam evenly floods the path ahead while staying safely below the horizon. This style of light is ideal for riding on roads and paths, though it may reach its limits on techy trails and undulating terrain.

You’ll find this style of light often indicated as StVZO-compliant by manufacturers, referencing the German Straßenverkehrszulassungsordnung road safety regulations. That mouthful is the de facto international standard for road-approved dynamo lights and hubs.
Light manufacturers are starting to integrate toggleable high beams into StVZO-approved dynamo headlights. On paper, this promises the best of both worlds: an efficient, courteous beam for regular riding and the ability to shine far up ahead when necessary and appropriate.
Measuring light: lux versus lumen
When comparing dynamo headlights, you’ll come across two different measures of brightness: the luminous flux (given in lumens) and the illuminance (given in lux). They quantify different aspects of the beam and are not directly comparable.
Lumen is the total light output onto the scene. Lights with symmetric beams are typically measured in lumens. Lux indicates the light intensity (brightness) at a defined point. StVZO-style lights are usually given in lux. The optical efficiency of StVZO lights that we looked at above explains how they can illuminate the path ahead with far lower lumen counts than an equivalent round beam.
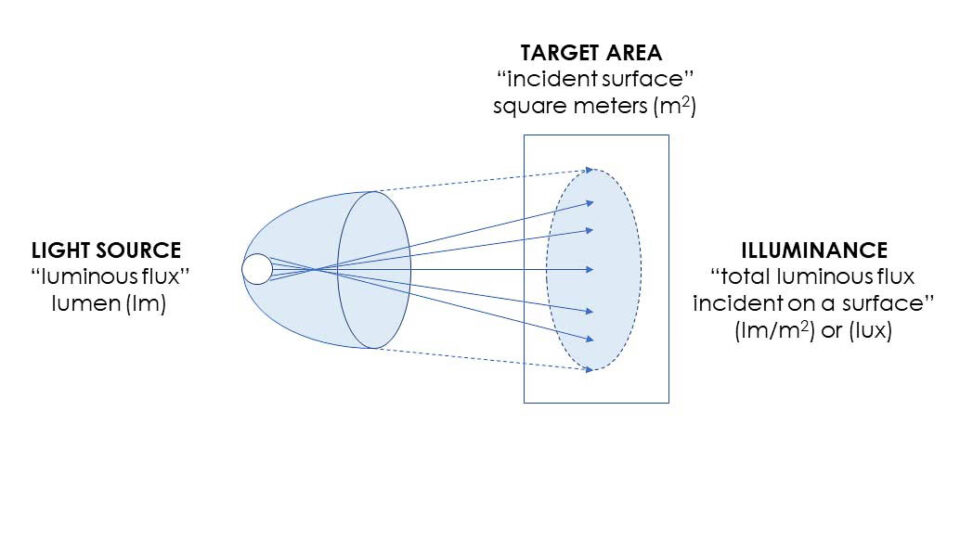
One important thing to note is that lux and lumen don’t do anything to describe the beam shape and light distribution. The best way to gauge a light’s qualities is through beam shot comparisons from manufacturers or independent testers.5
Beyond beam shape and brightness
A lot of fuss is made about peak brightness, but brighter is not necessarily better. A brighter beam can make the surrounding darkness seem darker, intensifying the feeling of riding in a tunnel. The eyes adjust, after all.
For non-technical riding, 80 lux StVZO lights are entirely sufficient for many. Note that beam spreads vary quite a bit within this category. A wide, even beam with good illumination of the near field is highly recommended.
LED lights come in different color temperatures, from cool white to neutral and warm tones, and some people are sensitive to these variations. We’d love to see manufacturers document and improve these various beam qualities beyond brightness.
Designing your dynamo setup
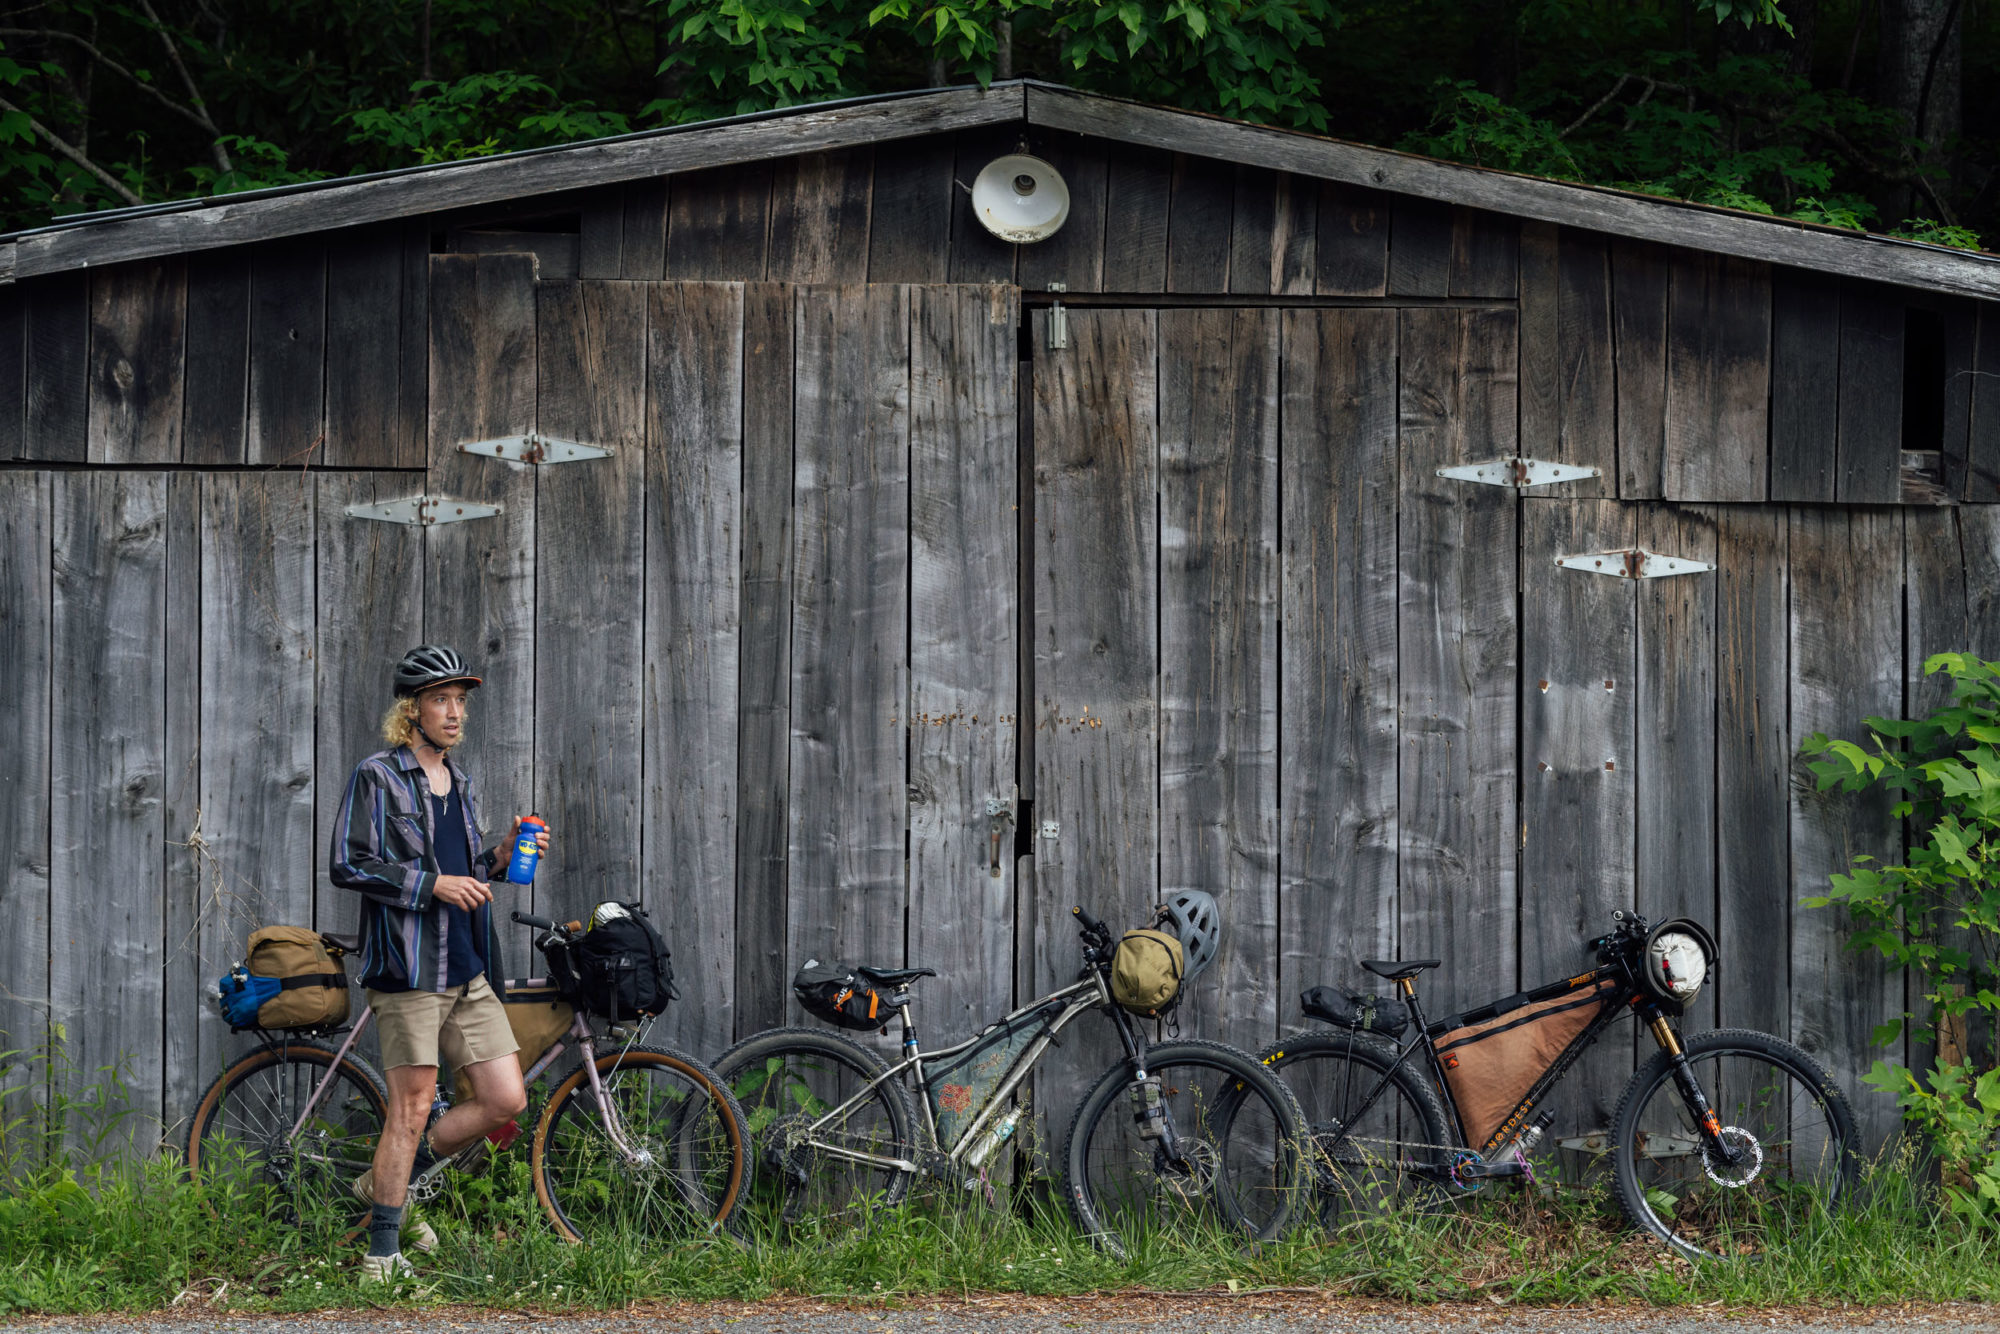
Equipped with these key concepts, you’re ready to dream up your own dynamo system. Virtually any type of bike can be fitted. The first thing to figure out is whether you want lights, charging, or both.
This most common and versatile setup is made up of a dynamo hub that powers an always-on headlight and rear light. This is a great setup for everything from bikepacking to day riding and commuting, and it could be expanded later with a charger.
A more advanced setup involves running a dynamo USB charger in parallel to the headlight.
Because a dynamo cannot reliably supply both lights and charger, some way to easily toggle between the two is highly recommended. That could be a light with a built-in switch, a junction box, or a dedicated switch. If a charger is all you need, you can hook it up directly to the dynamo hub.
In any case, you’ll need to acquire a wheel equipped with a dynamo hub, so let’s start there.
Dynamo hubs for bikepacking
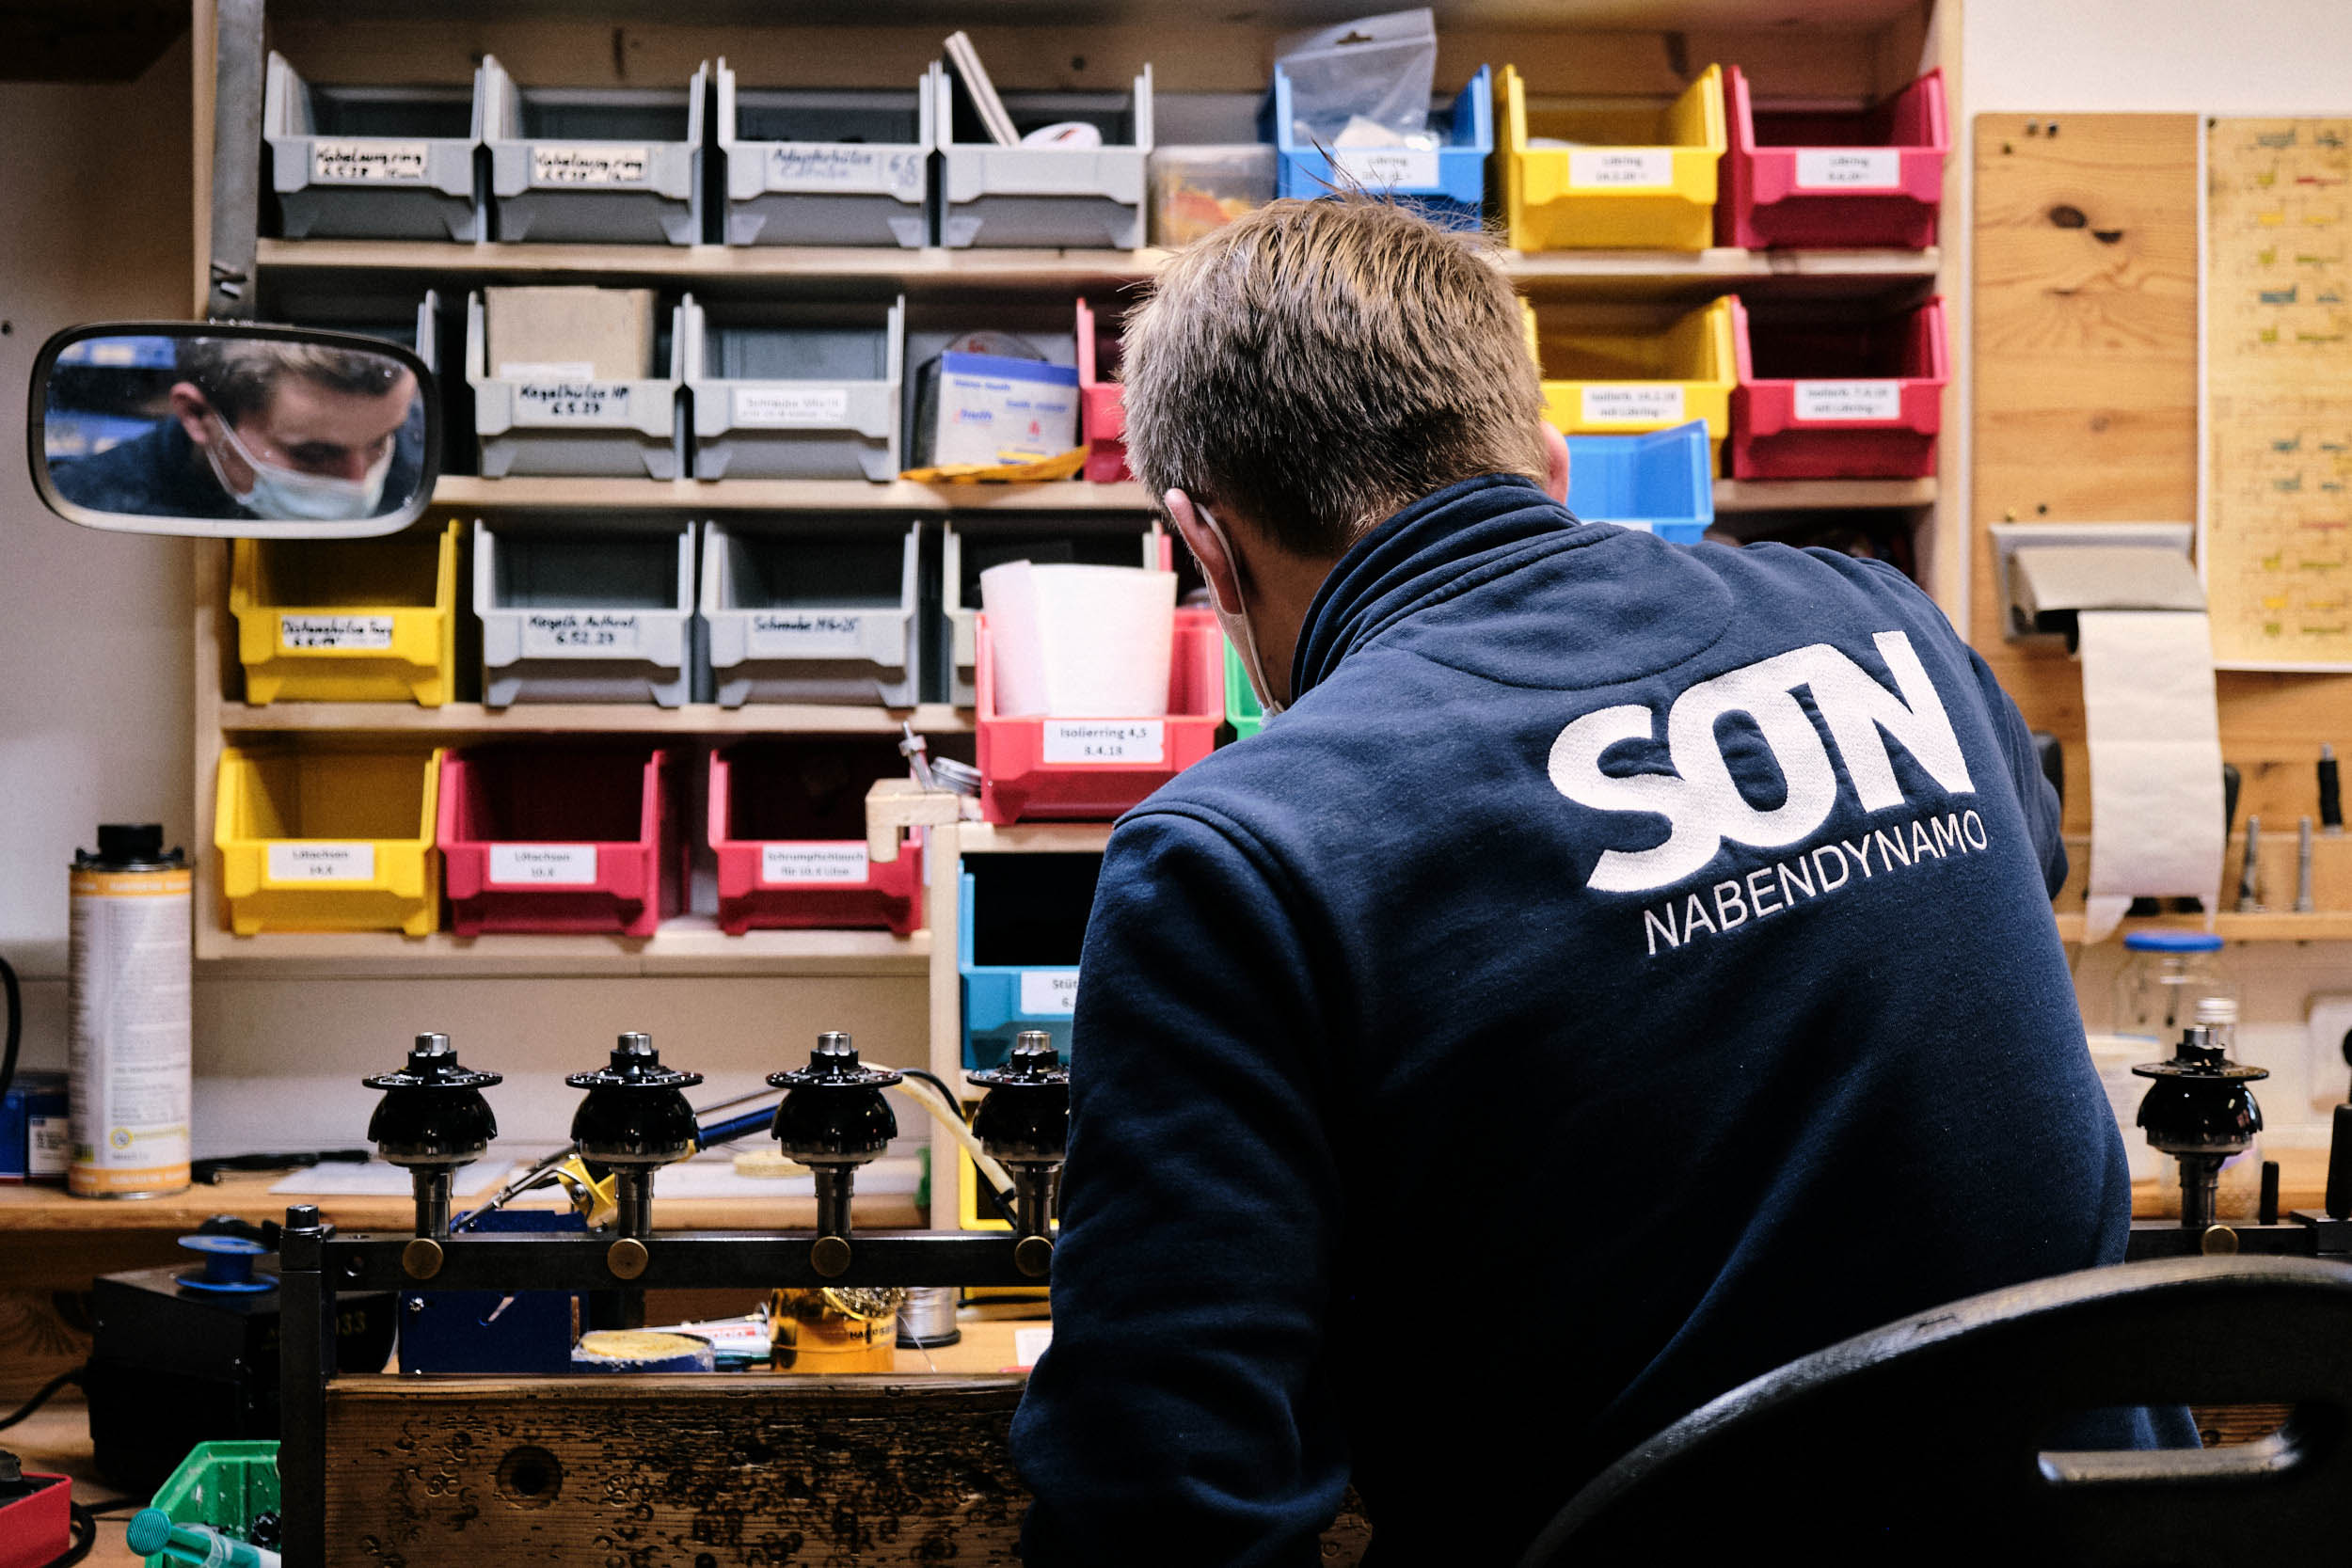
The powerful and lightweight SON hub pioneered by Germany’s Schmidt Maschinenbau in the 1990s is the blueprint for all modern dynamo hubs. Dynamos hubs are robust and silent and add very little drag with the lights on and practically zero when off. Dynamo hubs are available for just about every combination of dropouts and brake standards.
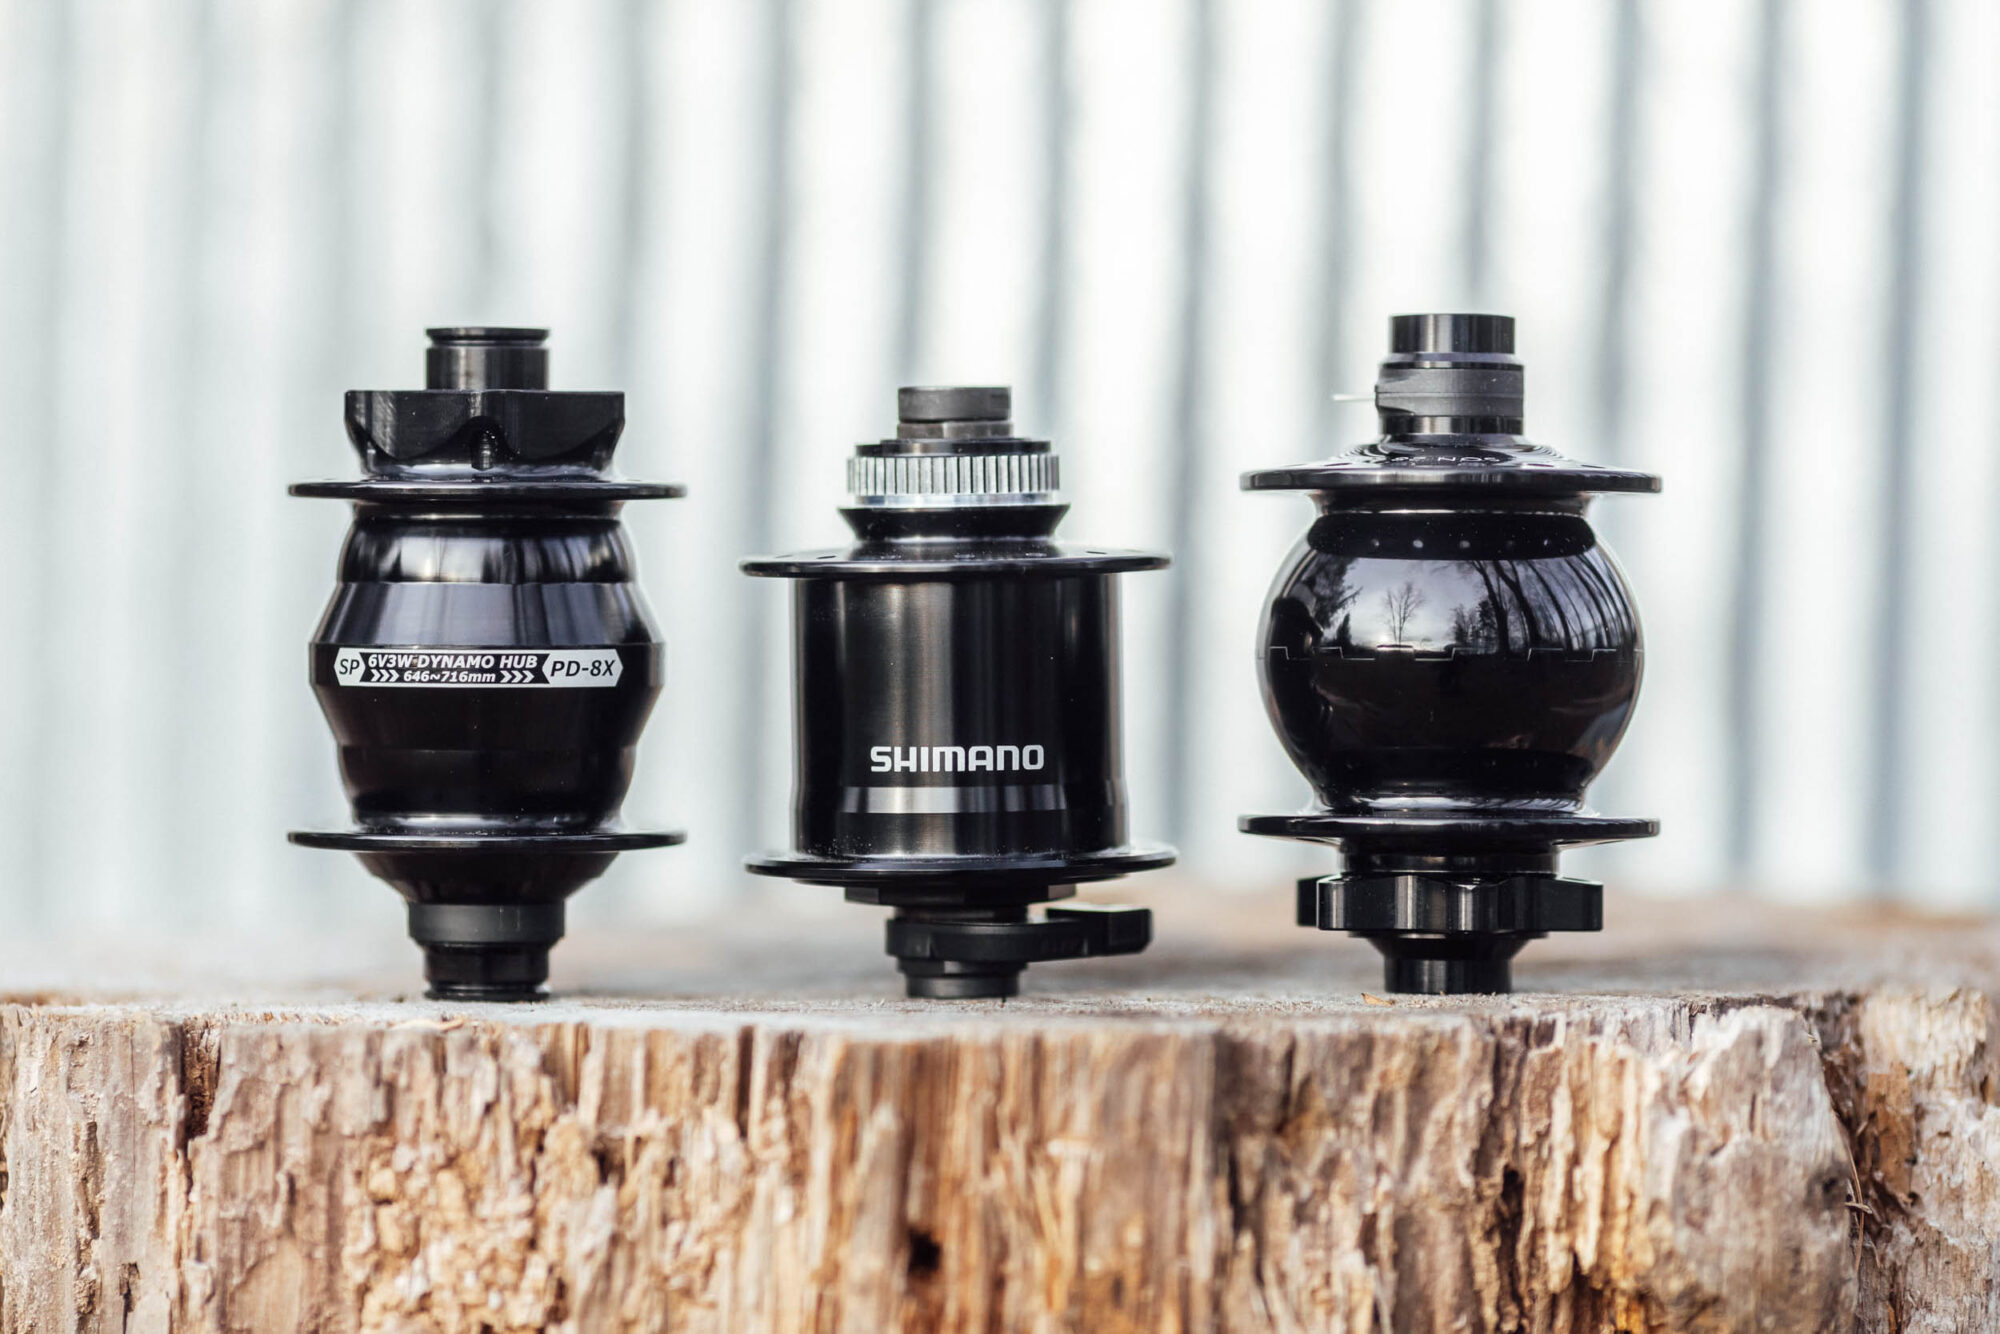
Schmidt, Shutter Precision (SP), and Shimano are the three big names in dynamo hubs. Schmidt has the high end on lock while Shimano produces the bulk of dynamo hubs for the mass market, with Shutter Precision falling somewhere in between. Lab testing shows Schmidt hubs lead the pack in lighting/charging efficiency and freewheel drag, but the differences will be hard to discern while bikepacking.6 We’re primarily interested in dynamo hubs that provide 3 watts of power, though 2.4W hubs will also work for a light setup.
SON hubs made in Germany are the paragon of quality and reliability. SON hubs are designed to run problem-free for tens of thousands of kilometers. Additionally, they’re backed by a five-year warranty and the world-class service provided by Schmidt and their network of service partners. SON hubs are good value in the long run. Of Schmidt’s two models, the SON 28 is the one best suited for bikepacking, as it delivers maximum power at lower speeds than the lightweight SONdelux.
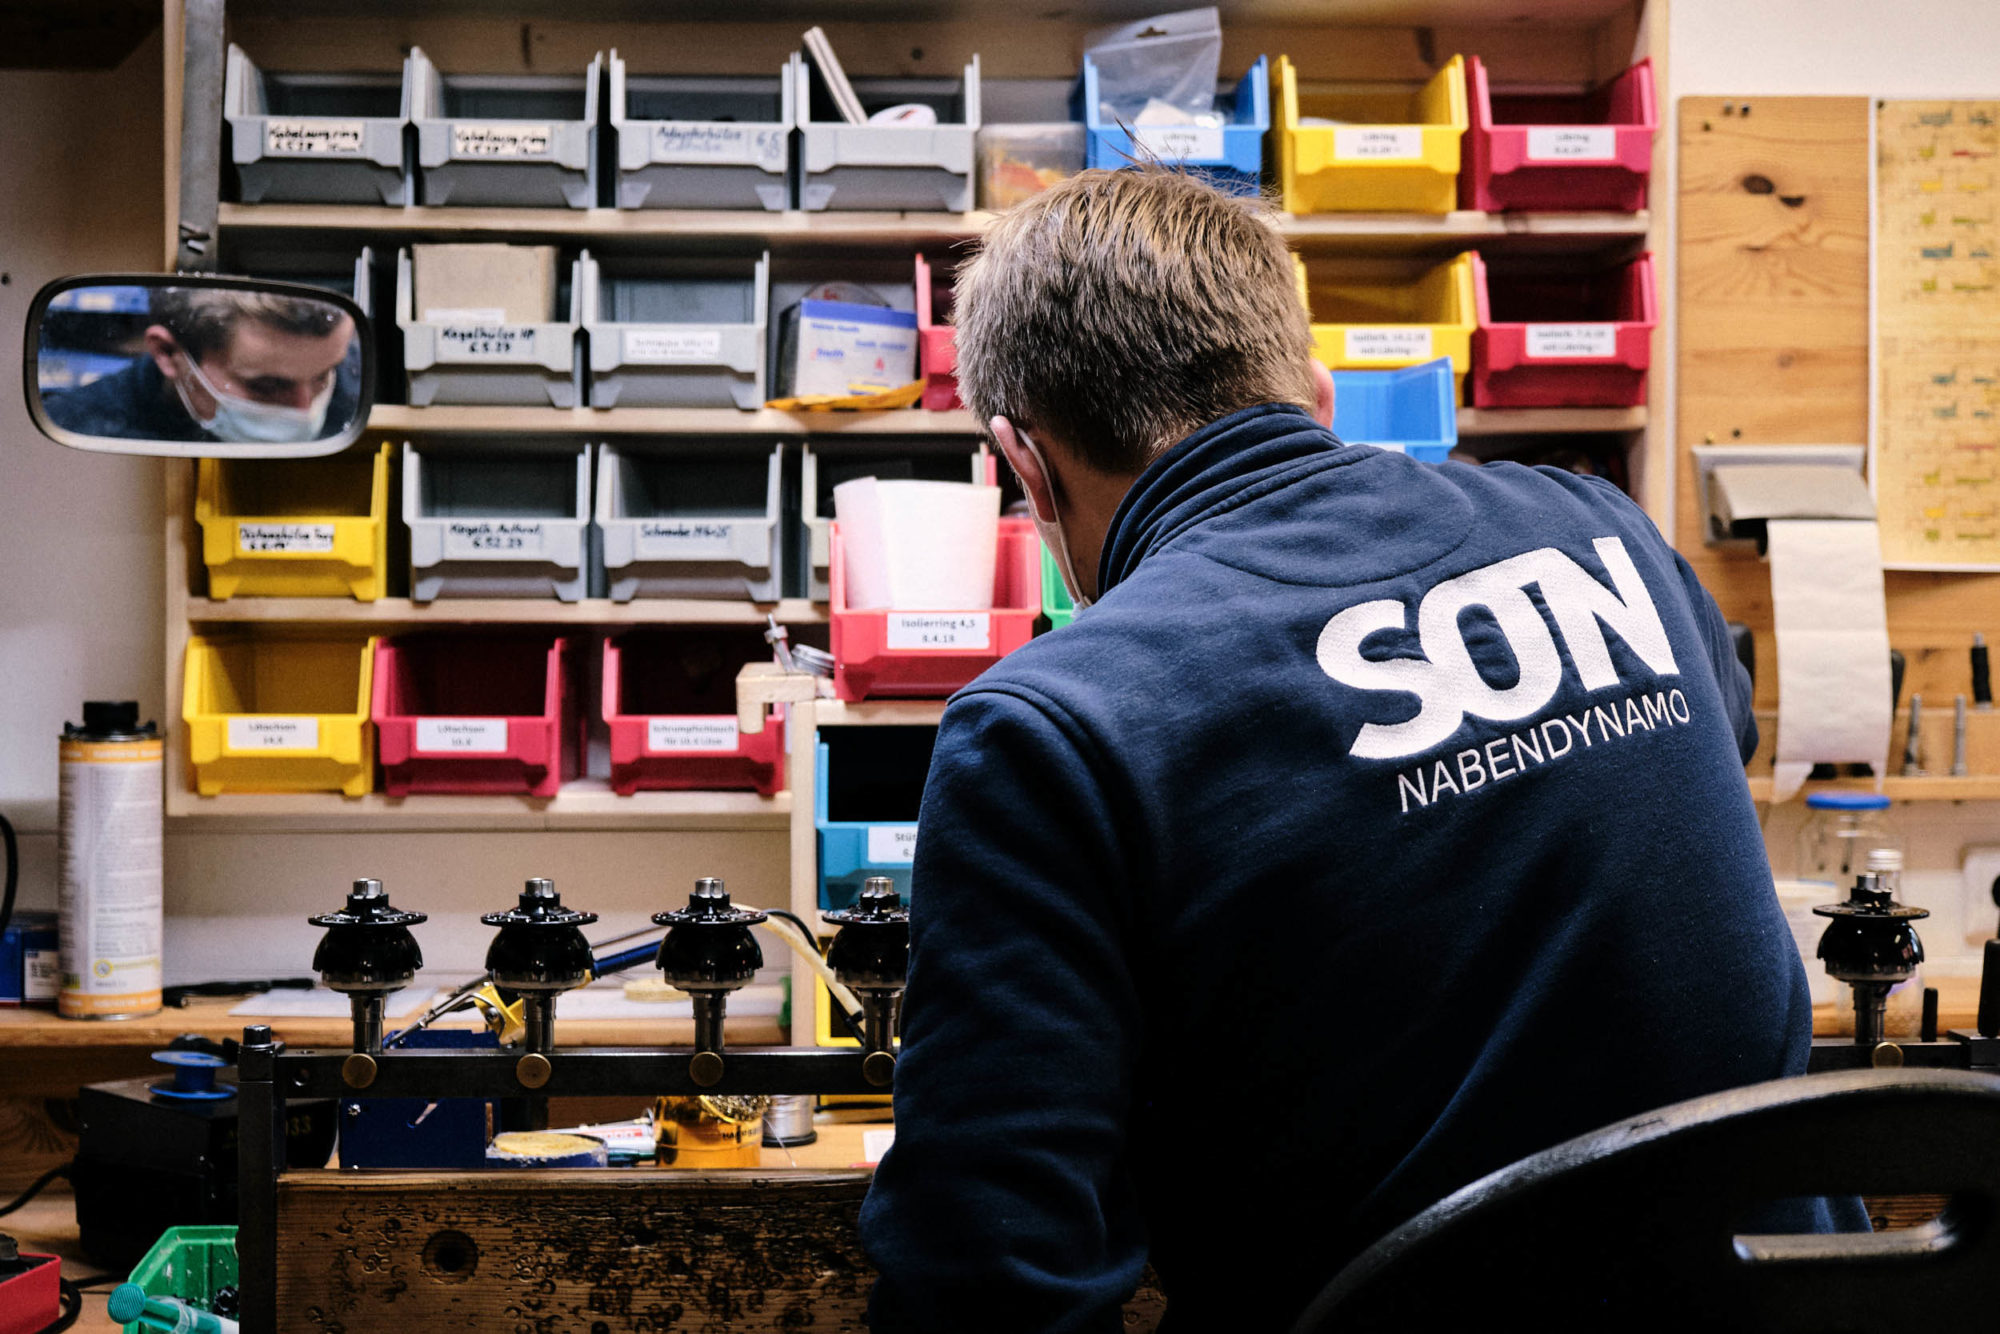
Shutter Precision hubs are made in Taiwan and come in at around half of the original’s price. Anecdotally, SP hubs experience bearing failures more frequently and unpredictably. More concretely, SP’s warranty is only two years, and in many countries, there is no official service partner. When the bearings wear out, the hub needs to be unlaced from the wheel and shipped back to the factory in Taiwan, which may well cancel out the initial cost advantage. Discarding a hub full of rare earths because of worn bearings is unnecessarily wasteful.
Shimano XT dynamo hubs are the Japanese component giant’s high-end offering best suited for the rigors of bikepacking. Uniquely among the big three, they are user-serviceable with cup-and-cone bearings, which may give them an edge in longevity over SP. While older Shimano dynamo hubs were relatively draggy and heavy, the newer Shimano Deore DH-UR700/705/708 models apparently improve on this, and we’re hoping to soon see confirming lab data.
Dynamo wheelsets for bikepacking
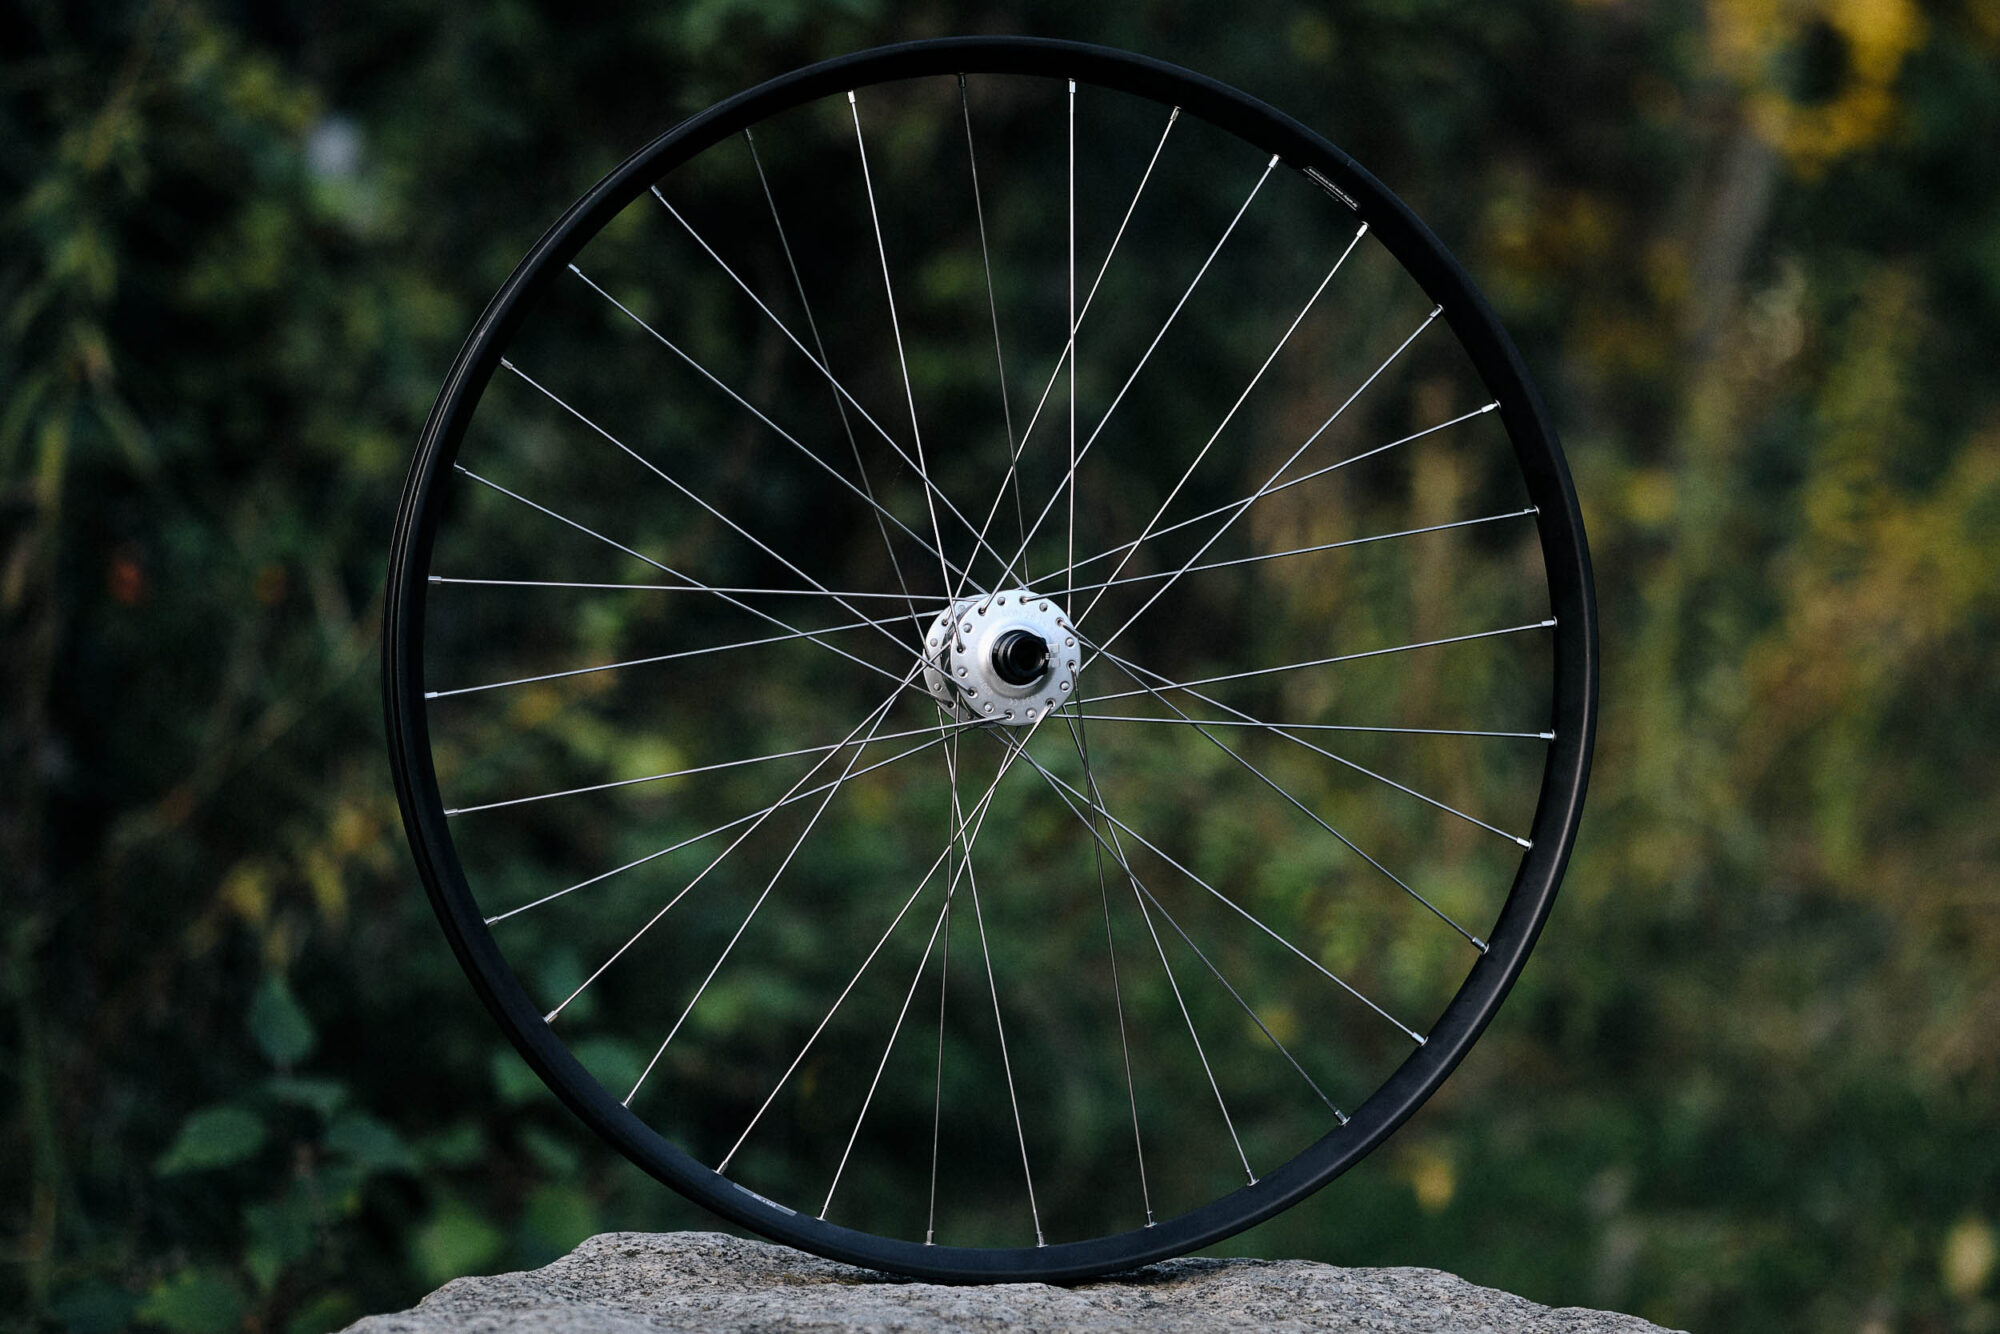
With your new intuition about dynamo hubs, you can look toward acquiring a complete dynamo front wheel. Your first point of contact should be your local wheelbuilder or bike shop. Complete dynamo wheels are also readily available from webshops and online wheelbuilders.
When choosing or specifying a dynamo wheel, you’ll want to confirm it matches your frame’s wheel size, dropout type (quick-release or a thru-axle variation), and brake standard (rim, disc type). For bikepacking, a spoke count of 28 or greater and durable brass nipples is recommended. If you’ve got a 9x100mm quick-release fork, you may consider getting a future-proof 12x100mm through-axle hub and adapting it with a 12-9mm reducing sleeve.
Dynamo headlights for bikepacking
Thanks to modern LED technology, mid to high-end dynamo lights are all plenty bright for bikepacking, so the critical consideration is the beam pattern. What is the nature of your riding? Secondary features to look out for are the mounting, integrated switches, light sensors and daylight riding modes, and auxiliary input/outputs. Dynamo lights feature integrated standlight circuitry that provides a little light even while stationary for a few minutes.
All 6V dynamo lights are compatible with all 6V dynamo hubs. However, dynamo lights are generally not designed to be powered by a DC power source like a battery, with very few exceptions. Going the other way, e-bike lights aren’t designed to be hooked up to a dynamo hub.
Dynamo lights for dirt roads and doubletrack
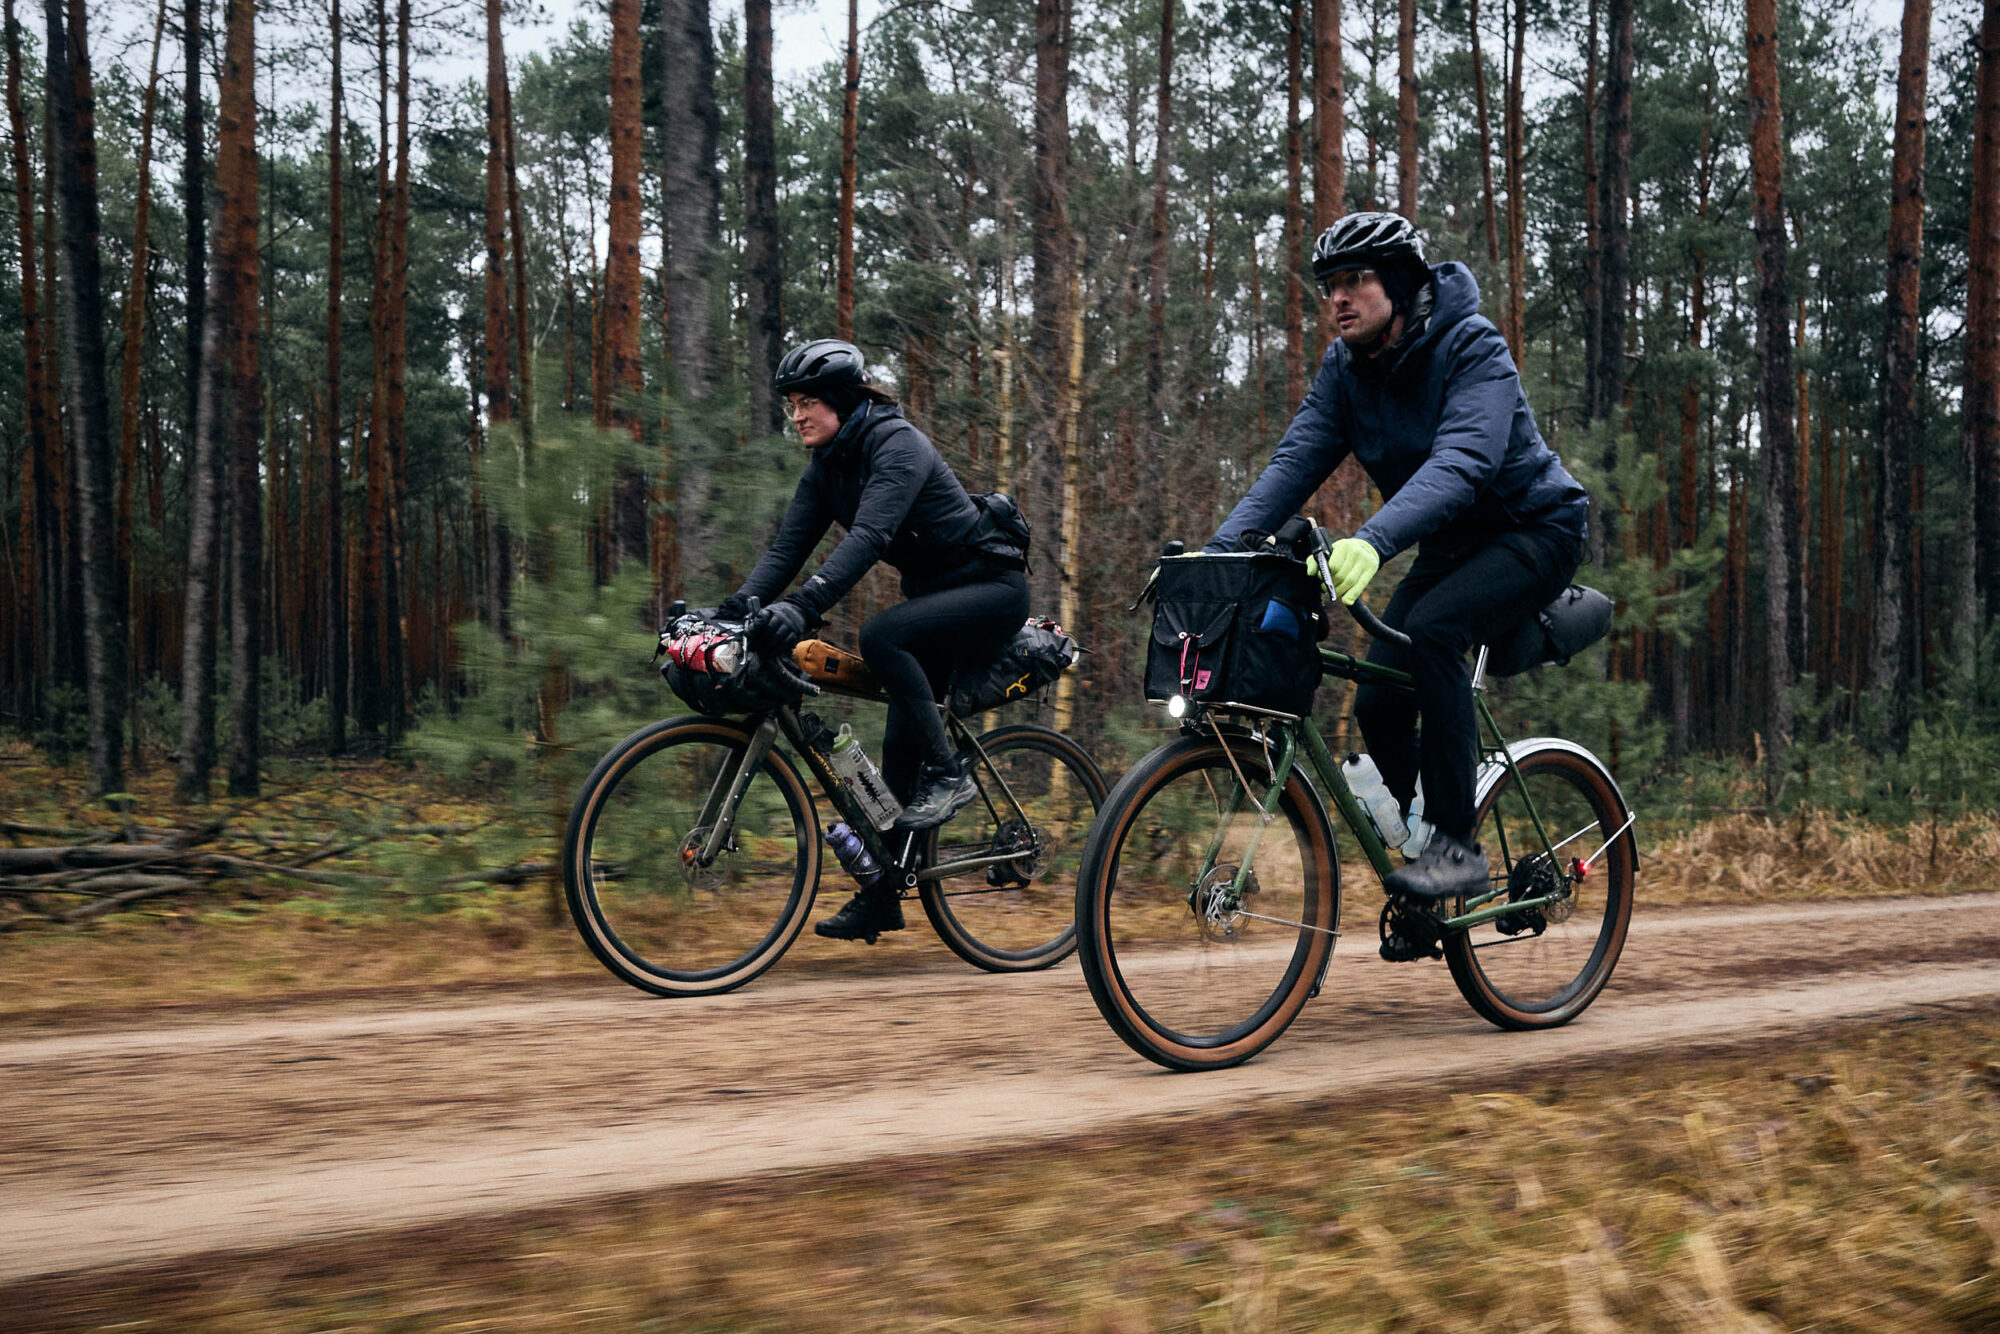
For general off-pavement riding on roads, doubletrack, and non-technical paths, a headlight with a cut-off beam (StVZO-style) is likely the way to go. Efficient and affordable, this style of light will be highly useful for bikepacking and general riding and commuting too. Such a light can always be pointed up or supplemented with a headlamp or bar-mounted battery light, making for a highly versatile setup. Schmidt, Busch & Müller, Supernova, and others produce many suitable models in this category.
The SON Edelux II by Schmidt is the gold standard of dynamo lights. Its broad, even 100 lux beam is perfect for dirt-road riding. It features a waterproof aluminum construction, scratch-resistant glass, a contactless mode selector ring, and durable wiring. It’s available in numerous configurations and colors and is backed by Schmidt’s five-year warranty.
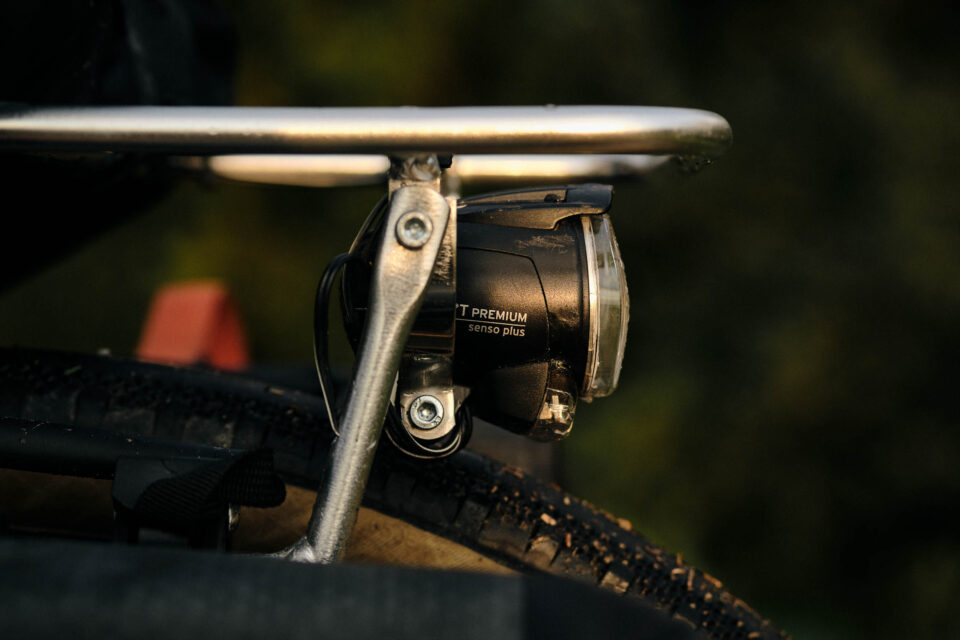
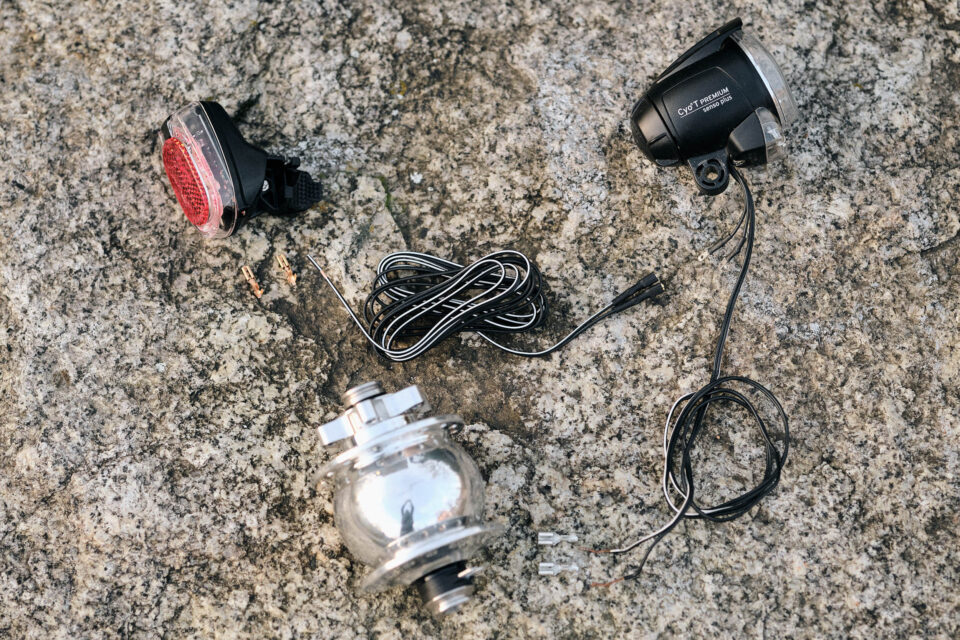
Busch & Müller (B&M) is a large-scale German manufacturer that produces value-packed headlights lights for road use. Their 100+ lux IQ-X is probably the best bang for the buck if brightness is what you’re after. The Cyo Premium (80 lux version) and IQ-XS deliver a beam that’s close to par with the SON Edelux at a fraction of the cost; they’re fantastic budget picks.
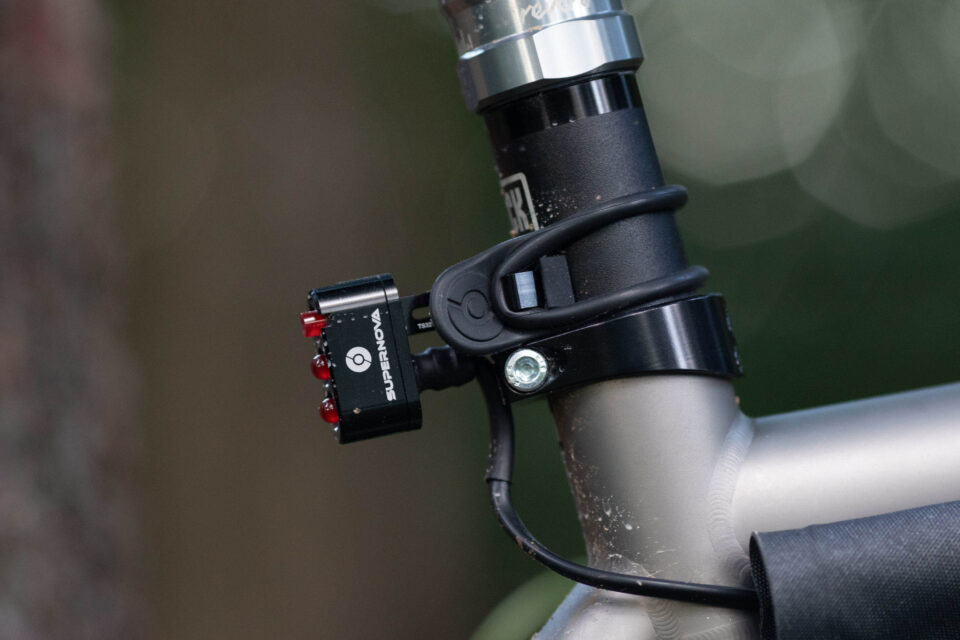
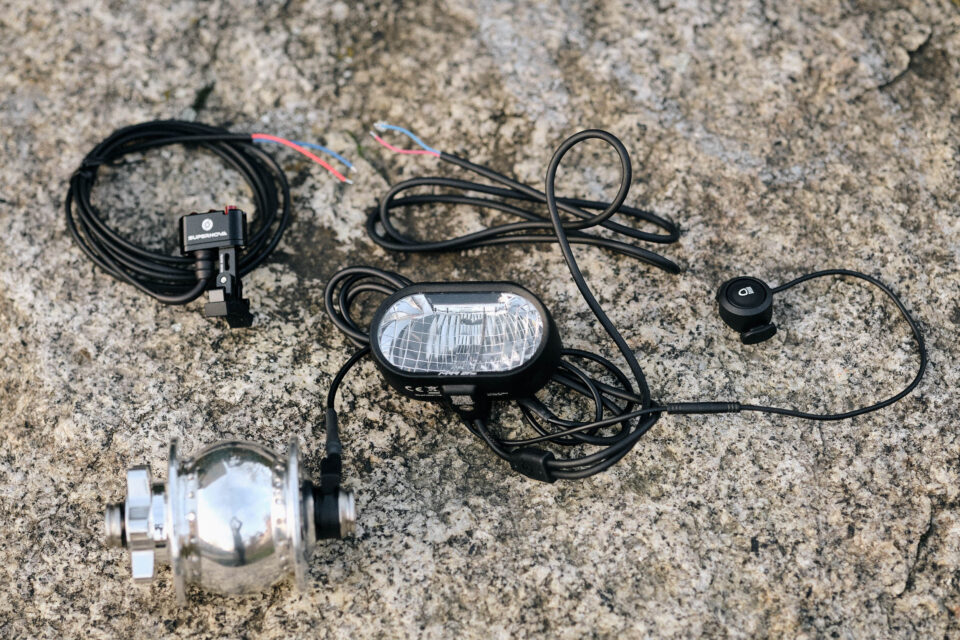
Supernova is another German manufacturer of high-performance dynamo and battery bike lights with a 25-year track record. The sleek E3 Pro 2 and compact E3 Pure 2 are top-tier dynamo lights with a medium-width StVZO beam that’s probably best suited for faster gravel riding. For those pushing the envelope, the M99 DY PRO stands out as the only currently available StVZO-compliant dynamo light with a toggleable high-beam for serious off-roading (read our review to find out more).
Dynamo lights for singletrack and mountain biking
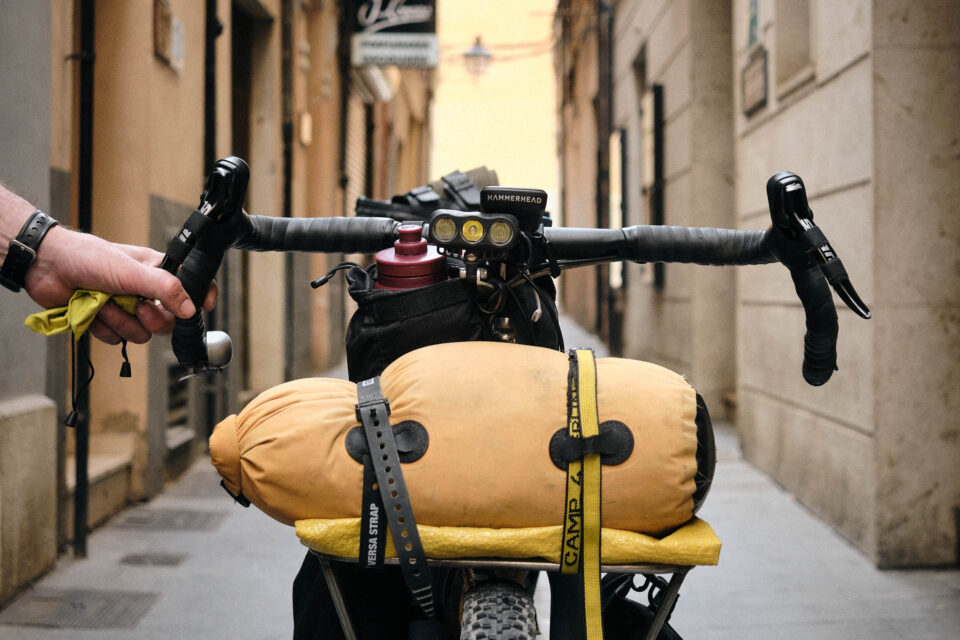
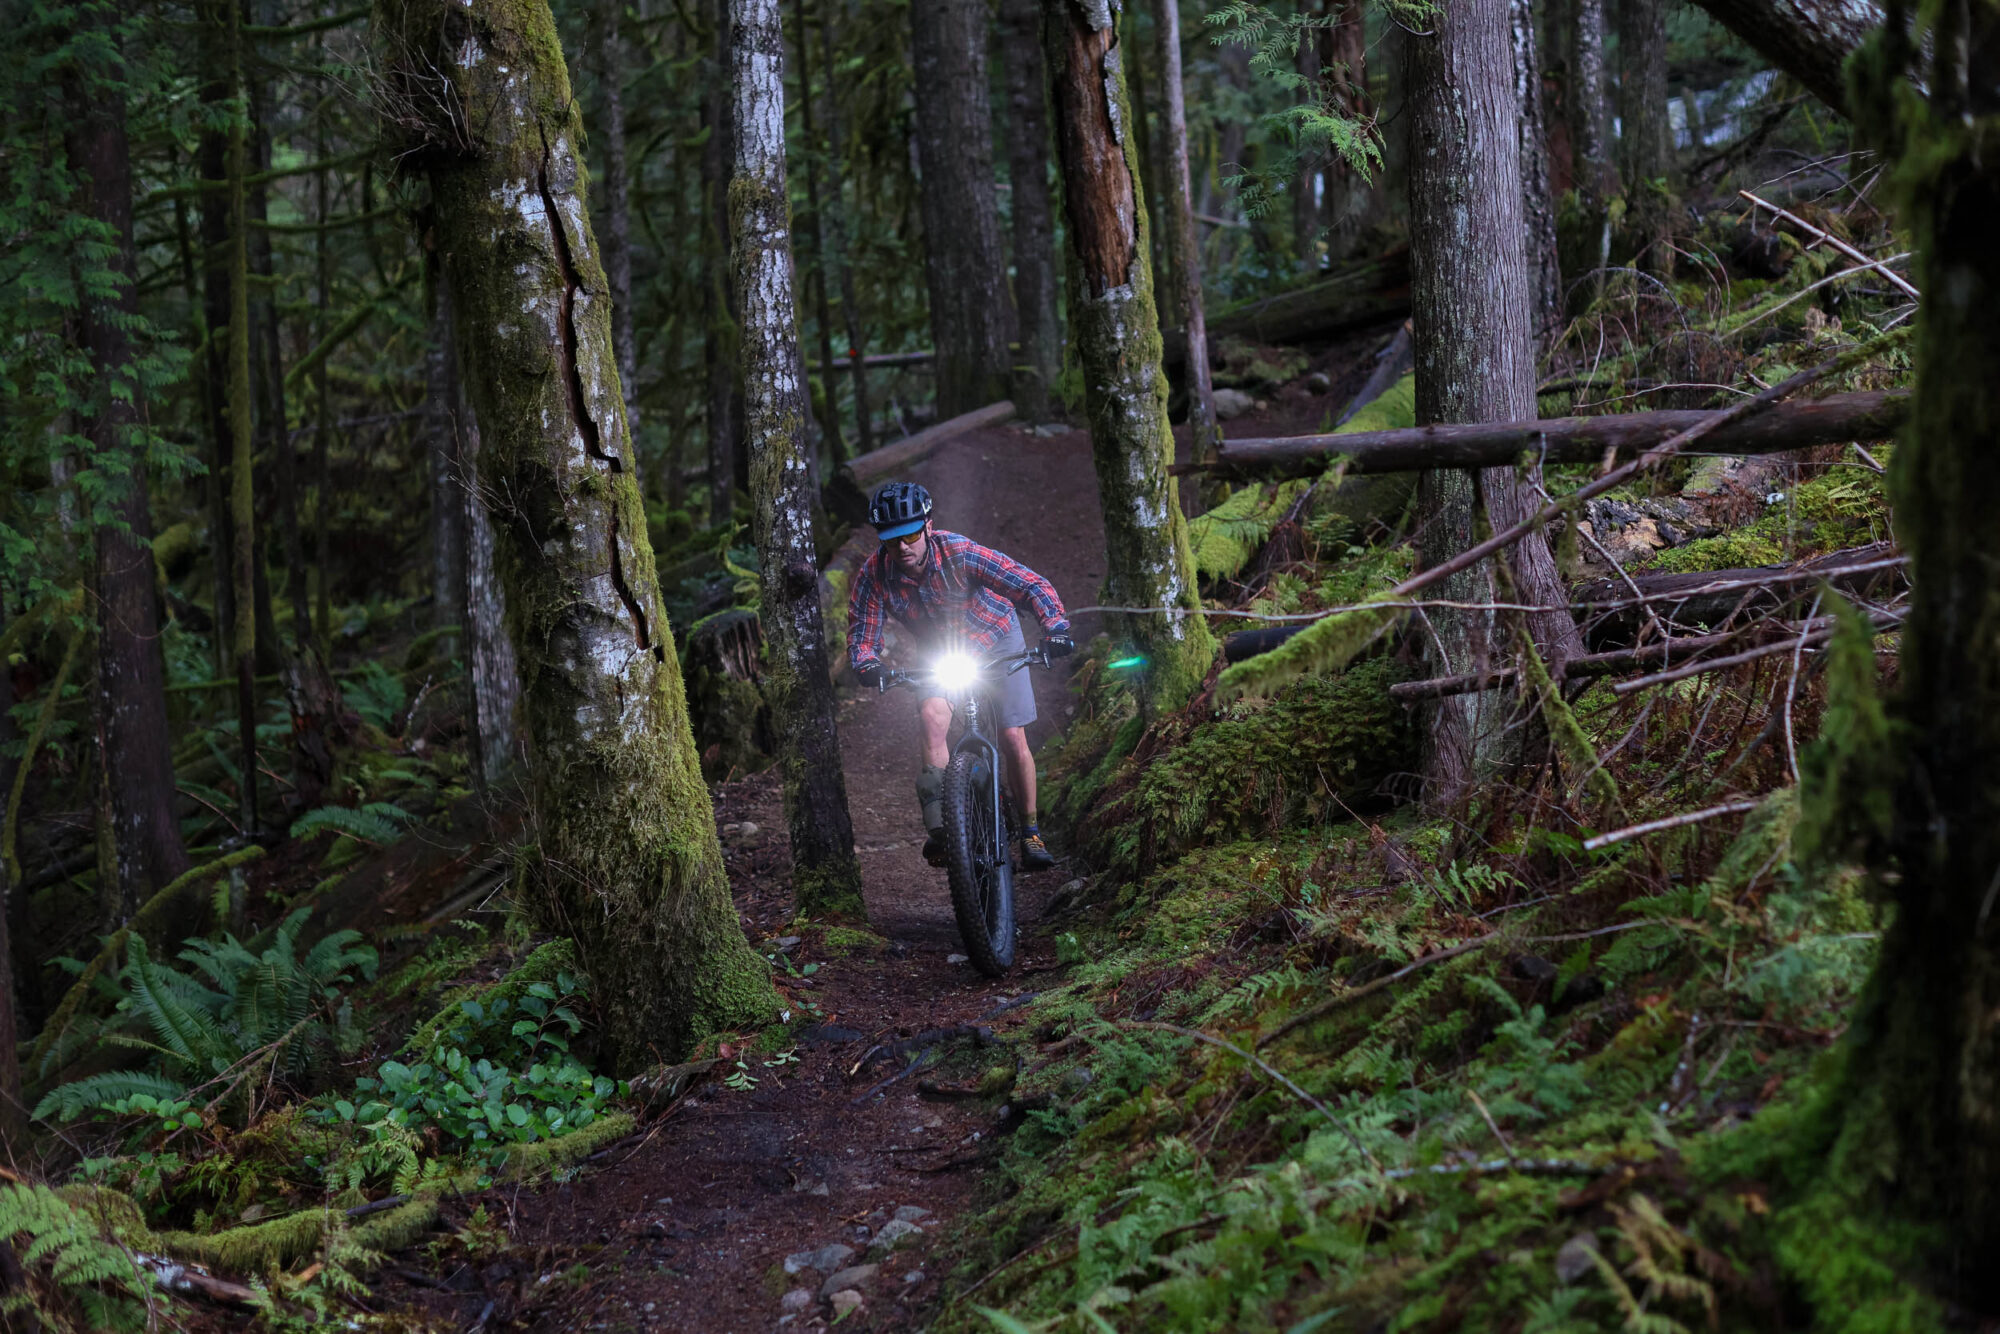
If you’re predominantly riding on technical off-road trails, a round beam may be more appropriate. The versatile Sinewave Beacon is an all-time favorite on this site, featuring an integrated USB charger, the ability to run the light off battery-power at low speeds, a potted waterproof construction, and many more features that make it an extremely bikepacking-friendly option. Find Cass Gilbert’s recent review of version 2 of the Beacon here.
The kLite Ultra is another high-performance off-road dynamo light from Australia. It’s offered in two different lens configurations for racing or more laid-back adventuring. kLite additionally offers a complete system of USB charger, a toggle switch, and a rear light to complete the system. For Miles Arbor, it’s proven itself to be the best option for off-road riding and singletrack out of the dynamo-powered lights he’s used so far.
We recently introduced the intriguing Llum dynamo light, which features an unusual appearance and a similar feature set as the Beacon 2, though we have yet to test it.
Mounting dynamo headlights
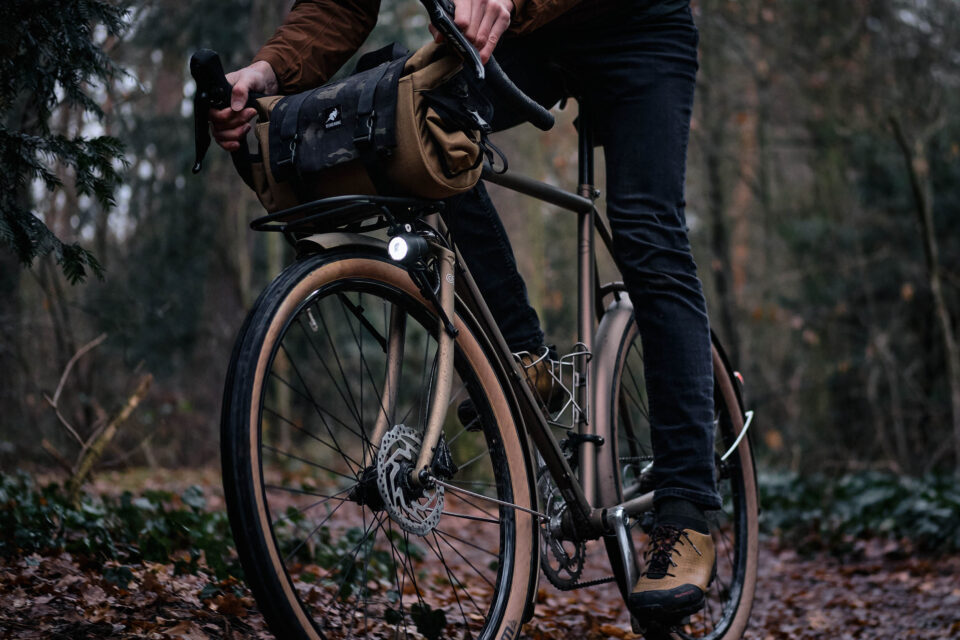
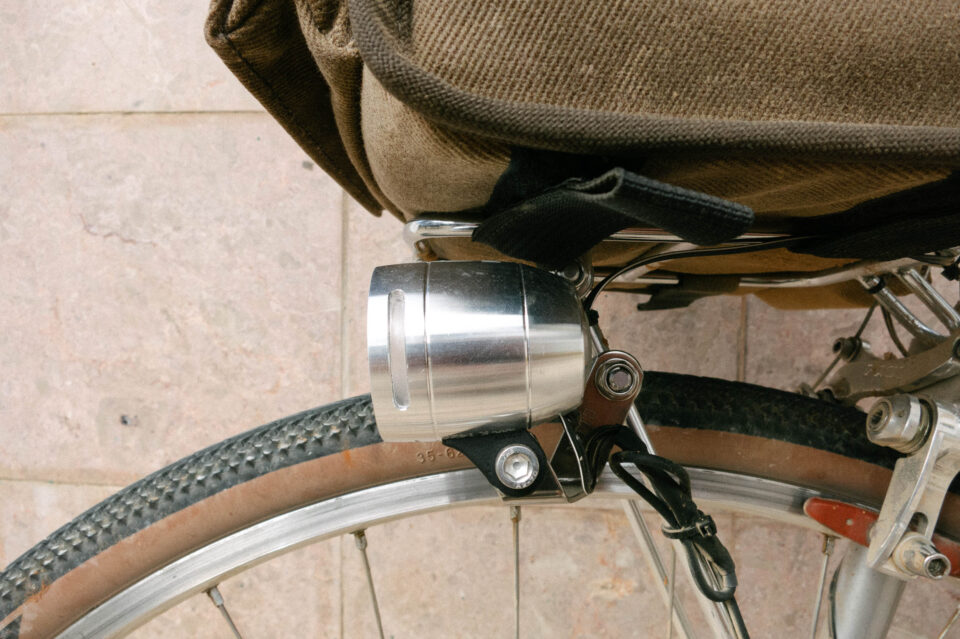
Virtually all dynamo headlights feature a standard 10mm mounting tab and typically come with a bracket for mounting to the fork crown (top of the fork), which is the ideal location for cut-off beams. StVZO-style lights should be mounted level; when projected against a wall, the top of the beam should be no higher than the light itself. The light field should be focused on the ground.
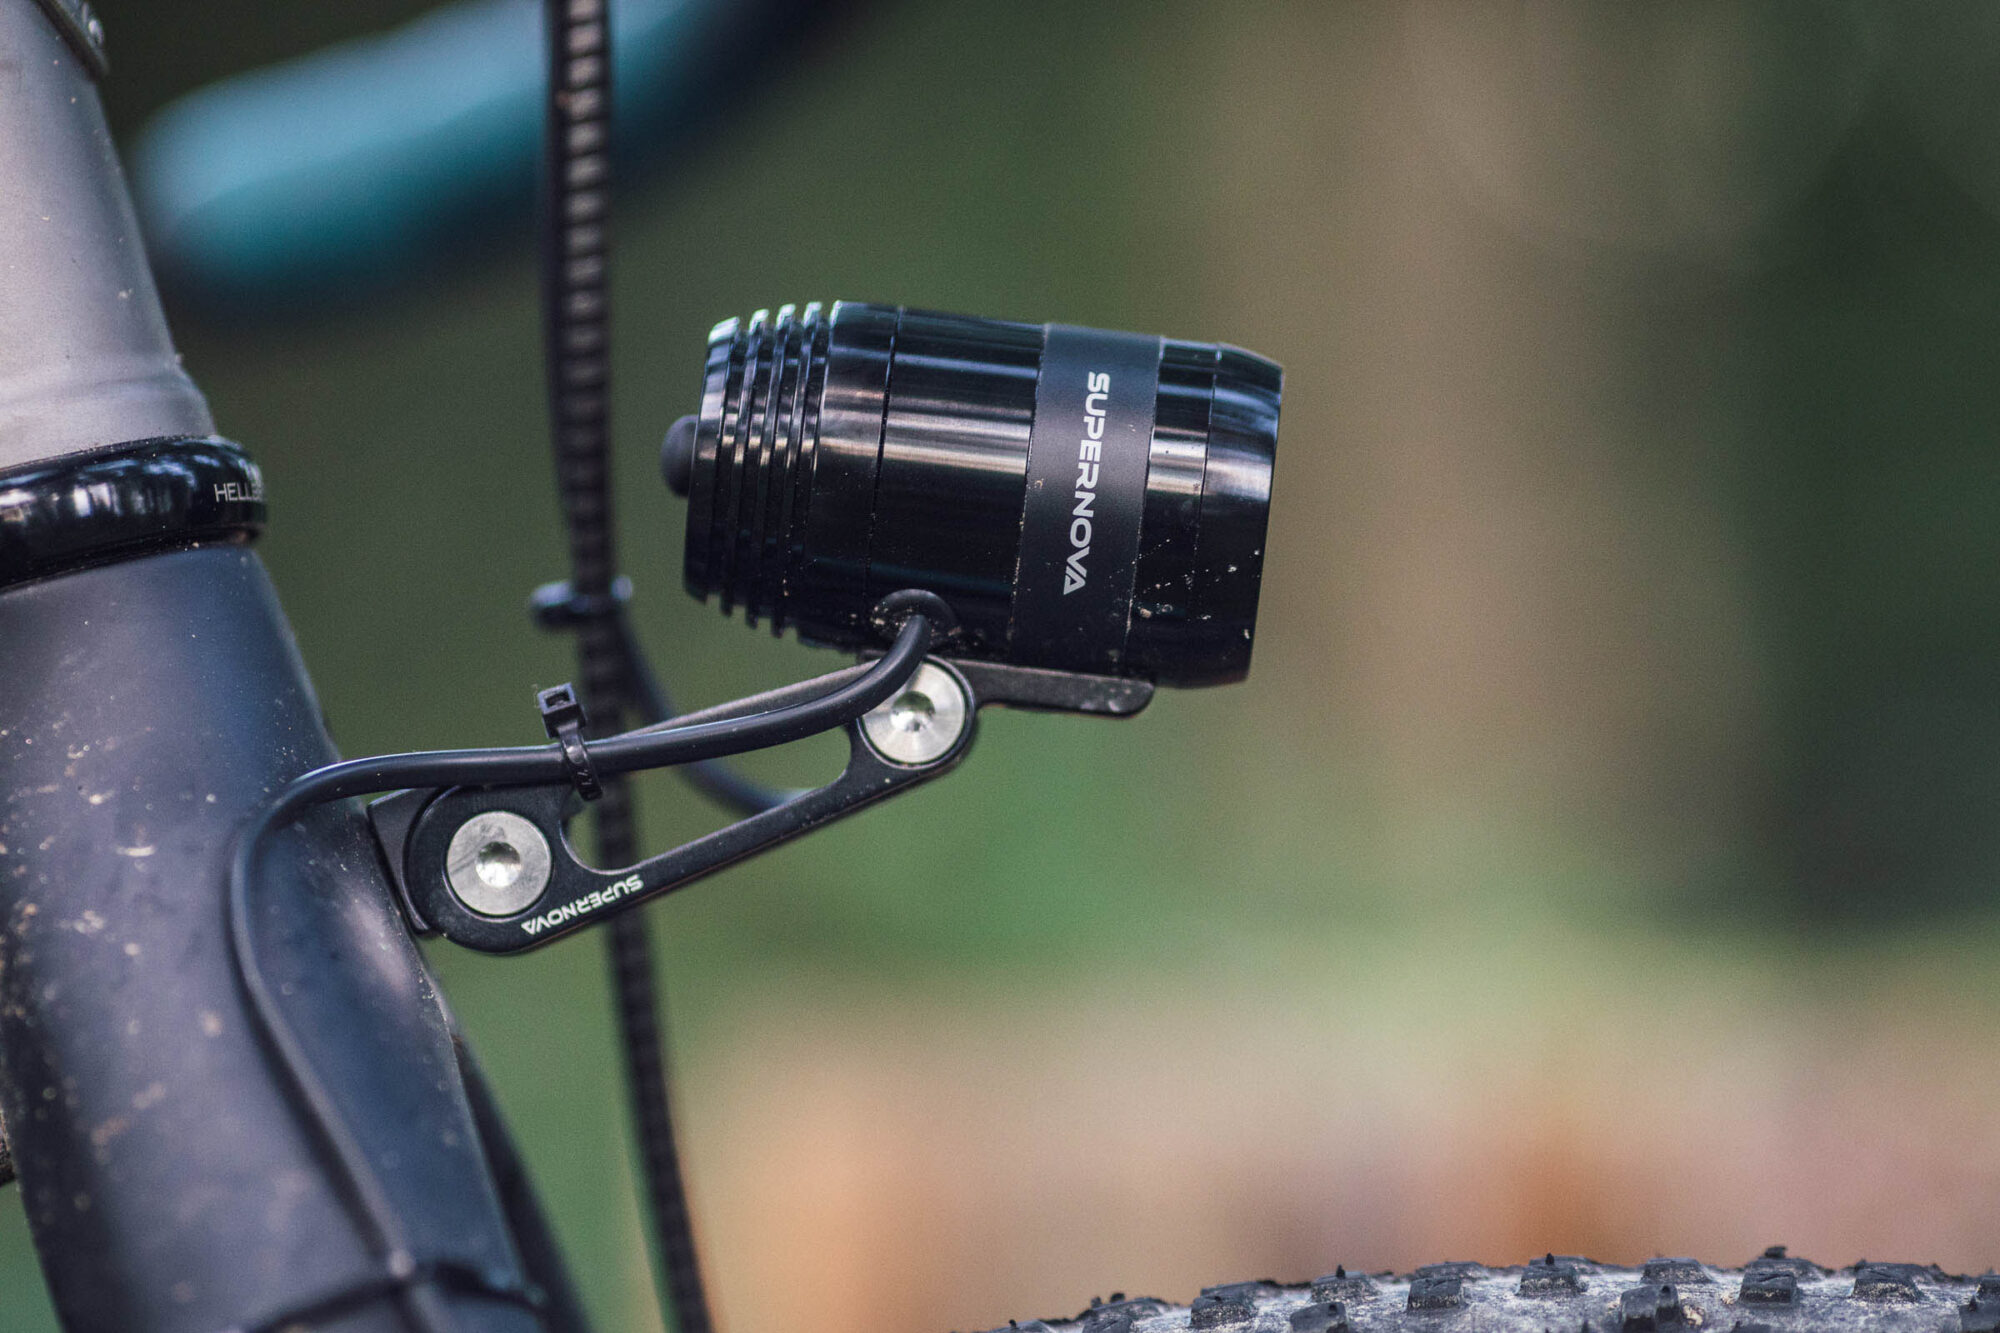
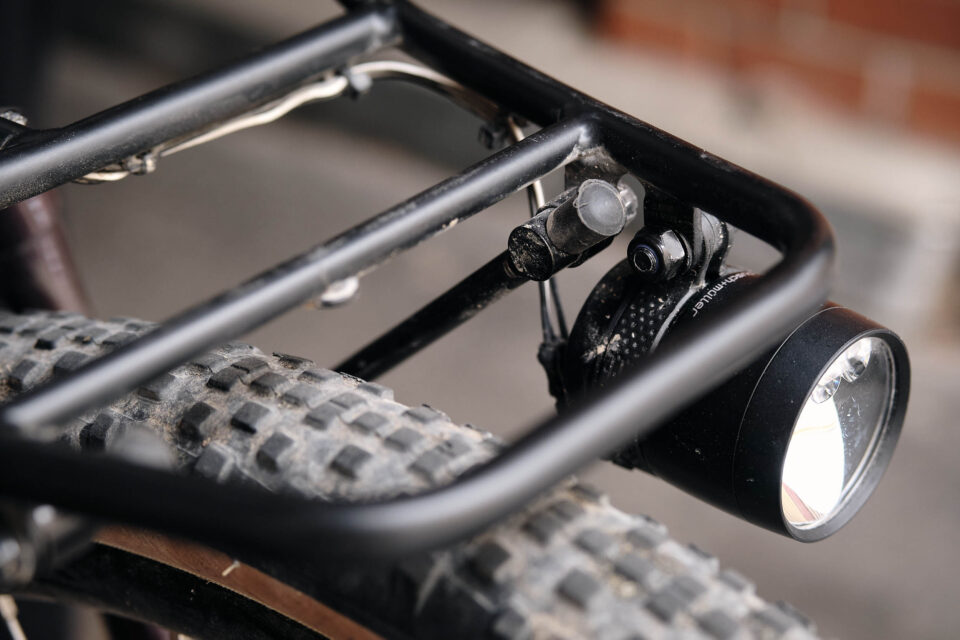
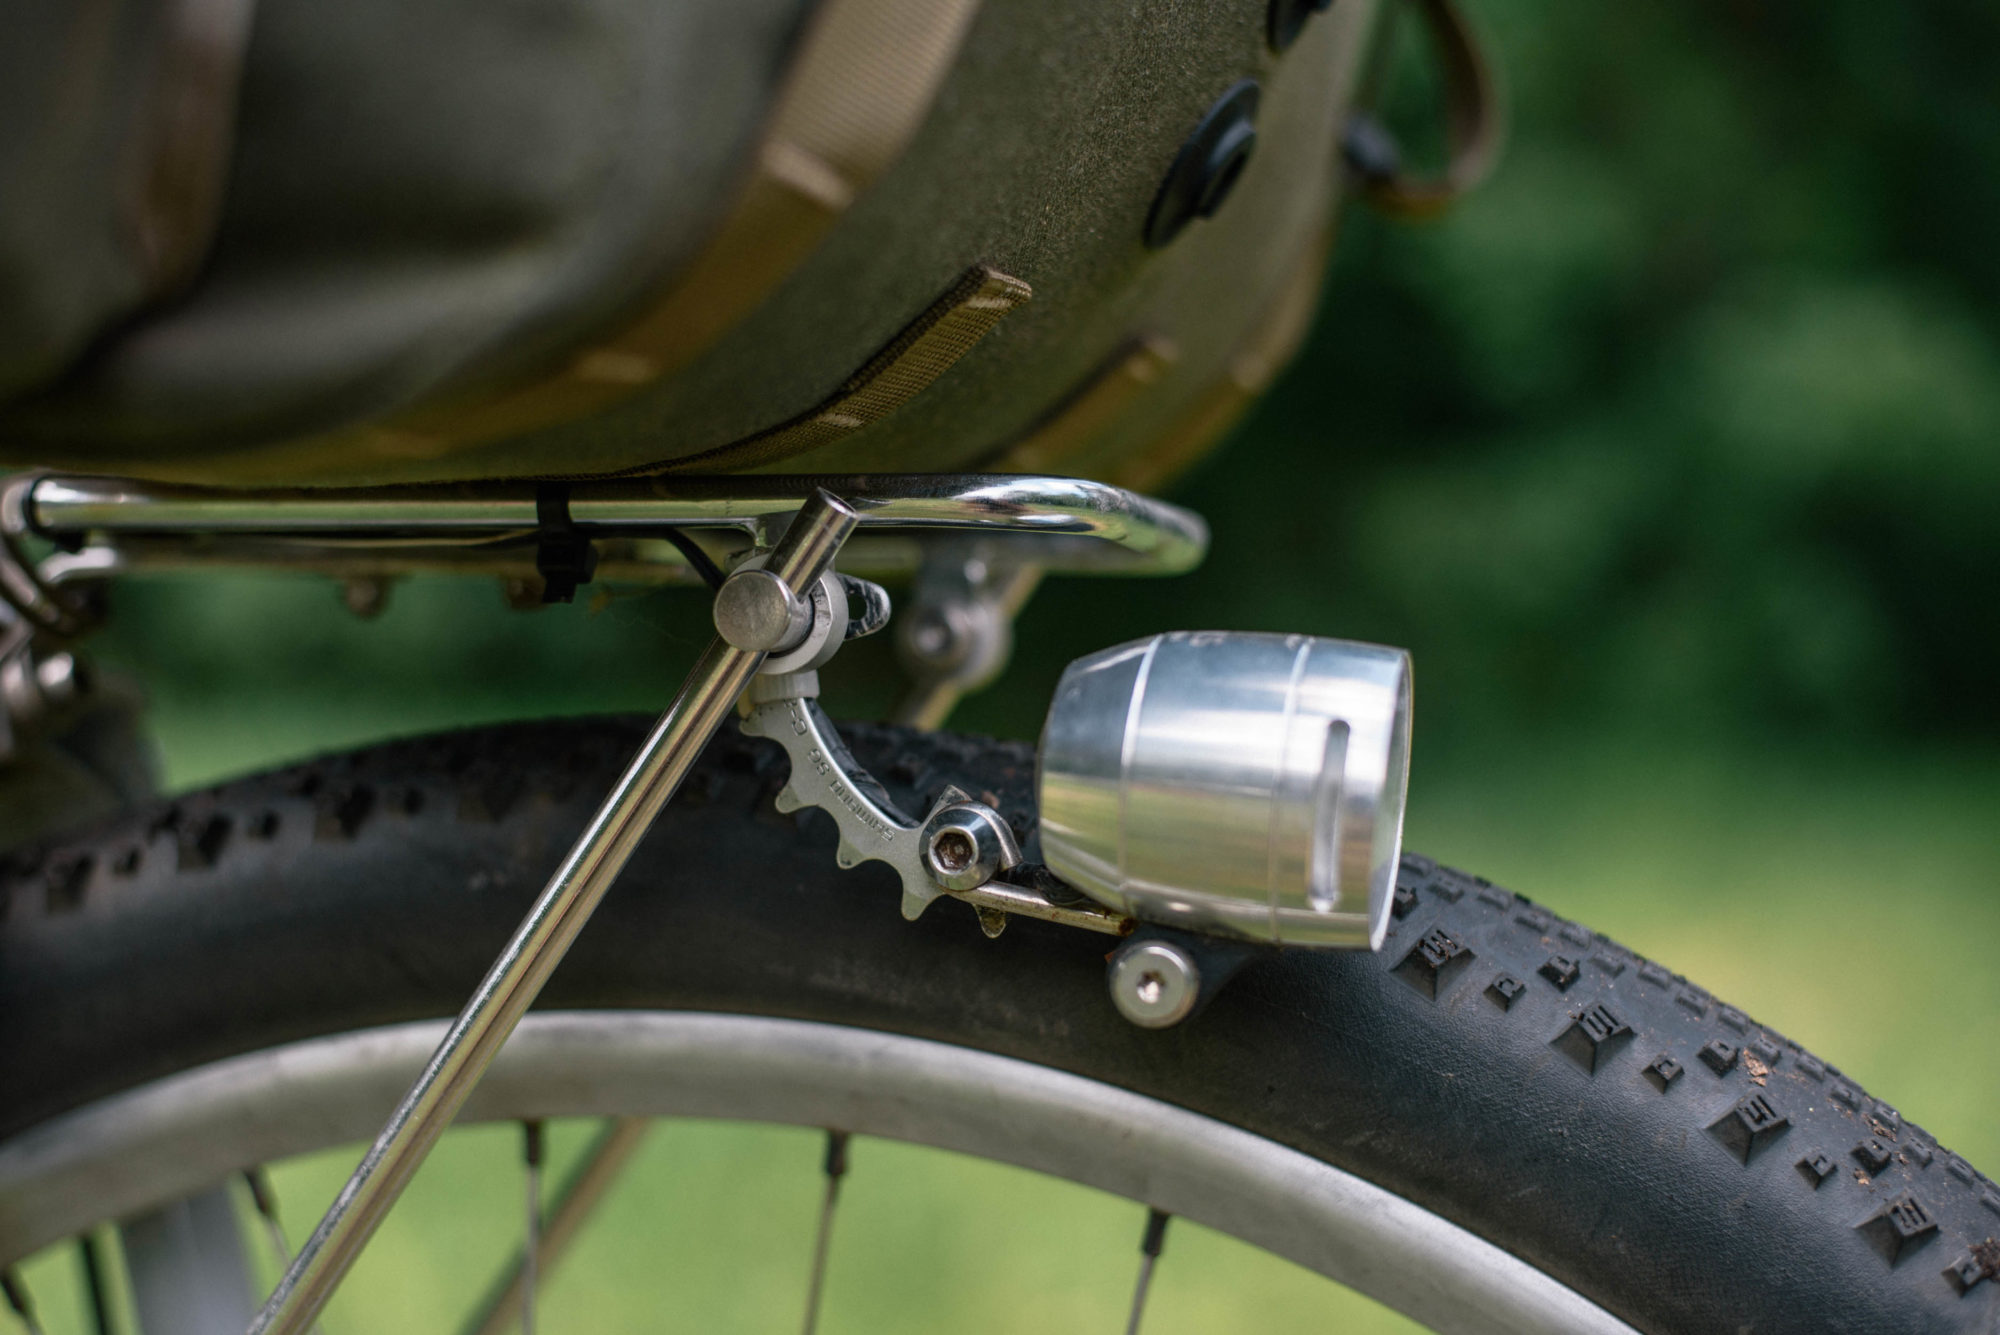
However, handlebar rolls may interfere, especially on small and medium frames, and not all forks feature a crown bolt hole. One solution is adding a lightweight front rack, which typically features a dedicated mounting tab for lights. Cut-off beams have only one correct orientation, potentially requiring the use of a J-bracket (often included with the rack). Some lights, such as the Edelux, are available in a hanging configuration for direct upside-down mounting, and the B&M IQ-X can do both thanks to a rotating collar. Symmetrical lights such as the Sinewave Beacon may be flipped.
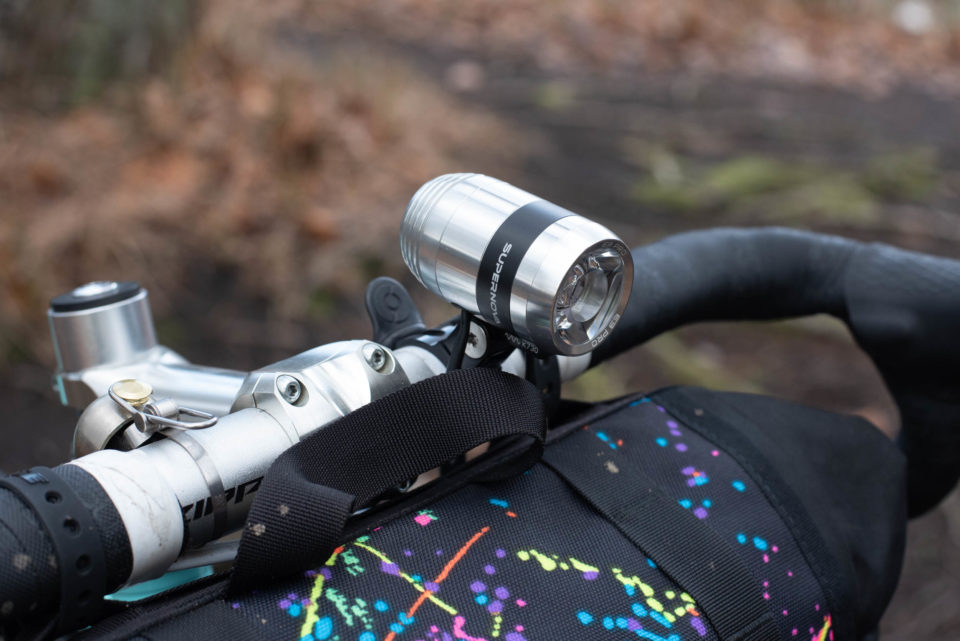
When the fork crown and front rack aren’t viable options, as is frequently the case on mountain bikes with suspension forks, the light can be mounted to the handlebar, an accessory bar, or aero bars. Supernova, Schmidt, and Lupine (US/DE) all offer an array of bar mounts. Some out-front GPS mounts feature a light mount underneath, such as the combo mounts by K-Edge. There are adapters for GoPro mounts on the market too. Get creative, but just make sure the light and wires are secure and won’t get tangled in moving parts.
Dynamo rear lights for bikepacking
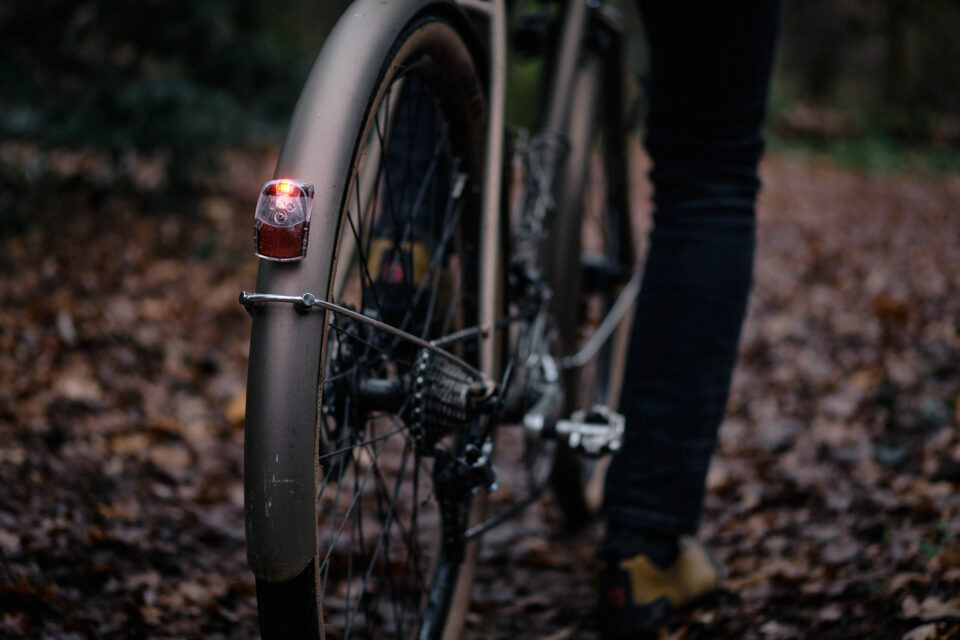
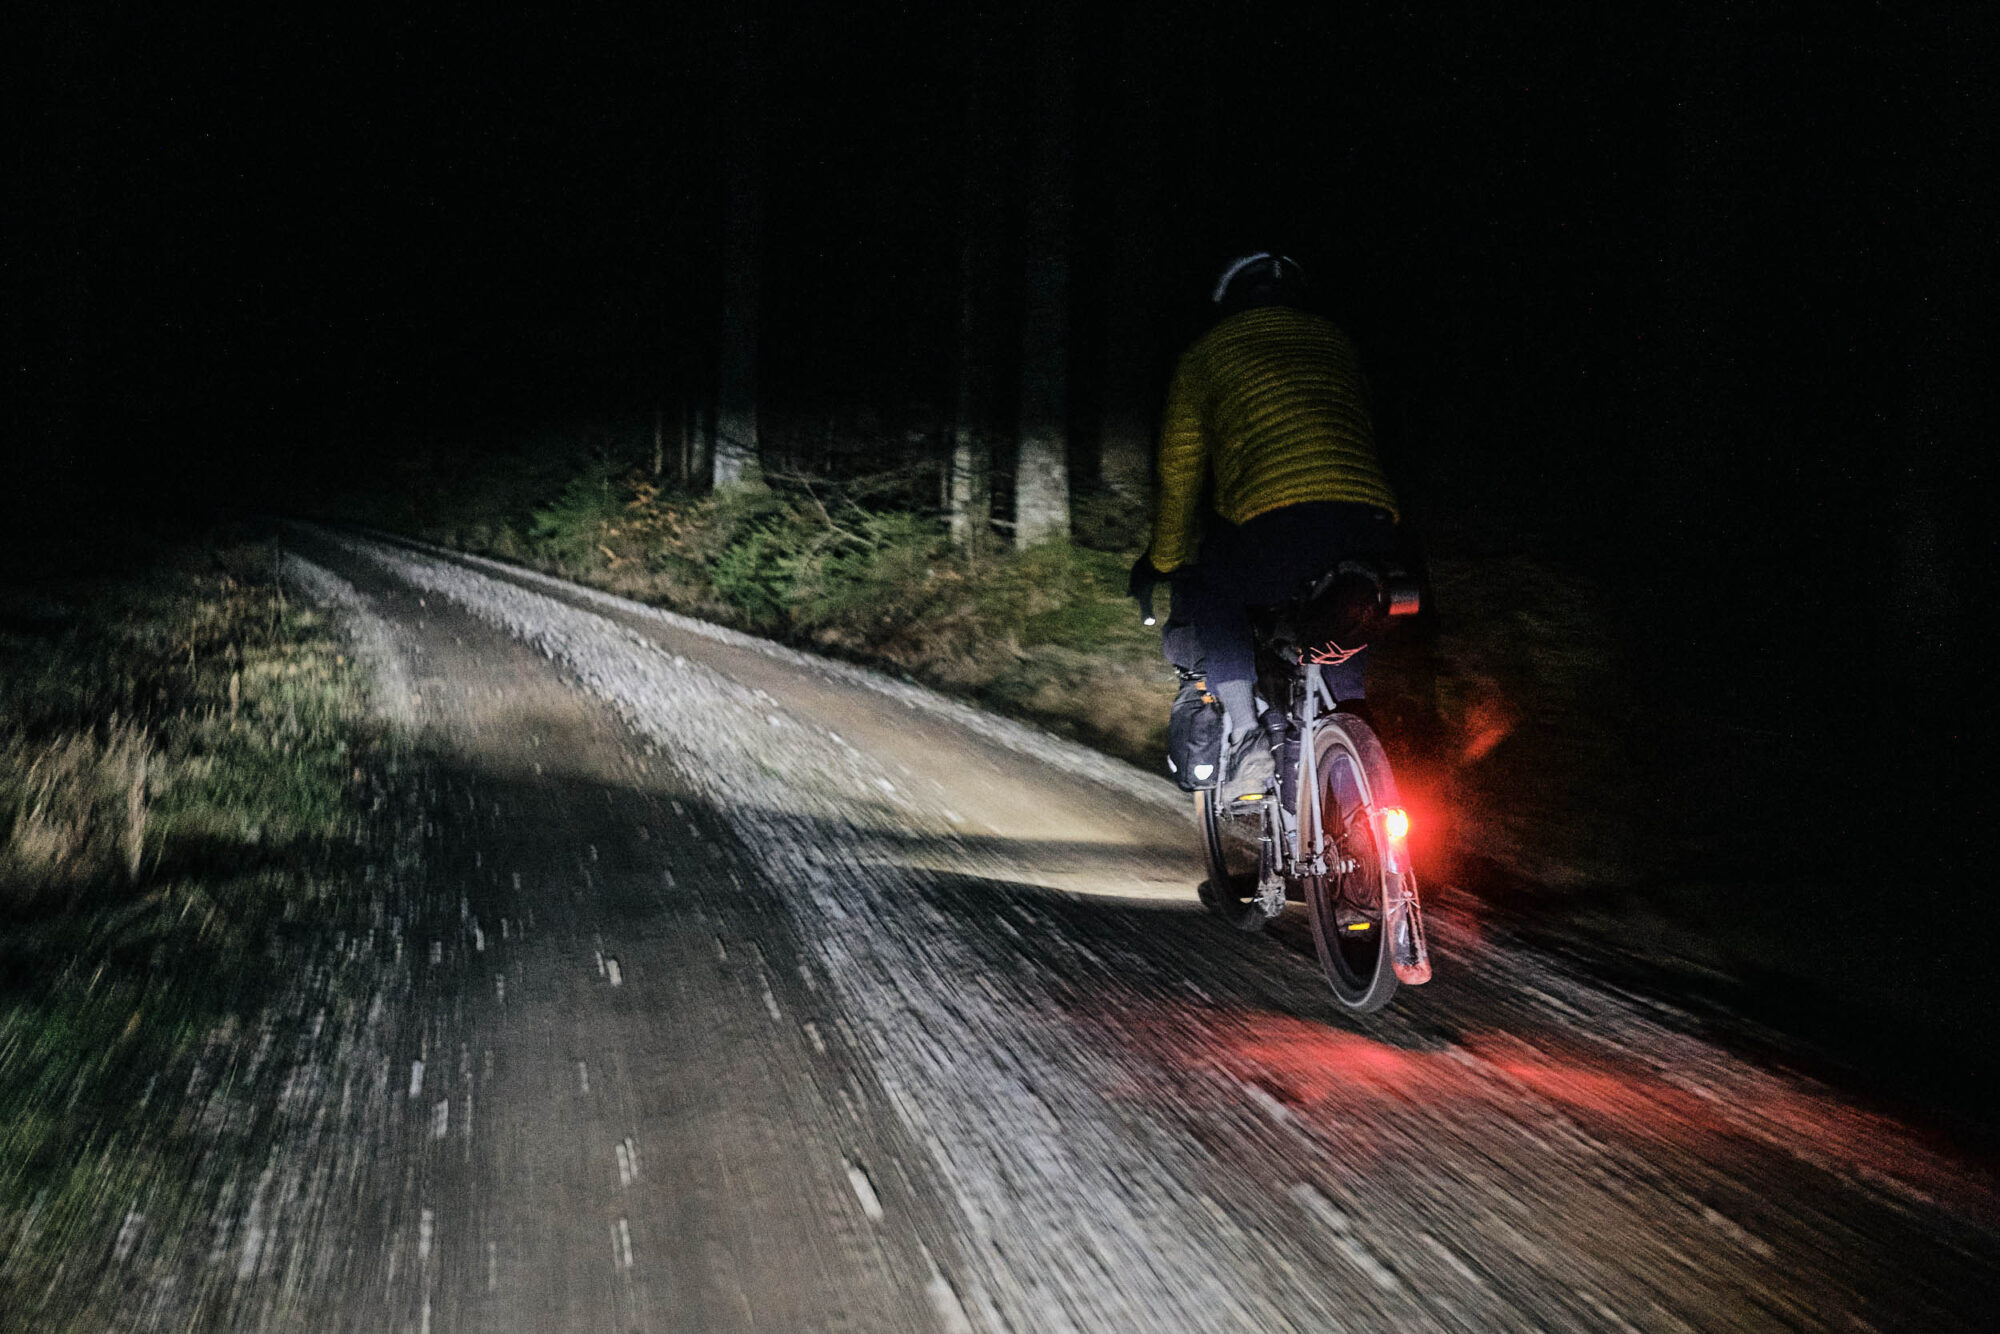
Dynamo rear lights are compact, lightweight, and provide peace of mind when there’s the chance of riding on unlit roads. Especially if you’re already running a front light, there’s little reason not to run one. They put out a non-flashing beam and have their own standlight circuitry. Rear lights are often offered in multiple versions for specific mounting locations, so you’ll first want to identify a suitable position on your bike.
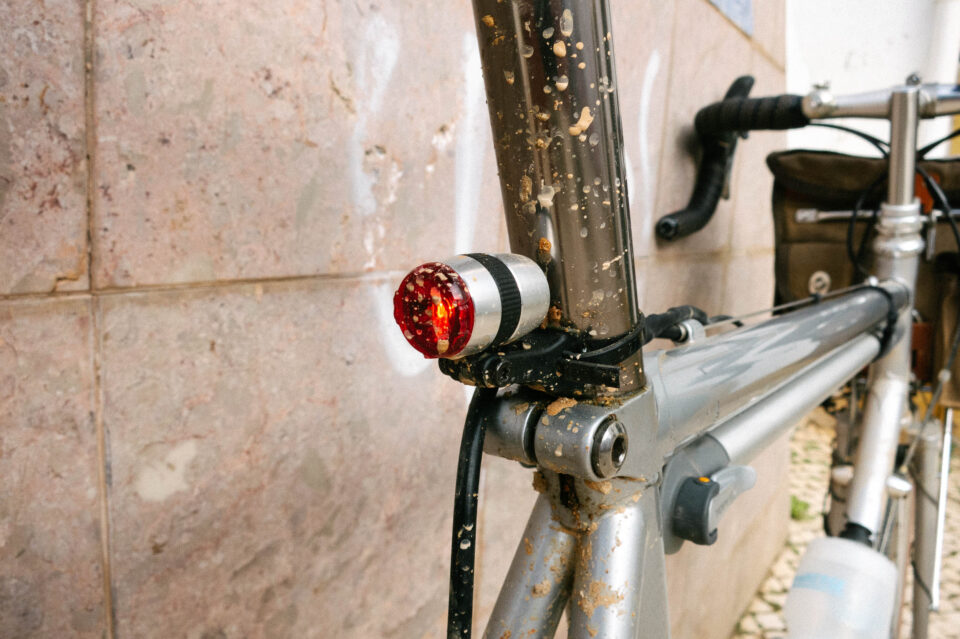
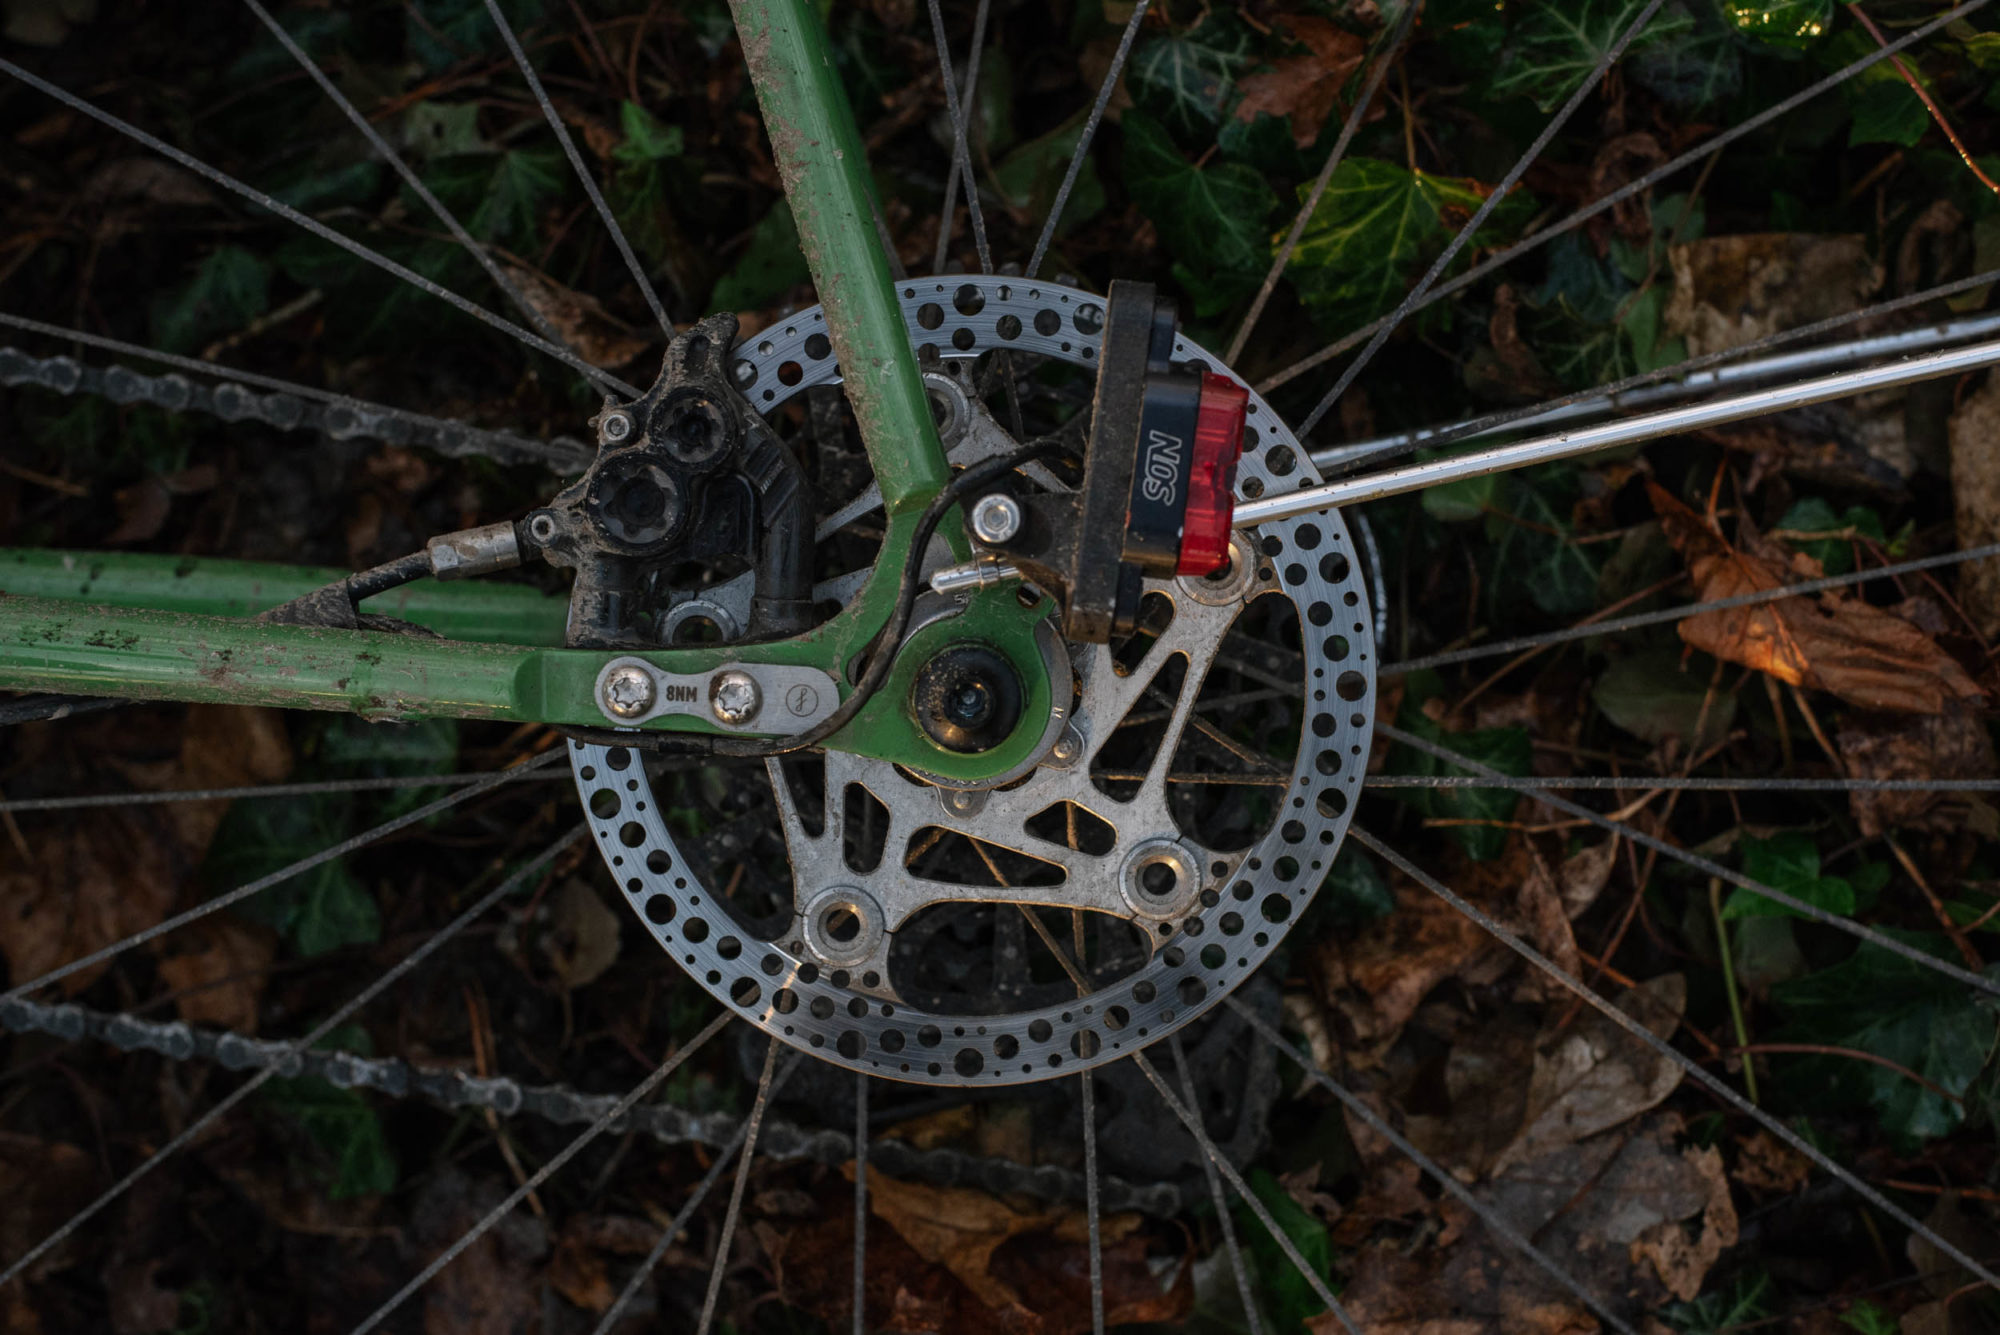
Between bags, racks, and tall tires, finding a place where the light won’t be obstructed, coated in dirt, or rubbed on by bags might require a compromise. The chainstays, seatpost, rack mounts, and rear rack are all common mounting locations. Adapters exist to mount lights with 50mm spacing to frame mounts. For best visibility, StVZO rear lights shouldn’t be rotated.
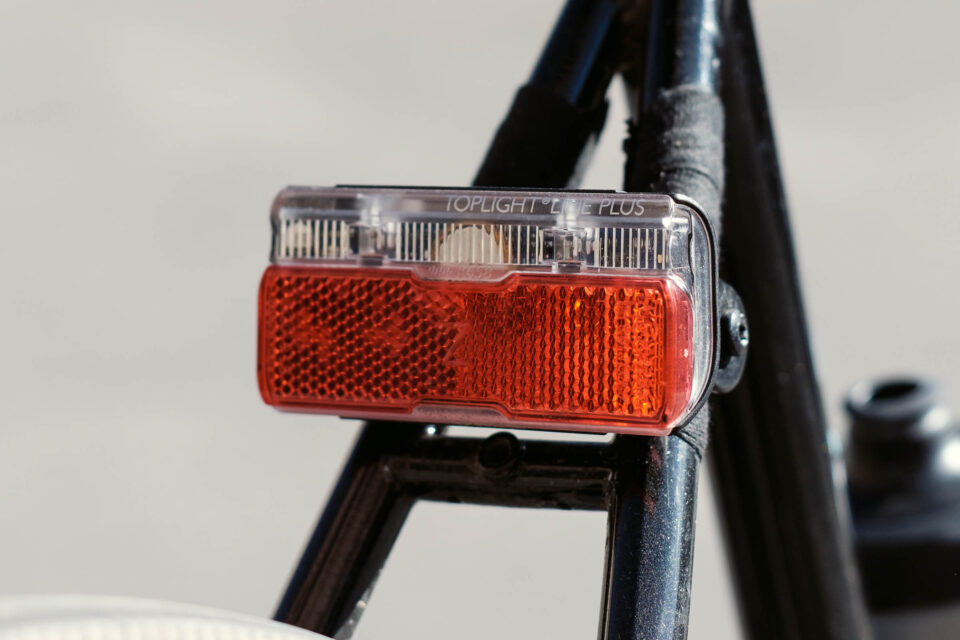
Two minimal rear lights are the B&M [my:] and Supernova E3 Tail Light 2 (for Supernova headlights). The elegant SON rear light is available in versions for seat post, seat clamp, and rack mounting. The equivalent B&M Line Small is also popular, and the B&M Secula is a highly visible option for seatpost, seatstay, and fender mounting.
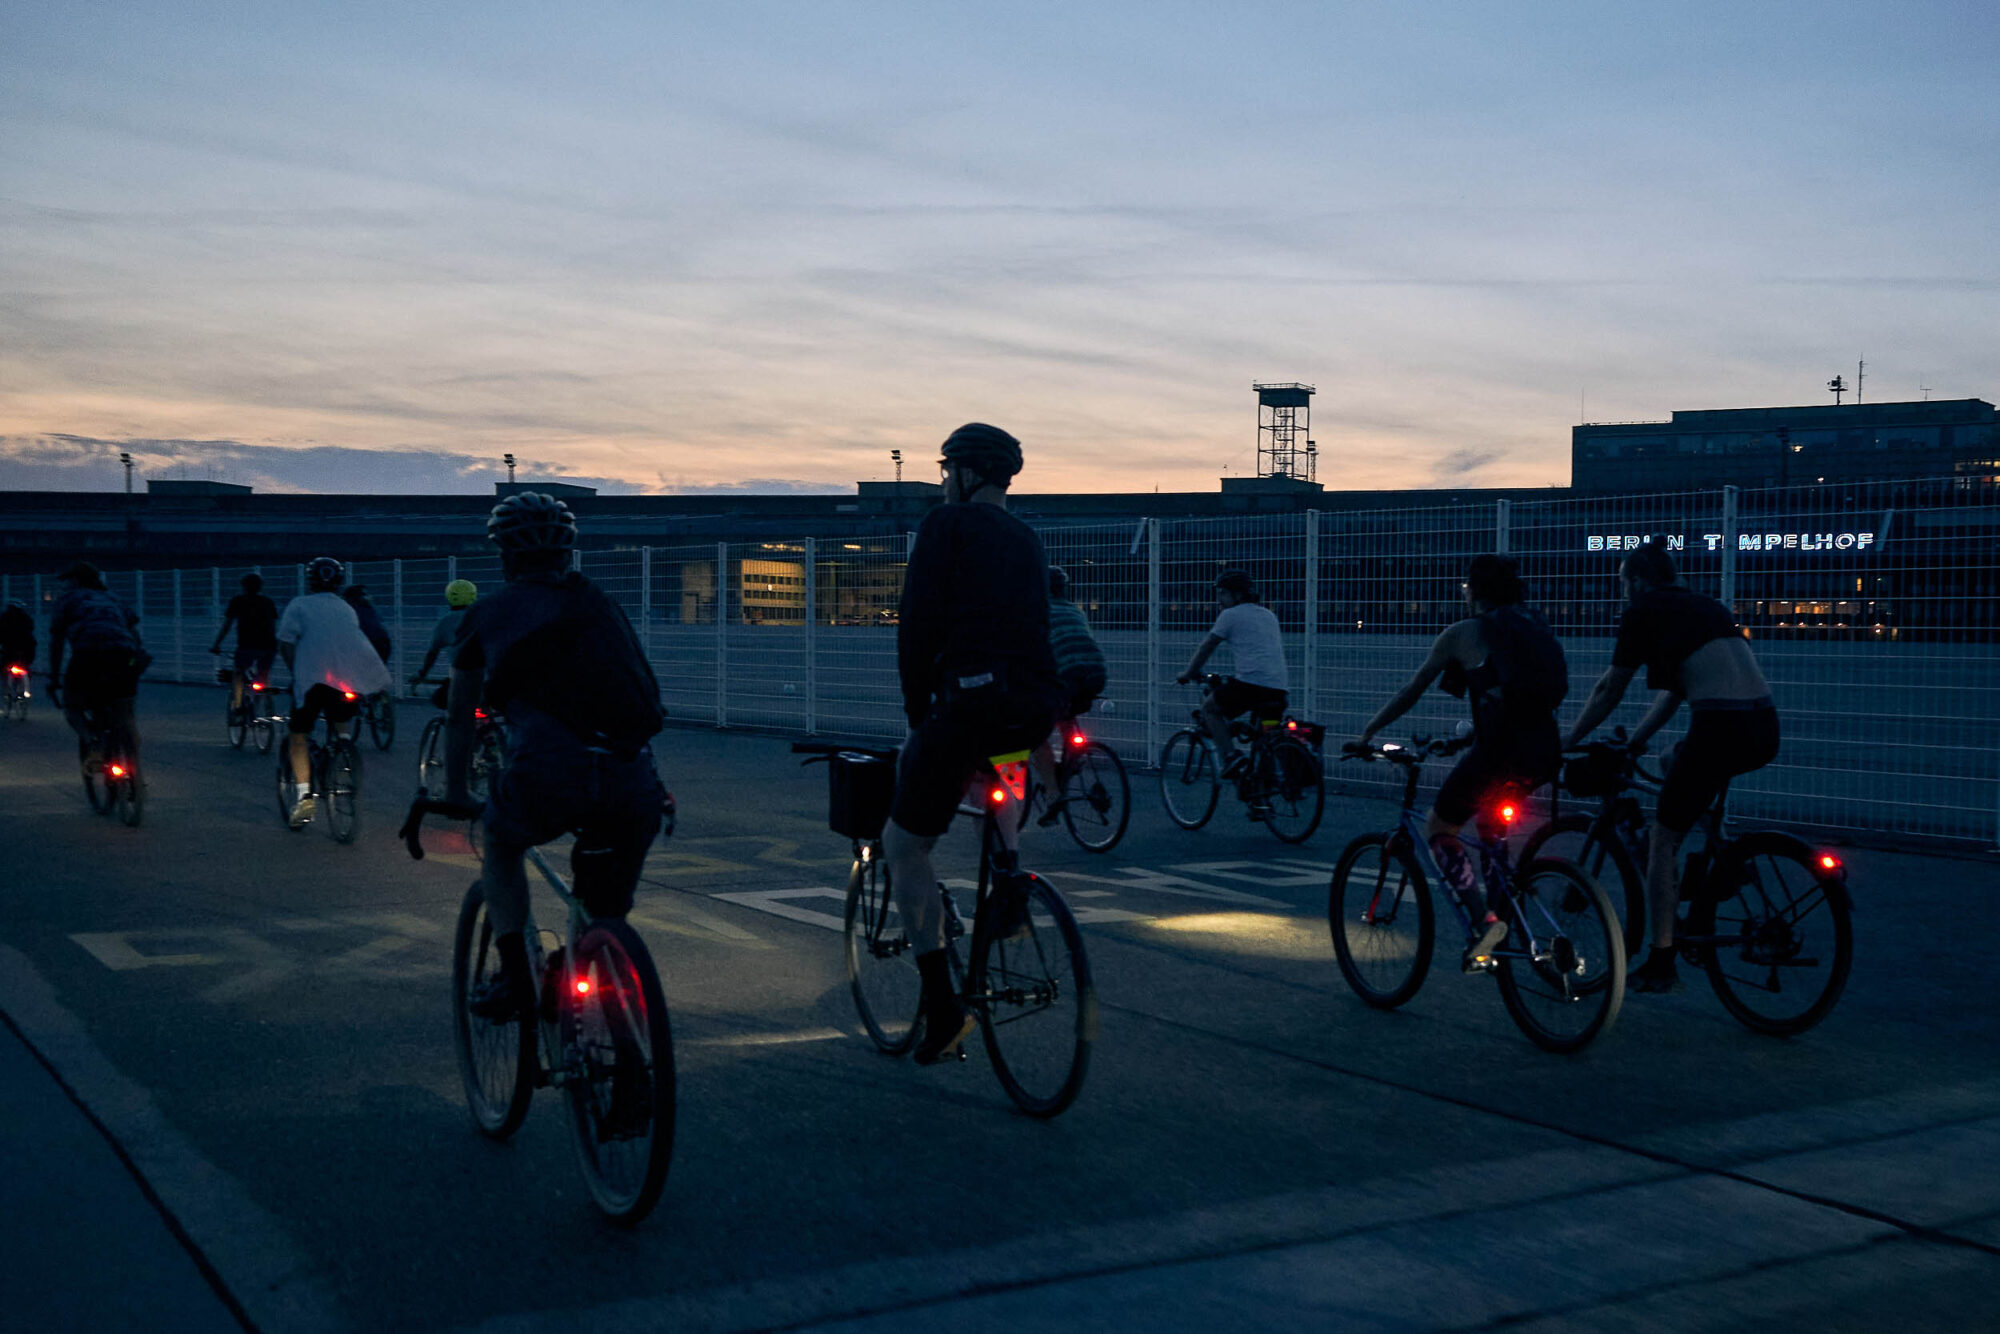
Rear racks provide real estate for larger rear lights such the B&M 2C, which feature a substantial lit area and integrate passive reflectors for much improved visibility.
Dynamo USB chargers & cache batteries for bikepacking
The idea of autonomously roaming the land and charging by dynamo power is romantic and enticing, but charging from a dynamo is relatively slow. Even then, its efficacy highly depends on the terrain and your riding style. Given the affordability of high-capacity USB power banks and powerful multi-port USB wall chargers, USB chargers are increasingly hard to justify. You’ll want to take your device use, riding habits, and the terrain into account when considering one.
You can expect the best charging results when you’re riding all day at consistently high speeds. Dynamo USB chargers deliver about 3-6 watts under ideal conditions, which may be just enough to keep a modern phone with the screen on at a steady battery level.7 Stable charging also requires lights off, as the dynamo will otherwise struggle to meet the combined load.
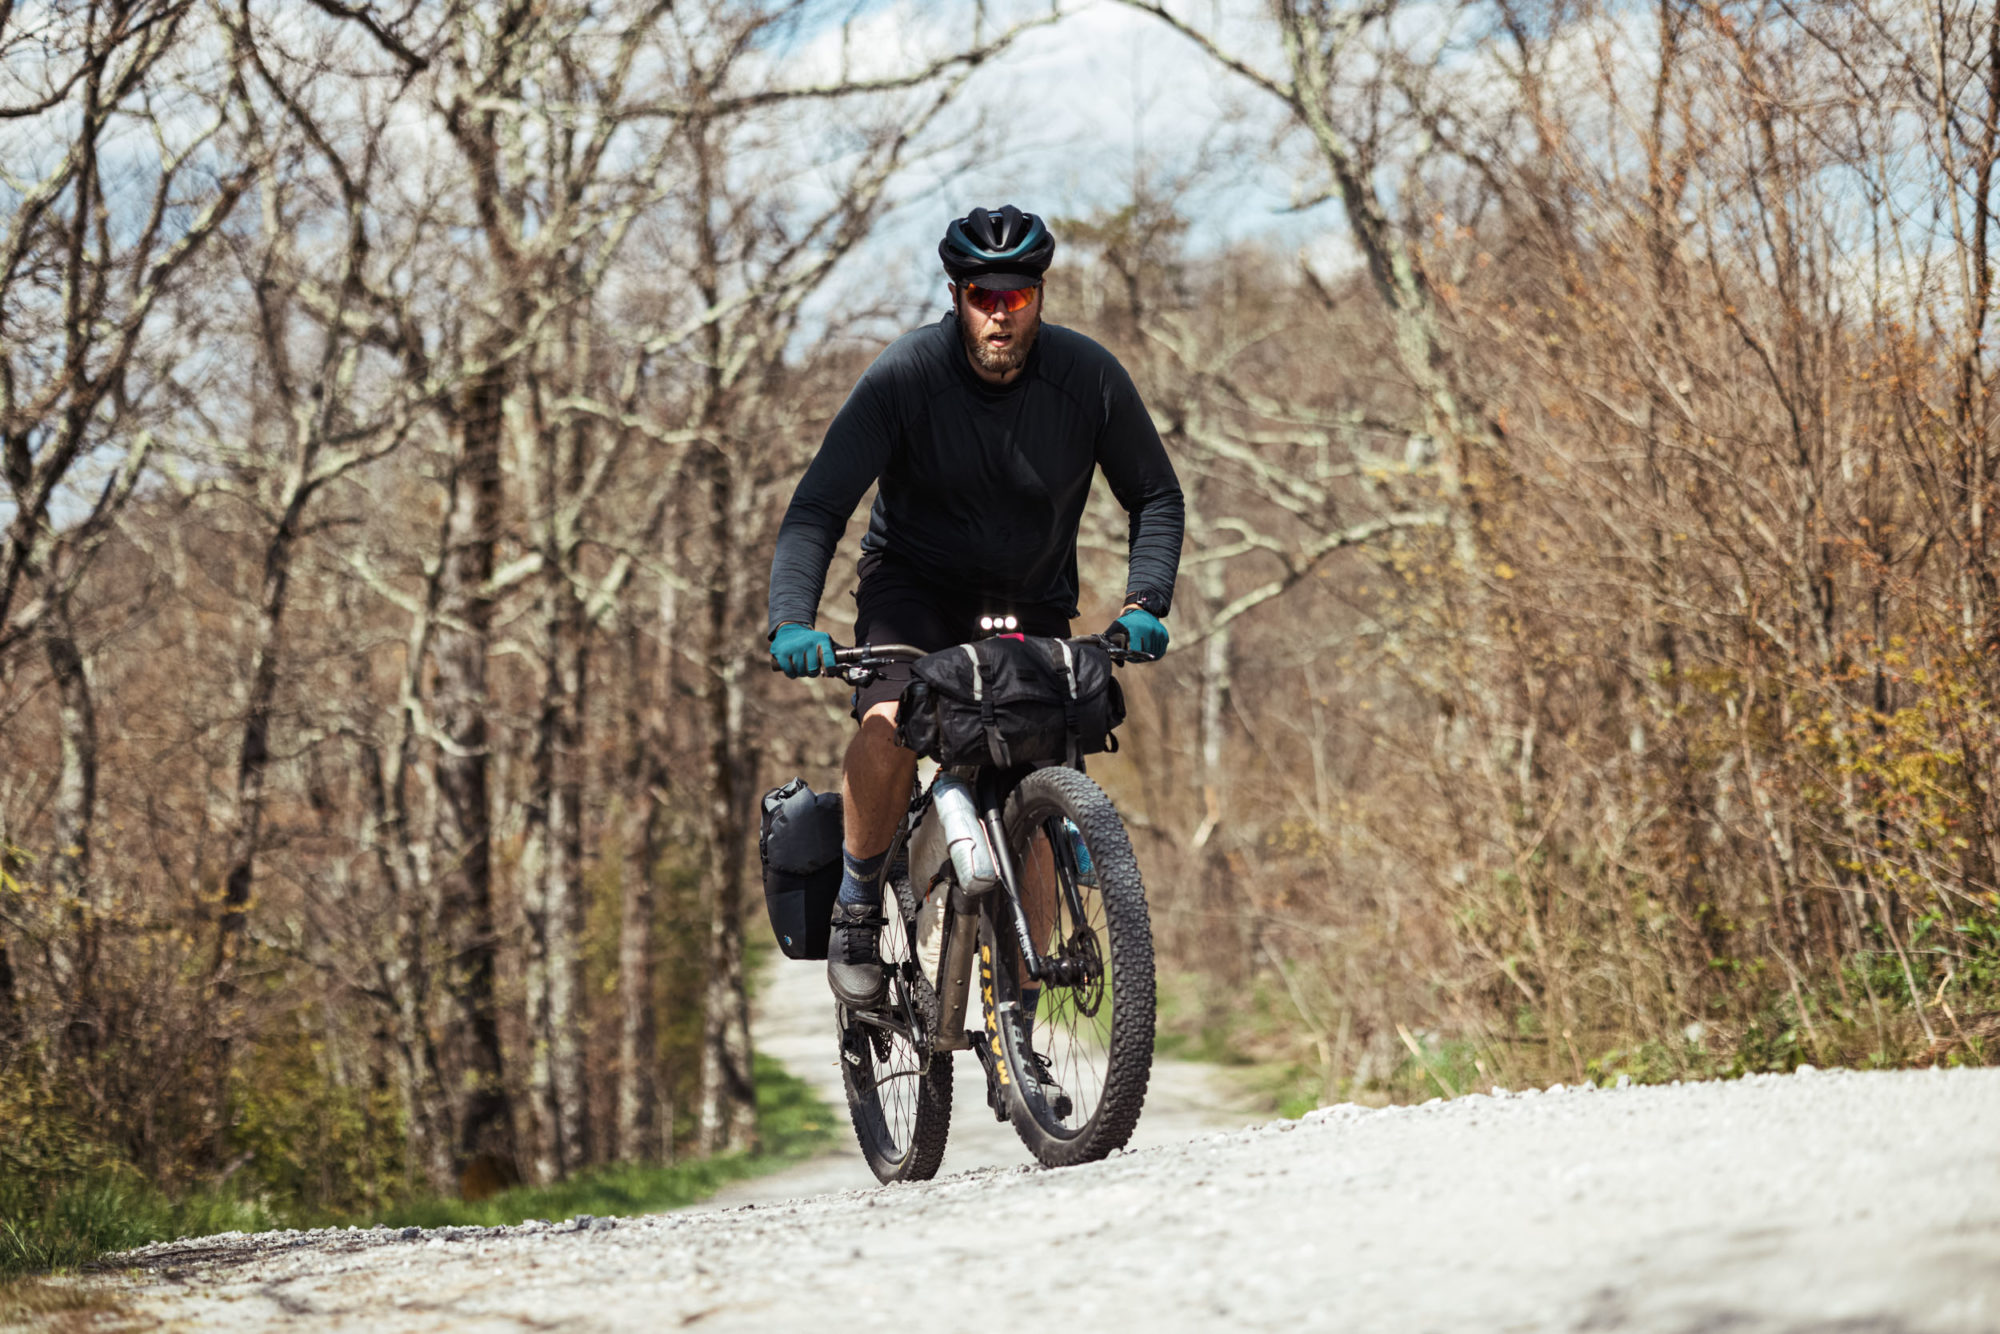
At slower speeds and during hike-a-bikes, you can expect significantly reduced charging or none at all. When the current coming from the dynamo is unsteady, certain phones may wake, interrupting the charging process and burning valuable energy. At low speeds and corresponding low currents, some high-power devices and large power banks refuse to be charged at all. Low-power devices such as GPS units and smaller power banks seem to be less affected.8
Charging a power bank from the dynamo and then charging devices from that often yields more consistent results, though this introduces additional transmission losses. Special dynamo cache batteries such as the Tout Terrain Power Pack and Voltaic Systems V-25/50 allow low charging currents and pass-through charging, but regular USB power banks (especially cheap, “dumb” ones) often do the job just fine; you’ll need to do your own experimenting.
For dynamo USB chargers, you might look at the the Sinewave Beacon 2 (integrated charger), B&M USB-Werk, Igaro S1, Forumslader Pro, kLite Dual USB Charger, and Sinewave Revolution/Reactor. Dynamo USB chargers may come integrated in the light, as dedicated devices that can be stowed in a bag, or even for installation in the steerer tube with a charging port stem cap. Don’t hook up your phone or other USB device straight to a dynamo’s raw output, as this may damage the device!
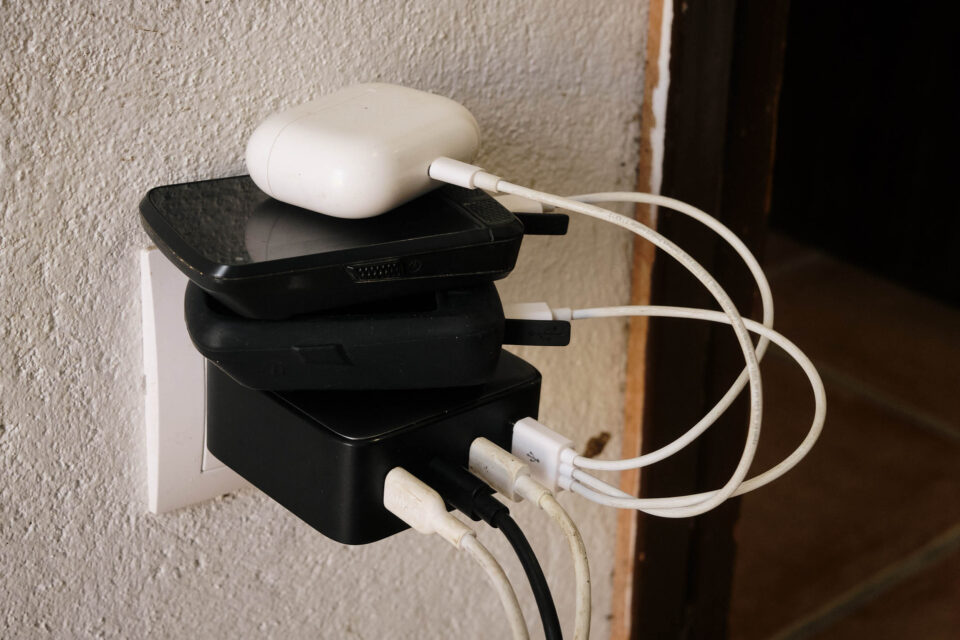
Overall, dynamo USB chargers add a compelling capability for bikepacking but are costly and come with limitations. They’re at their best if you’re off the grid for weeks at a time or riding fairly fast all day without stopping. They’re suited for charging low-power devices and can provide peace of mind as a backup, but unless your device usage is light, you’ll likely still be hunting for outlets. For general mixed-terrain bikepacking within a few days of civilization, a 10,000-20,000mAh USB power bank and a (multiport) USB PD wall charger is often a more effective, economical, and versatile approach.
Connecting it all together
If you’ve done some bike wrenching, wiring up a dynamo system is straight-forward and safe job to do at home. This wiring guide by Peter White (the North American SON distributor) is a good start. Many folks out there, including Cass Gilbert and me, skip the fancy crimping tools and just use a sharp blade, a pair of needle-nose pliers, and a soldering iron (and even that’s not always necessary). Of course, make sure to do your own research, and be careful when wiring up electrical devices. Reach out to your local bike shop, wheelbuilder, or skilled friend if necessary.
Connectors
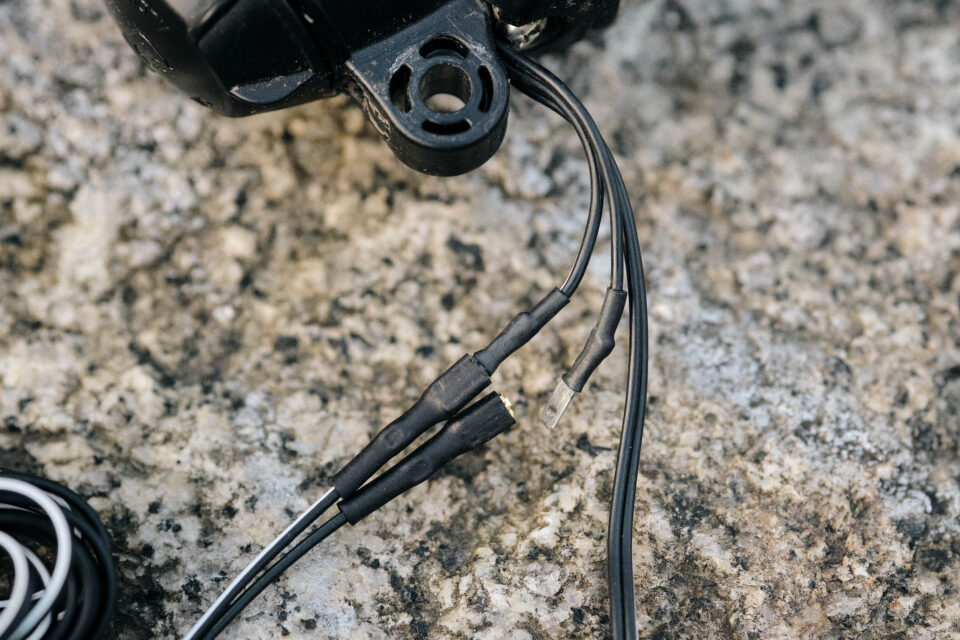
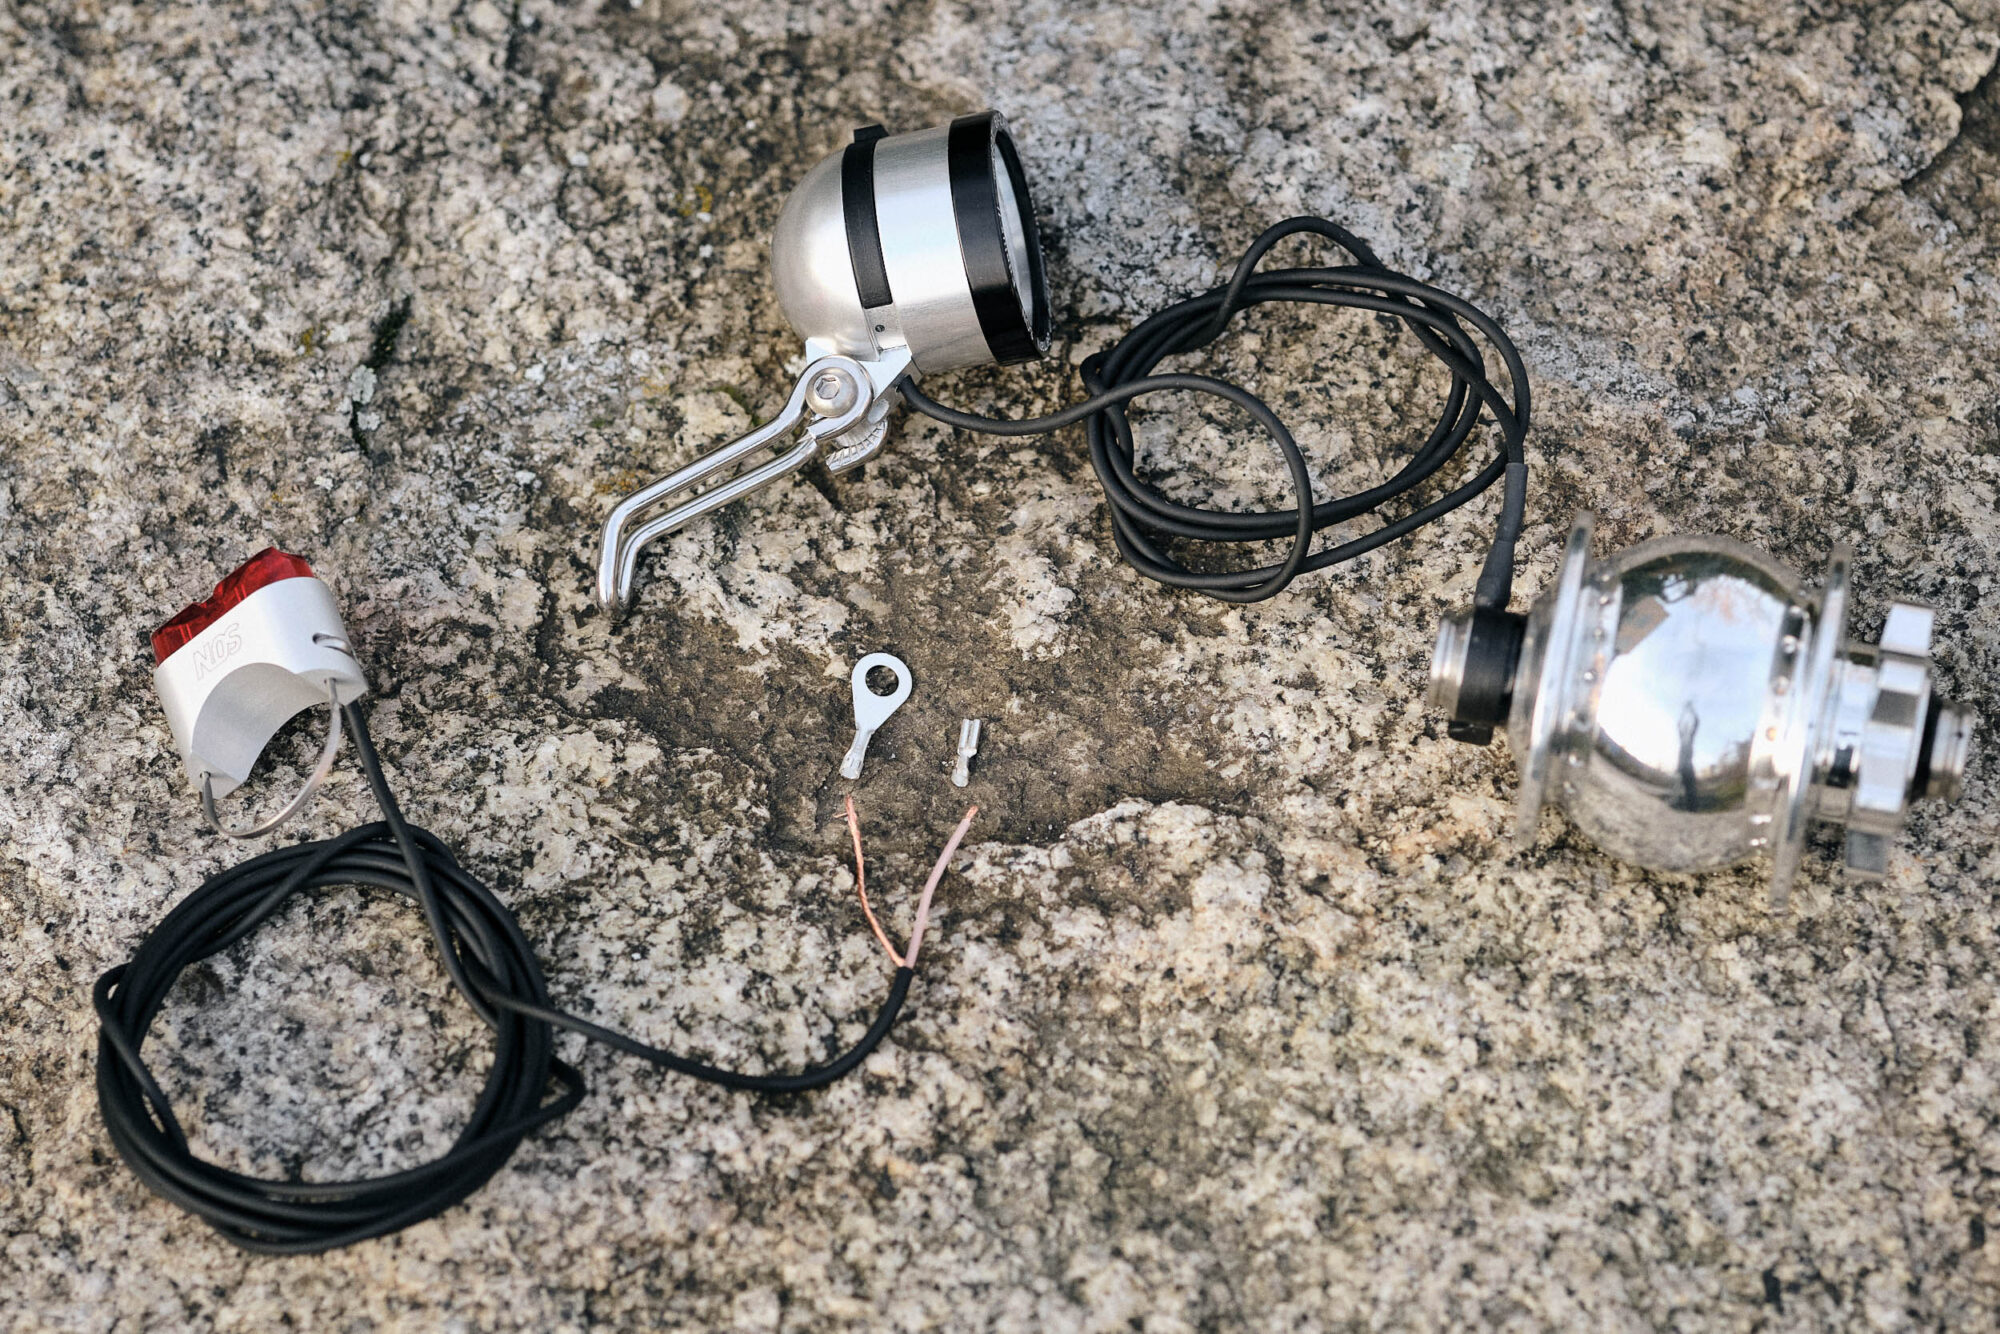
Wires and connectors get the electricity from the hub to the lights and chargers. Whether SON, SP, or Shimano, the hub typically includes the connectors for the bare ends of the headlight input wires. Rear lights are hooked up to the headlight, never directly to the dynamo hub. USB chargers are typically hooked up in parallel to the light using, for example, piggy-back flat connectors, a junction box, or by splicing the wires, as outlined by Sinewave here.
Typically, headlight wires have bare ends, which need to be placed, crimped, or soldered into the hub’s compatible connectors. SON hubs feature terminals for standard 4.8mm spade connectors (grip by the connector when removing!), with their coaxial adapter available as a recommended upgrade. SP and Shimano each have proprietary molded dual connectors for easier unplugging when removing the wheel, which look similar but aren’t the same. There are too many combinations to cover here, so just remember that as long as you have a reliable electrical connection, the type of connector doesn’t matter.
Because dynamo hubs supply alternating current, there is no wrong way to connect the two electrical leads of modern headlights to the hub’s two terminals—either way around should work. However, double-check the manufacturer’s documentation to be sure. Some older hubs and lights have a frame connection, in which case the polarity must be respected as described here.
Wiring and routing
Most lights come with an attached length of double-strand wire long enough for the manufacturer’s recommended installation. SON lights feature durable coaxial wiring, where the two wires run within each other. It looks cleaner and holds up better over time than thinner wiring. Regardless of style, wiring can always be extended or cut short.
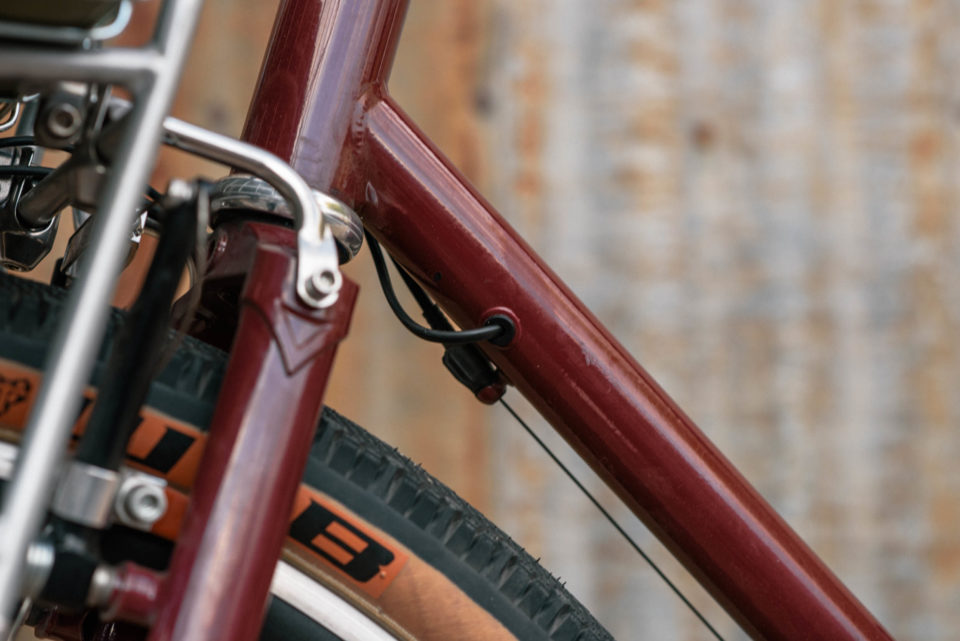
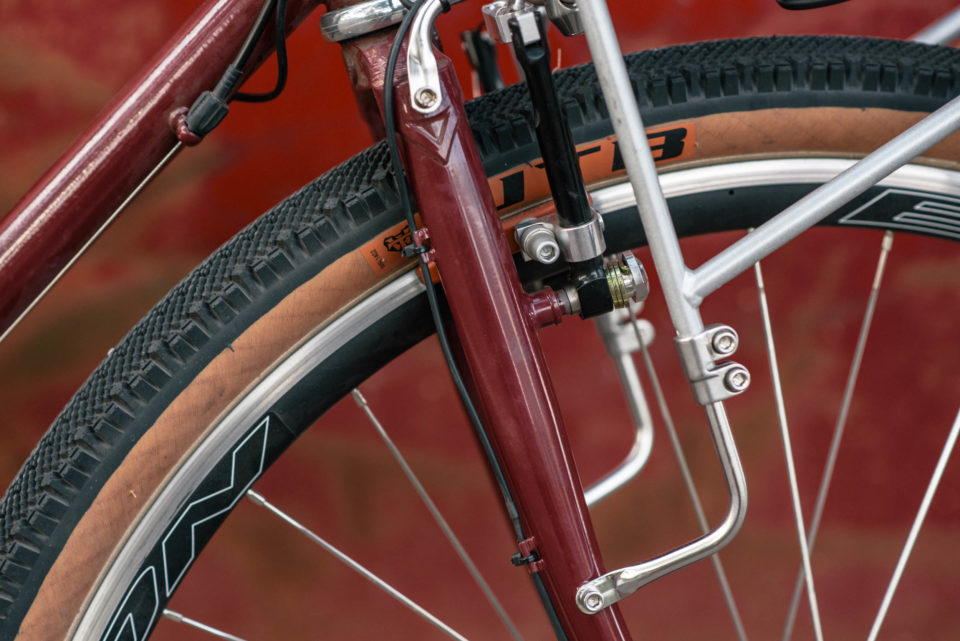
Some forks and frames feature internal routing that allow the wires to run inside the tubes, out of sight (and harm’s way). If internal routing isn’t available, zip-ties, electrical tape, and wrapping around tubes and stays are all time-tested solutions. For a clean look, you can piggy-back the dynamo wiring on existing brake/shifter housing with shrink tubing.
Two practical dynamo setups for bikepacking
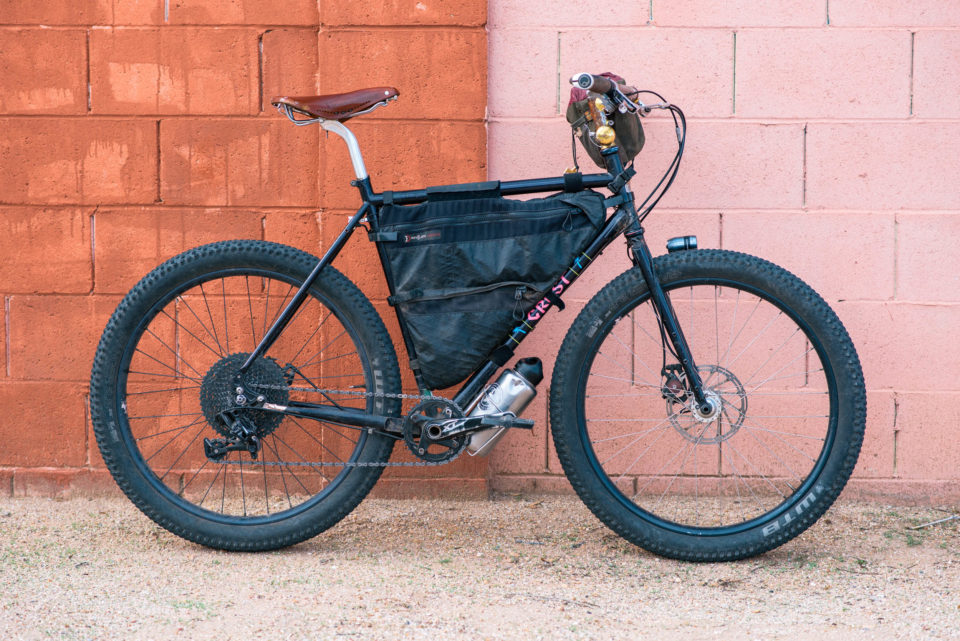
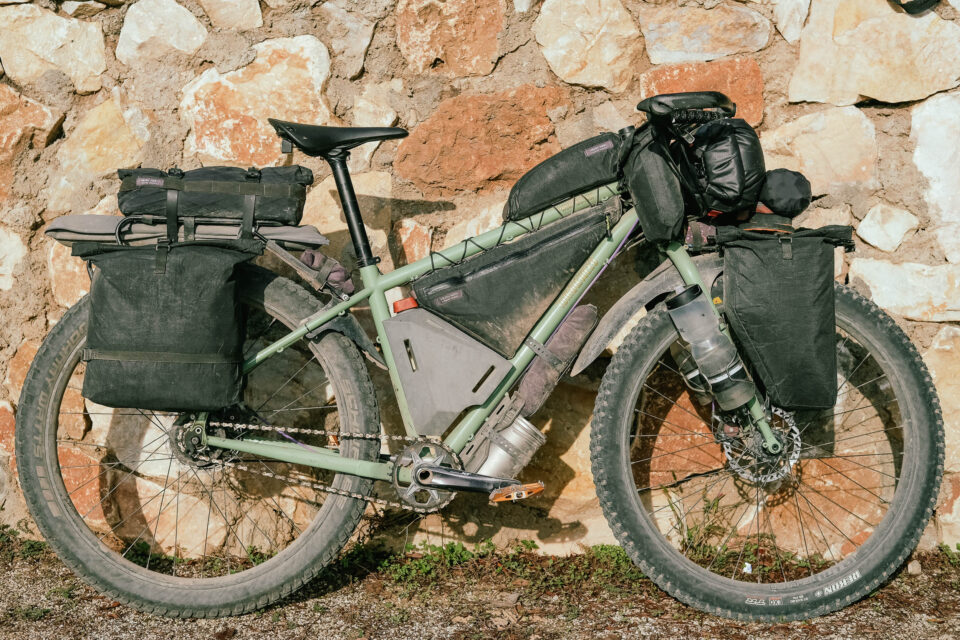
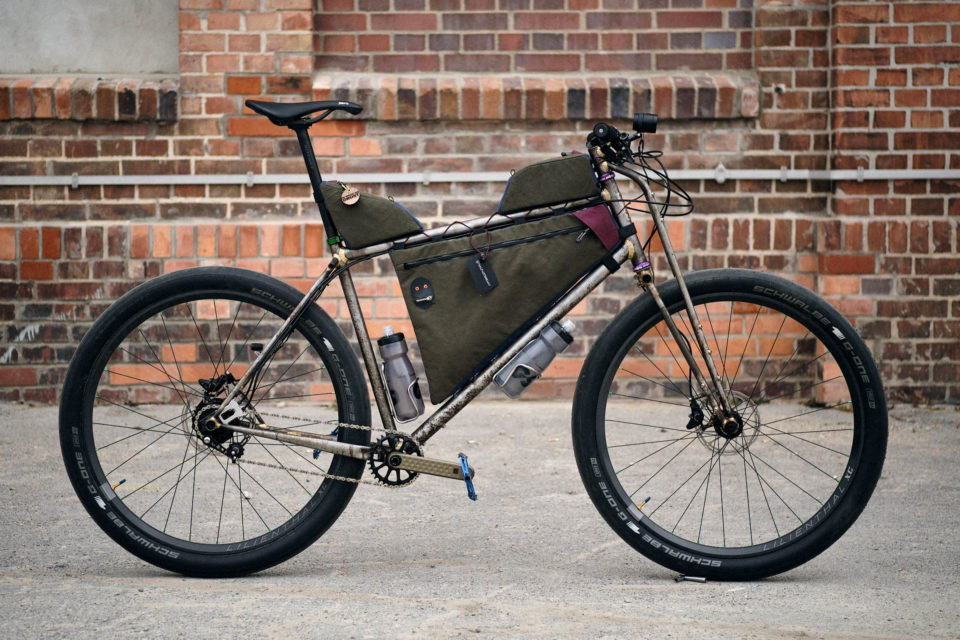
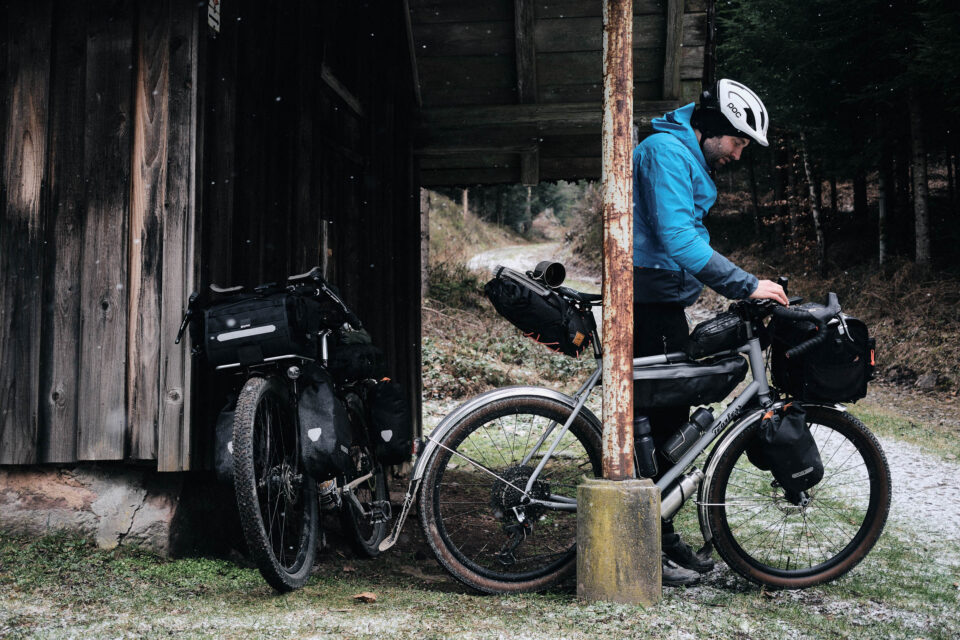
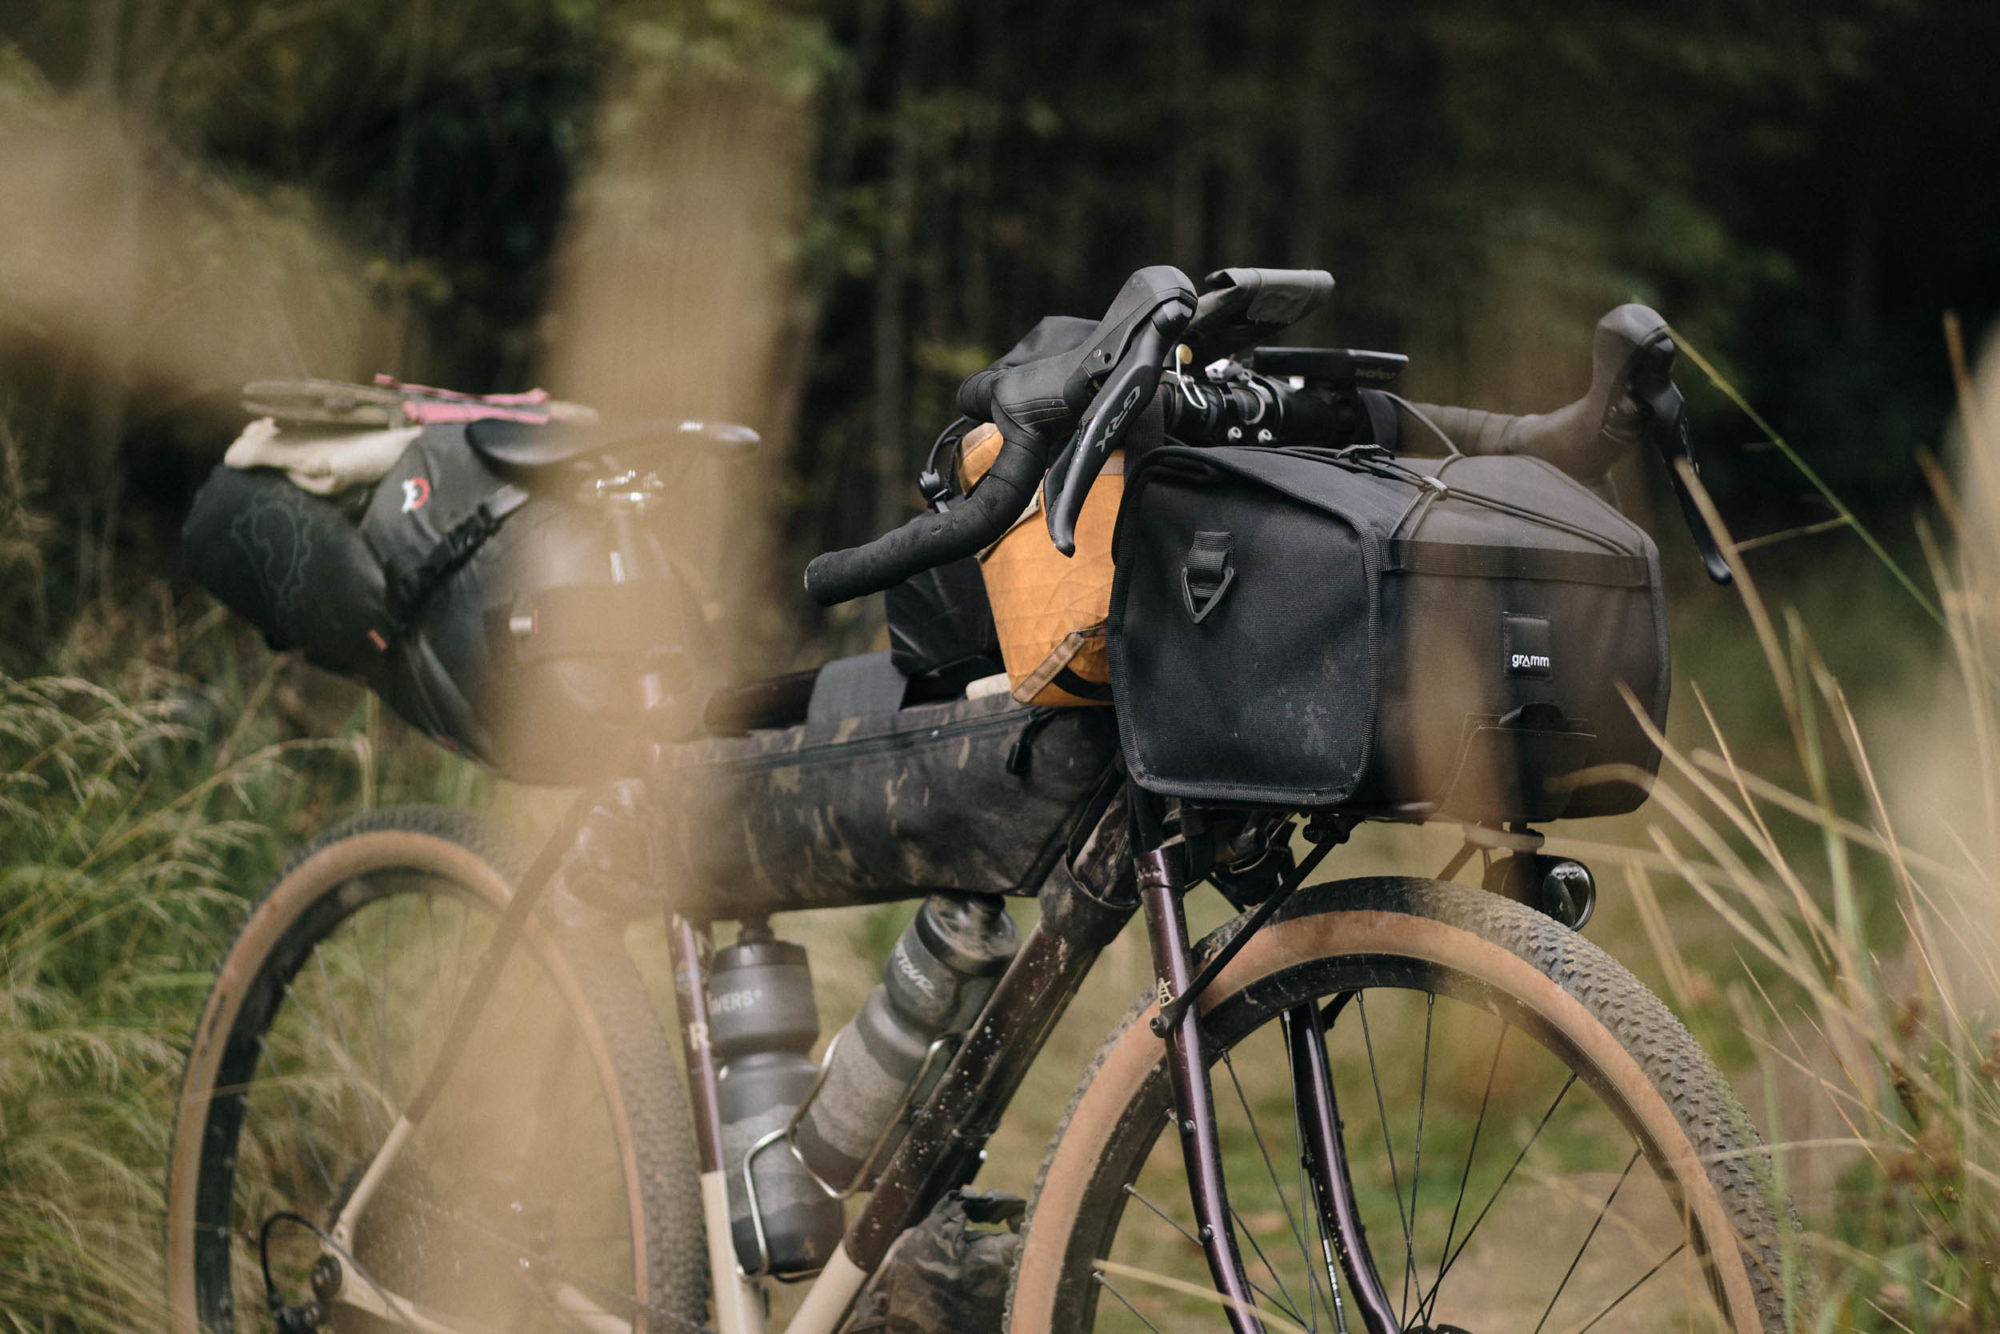
Putting all these concepts together, here are two vastly different bikepacking rigs with dynamo setups. On one hand, we have my old All-City Space Horse Disc, built up for everyday riding and all-road bikepacking around Europe on a student’s budget. On the other end of the spectrum, we have Cass Gilbert’s tricked-out Jones LWB that he takes on short and long dirt tours in the rugged mountains around his home in Oaxaca, Mexico.
Josh Meissner’s Space Horse all-road bikepacker
Back in 2017, I built up an All-City Space Horse as my first bikepacking bike. It was supposed to be my one bike for everything, so there was no question that it would feature a dynamo setup. The value-packed combo of Shutter Precision PD-8 hub, B&M Cyo Premium headlight, and B&M Line rear light saw me through all kinds of youthful underbiking, countless overnighters, and longer tours through Central Europe and Scandinavia.
The Cyo Premium’s broad beam was sufficient for all but hurtling down fast, chunky descents, where I had to slow myself a little to stay safe. Having a highly visible rear light (first the B&M Top Line and then the Line Mini) provided peace of mind on brevets and the inevitable paved segments of longer tours. The Space Horse frame doesn’t feature internal routing, so I wrapped and zip-tied the wiring to the tubes and rack struts.
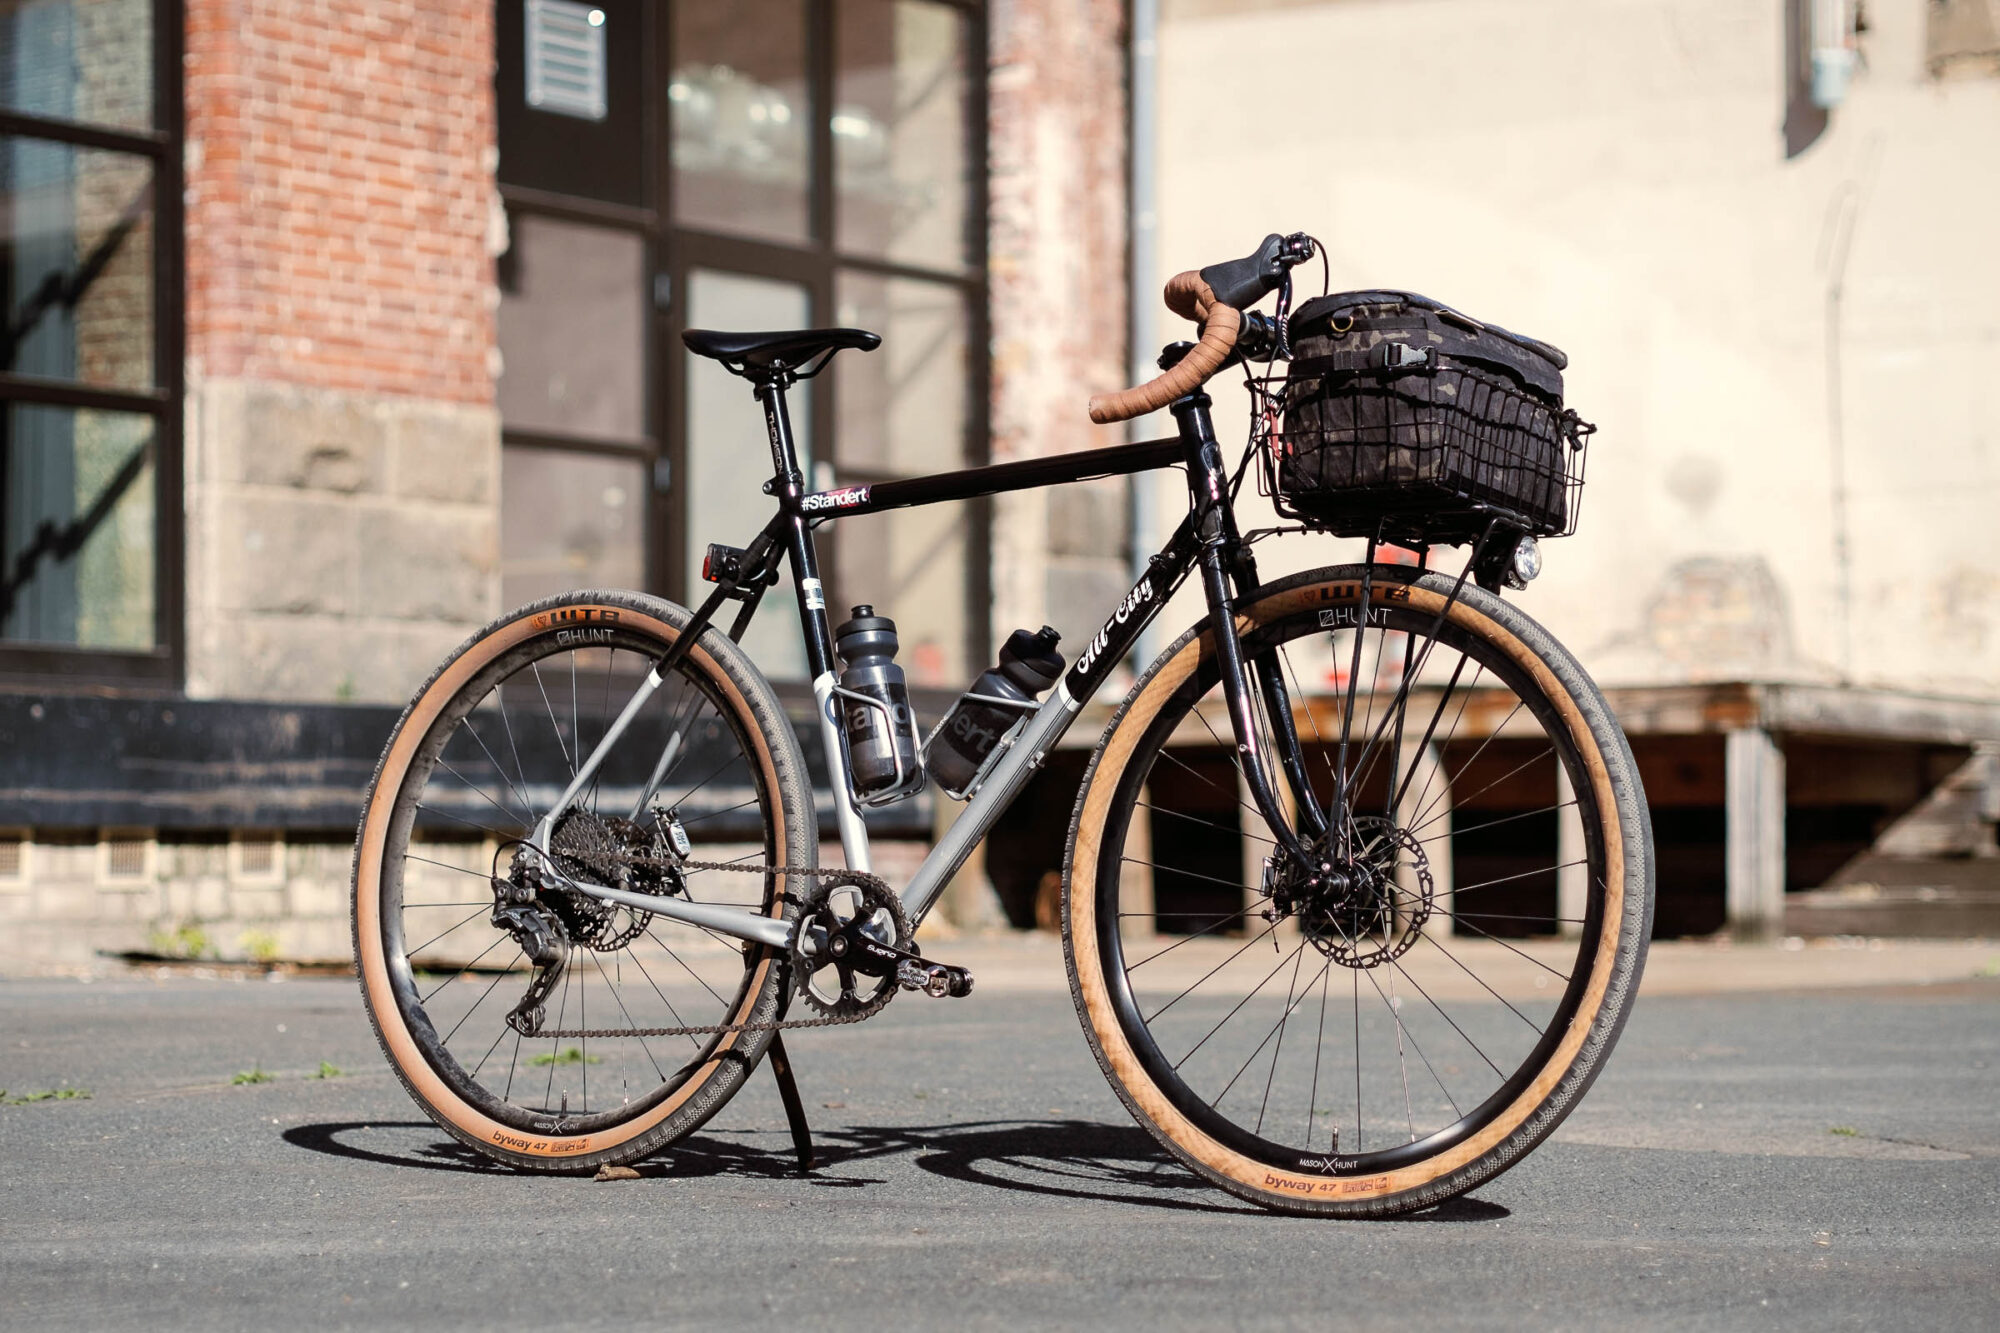
The SP hub eventually developed a wobbly axle and had to be discarded. Had I known better at the time, I would have invested in a SON hub straight away. That original headlight continues to go strong today. These modern LED dynamo lights are marvels; they’re affordable and have a bright, even beam. In fact, the B&M IQ-X I currently have on my Pelago Stavanger borders on too bright, and I’ll eventually switch to the more agreeable beam of the SON Edelux II.
Dynamo USB chargers are intriguing, but their low power and high price make them hard to justify for my bikepacking trips around Europe. A 20Ah power bank sees me through a week of use, and a multi-port fast charger means I’m never waiting around.
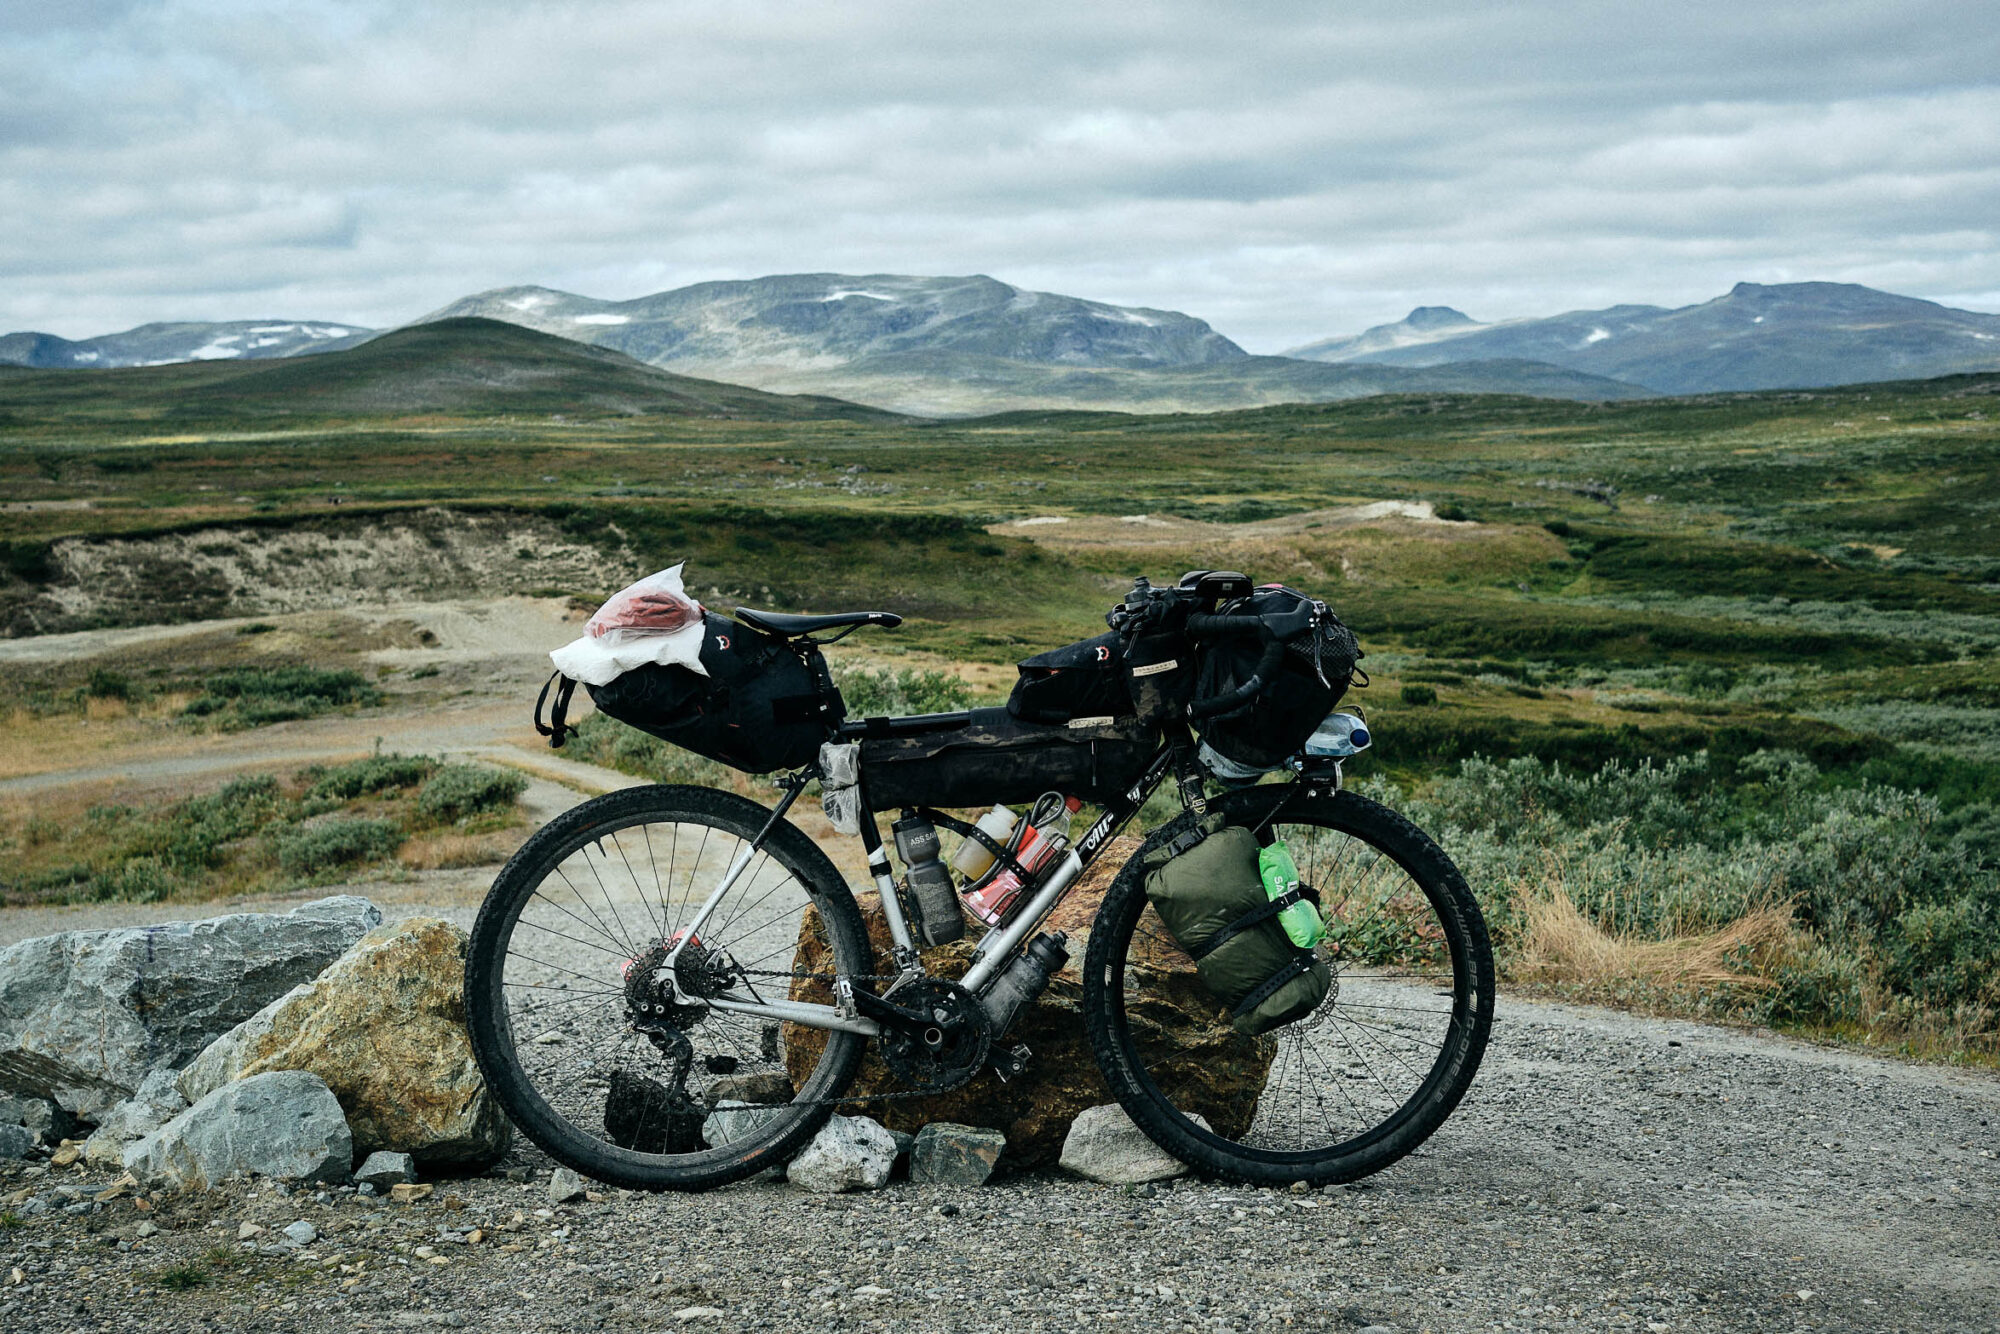
At this point, it’s bikes without dynamo lighting that seem frivolous to me—recreational toys only fit for controlled conditions. Among my friends, the dynamo adoption rate approaches 100%. I think it’s a no-brainer for bikepacking and, more generally, any bicycle that is relied on for getting around and hauling stuff, even if that’s just across town.
Cass Gilbert’s Jones Mountain Dirt Tourer
I’m currently running the latest version of the Sinewave Beacon, and, hub-wise, I’ve always invested in models from SON – my Jones LWB sports the SON 28 with “fat bike” 150TA spacing, which was extra expensive, even by SON’s standards! My current setup is laced to stout Jones alloy rims, which are double-walled and eyeletted, making for an extremely reliable wheelset that I confidently run both touring and trail riding. A word on SON hubs: I’ve run these superbly engineered magic boxes over the years in various axle widths and dropout standards, and although I’ve had a couple of failures (repaired under warranty, thankfully), I still trust them enough for long journeys in often challenging and remote conditions.
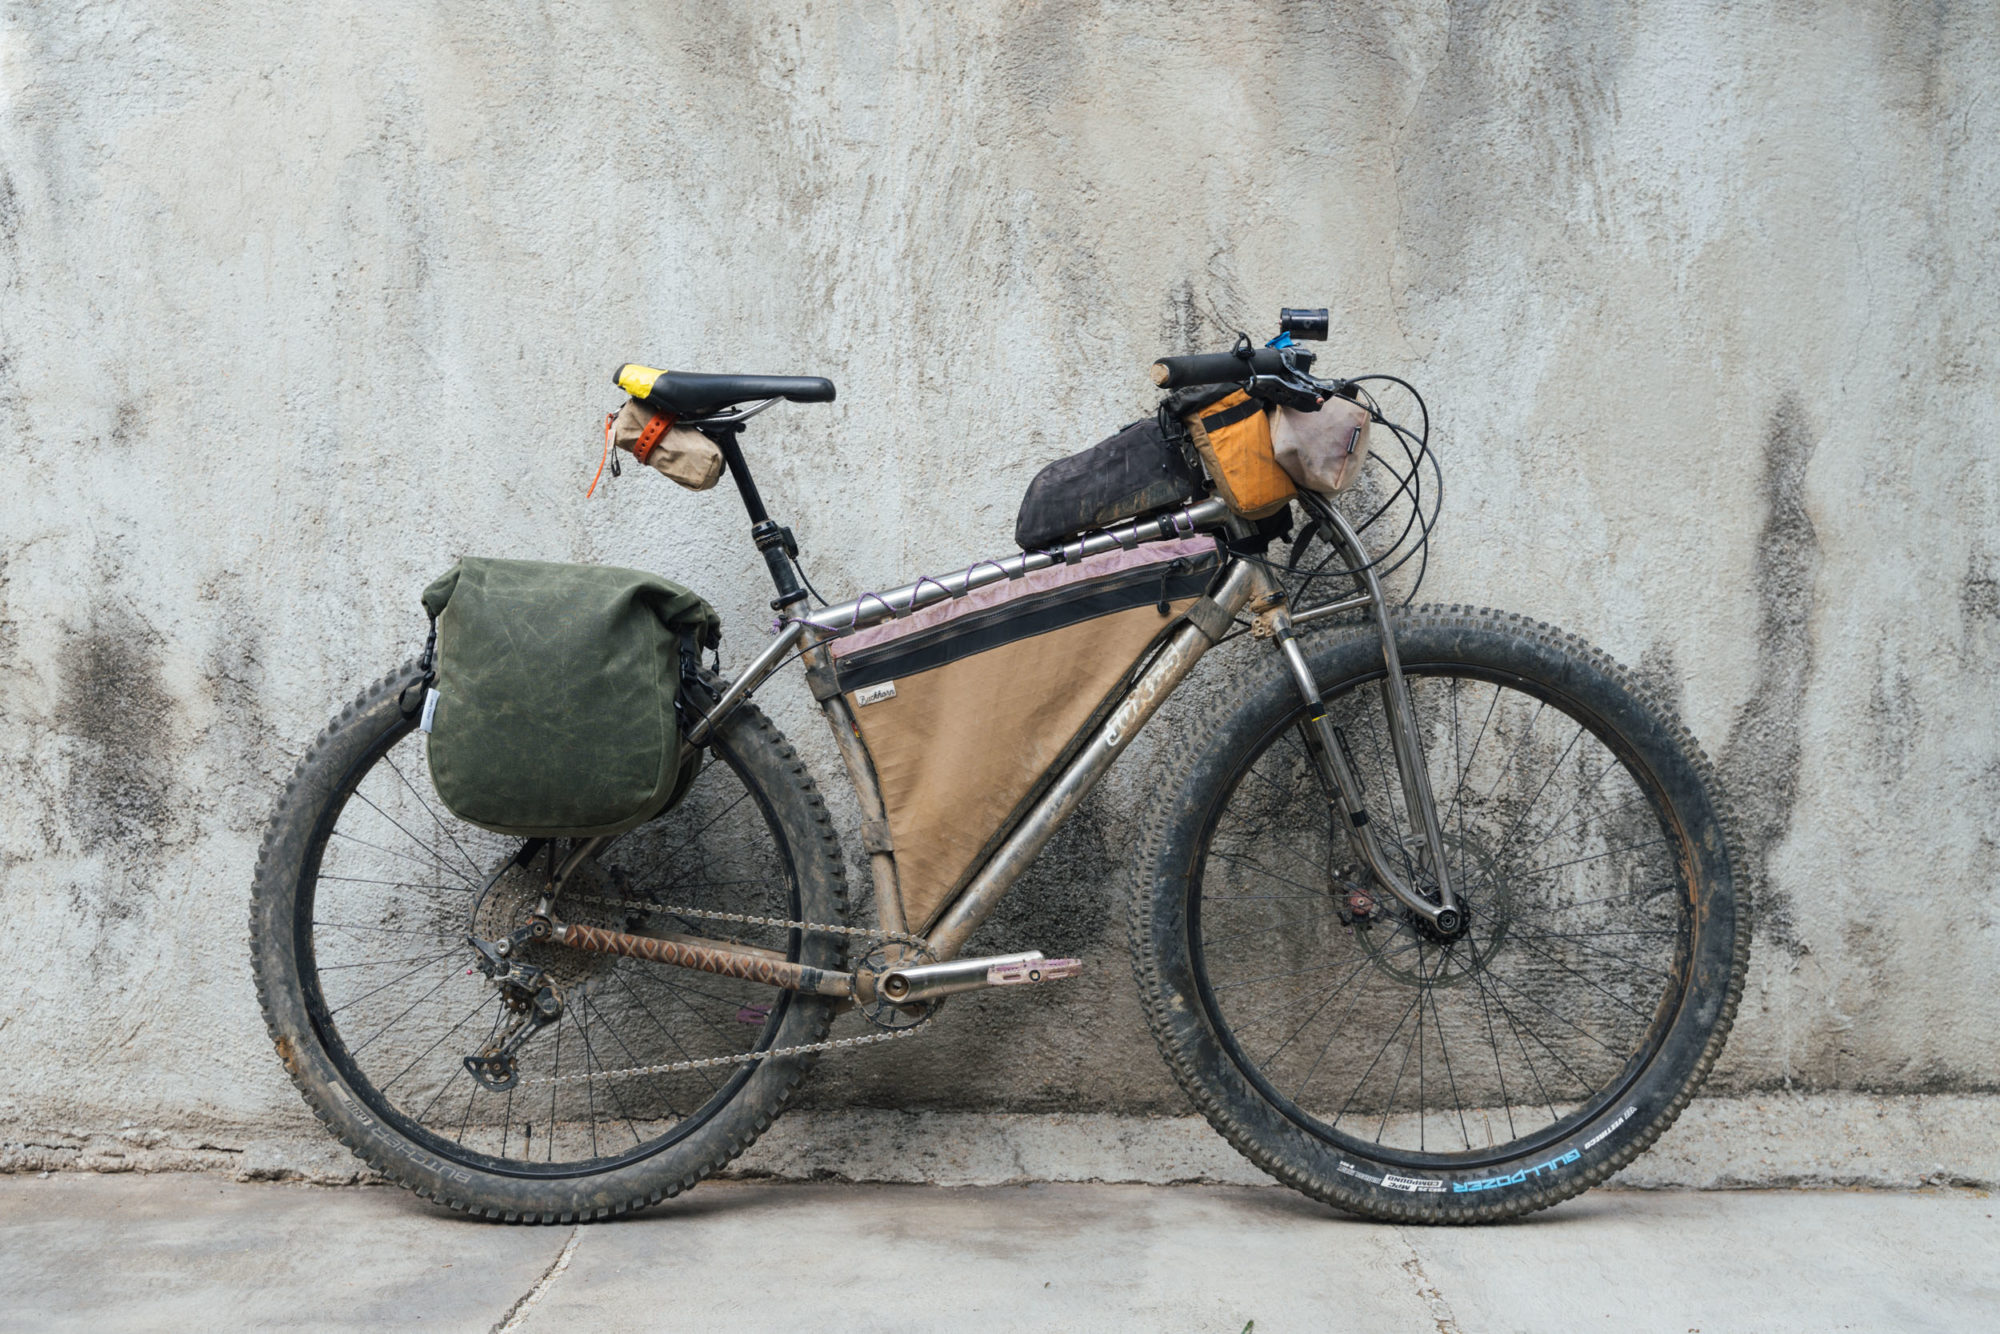
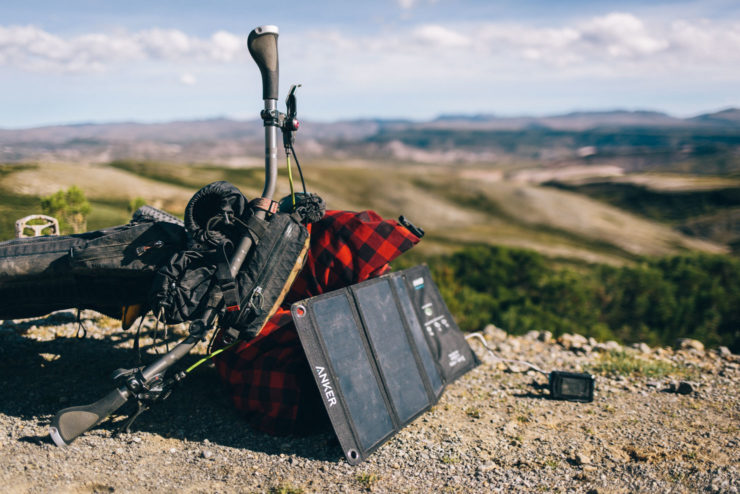
The Beacon gives me the peace of mind that I can keep gadgets like my Wahoo or iPhone charged up via a small cache battery, though this can be highly dependent on the tour itself. Often, I find myself riding the kind of ponderous terrain where on-the-bike charging can be limited… and I’m always stopping for photos! For these reasons, I always carry a 10,000 mAh Anker cache battery too, which I charge up in restaurants or guesthouses.
Although it might not be the choice of the year-round commuter, the Beacon is amply powerful for dirt-road riding and at the kind of relatively slow speeds I often find myself (I love mountains!), it’s almost completely flicker-free – even with the monster 29+ wheel on my Jones. And whilst I prefer to tour across new locales in the daytime and see the world around me, on those occasions where campouts are few and far between, it opens up a magical world of crepuscular touring. Once you accept you’ve missed your window for camping in natural light, it’s actually super fun to ride into darkness and view the world in a completely different way! Add to this the fact that I use the same bike for riding around town daily, and a dynamo makes all the more sense. I’m never without safe lighting, even during the winter when daylight hours are more fleeting.
Questions & Answers
Are dynamo setups worth it?
USB power banks and battery-powered lights are absolutely a viable alternative to a dynamo setup. Scroll back up for a list of questions that can help you determine whether dynamo lighting may not be worth it for you.
However, dynamo systems are unique in how they transform a bicycle’s capabilities and provide freedom, safety, and peace of mind while riding. The initial cost can be mitigated by judicious choices on less impactful components or selling the unused front wheel.
Can my bike be retrofitted with a dynamo system?
In all likelihood, yes. Dynamo hubs exist in virtually all configurations, and light mounting is flexible.
Can my existing wheel be retrofitted with a dynamo hub?
While possible, it may be more economical to build a new wheel and repurpose the old one. A professional wheelbuilder will be able to advise.
Who can I turn to for acquiring a dynamo setup?
Your local wheelbuilder should be able to set you up with a dynamo wheel or point you in the right direction. Your local bike shop may also be able to get you sorted. Wheelbuilders are online, too, and pre-built dynamo wheels are available from several sources.
Is it possible to install a dynamo setup at home?
If you’re comfortable mounting hardware, plugging in electrical connectors, and perhaps wielding a soldering iron, installing dynamo lights at home is very realistic. If you find yourself out of your depth, check out the linked guides, YouTube, and/or get in touch with a dynamo-savvy bike shop.
Can a dynamo bike be left in the rain?
Dynamo hubs and lights are sealed to shrug off rain, but they shouldn’t ever be blasted with a pressure washer. Some high-end lights, such as the SON Edelux II and Sinewave Beacon, are particularly water resistant thanks to sealed constructions and potted electronics.
What does the StVZO-rating on some lights mean?
StVZO-rated lights are certified to meet Germany’s stringent regulations for road safety, which stipulates a cut-off beam to avoid dazzling oncomers. Toggleable high beams are permitted. StVZO is a de facto international standard for road-approved lights, as many non-German light manufacturers seek StVZO certification, too.
Dynamo hubs feel rough when turned by hand. Will that slow me down?
Dynamo hubs normally feel rough when turned by hand. The magnetic resistance you feel when turning the dynamo by hand is canceled out by the restoring force when it jumps to the next “groove.” While riding, it’s unnoticeable, and it adds no drag.
Do dynamo hub/light manufacturers lock you into an ecosystem?
Thankfully, no. Dynamo hubs and headlights adhere to the 6V AC electrical standard and are all cross-compatible. The only caveat is that certain manufacturers, such as Supernova and kLite, don’t provide 6V AC output on their headlights, officially requiring their proprietary DC rear lights.
Do dynamo systems need regular maintenance?
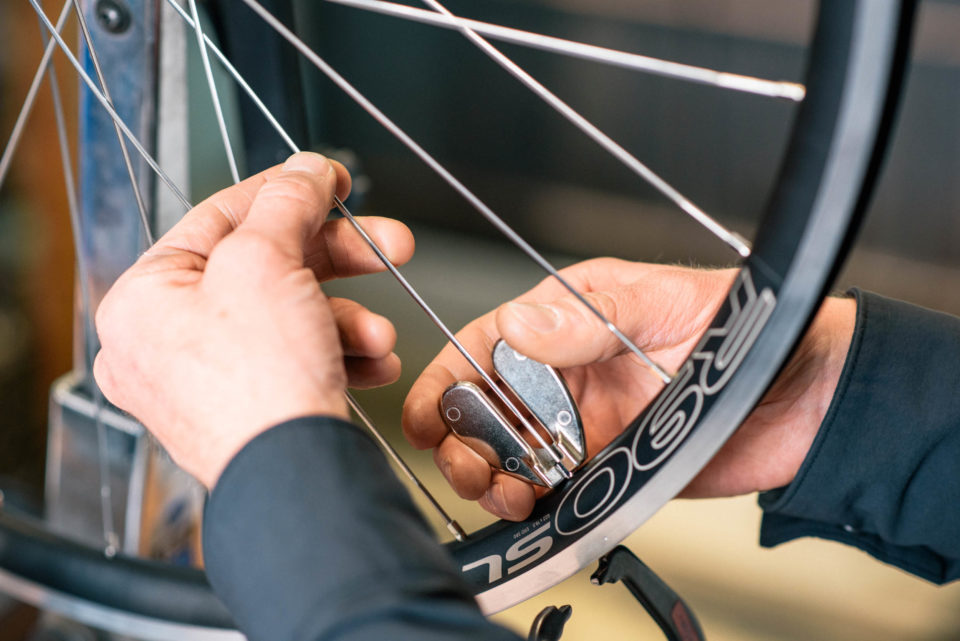
The electrical side of dynamo setups is pretty much maintenance-free after proper installation. It’s advised to regularly inspect your dynamo wheel, just like any other wheel. Pluck the spoke and wiggle the axle to see if there’s play. Refer to your shop or the manufacturer’s maintenance recommendations.
Wrap Up
Always at your service, dependable dynamo lights and charging are a transformative upgrade to any bicycle and perfect for dealing with the variability of a bikepacking adventure. They light up the night, increase flexibility, and generally make riding safer. They are highly recommended to anyone who depends on their bike for getting around or aspires to do so.
Of course, a dynamo setup isn’t suited for every situation and represents a significant investment. But as we’ve seen, they aren’t black magic, and a well-considered setup doesn’t have to break the bank. Reflecting honestly on the guiding questions we’ve provided will reveal the setup and component choices that make the most sense for your terrain and style. Enjoy the enlightened riding!
Footnotes, sources, and further reading
1. “Overlanding” by Ty Domin recounts their inspirational, open-ended bikepacking tour across Europe that was enabled in part by the flexibility afforded by their dynamo setup.
2. Lucas Winzenburg’s 2020 Editor’s Dozen
3. SON graphs (Bild 2) shows different light outputs over speed
4. Fahrradzukunft #14, a reputable independent journal of all things cycling (German language). Author Andreas Oehler is a principal engineer at Schmidt.
5. Peter White (SON distributor) has beamshots, as do manufacturers like B&M and Supernova.
6. Fahrradzukunft #14 again.
7. Anandtech’s testing showed the iPhone 13 drawing 4W at peak brightness
8. In the experience of Sinewave Cycles’ CEO, see Cass’ Beacon 2 review
For more technical questions and troubleshooting, SON’s FAQ goes deep, and much of it applies to other manufacturers too.
Further Reading
Make sure to dig into these related articles for more info...
Please keep the conversation civil, constructive, and inclusive, or your comment will be removed.


