Hope Tech 4 E4 Review: New Religion
Share This
The latest Hope Tech 4 E4 brake levers and calipers replaced the venerable Tech 3 E4 we’ve become quite fond of over the last few years. With seemingly little to improve, we had to give the new ones a go. Find out how they fared after more than 2,500 miles in this long-term review…
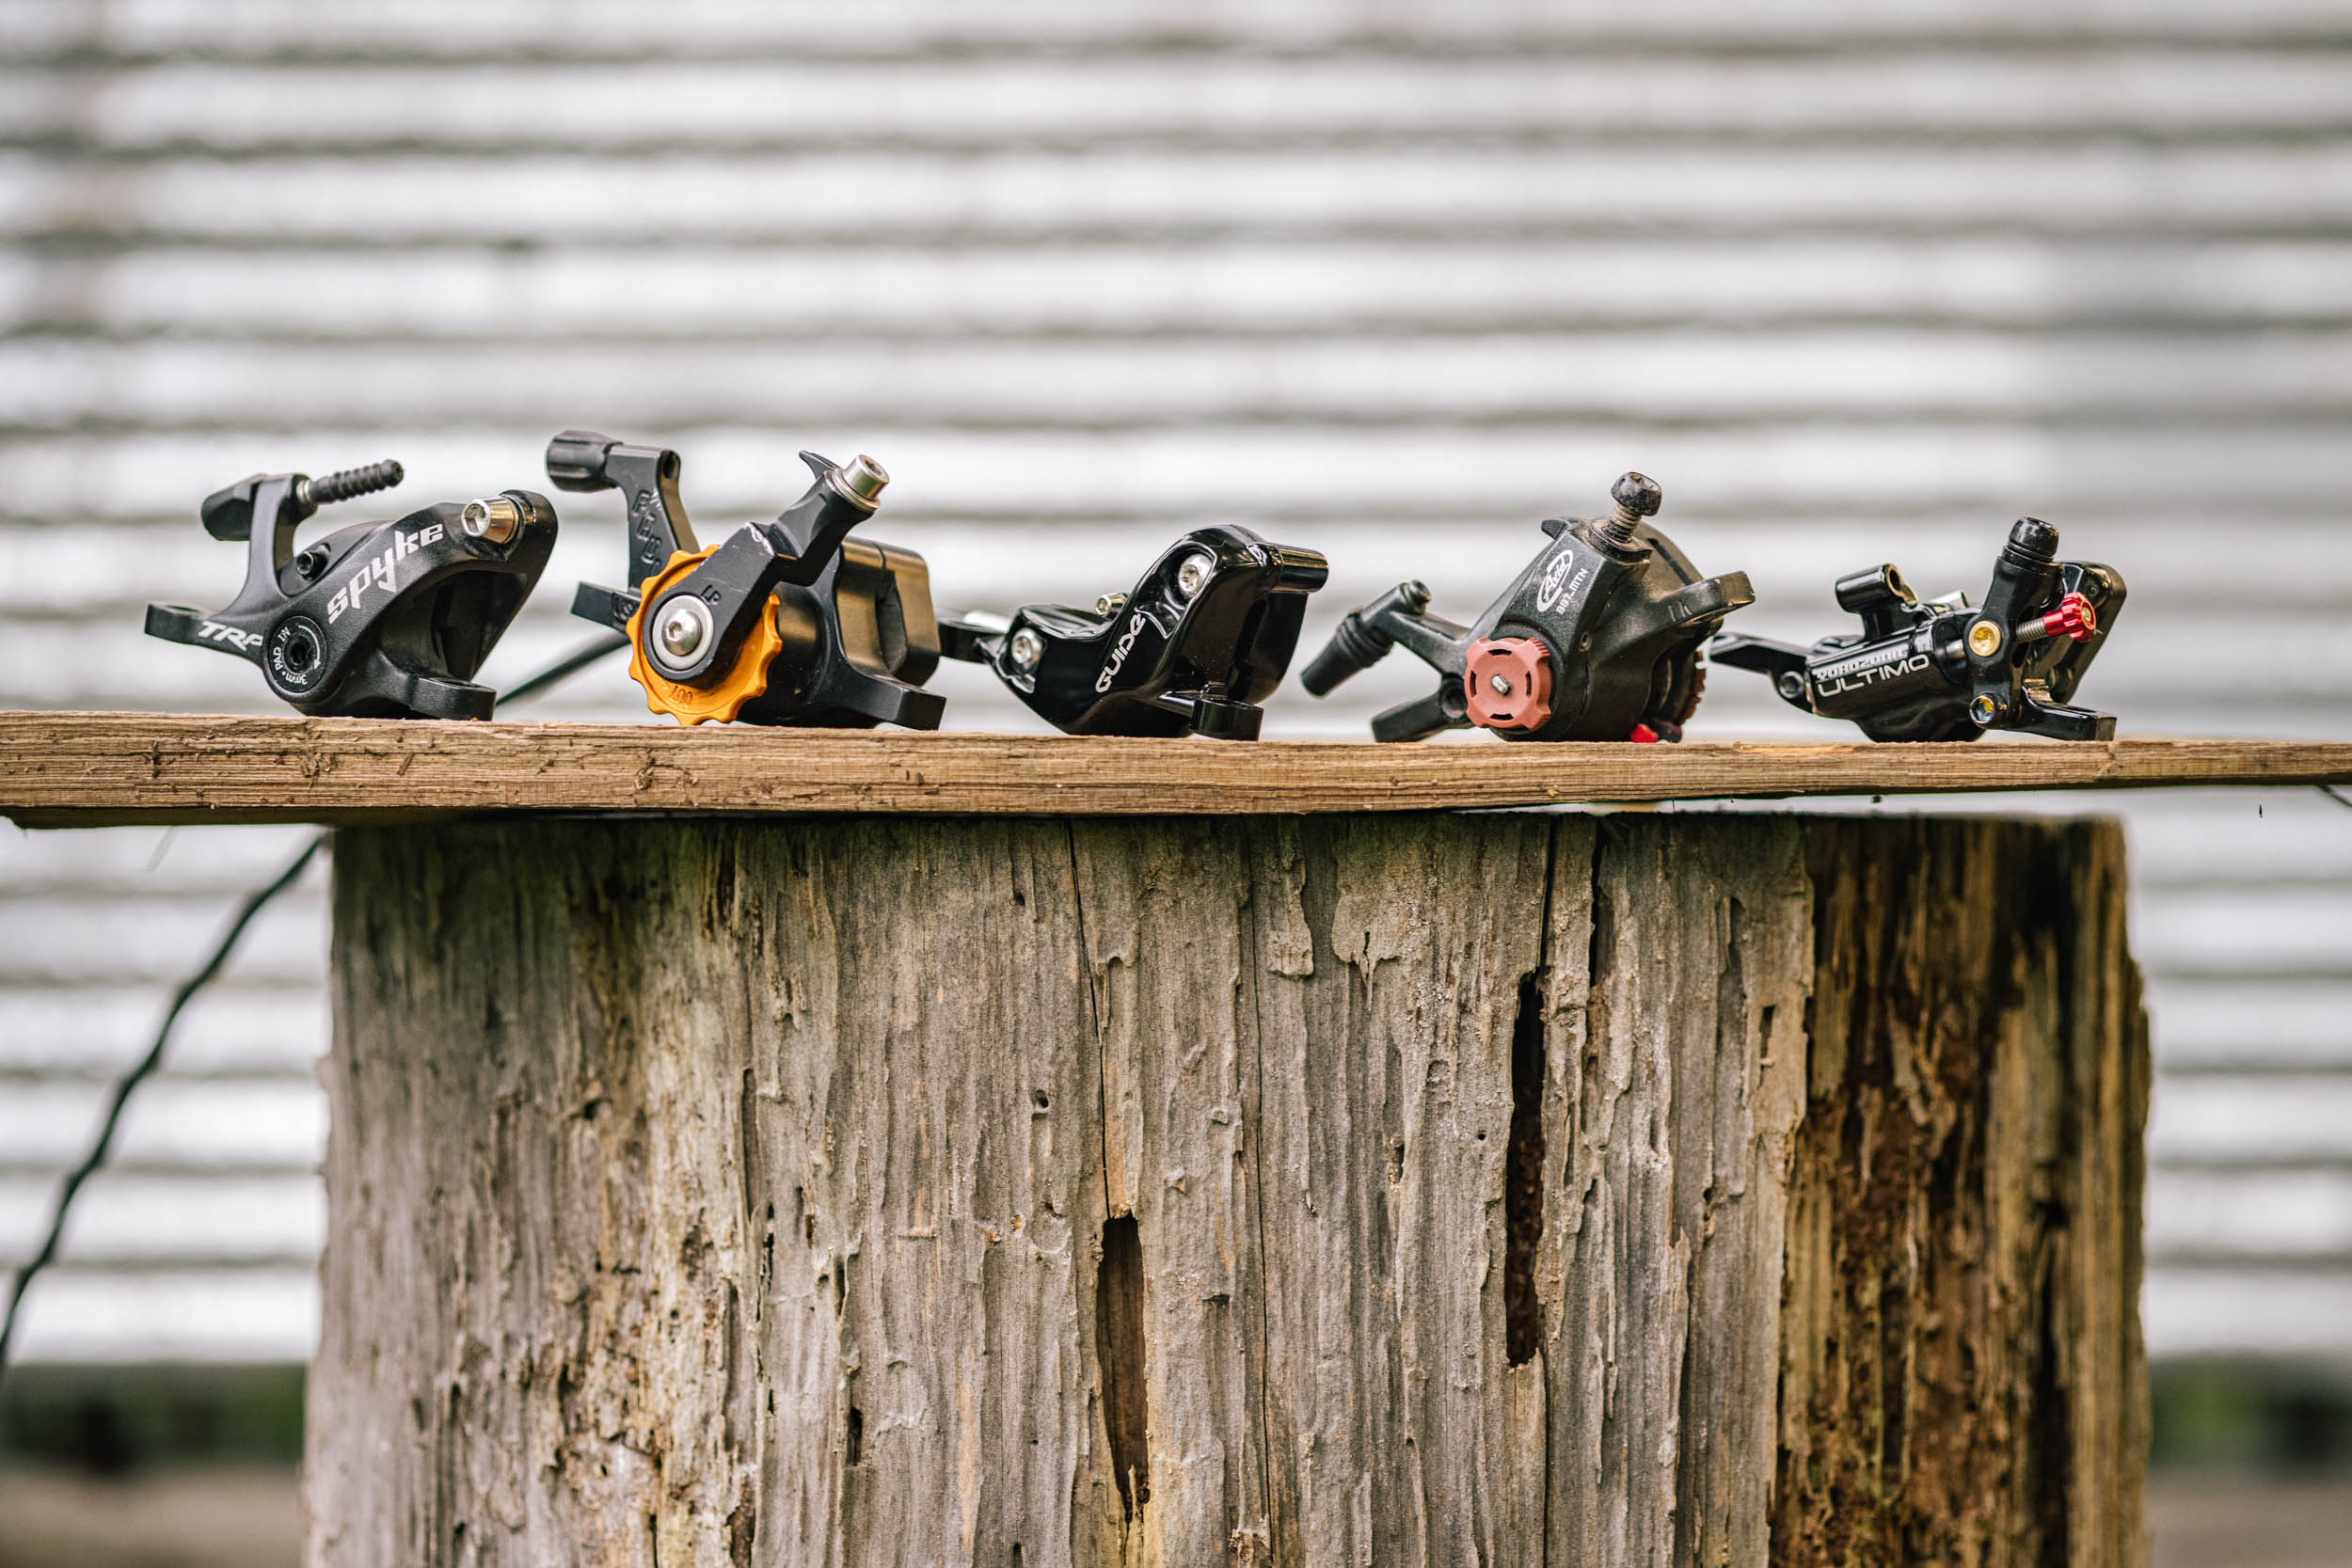
In case you haven’t noticed, Hope brakes have a rather loyal fanbase. Folks who own them usually aren’t shy about preaching the Hope gospel. Part of the draw might be because they’re less mainstream than the usual suspects from the brake duopoly, but there’s more to it than that. I was a little late to the party and didn’t wrap my forefinger around a Hope lever until 2020. At that point, I had tried most of the other disc brakes on the market, a list that includes all of the big-name mechanical and hydraulic options and quite a few stoppers from smaller peripheral brands.
I finally decided to pick up a pair of their Tech 3 E4s after admiring Lael Wilcox’s anodized blue Tech 3 E2s during our trip together in Colombia. It didn’t take long for their precision-machined levers and supreme modulation to win me over. After countless pulls and nearly 4,000 miles of use along the East Coast, the Baja Divide, and an excessive share of Oaxaca’s steep and rugged terrain, I ultimately became a self-proclaimed Hope brake evangelist myself. I now own four pairs, three of which are the new Hope Tech 4 E4s that replaced the Tech 3 in March of 2022—which explains why you’ll see black and silver versions in the photographs. And after thousands of miles on those, I figured it was time to report back with a full review. Spoiler alert: Hope’s latest and greatest are the best brakes I’ve ever used and one of my favorite bike components of all time.
Before I divulge the reasoning behind that grandiose statement, let me summarize what changed and what’s behind Hope’s letter and number naming conventions. There are a handful of options in Hope’s brake range, all of which are machined in their Barnoldswick, UK headquarters. The mountain bike lineup of brake sets each mate a lever with one of three calipers: the X2 (a lightweight two-piston caliper for cross-country use, which comes in flat-mount or post-mount), E4 (a four-piston caliper for trail and all-mountain riding), and V4 (a beefed-up four-piston caliper for downhill/freeride use). They offer two levers: the XCR, which is a super light lever that’s only offered with the X2 caliper, and the Tech 4, the levers shown here, which replaced the Tech 3.
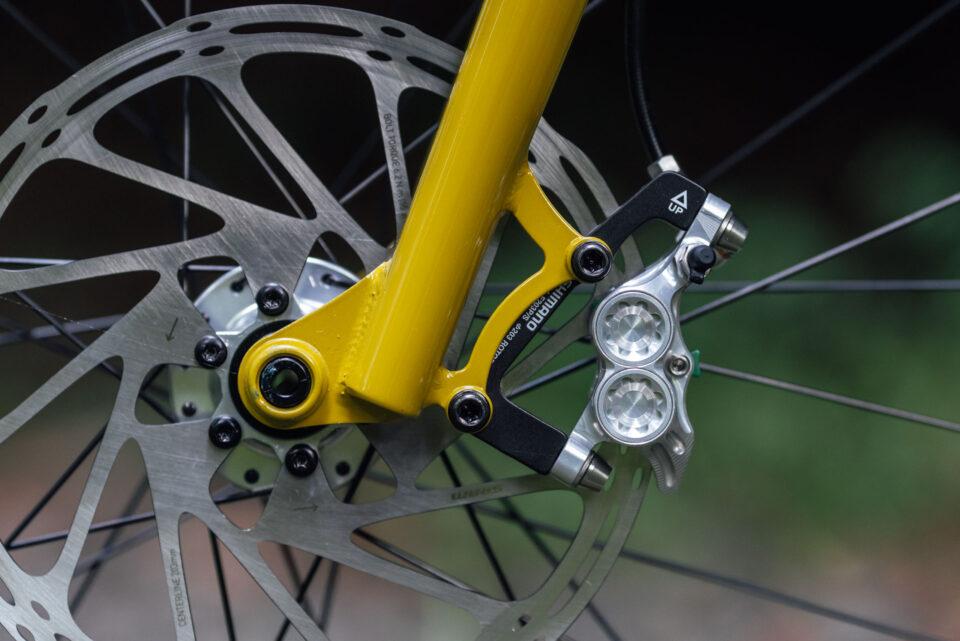
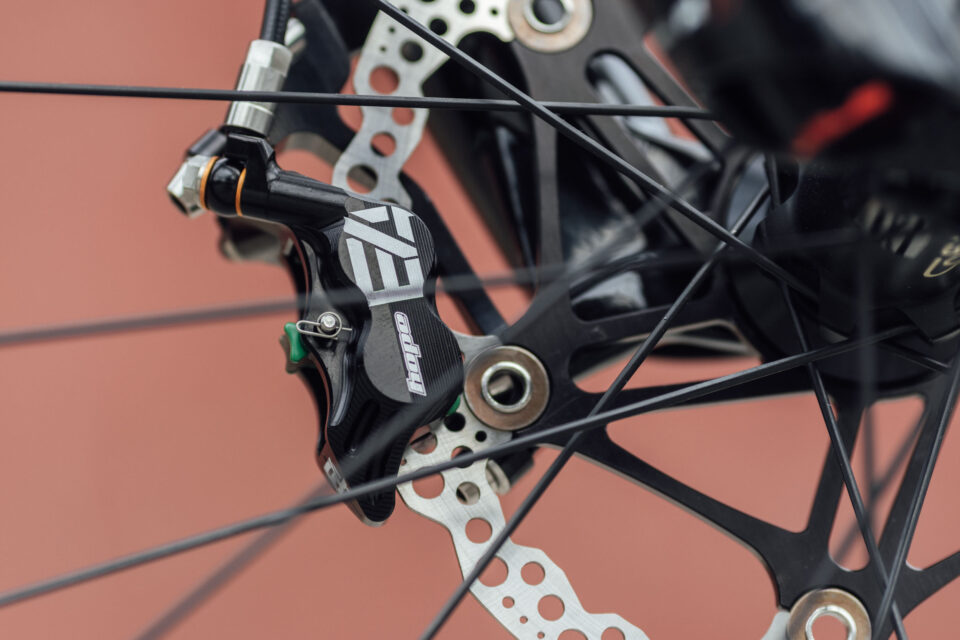
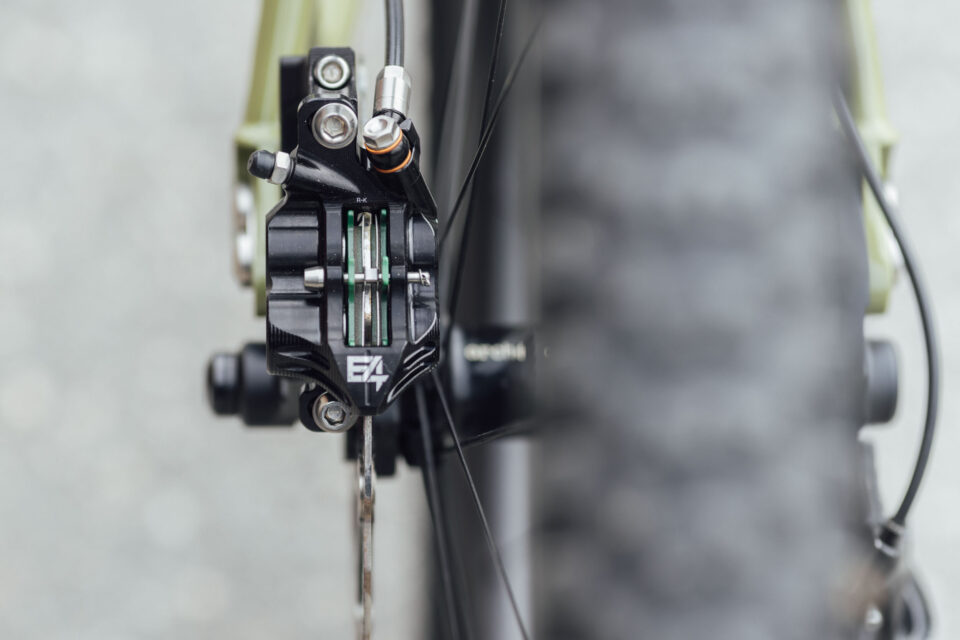
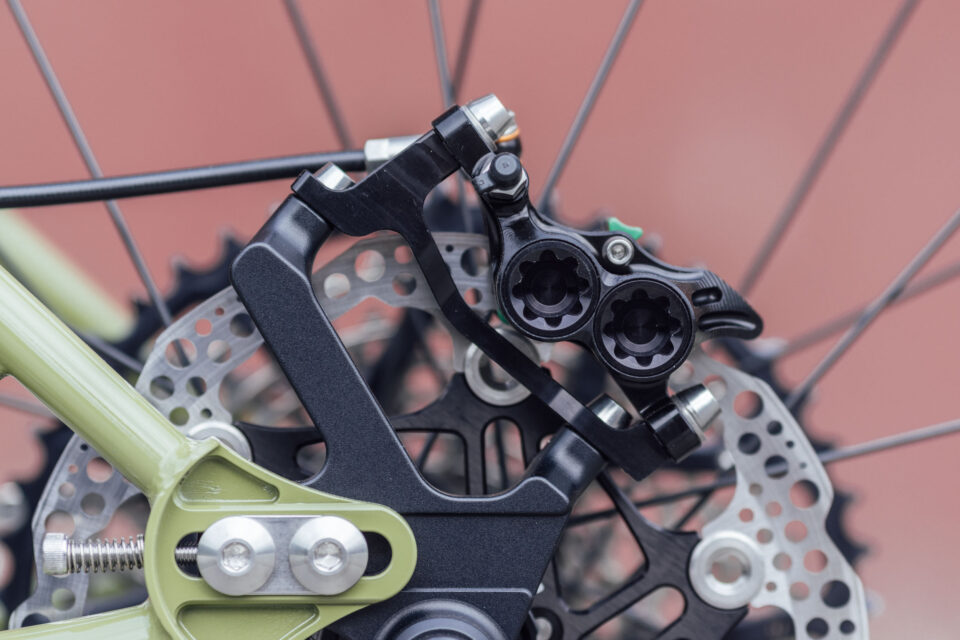
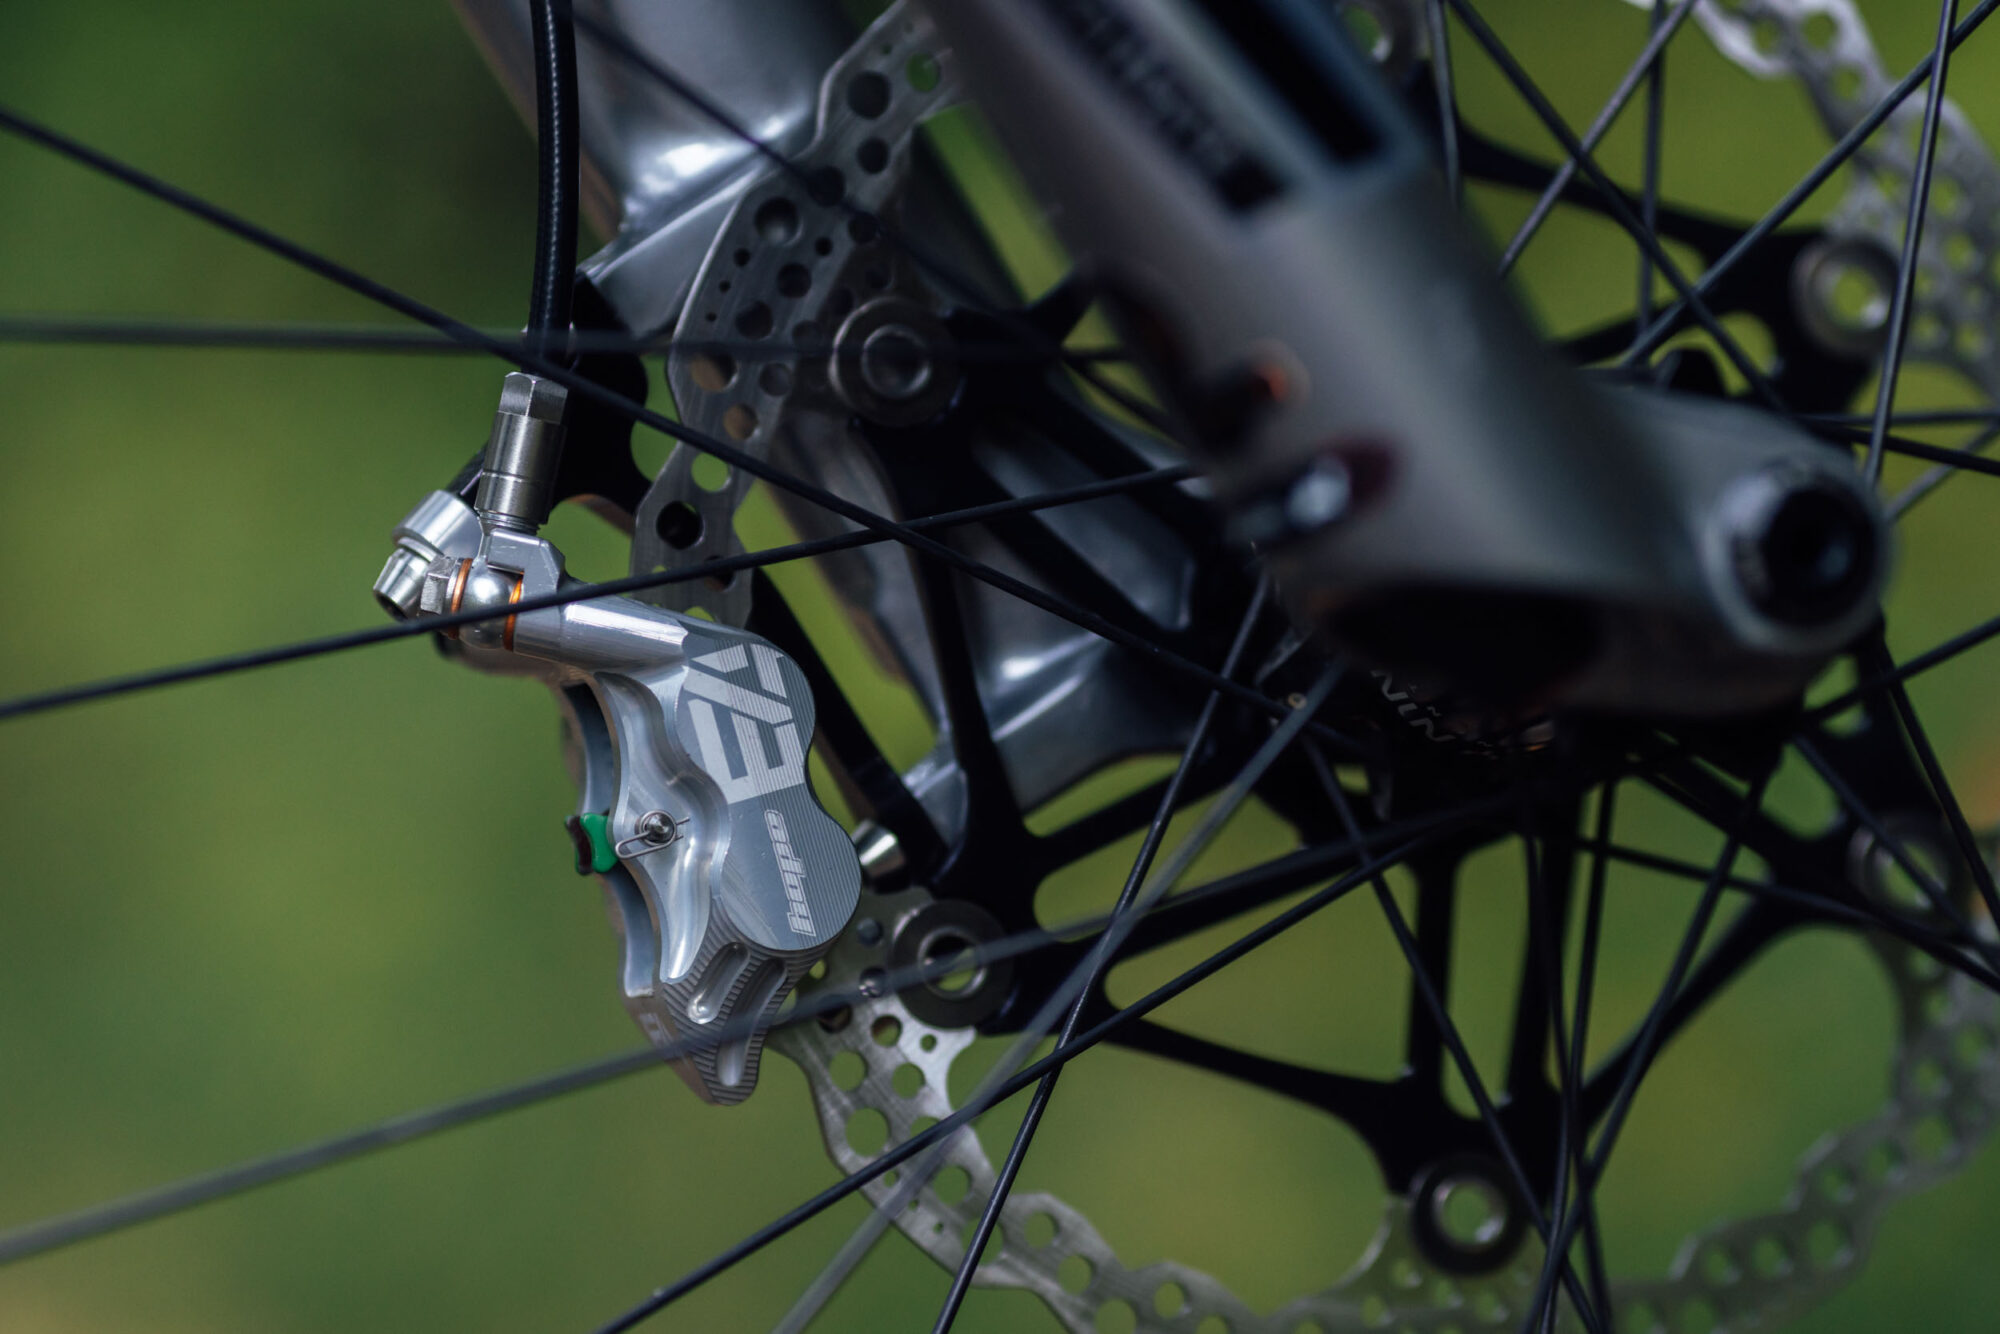
Each brake set is named based on the lever and caliper combo. So, the Tech 4 E4 is a pairing of the Tech 4 lever with the E4 caliper, which I think is the most versatile of the lot and offers plenty of stopping power for a loaded bikepacking bike as well as serious trail riding—for me, at least.* The Tech 4 V4 combo would be the other option; the main difference being even more power with the V4 caliper. That extra stoppage force comes from an asymmetric piston design with two oversized pistons. The E4 has two pairs of 16mm stainless steel pistons, and the V4 is equipped with 16mm pistons in the front and 18mm pistons in the back. That also means it has slightly bigger brake pads that measure about 3mm wider. Still, there’s only a 14-gram difference between the two; the E4 calipers weigh 301 grams, and the V4s are 314 grams. But as I’ll later explain, the E4 has more than enough stopping power when paired with a 180mm rear rotor and a 200mm disc up front, even with my 175-pound self and a moderate bikepacking load. *For those waffling on that decision, Hope provides a handy weight chart on their site for reference and selection.
What’s Changed
The new E4 caliper didn’t really change all that much from the previous generation, hence the fact that they retained the E4 name. The caliper body is still a one-piece design, machined from a solid block of aluminum, which is unlike other calipers on the market. And as SRAM recently demonstrated with the four massive bolts holding together the two halves of their new Maven calipers, a sturdy caliper is part of what makes brakes powerful. And, now you can get them in black or silver with black, silver, bronze, red, blue, orange, or purple accents (the circular piston pieces); the levers match with a black or silver base and your choice of colors for the reservoir plate and adjustment knobs.
Otherwise, the only thing Hope upgraded on the E4 was the pistons. They now use a hybrid stainless steel design with a phenolic insert. From what I understand, this very dense, lightweight resin material also acts as an insulator, preventing heat from being transmitted to the brake fluid and caliper body. Hope claims this allows smoother movement and less maintenance. I can’t say I’ve really noticed a dramatic improvement in performance in the heat management with the new version, but I haven’t had an issue with the power of the E4s severely fading on long descents. There may be a little decrease in power, but even on ultra-long and steep descents in high temperatures into the Oaxaca Valley from the Sierra Norte, the strength in my arms and legs faded long before the brakes. That being said, once they get really hot, they can sometimes get a little squeaky—more like a subtle honking sound—particularly in dry and dusty environs.
Leverage and Feel
One thing I find refreshing about Hope’s brake calipers and levers is that they’re made entirely out of machined metal parts and devoid of plastic pieces prone to breakage or an assumed limited shelf life. They’re a lifelong component that’s fully serviceable, with almost every minor part readily available for purchase to facilitate repairs or replacements. The lack of plastic and the precision metal feel of the levers is almost enough to convert anyone to the Hope brake cult. Most of my friends who’ve never seen a Hope brake and squeeze the levers on one of my bikes usually say something like, “Those brakes feel amazing!”
As mentioned, I was thoroughly impressed with the Tech 3 levers—the previous model. I’ve had a pair for about four years, and they’re still going. That being said, they recently needed a bleed after nearly 4,000 miles when they had some issues during a high-elevation ride in Colorado. However, there’s a caveat: they were never bled on installation, which is probably why they required a bleed at this juncture, but I’ll talk more about that later. Either way, I didn’t have any real complaints about the Tech 3 lever, so was curious how it could be improved.

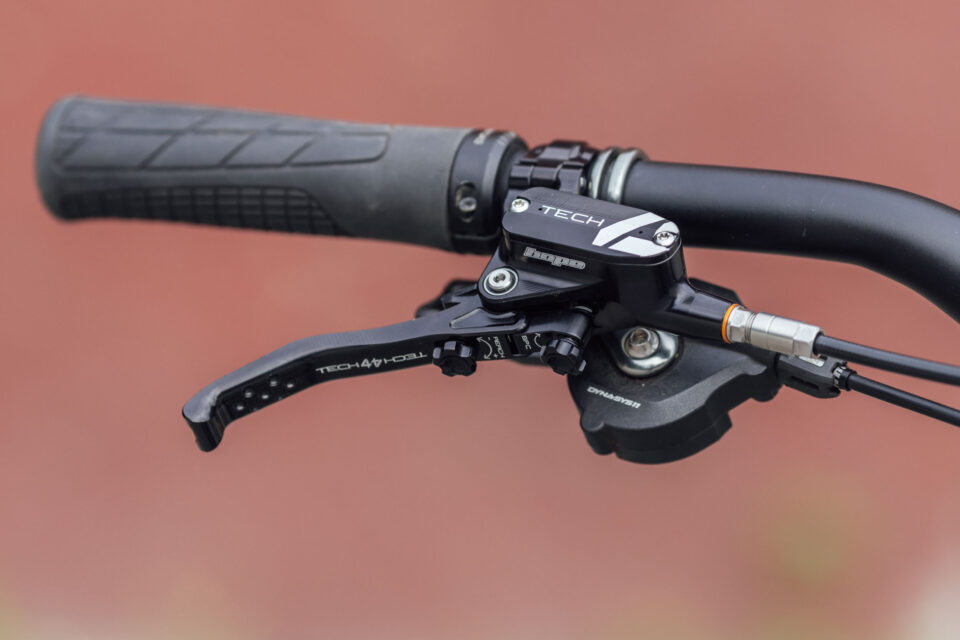
After using them once or twice, it was clear that Hope made several worthy changes to the new Tech 4 levers. They claim several tweaks add up to 30% more stopping power over the Tech 3s, but I found it hard to qualify this down to the numbers. A small fraction of this may come from new internals. Hope re-engineered the seals to reduce friction and gave them a new roller-bearing pivot, allowing the spring rate to be reduced. According to Hope, “The lower spring rate in turn gives a lighter lever action, reducing rider fatigue and keeping our legendary feel and modulation.” Legendary feel and modulation are the operative words here. It’s hard to beat the crisp and precise feel of the Tech-series levers, whether that’s the Tech 3 or the new Tech 4.
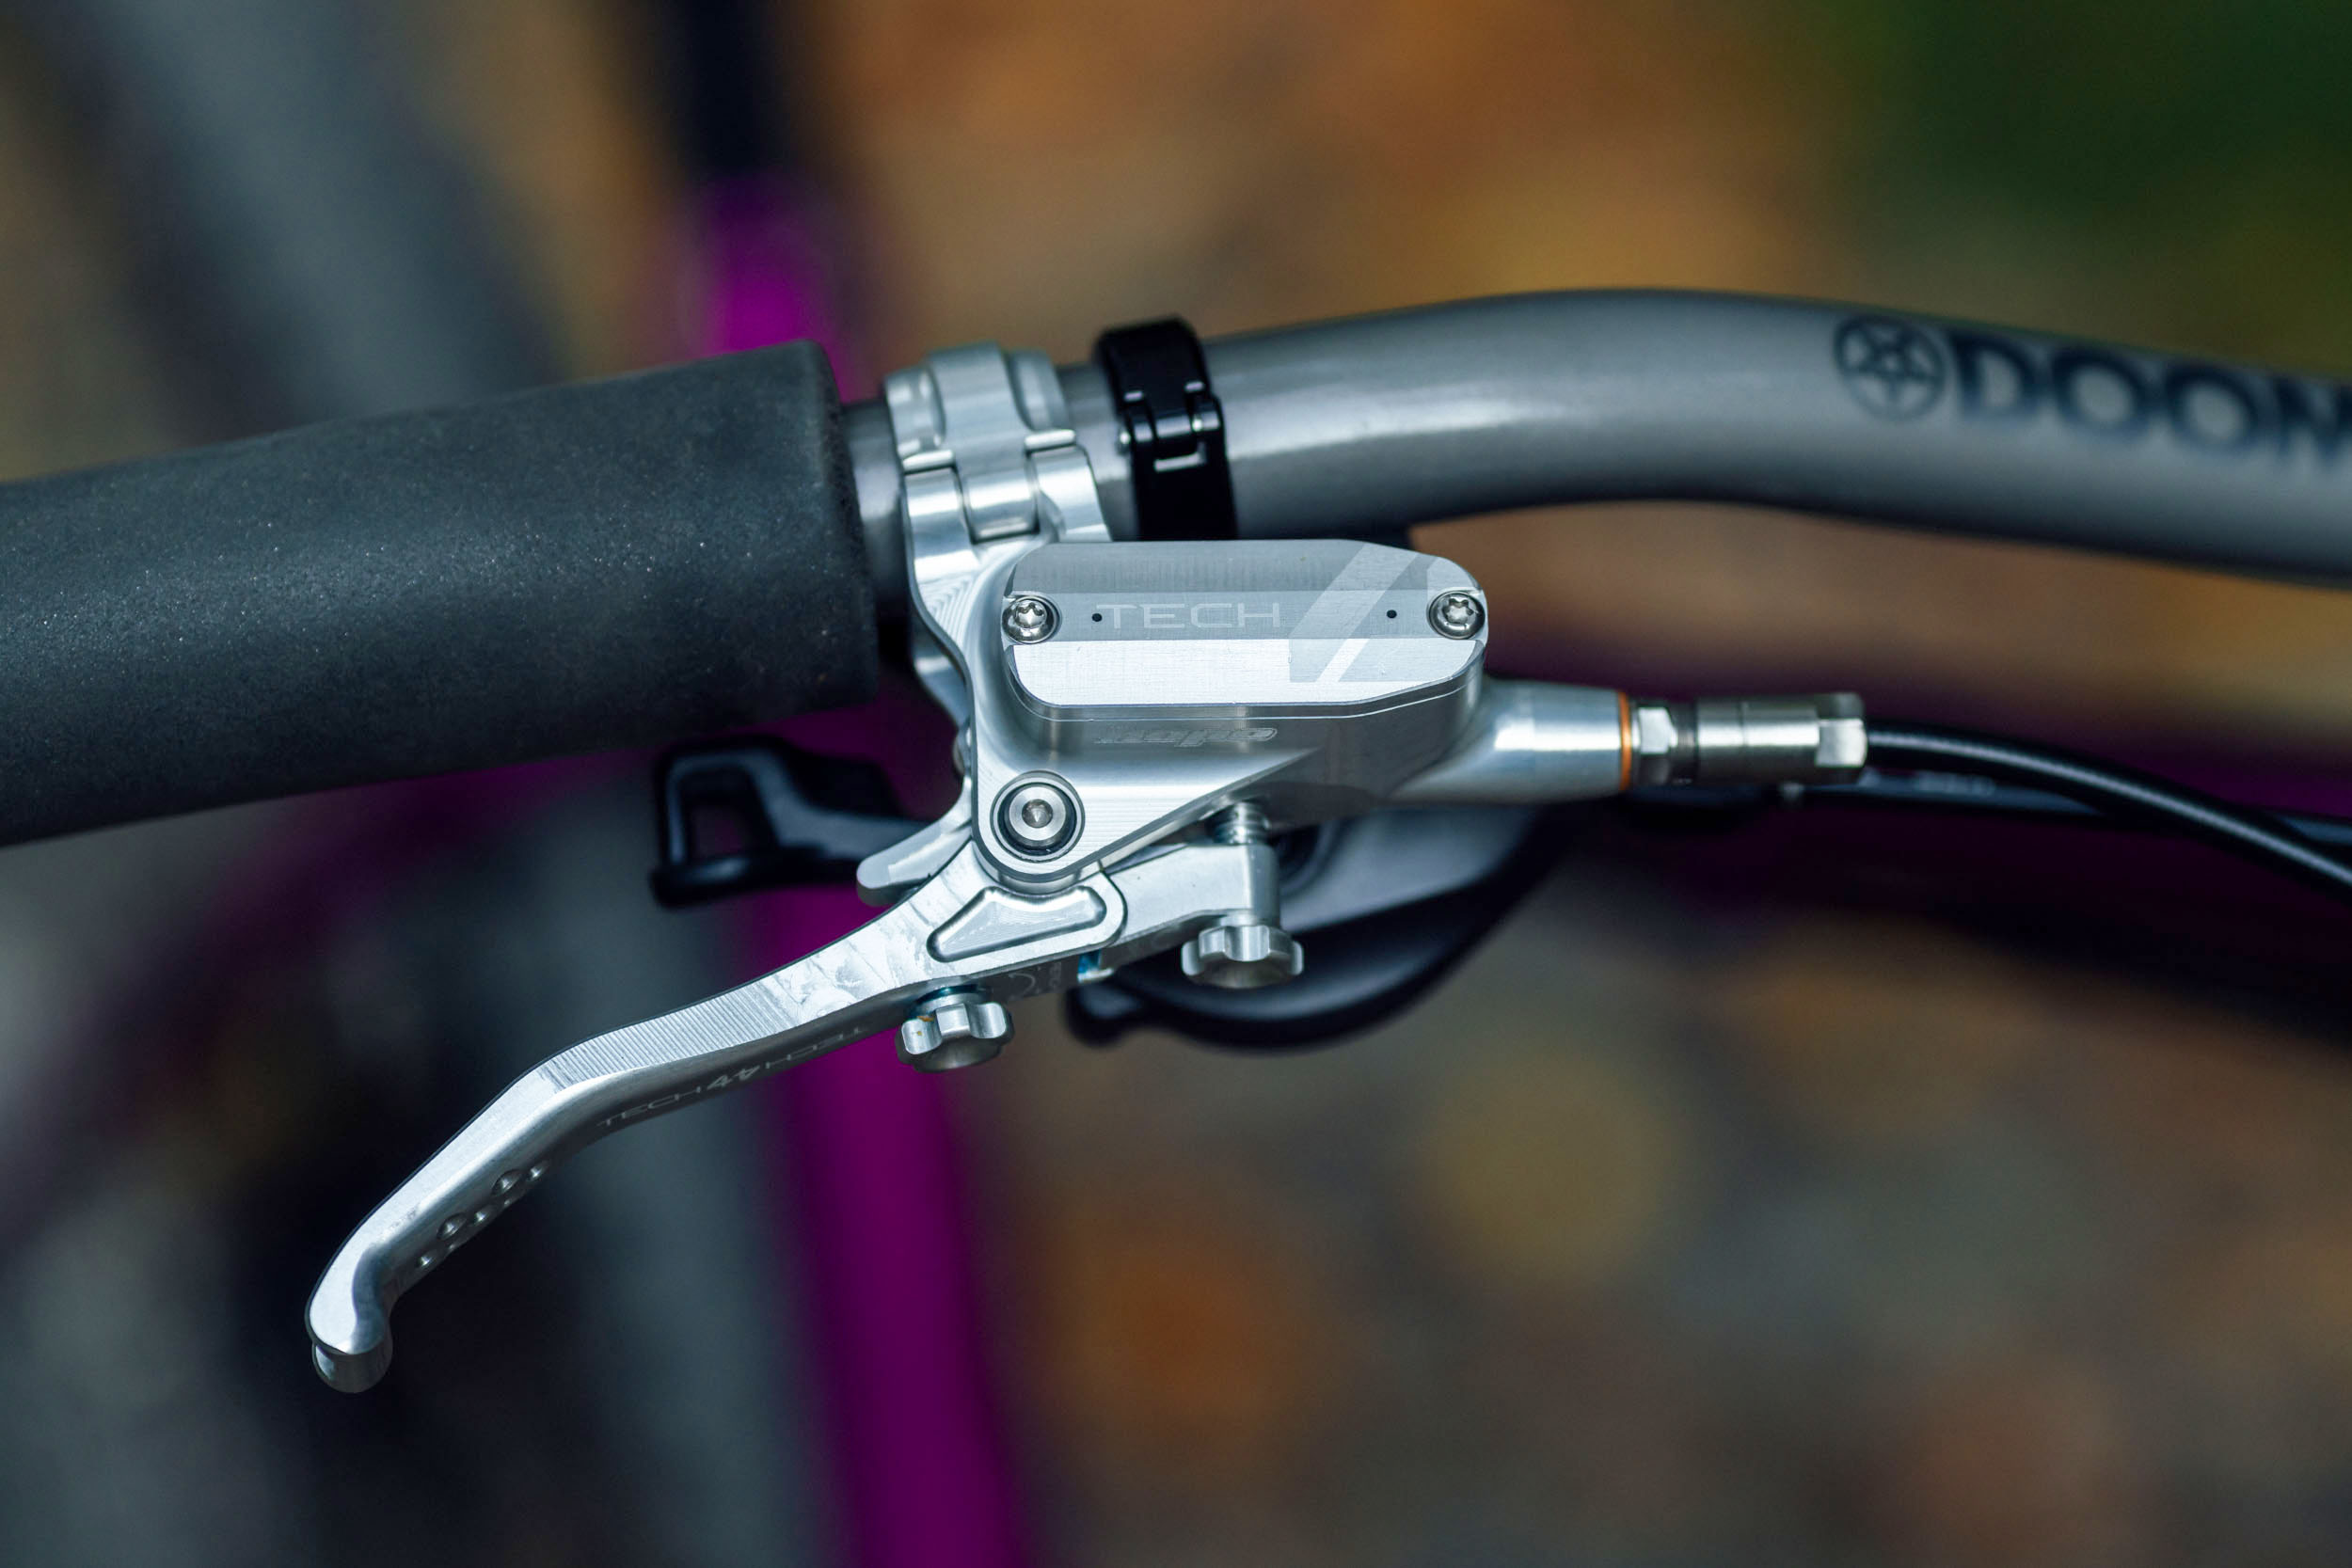
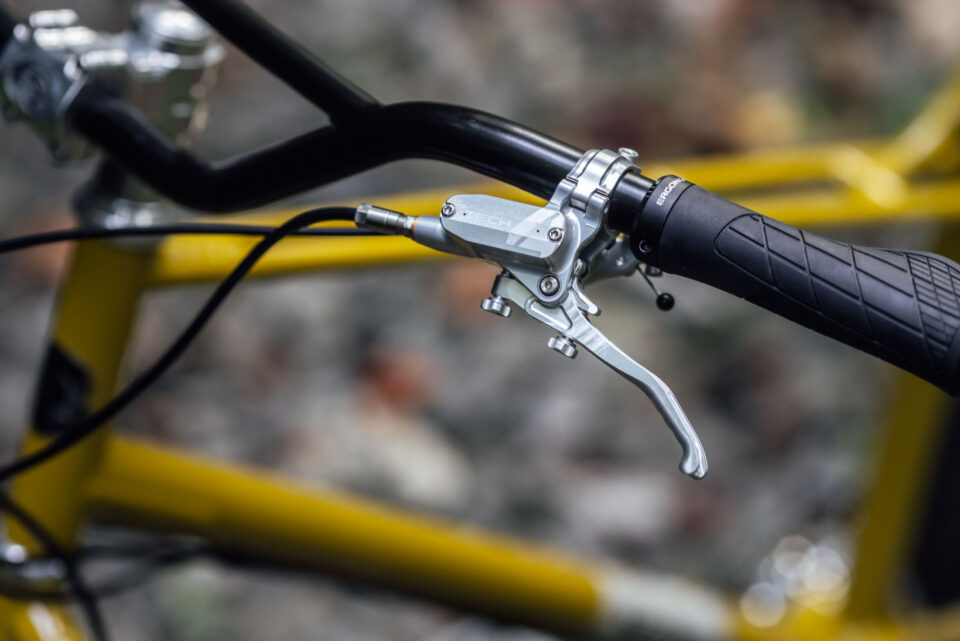
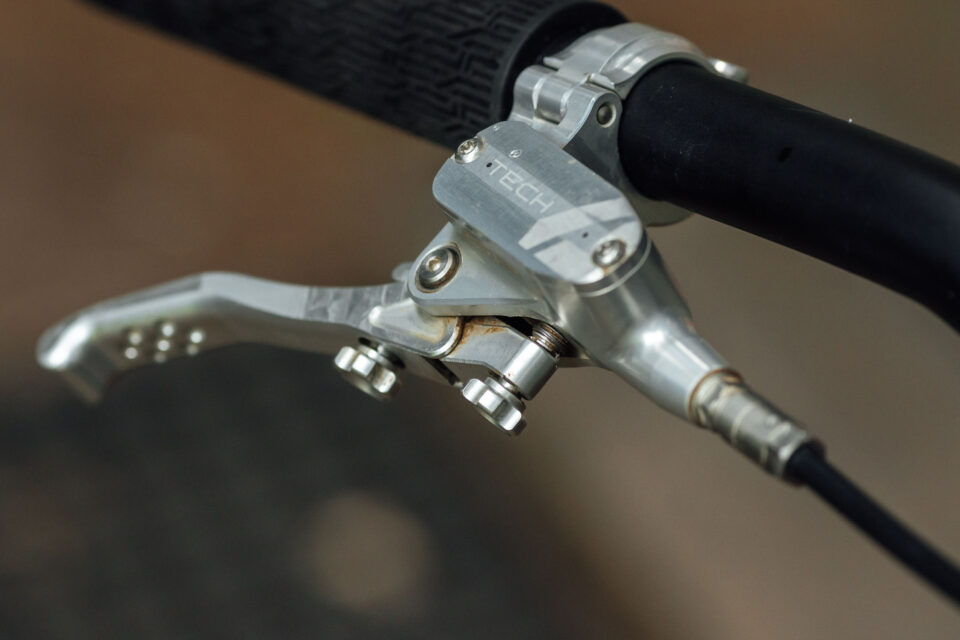
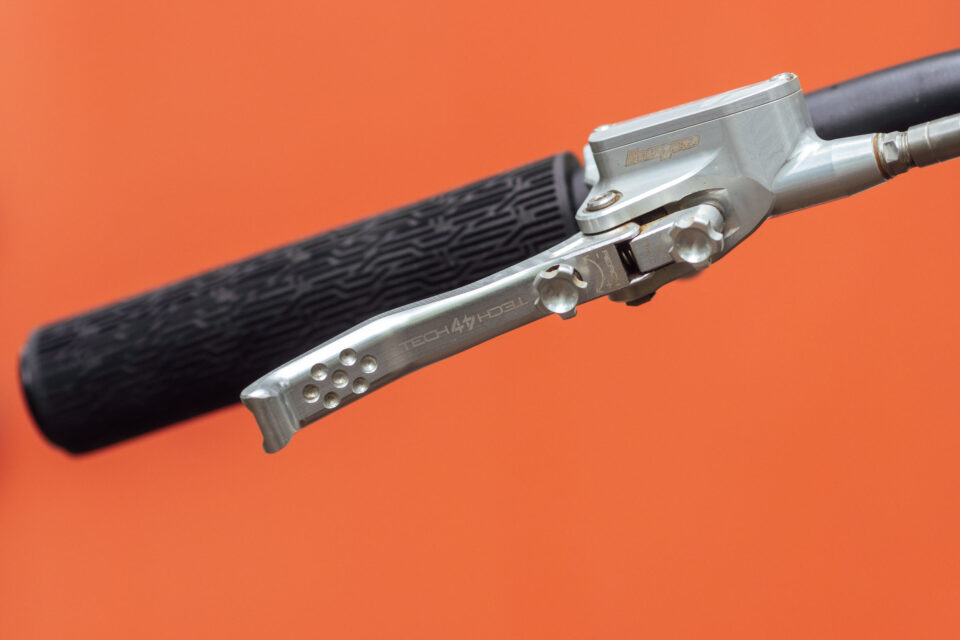
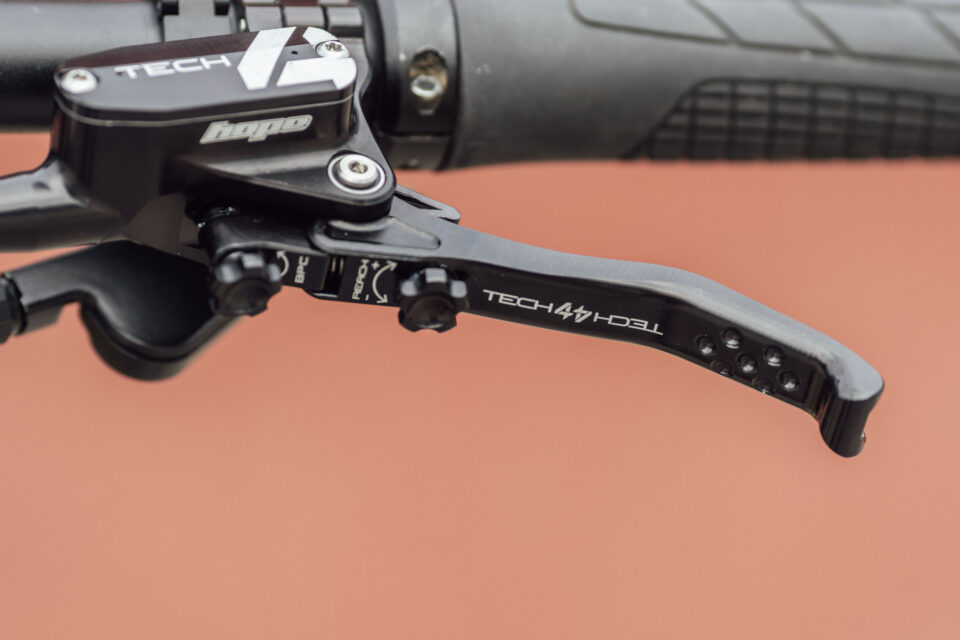
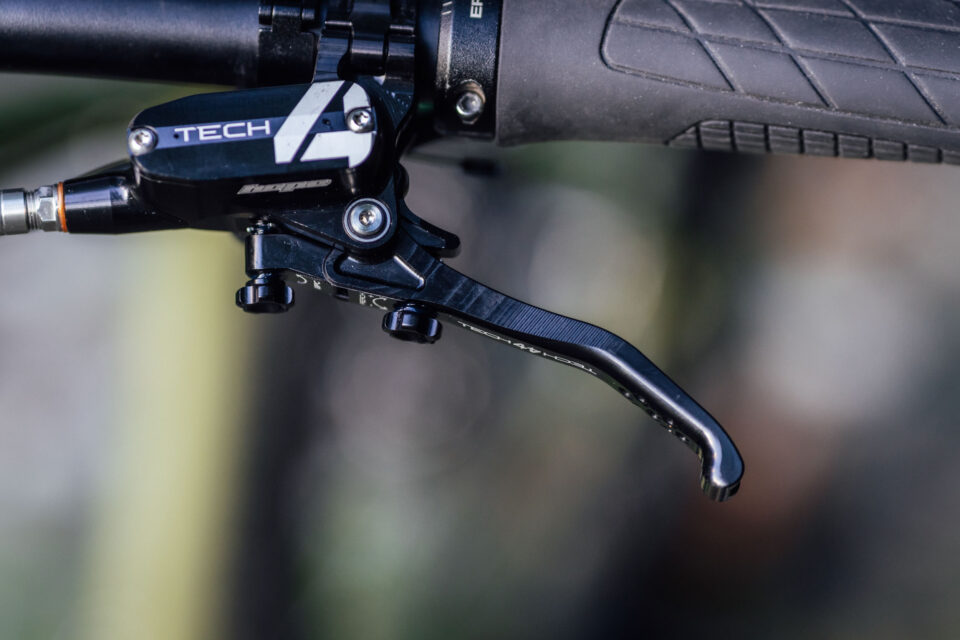
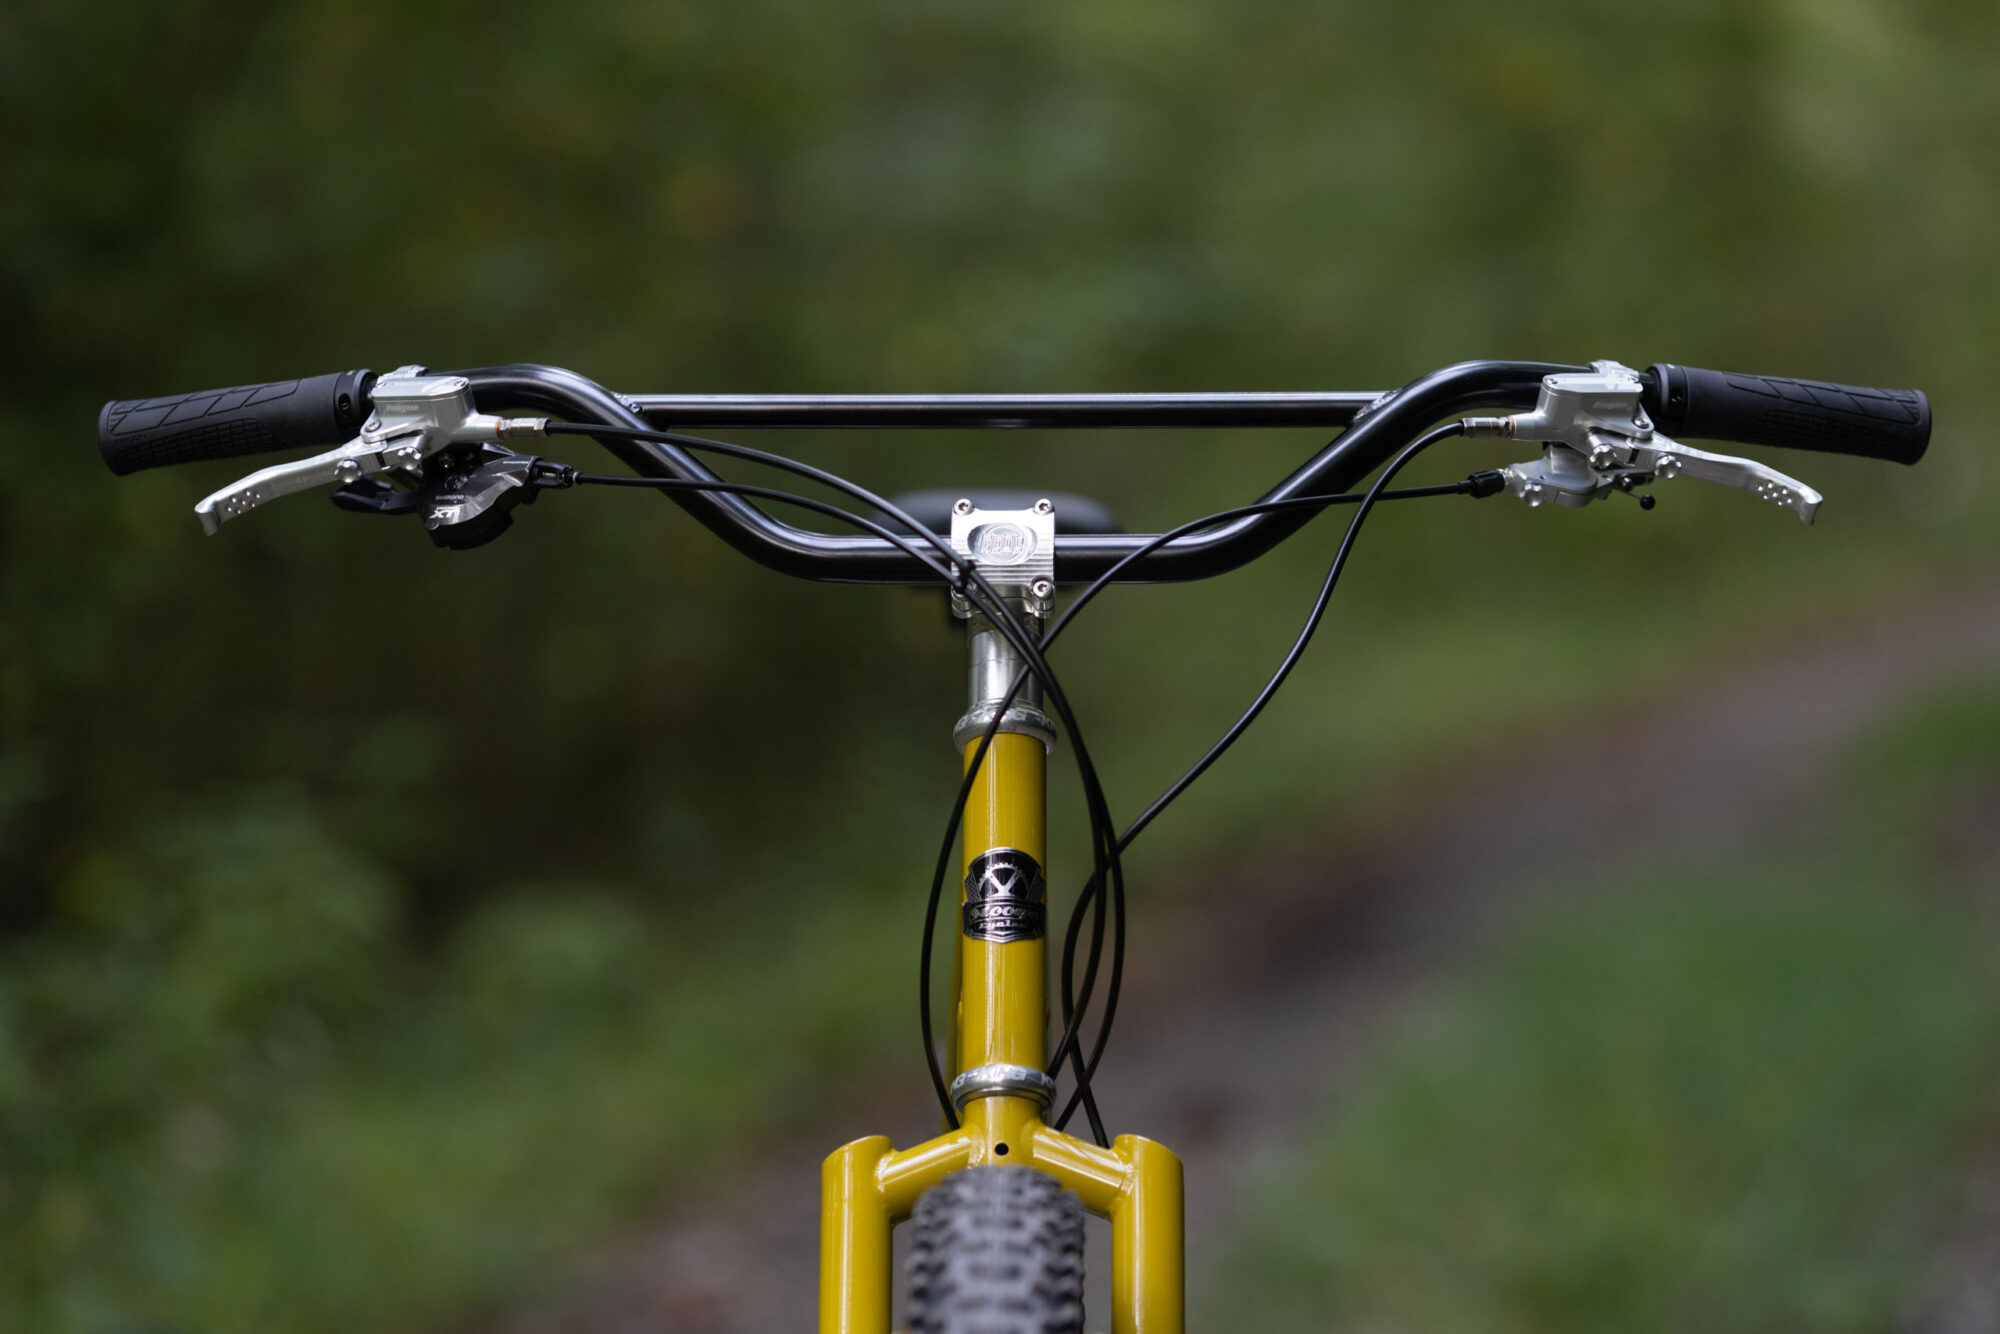
One of the most visible changes in the Tech 4 lever is in the lever itself, which I think is one of the better upgrades Hope made in terms of feel and leverage. Although it’s only a few millimeters longer than the Tech 3, it looks noticeably protracted. Part of this is because it’s straighter, and the scroll (or ball end) is a little smaller, providing a lengthier usable area for one- or two-finger actuation. For me, that’s always one finger; I’ve never felt the need to use two fingers with these brakes. That’s how reliable and powerful they are. At any rate, the new lever design allows you to move the clamps further inboard on the handlebars, which is particularly handy if you have other clamps to contend with.
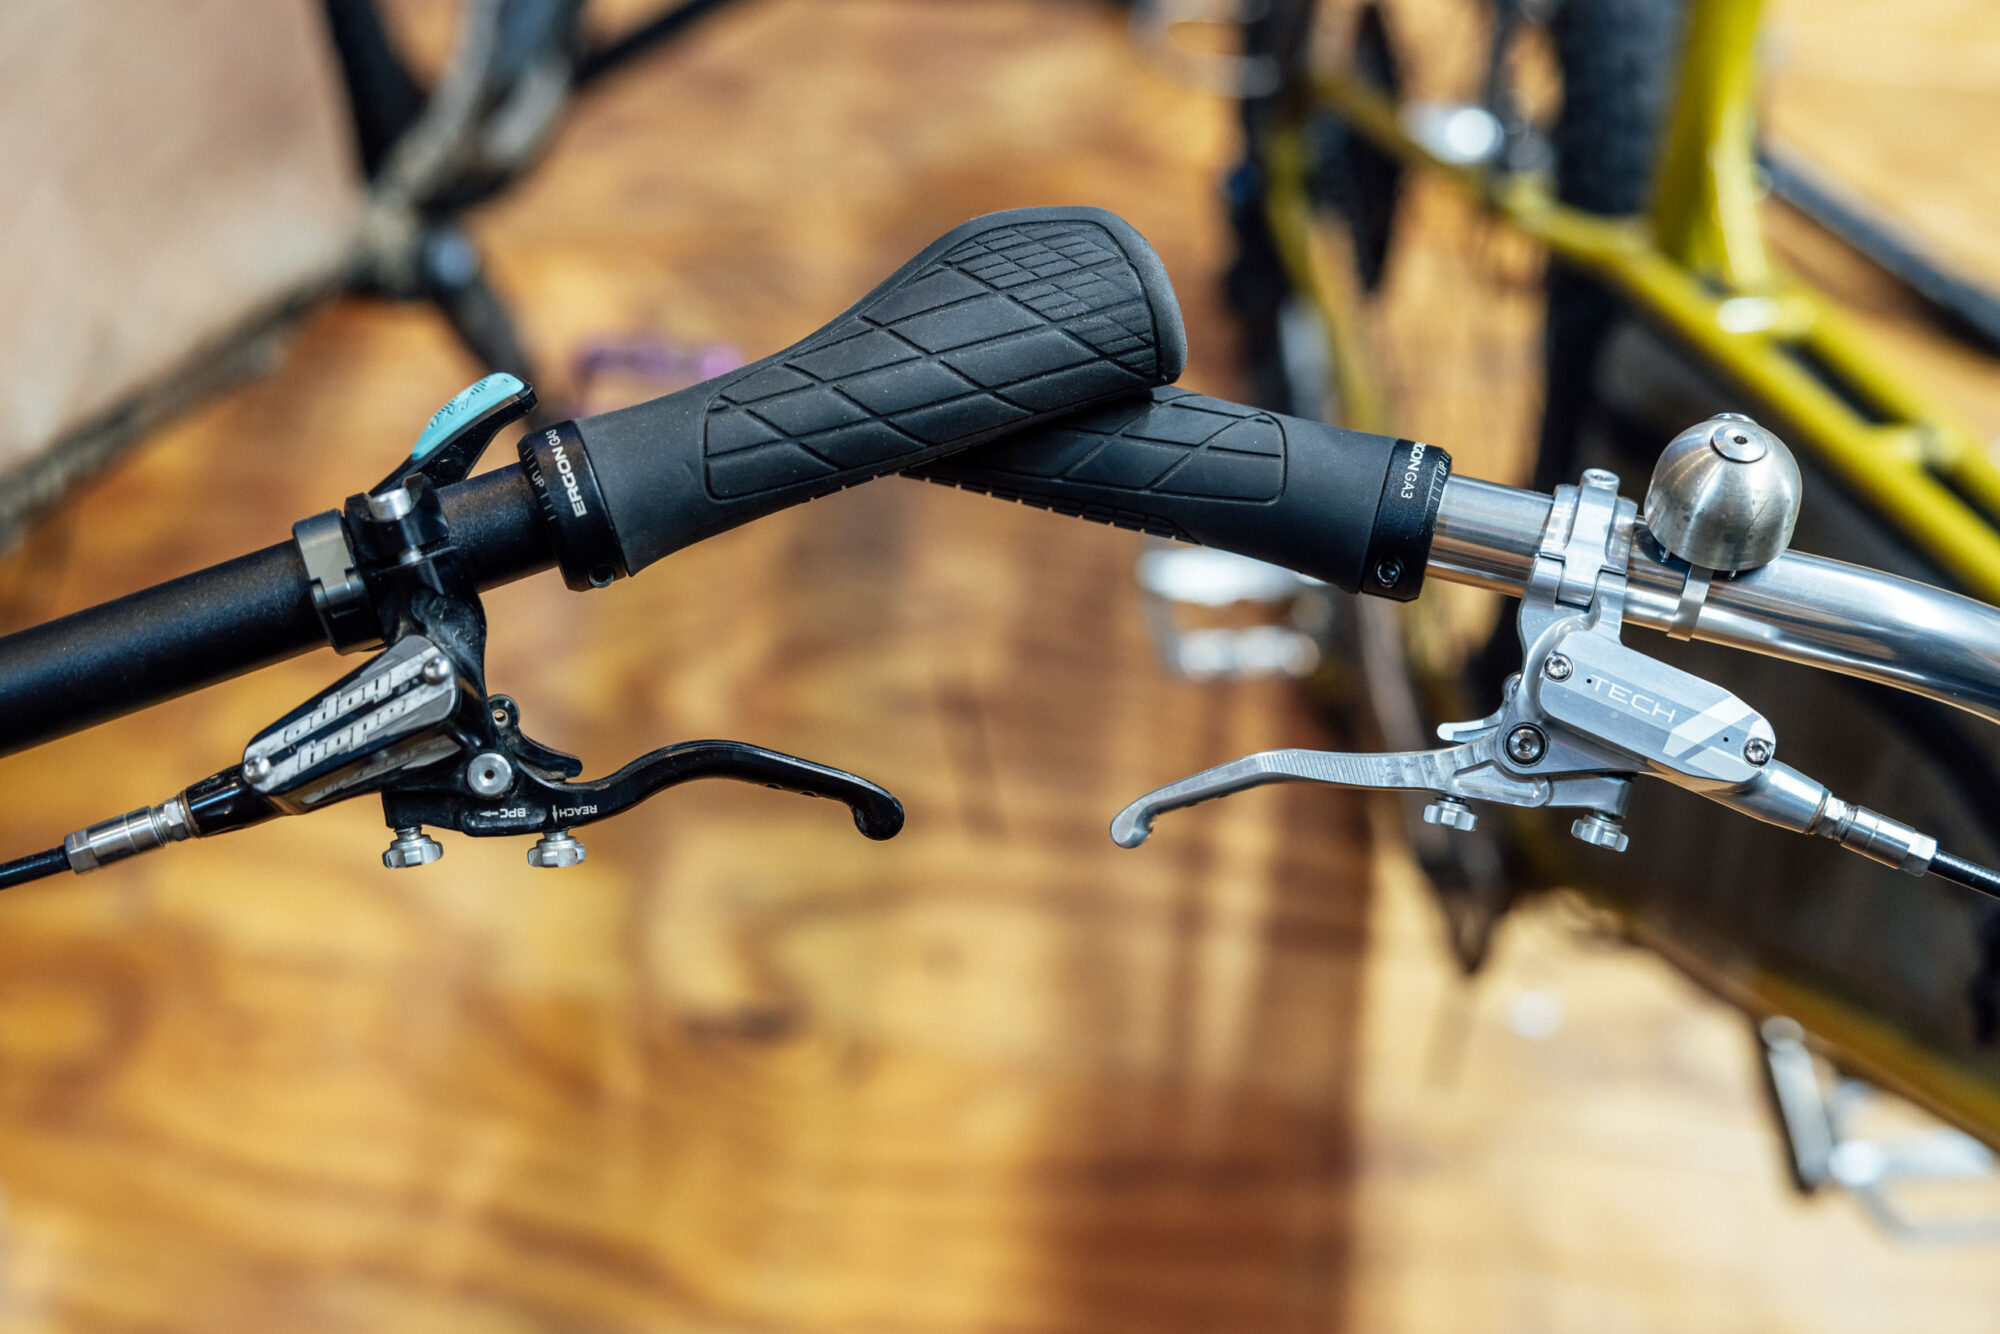
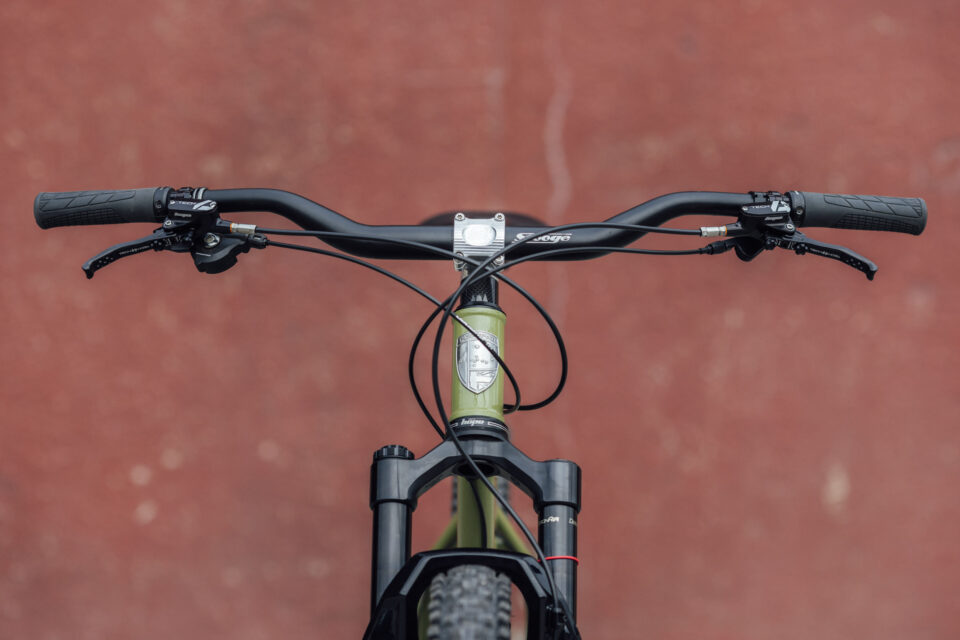
One pet peeve of mine is having shifter levers or a dropper lever that rubs on the area above your thumb knuckle; the new design seems to help alleviate that by allowing you to position them more inboard. I typically run dropper levers and shifter levers outside the brake lever clamp (toward the stem), but I think you could get away with positioning them inside, thereby moving the brake lever inboard and still get a secure one-finger purchase on the levers. That being said, I’ve replaced all the separate clamps with matchmaker hardware that slides into the hollow channel on the lever clamp, another great feature with the Tech 4. You can get matchmaker hardware for most shifters and dropper levers, like two of my favorites, the Hope lever and Wolf Tooth Pro lever. Speaking of the clamp, another excellent thing about the Tech 4 revamp is the addition of a single-bolt hinged clamp versus the two-bolt clamp on the Tech 3.
Adjustment knobs/dials
Hope carried over the same tool-free Bite Point Control (BPC) and reach adjustment knobs. These two elegantly machined aluminum knobs allow you to dial in the fit and feel of the lever with an indexed, easy-to-grab interface that’s even usable with gloves. The reach adjustment shifts the lever in and out to cater to various hand sizes or individual preferences; I recently checked mine, and oddly they were both at 11 (of 20) clicks from inward to outward. It’s a pretty wide range, however, and you can visibly see the lever move as you click through the dial.
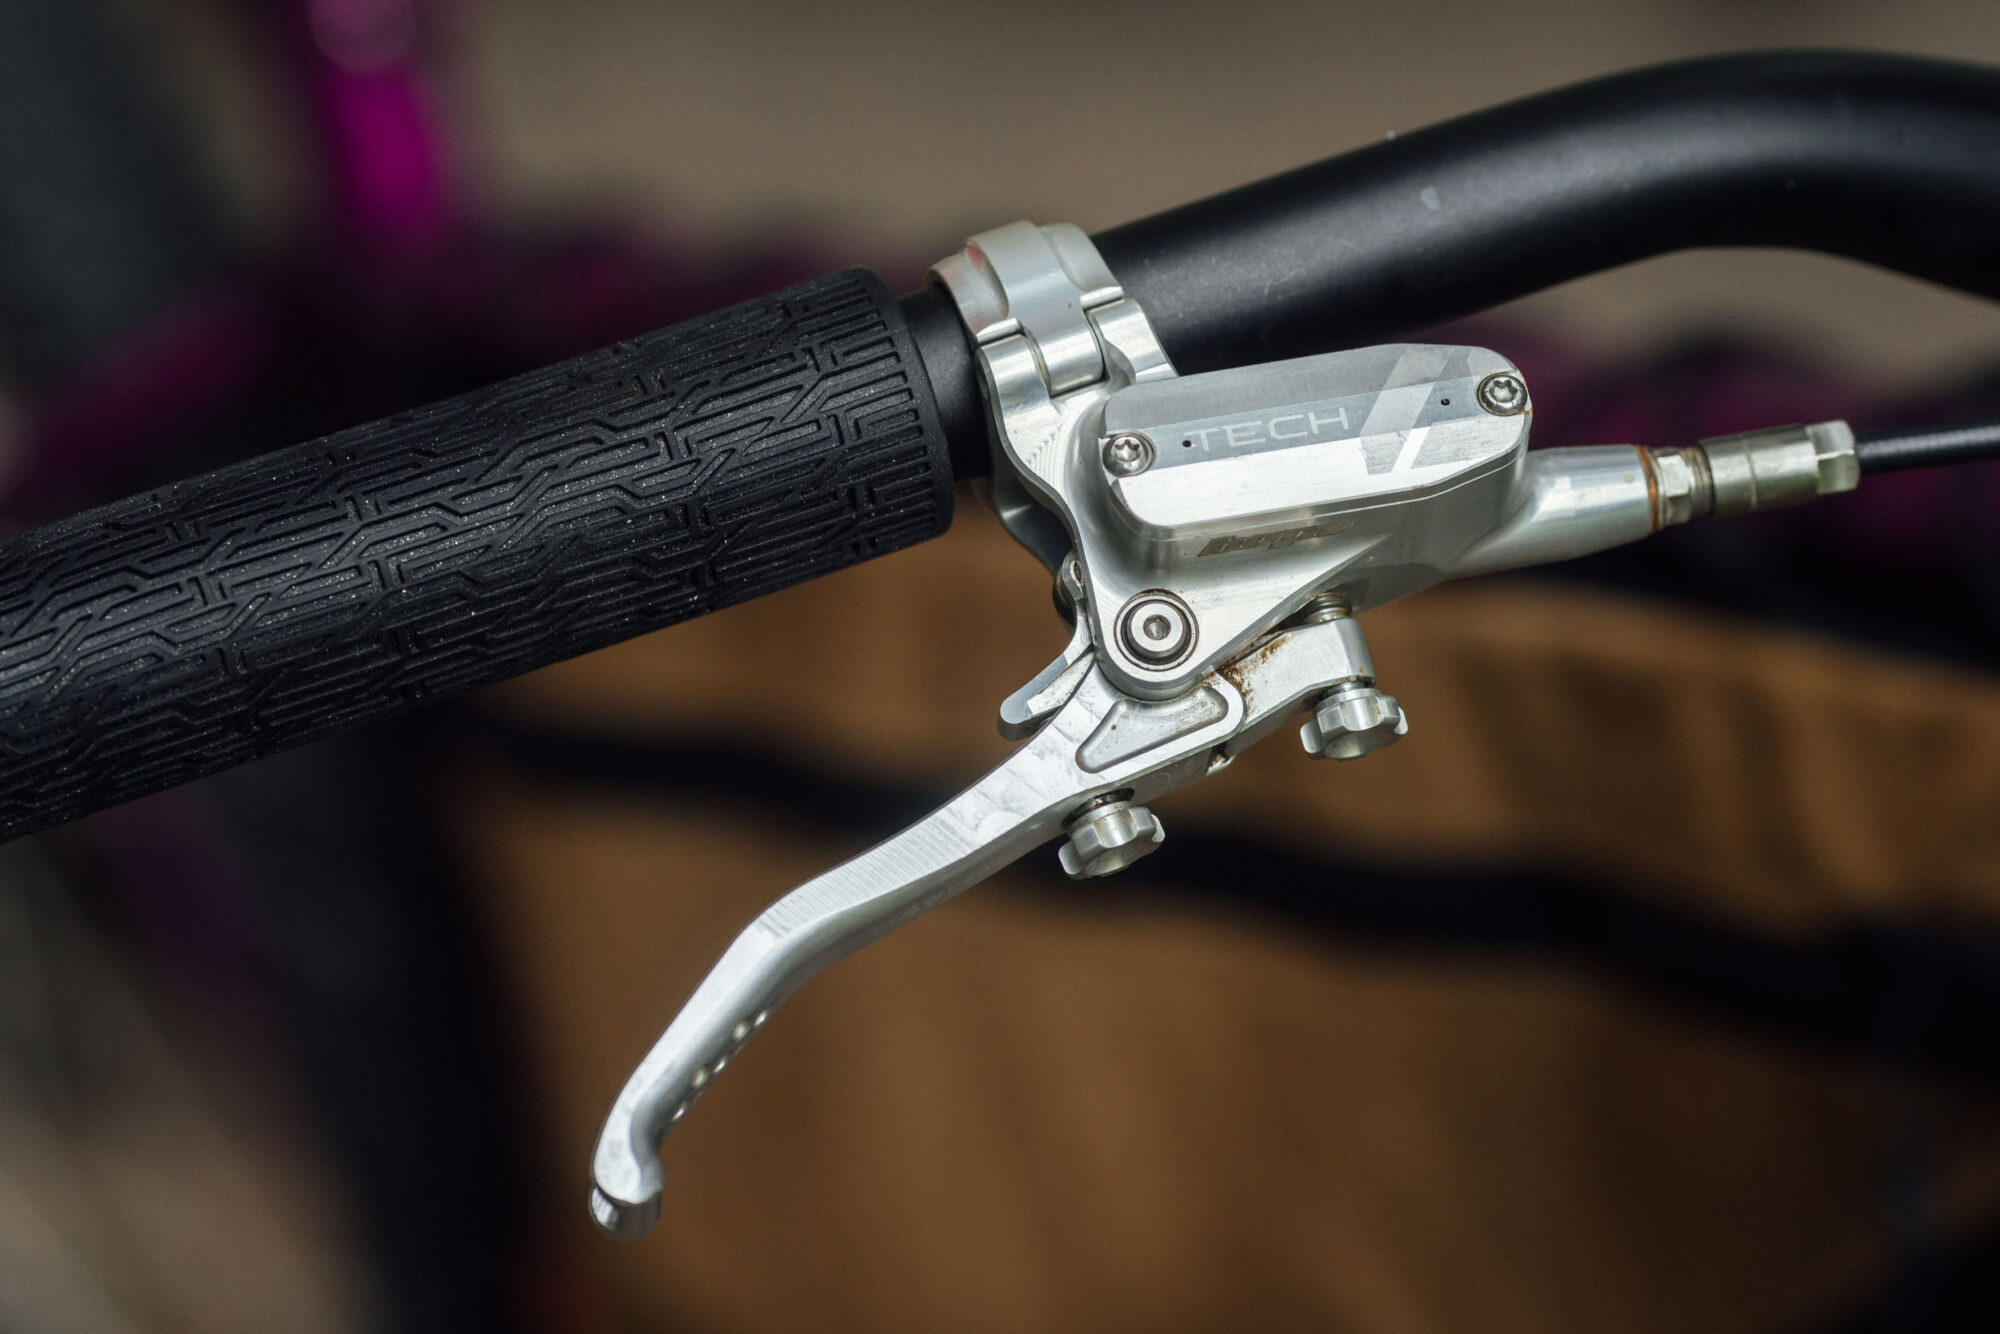
Theoretically, the BPC knob adjusts how quickly the pads engage with the rotor—whether it occurs early in the lever pull, offering an immediate bite or later, allowing for a more noticeable lever modulation. Mine are usually set right in the middle. Note that they also visibly move the lever in and out, which also changes the fit.
Pads and Rotors
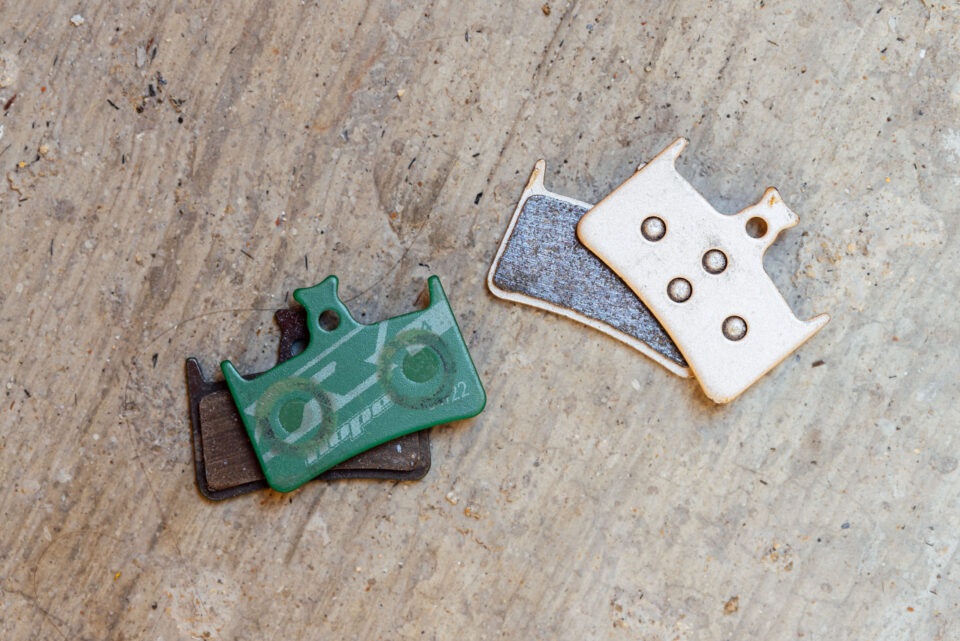
Hope offers several different types of brake pads for their brakes, and I’ve used third-party pads, too. The Tech 4 E4 combo came with a pair of the new Racing grade organic compound pads (green), which Hope claims offer increased stopping power and better fade resistance than the red All Conditions pads. I tried them both side by side and the only difference I noticed is that the green ones seem to make a little less noise when they heat up. They both last surprisingly long for organic pads, and hope also offers sintered metal pads (yellow) and an e-bike organic compound (purple).
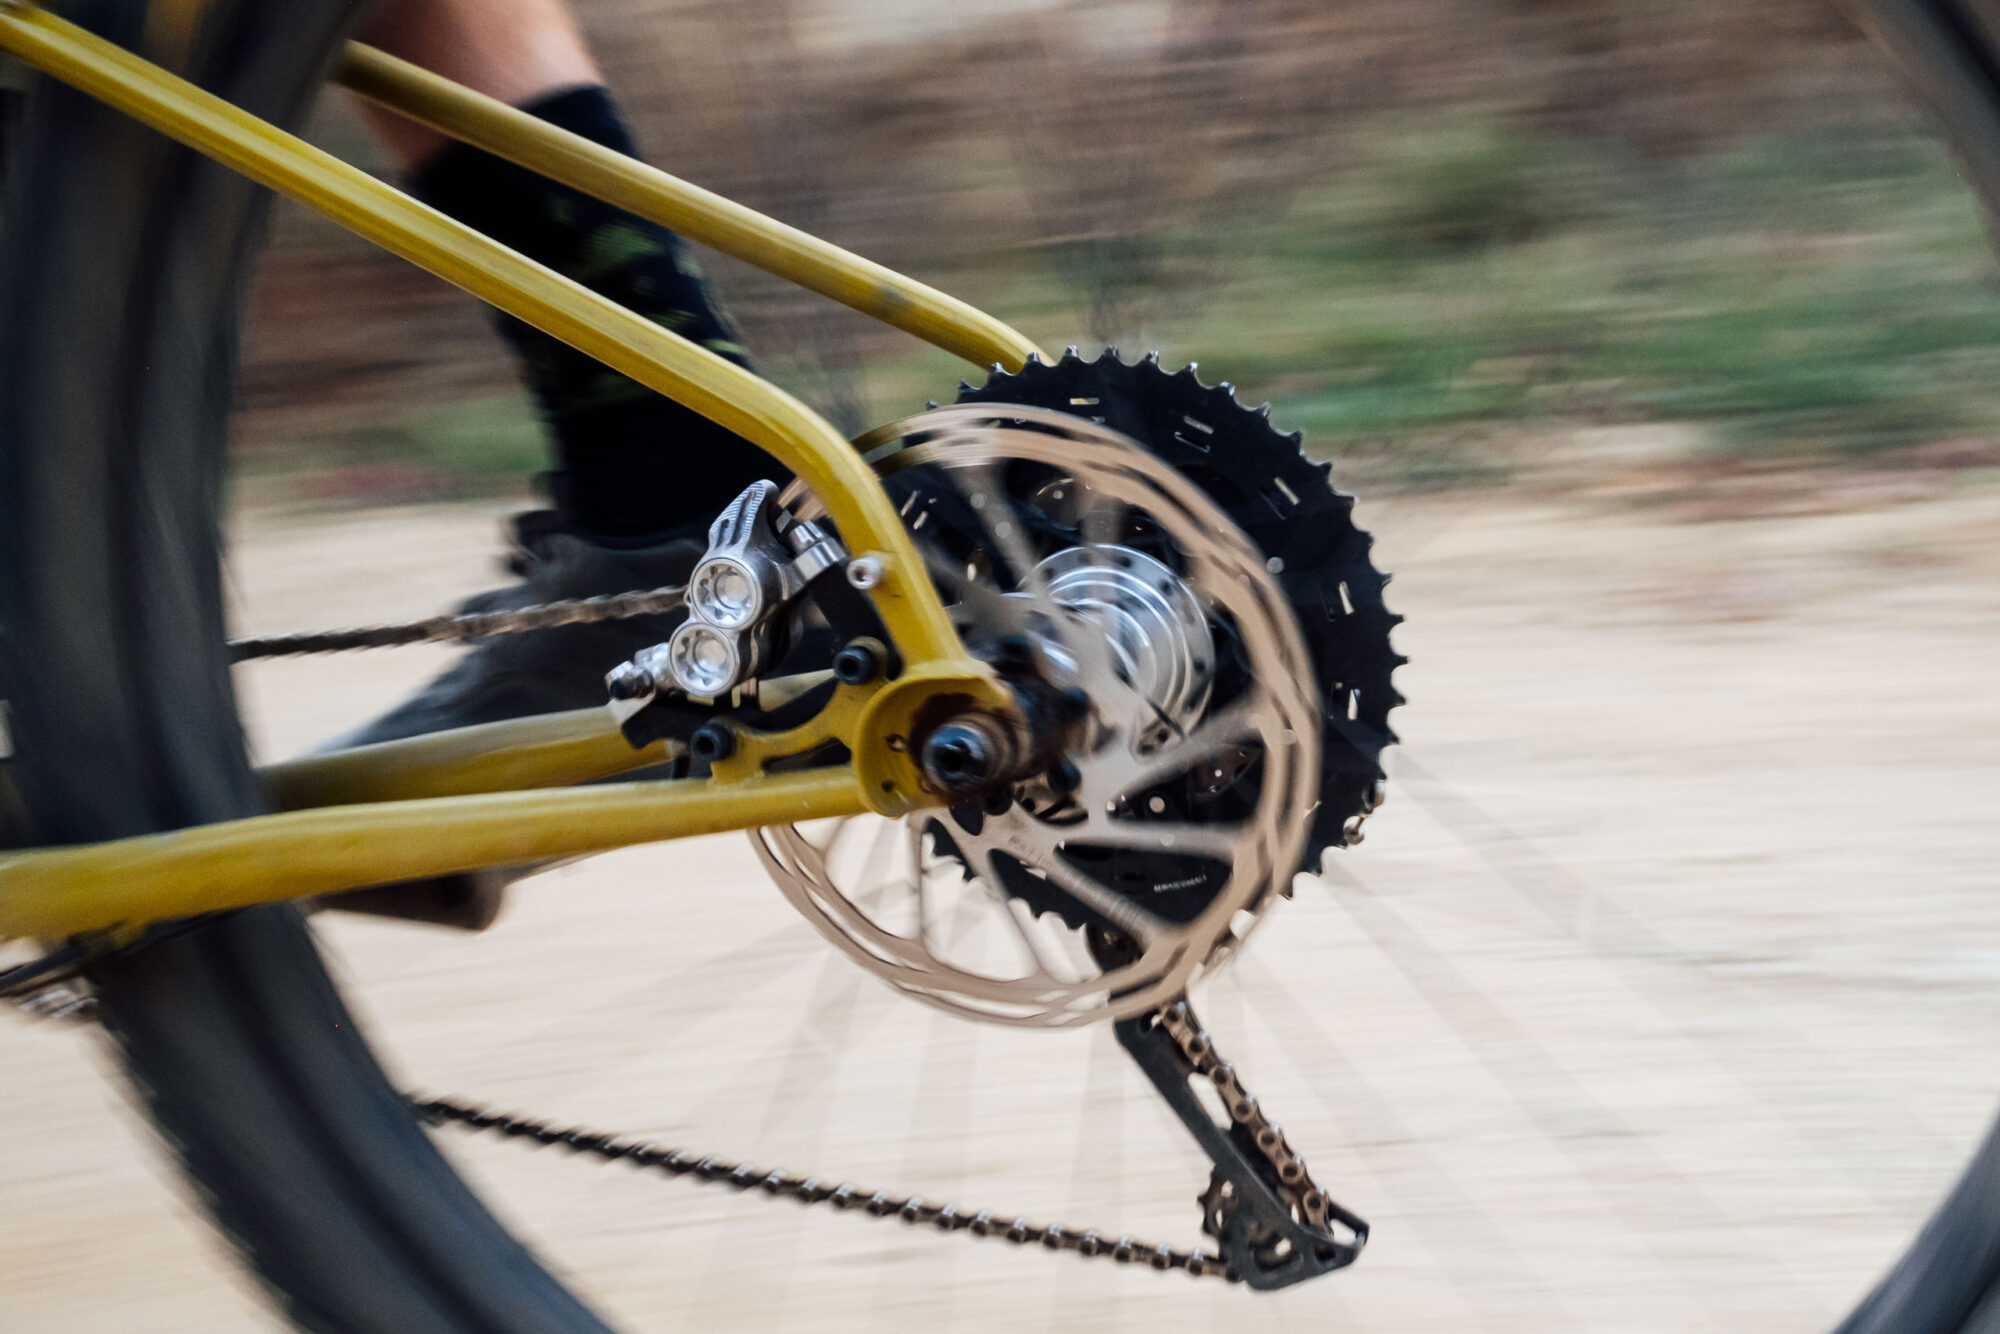
I’ve used a 180mm rotor in the back and a 200mm rotor up front for all five bikes I’ve had Hope brakes installed on. I tried Hope’s rotors on two of them, which both squeaked after a while. I later switched to SRAM HS2 rotors, which were recommended by a few friends, and haven’t had any outright noise issues unless they get really hot on a steep and lengthy descent.
The E4 calipers are a little finicky to adjust and align with the rotors compared to brakes like Shimano XTs. The ol’ squeeze your lever and then tighten the caliper bolts method doesn’t usually cut it. I found that it took some fine-tuning to get perfect. Once it’s set, it generally stays that way, however. Note that the HS2 rotors are a hair thicker than Hope’s (2.0 vs. 1.8mm). It’s not a big difference, and Hope states that the maximum rotor thickness allowed with the E4 caliper is 2.3mm, but consider that they might be a little harder to align. However, they’re a little less expensive and generally noise-free. All that being said, proper installation plays a big part in dialing in how well these brakes perform and eliminating the dreaded brake howl—a Google search will undoubtedly turn up someone who had a squeaky experience with Hope E4s. Nine times out of 10, this was improper installation.
[Proper] Installation
With my Tech 3 E4s and first pair of Tech 4 E4s, I used the lazy install method—essentially, I mounted the levers and calipers, marked the hose length, cut, installed a new barb and olive, then tightened the hose clamp nut. As mentioned earlier, the Tech 3 E4 was just fine, lasting nearly 4,000 miles with no issues or no need to bleed. However, that changed on a trip to Colorado this summer as they seized down on the rotor mid-ride. Perhaps there was a little air in the system, and the elevation caused them to malfunction. I installed the first pair of Tech 4 E4s in the same manner. They were also generally fine, except they squeaked. After talking to a friend and mechanic about this, we came to the conclusion that it might have been a result of the pistons not moving perfectly and that a proper bleed may be in order; he reported installing multiple pairs via the method below with no squeaking or noise. After bleeding them, I didn’t have any more issues. So, here’s the method he uses and passed on to me:
- After unboxing them, squeeze the lever so the pistons push the pads all the way together. Gently pry them apart and repeat that process three or four times. This gets the pistons moving evenly and lubed. Then squeeze them together one last time and leave them with the pads touching.
- Mount the brakes, disconnect the housing at the lever, cut the housing to your desired length, and reconnect.
- Level the reservoir on the lever and open it up. Then return to the caliper and spread the pads apart completely. This will push the fluid and any trapped air back up to the open reservoir. Lightly and briefly squeeze the lever several times until no more bubbles appear in the reservoir. Then, make sure the pads are all the way apart.
- Top off the reservoir with DOT 5.1 fluid, and carefully roll the diaphragm on top so it slowly settles in. Add reservoir cap and gently tighten bolts.
- Bed in the brakes and ride them until they’re fully bedded. Then open the reservoir again, lightly tap the lever, and squeeze a little until there are no more bubbles. Top off again, roll on the diaphragm once more, and install the cap.
- Usually, this is good, but it sometimes takes a couple of rounds. This is as good as a full bleed on new brakes.
Note that I skipped step five and haven’t had any issues.
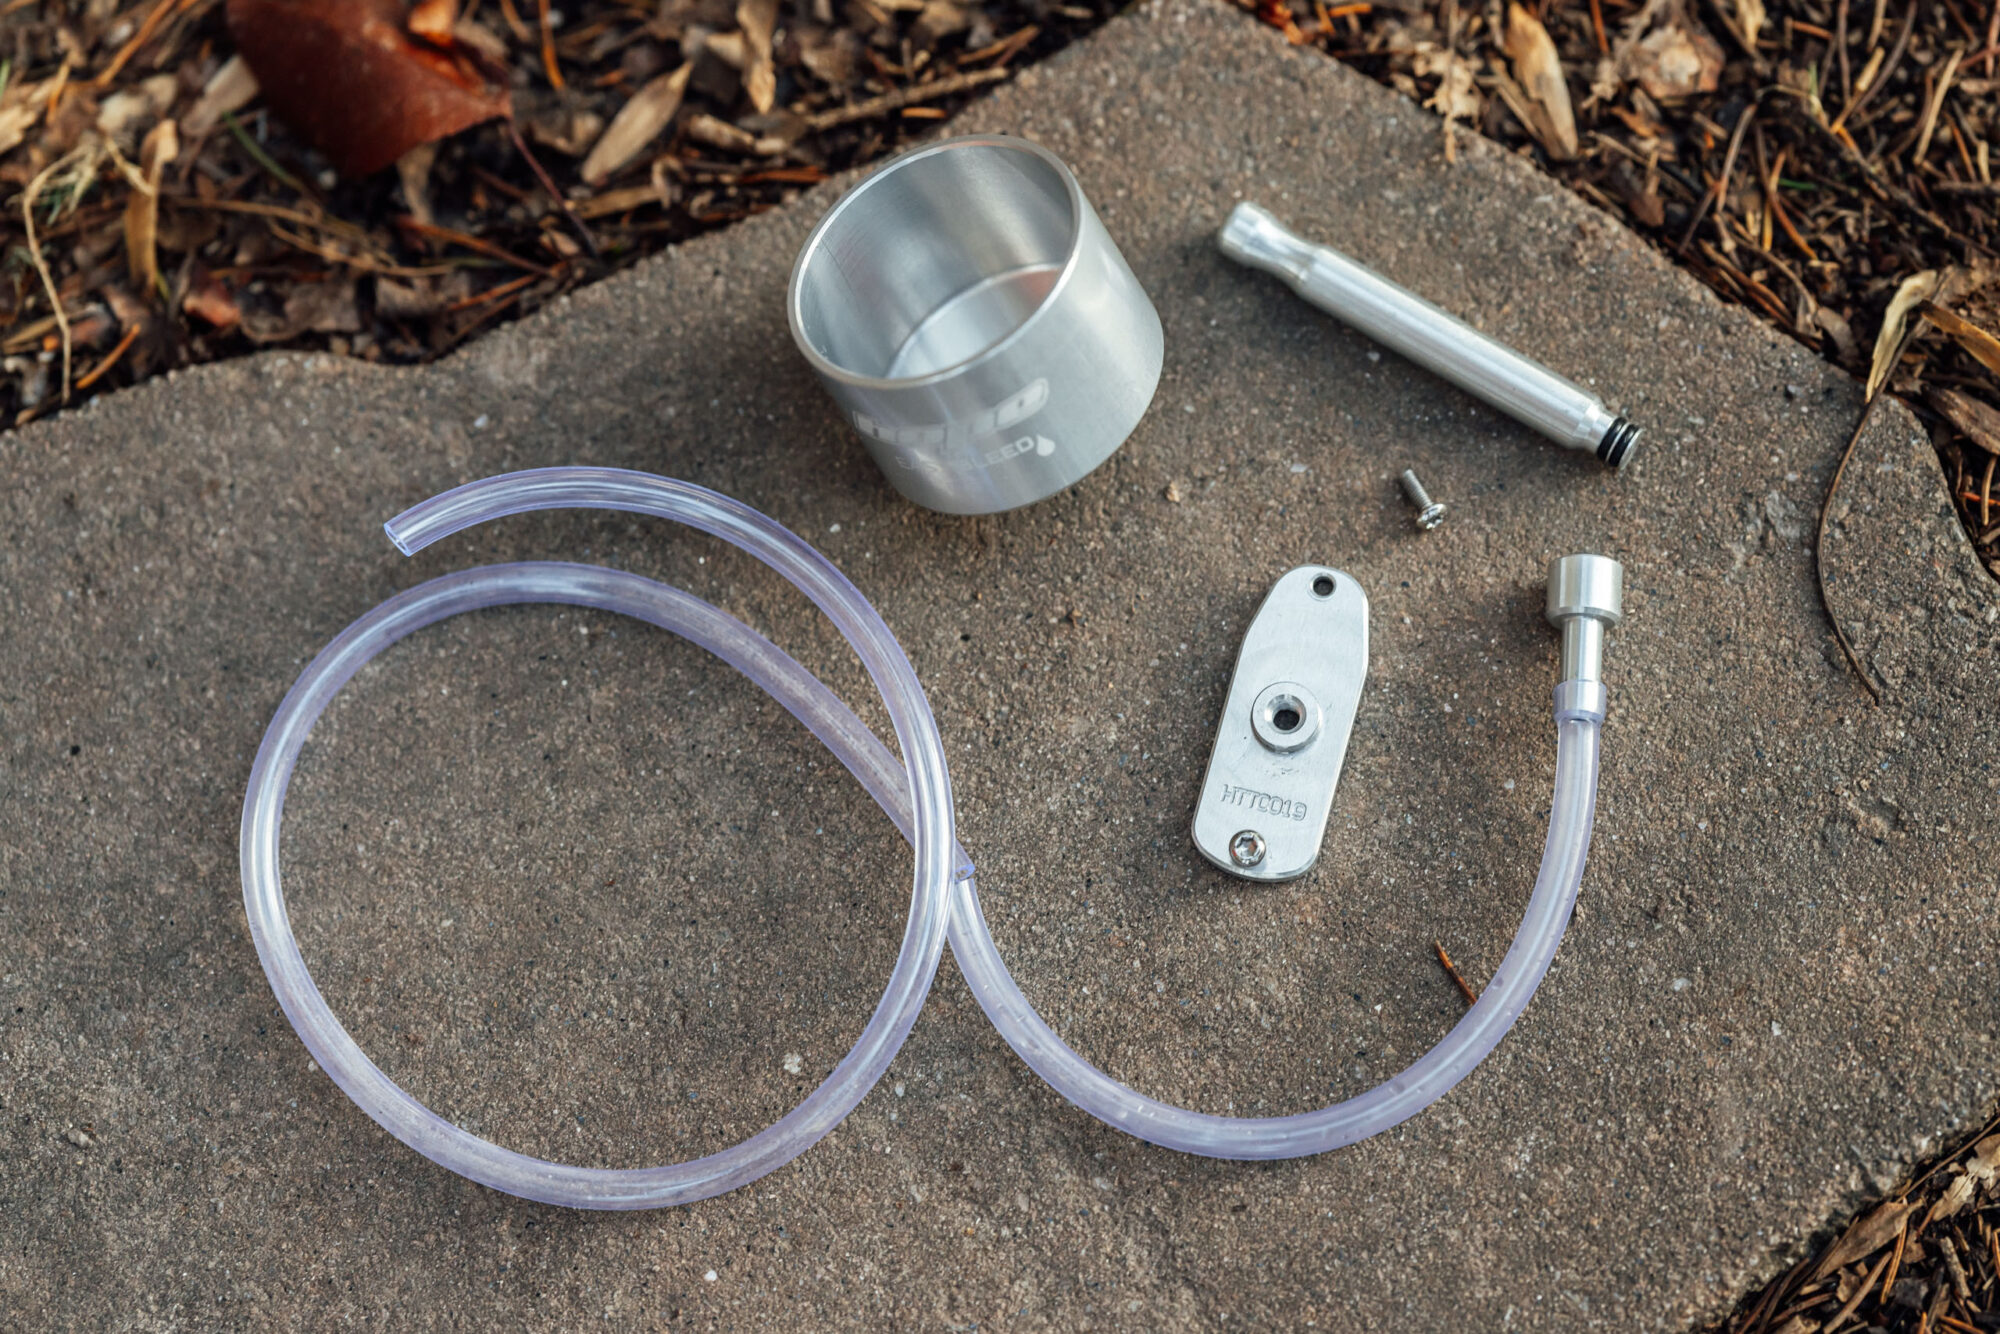
Bleeding Hope brakes is fairly simple, albeit kind of old school. You can find a couple of videos on the subject here and here. Instead of a threaded bleed port and syringe, like other modern brakes, the Tech 4 bleed kit uses a separate reservoir cap, a fluid cup, and a drain hose. That being said, you can bleed them by just adding DOT 5.1 fluid through the reservoir and pushing it out the caliper port, which might come in handy if you’re in need of a bleed while out bikepacking.
- Model/Size Tested: Hope Tech 4 E4
- Weight: ~270 grams
- Place of Manufacture: Barnoldswick, UK
- Price: $272 (single caliper/lever)
- Manufacturer’s Details: Hope Tech
Pros
- Incredible stopping power and unparalleled modulation
- Precise lever feel and adjustability
- Beautiful aesthetics and quality machining
- Available in several colors and combinations thereof
- Even pad wear and long life
- Reliable and durable
- Tech 4 lever improved ergonomics and power
Cons
- Can be finicky to set up and dial in
- Some parts, such as the matchmaker bits, are hard to find in local shops
- Can get a little noisy when they get really hot or when not properly bled on install
- I wish they used mineral oil instead of DOT fluid
Wrap Up
The same one-line summary I added in our 2021 Gear of the Year awards about the Tech 3 E4 can be easily reapplied to the new Tech 4 E4: These brakes are extremely impressive and are unmatched in the lever feel and modulation department… Their impressive machining, reliability, and superior performance make them my top pick for MTB brakes.
Better yet, the Tech 4 improves upon its older sibling with a more usable, longer lever design and several nice tweaks that add up to an overall better brake. They’re not without cons; nothing ever is. Some people will find them a little finicky to install, adjust, and bleed. But once they’re properly set up, they’re an incredibly impressive component that will likely make an excellent upgrade on any mountain bike. After 2,500+ miles of use on one pair and a nearly as many on another, I’m confident that I’ll be using these same brakes for years to come on whatever bike I build.
Further Reading
Make sure to dig into these related articles for more info...
Please keep the conversation civil, constructive, and inclusive, or your comment will be removed.


