Other People’s Lines + Our Baja Divide Rigs
Share This
In the final installment of coverage from Logan and Virginia’s Baja Divide Missions Section ride, Logan reflects on realizations that come from riding other people’s route designs, and breaks down the “ramble-shred” bike builds, rationale, and gear lists they used on the trip.
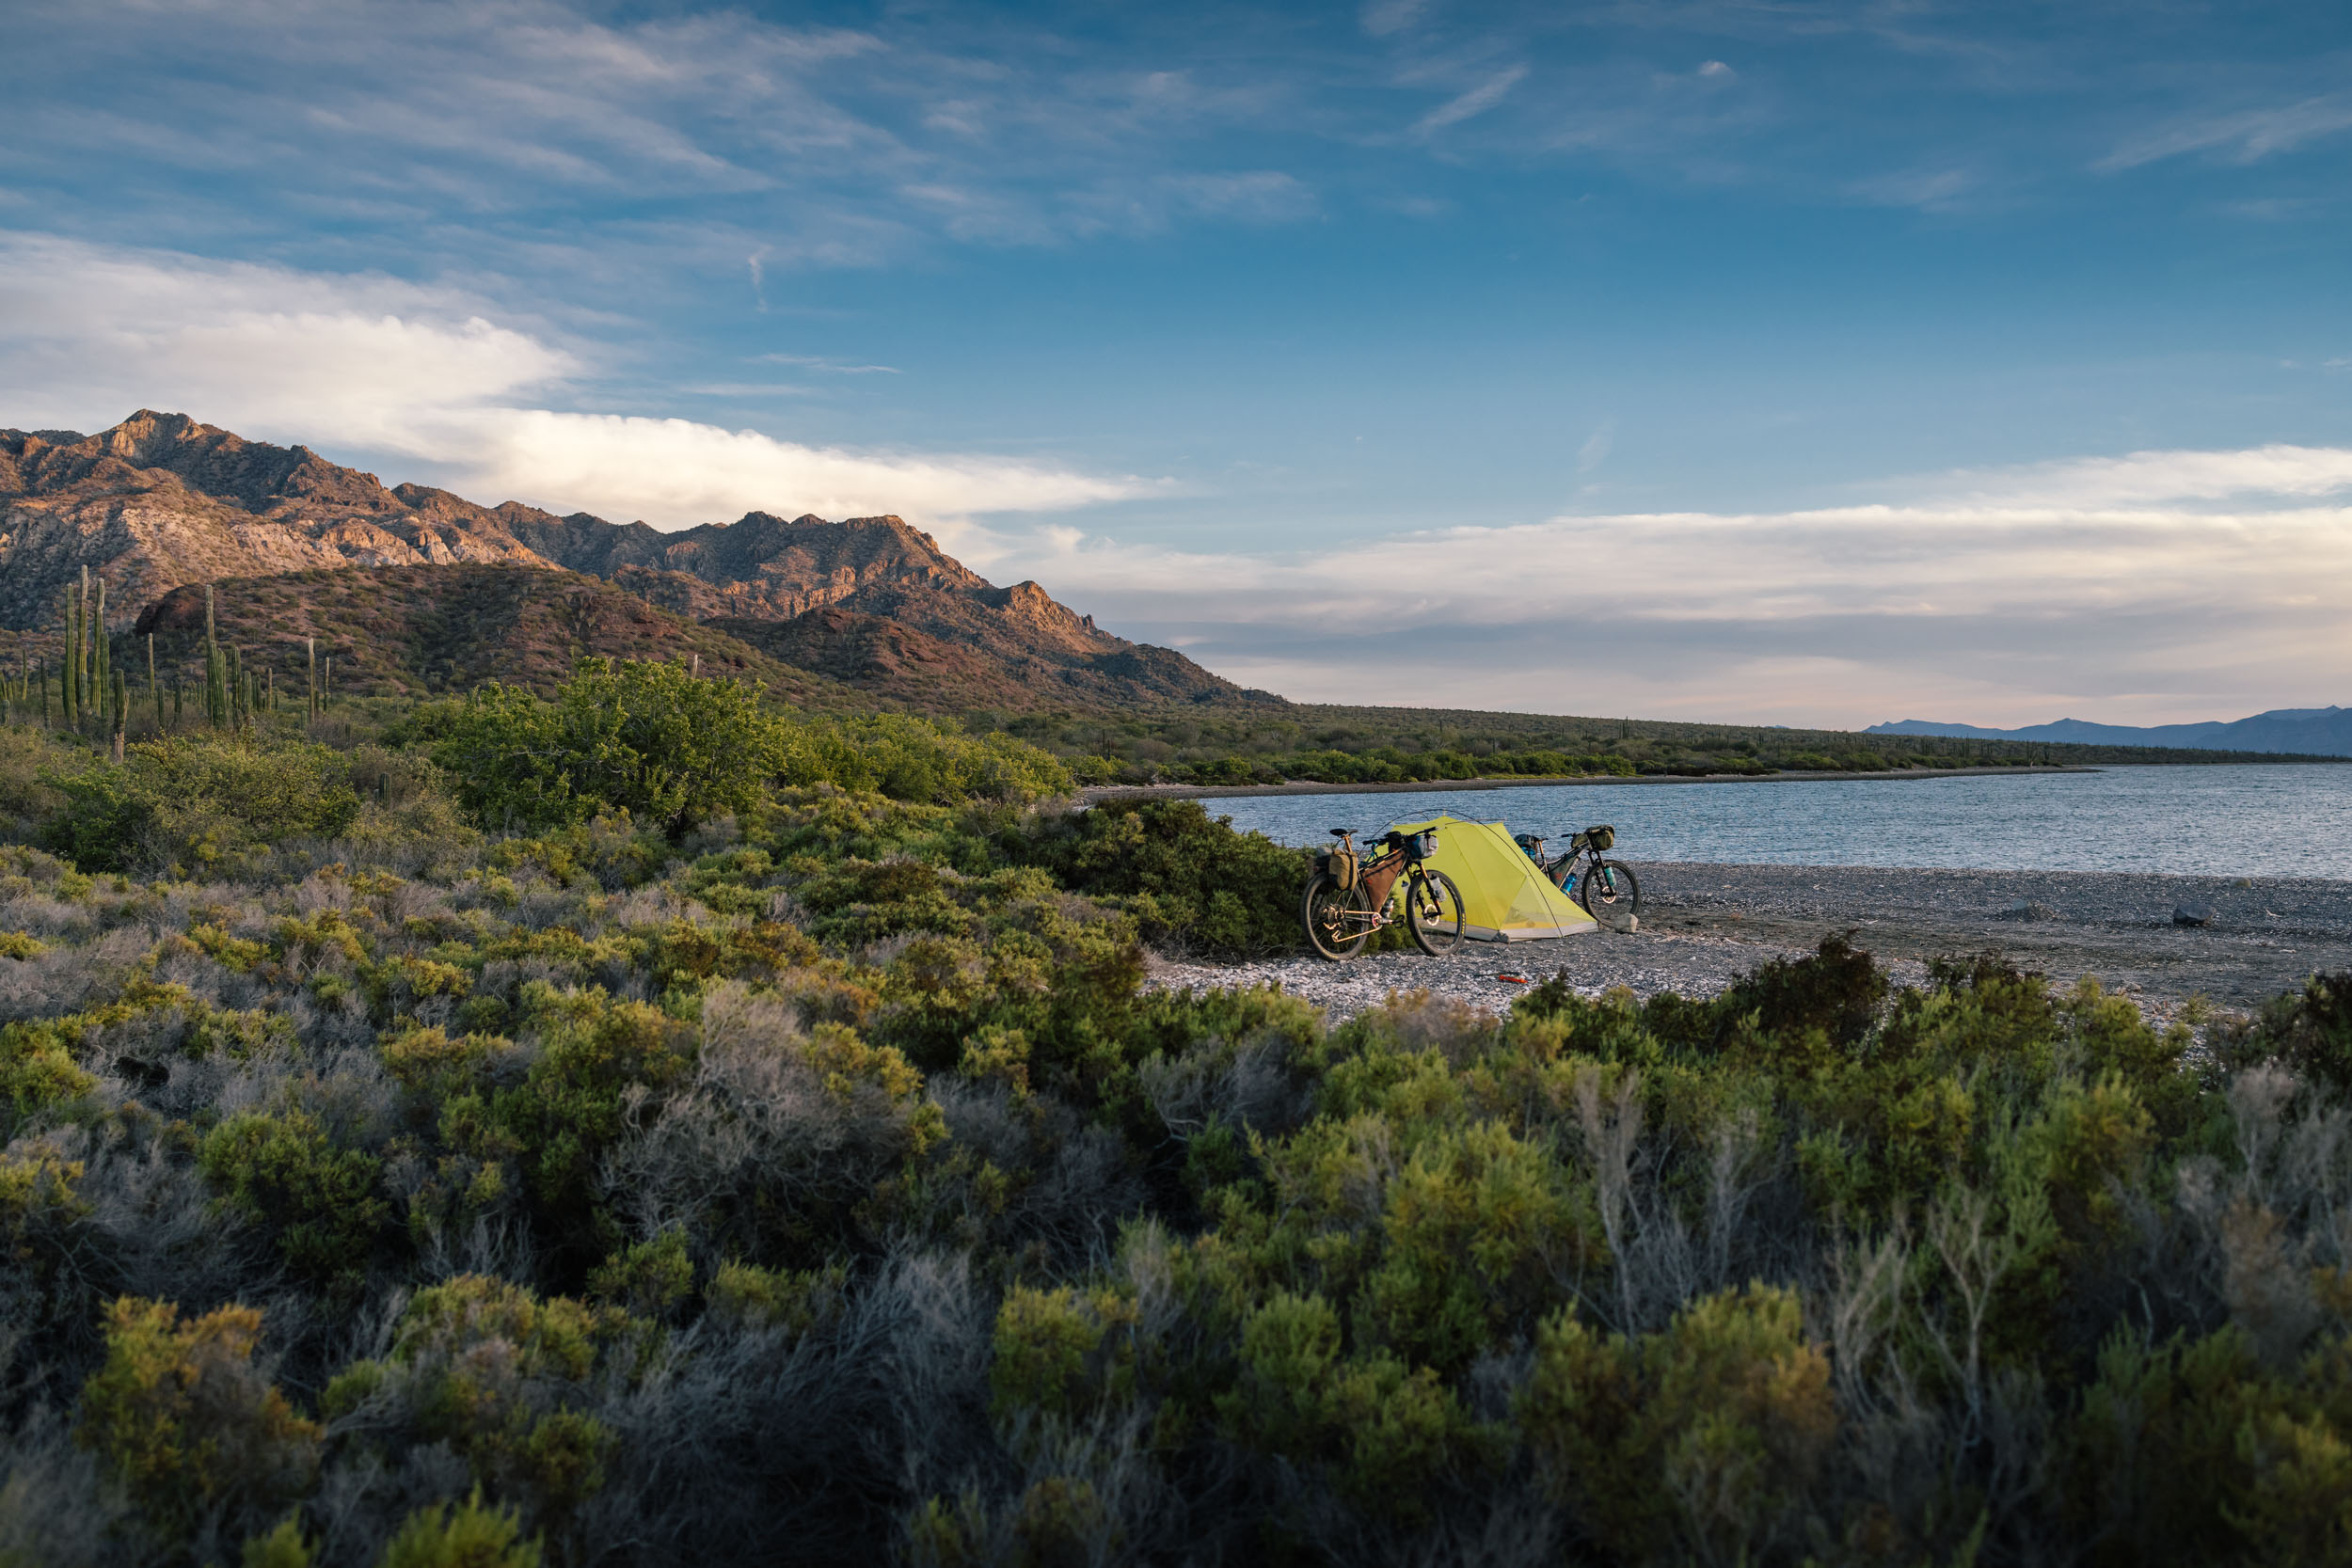
It’s been a while since I’ve pedaled along someone else’s bikepacking route. Ever since we launched the bikepacking routes section of the website in 2014, most of my bike endeavors have involved creating new routes. Aside from a few scouting missions with other route creators, I think it’s been about seven years since I’ve entrusted myself to someone else’s GPX track. That year, I ticked off a few of them during a cross country road trip: routes such as the Hurucan 300, Big Bend, the Kokopelli Trail, Stagecoach 400, and a couple of other classics. It’s not that I haven’t wanted to follow someone else’s route, but most of my trips have been driven by a passion to explore and create—not to mention the fact that I have a list of projects I want to complete. I broke that trend over the holidays, though, when Virginia and I decided to take a “vacation” and pedal a good portion of the Baja Divide Missions Section and half of the Cape Loop, a route designed and developed by Nicholas Carman and Lael Wilcox. Along the way, I was reminded that there’s a lot to learn from riding other people’s lines.
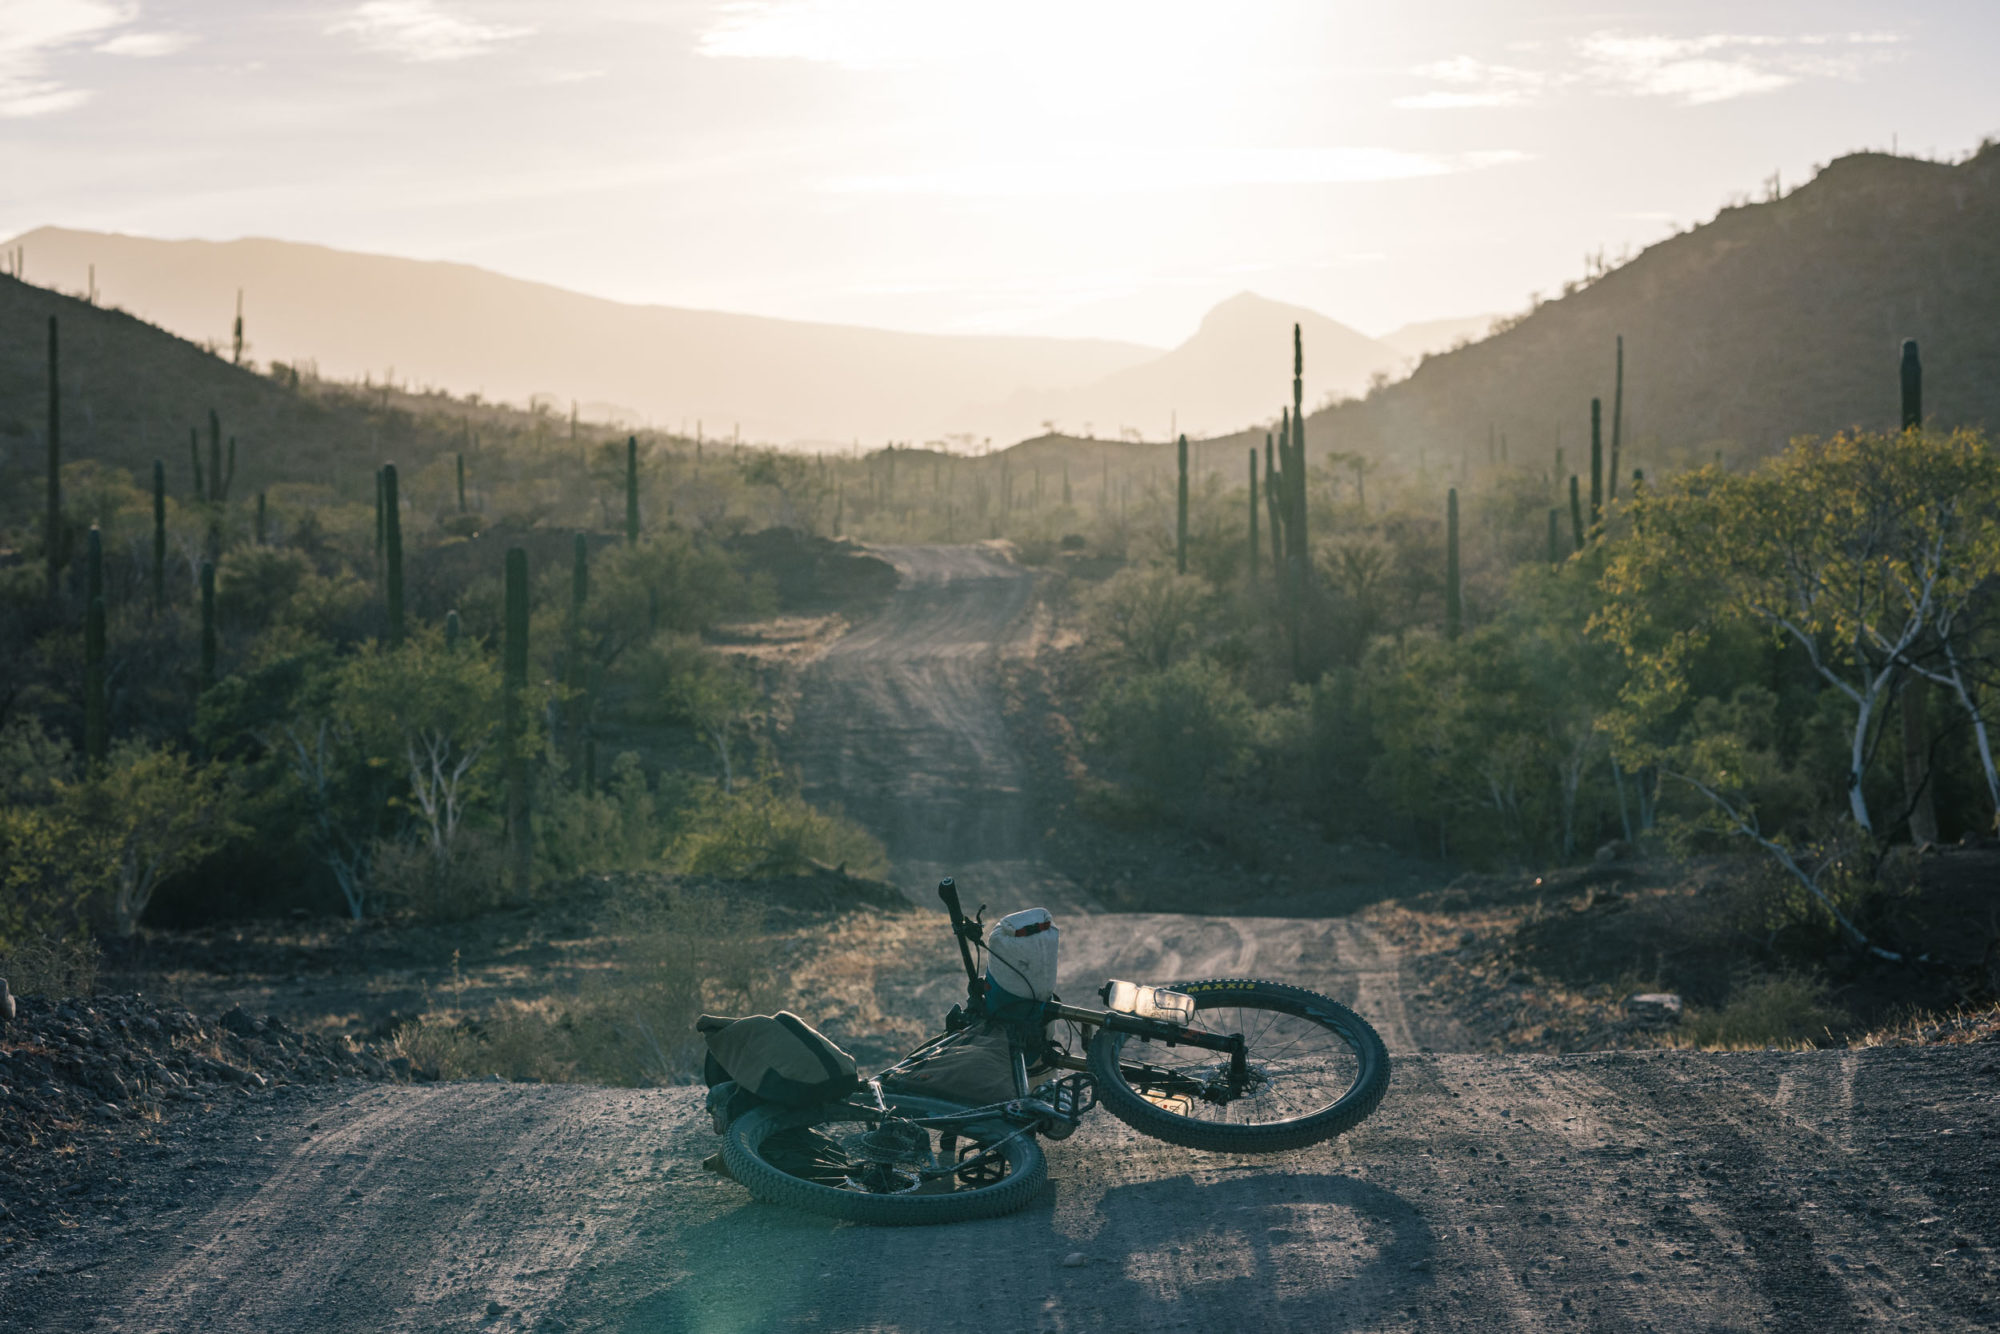
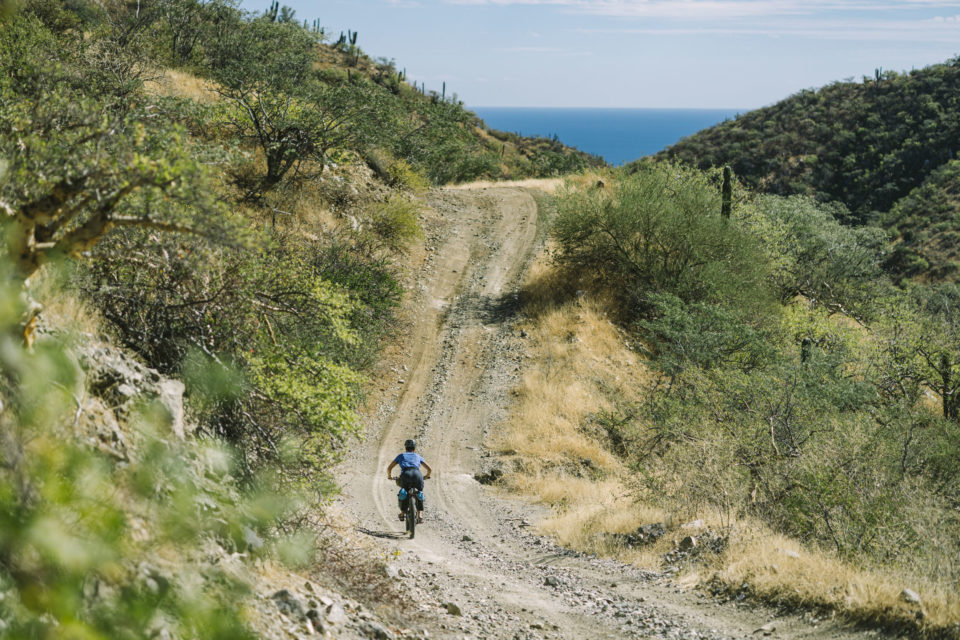
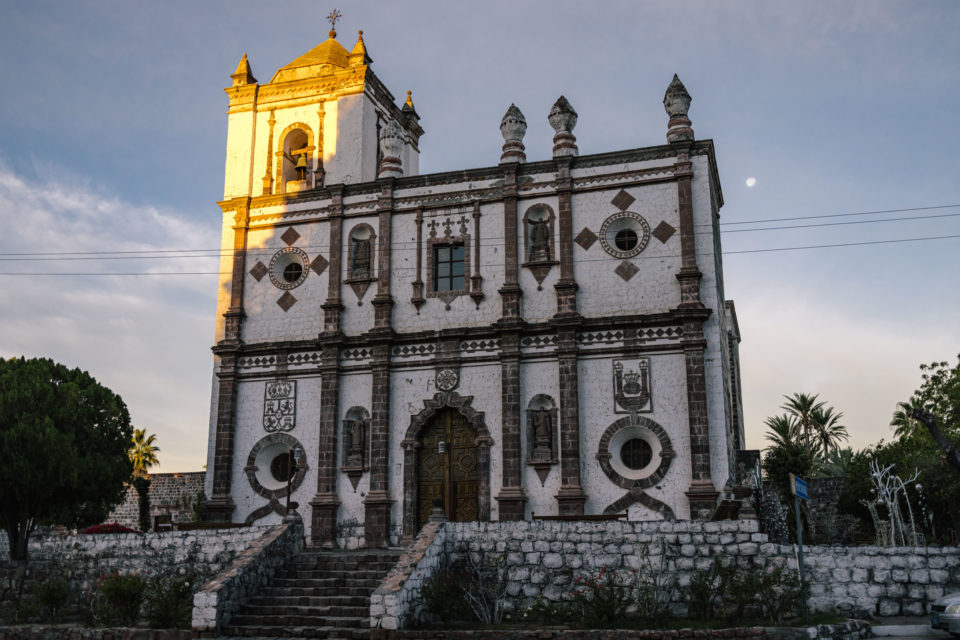
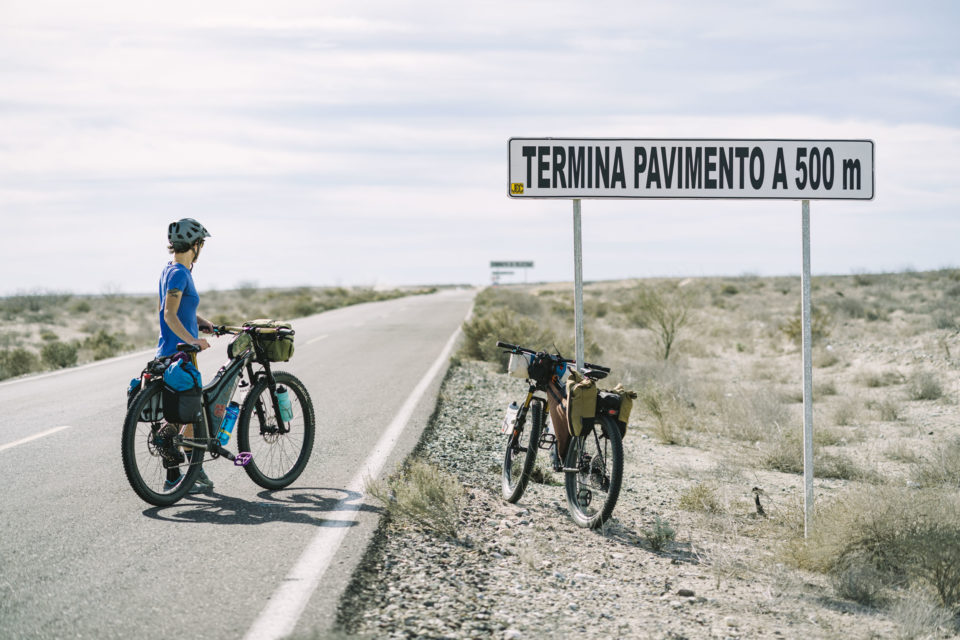
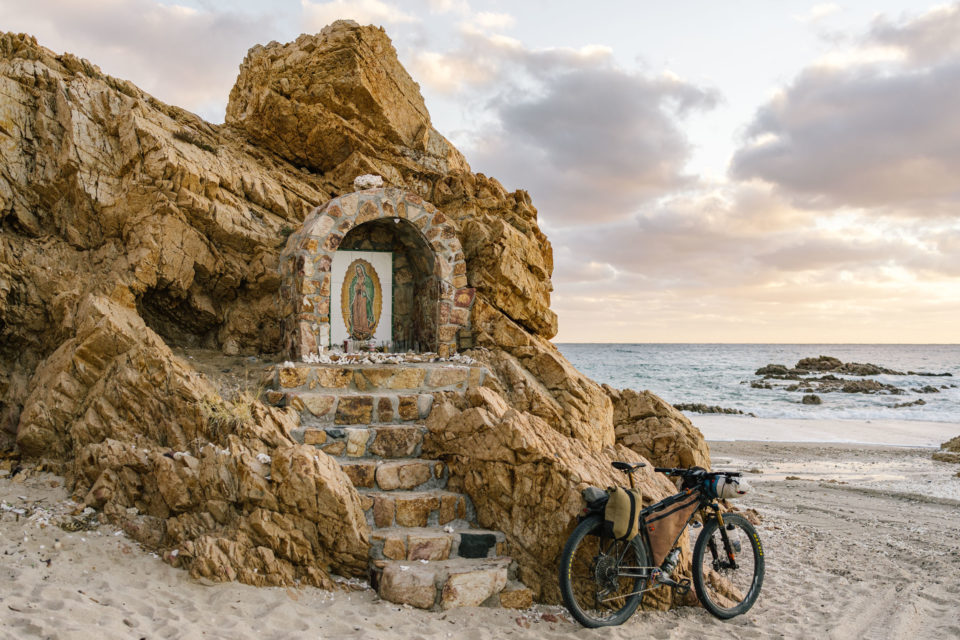
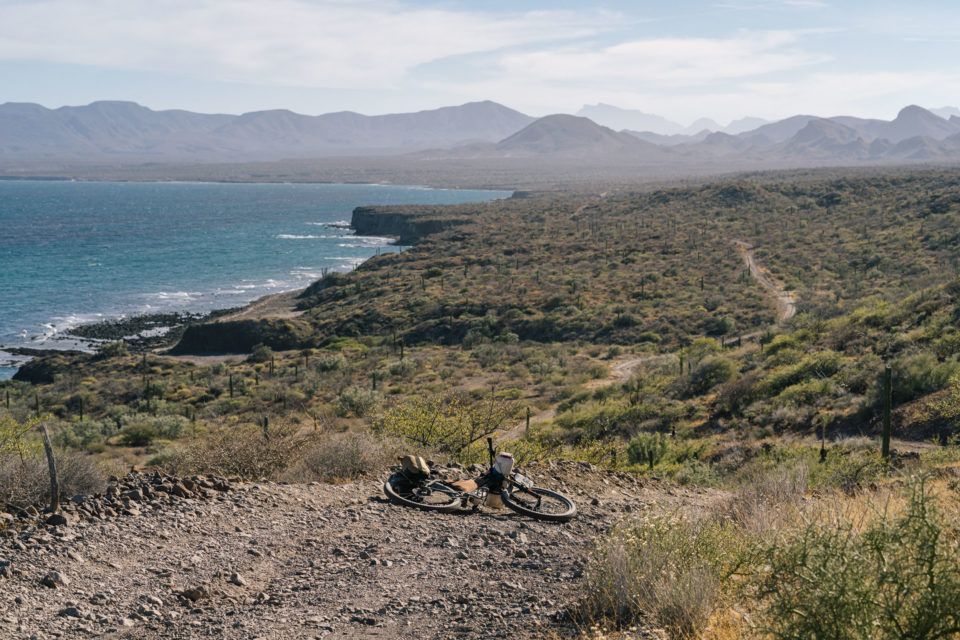
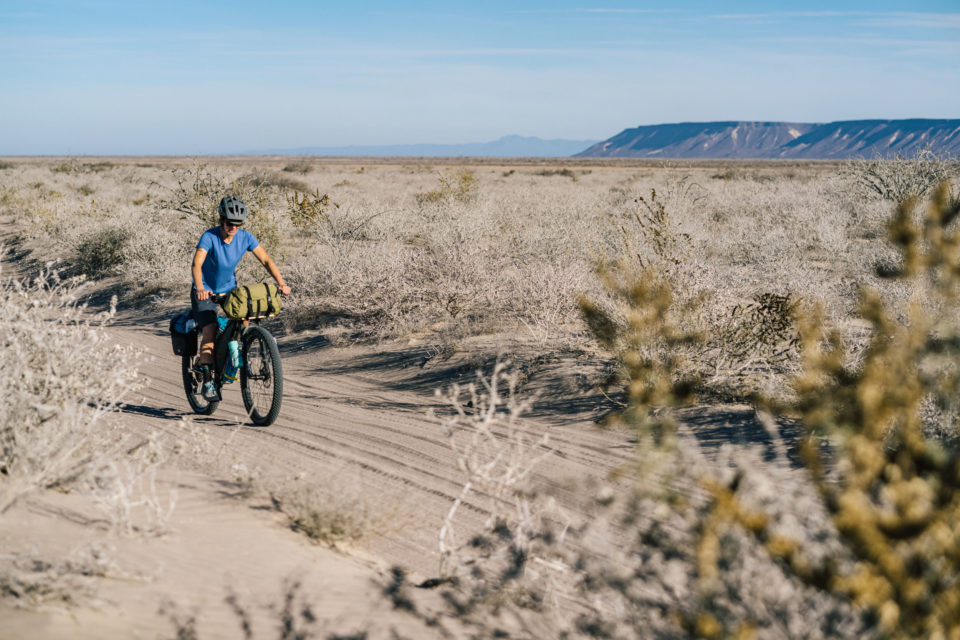
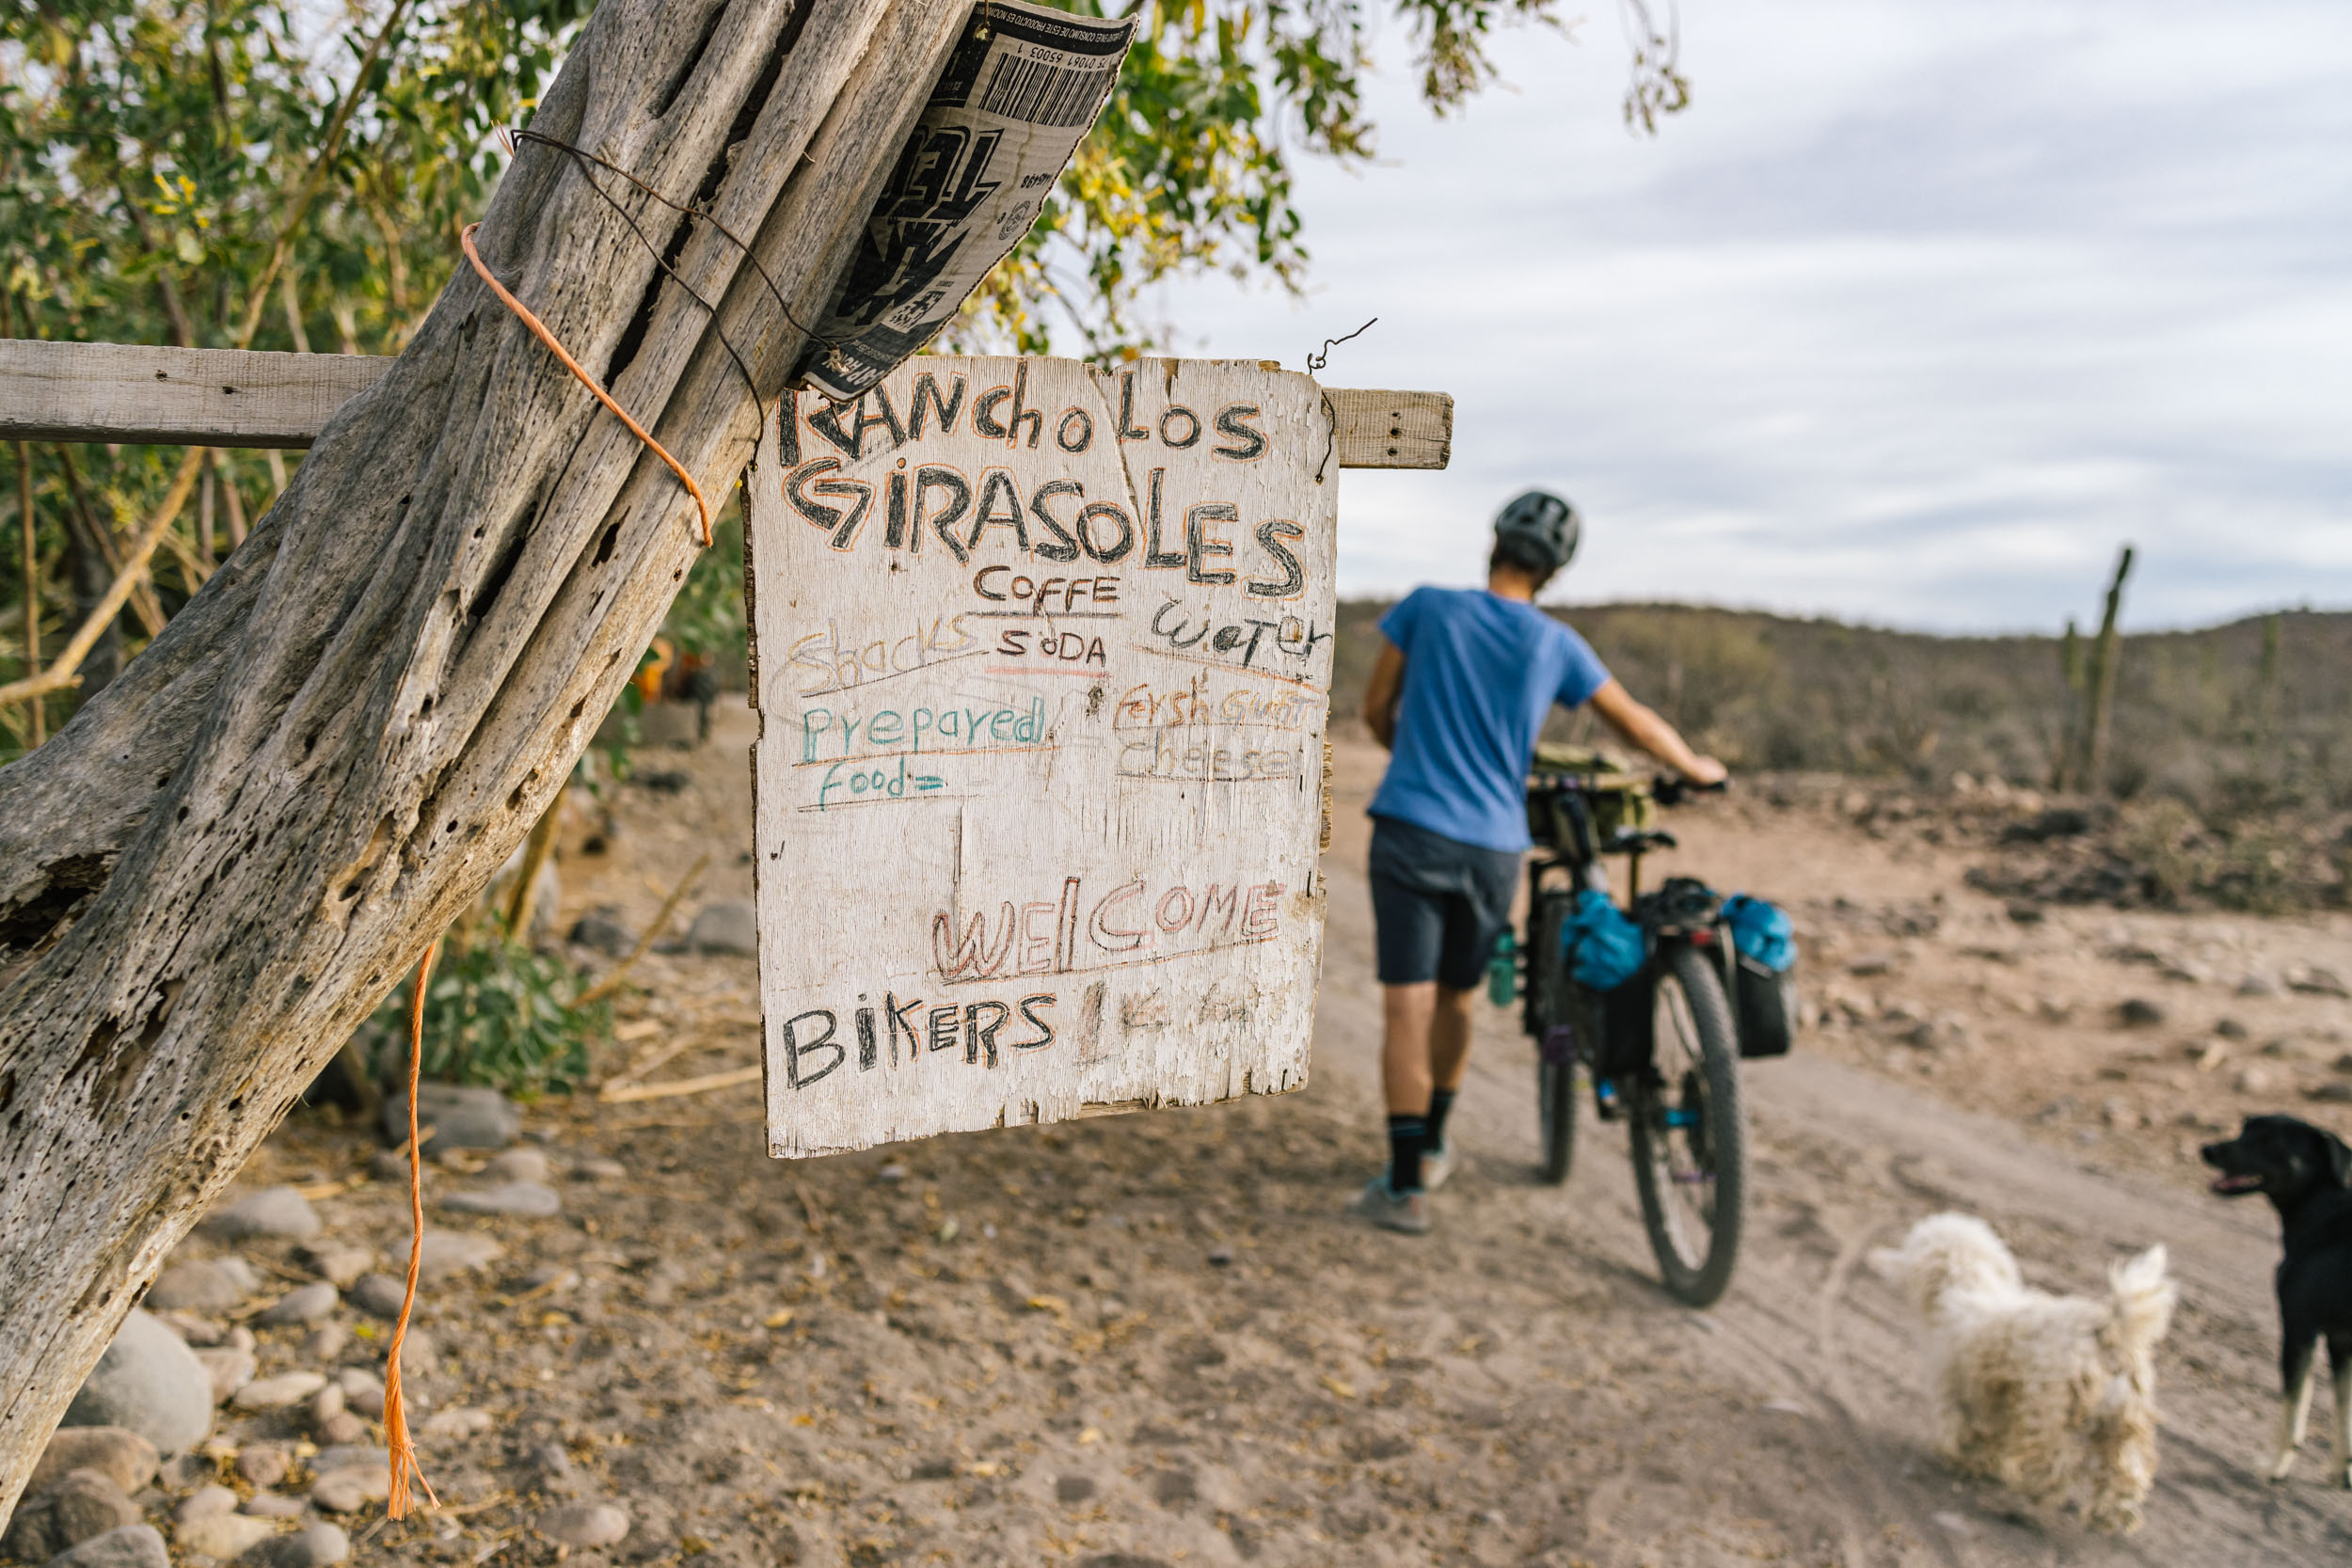
The Missions Section officially starts in San Ignacio, named after the church built in 1728 at Kadakaamán, a place that was inhabited by the Indigenous Cochimí, the original stewards of this land. As the segment’s name suggests, its starting point is set at a large stone mission founded by Jesuit missionaries, and there are several other historical missions along this section, too. Rolling out of town, the route follows a long stretch of pavement that eventually drops down to the mud flats before reaching Bahia San Ignacio, a popular whale-watching destination. A few hours of pedaling later, riders come upon the end pavement sign, Termiento Paviemente, where the route begins to evolve and show its personality.
The Baja Divide is a massive and well-traveled bikepacking route that’s seen many riders since its inception in 2015-16. Although the legwork behind such a project is easy to forget as you putter along and grind out the miles, feats such as this one take hundreds or thousands of hours to put together. There’s a lot more to it than simply flagging places to pitch a tent, buy food, and filter water after an AI-driven mapping app plots a line from A to B. As a route builder, I try not to take that for granted, and I feel like I’m particularly tuned in to the volume of hard work required to pull off an endeavor such as the Baja Divide. On this particular ride, I also tried to tap into the thought process behind the choices made during its design.
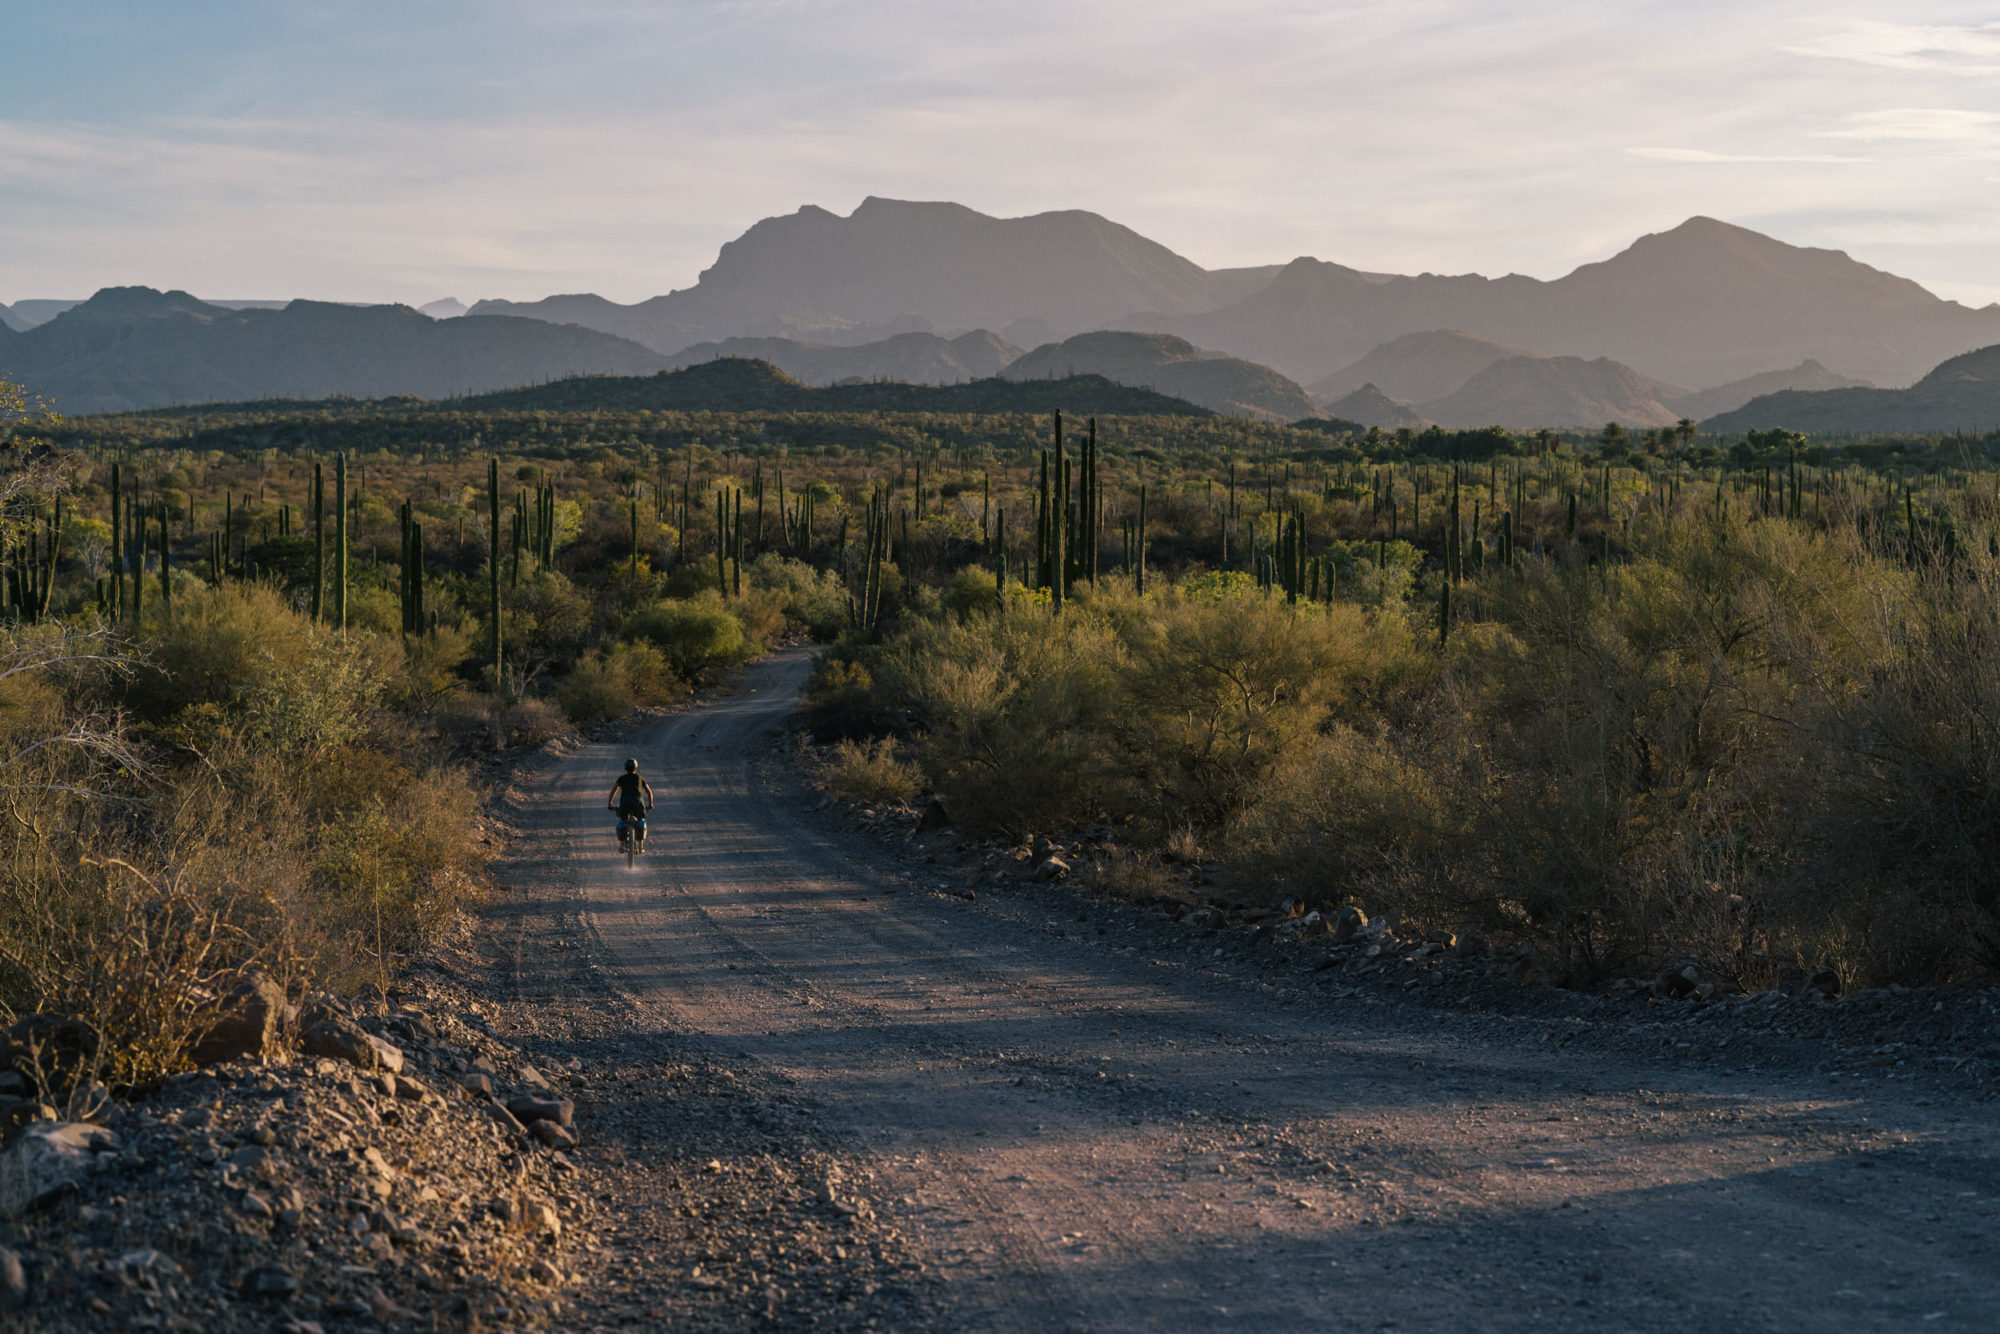
As Cass Gilbert eloquently summed it up in An Ode to Route Building, “I recognise the way in which a well-researched ride can elevate a riding experience. While I love to strike my own path and solve my own route-making puzzles – and I won’t deny there’s an undoubted joy in getting lost and finding one’s way – following the breadcrumbs of someone passionate about an area can be especially enlightening.” There’s a lot of truth to that, and it speaks volumes about what makes route building an all-consuming process. There’s also a lot of character that gets transposed onto the route from its creator.
I was recently chatting with fellow bikepackers Chris Campbell and Amanda Andros, who’ve ridden the Baja Divide and a boatload of other routes on our website. Chris commented on the fact that once you’ve ridden multiple rides by the same route designer, you begin to feel their personality in many of them. As Chris described, Cass Gilbert’s routes often feature one or two extra steep or rough bits tacked on to reach a big reward, but the results are equally as gratifying as the sections are difficult. And if you’ve ridden with Cass, you’re well aware that there’s often a little extra credit required in his rides. Joe Cruz’s routes are often punchy with intermittent stretches of intrepid routing—and the ride is usually depicted in some sort of underbiking motif. That certainly fits the Class IV “roads” that get cobbled into many of his Vermont routes, and his general “adventure route” finding mentality. And mine, according to Chris, like to keep a variety of terrain and surface types regularly in the mix. I was happy to hear that, and think it’s a result of working with many routes on the East Coast, where I feel the key to good route making is in finding a rhythm—a quality I’ve tried to develop over the years, constantly rethinking and reworking sections to create a flow and cadence to the ride.
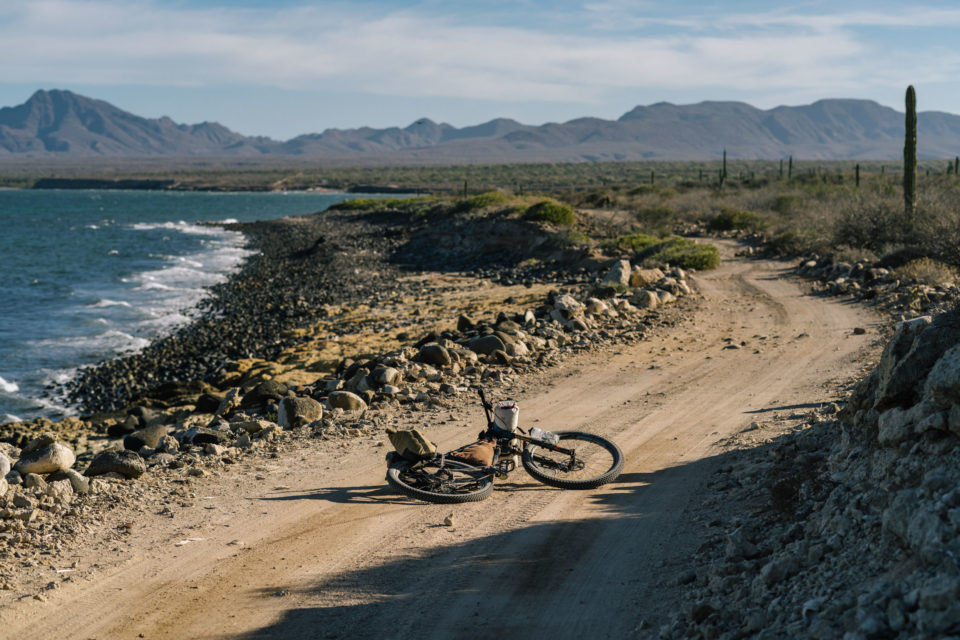
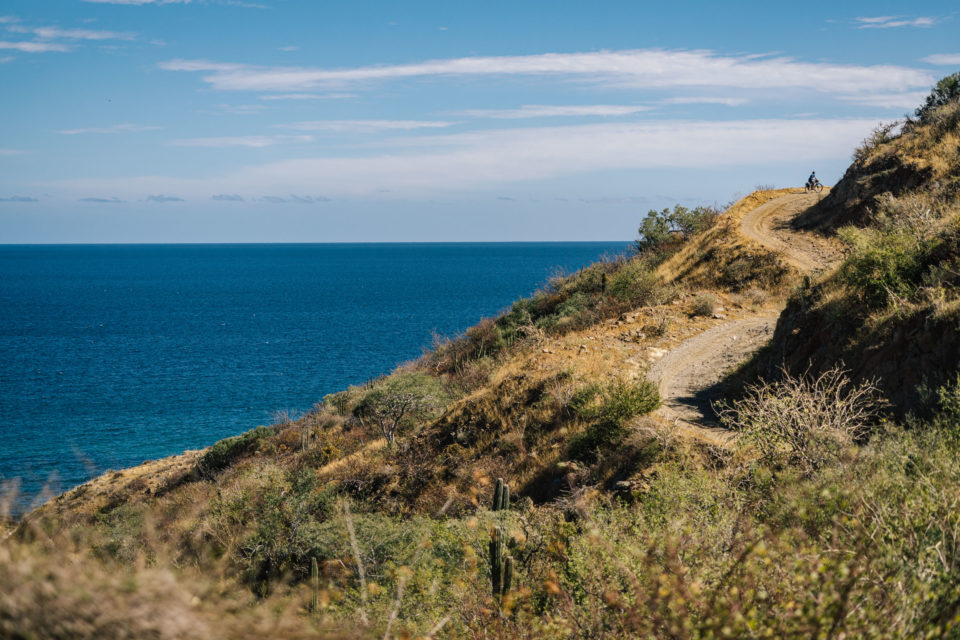
While I feel like I know Lael pretty well by now, I’ve only met Nicholas once. However, I could feel their energy and motivation on the route in multiple ways. This was particularly evident in how the Baja Divide snakes across the peninsula’s physical divide multiple times. Where it could have gone straight and still kept to the dirt theme, they decided to bring it through remote and beautiful mountain passes to access little-used dirt roads on the coast. The interesting spots it seeks out through its twists and turns make it a lively route that keeps you guessing.
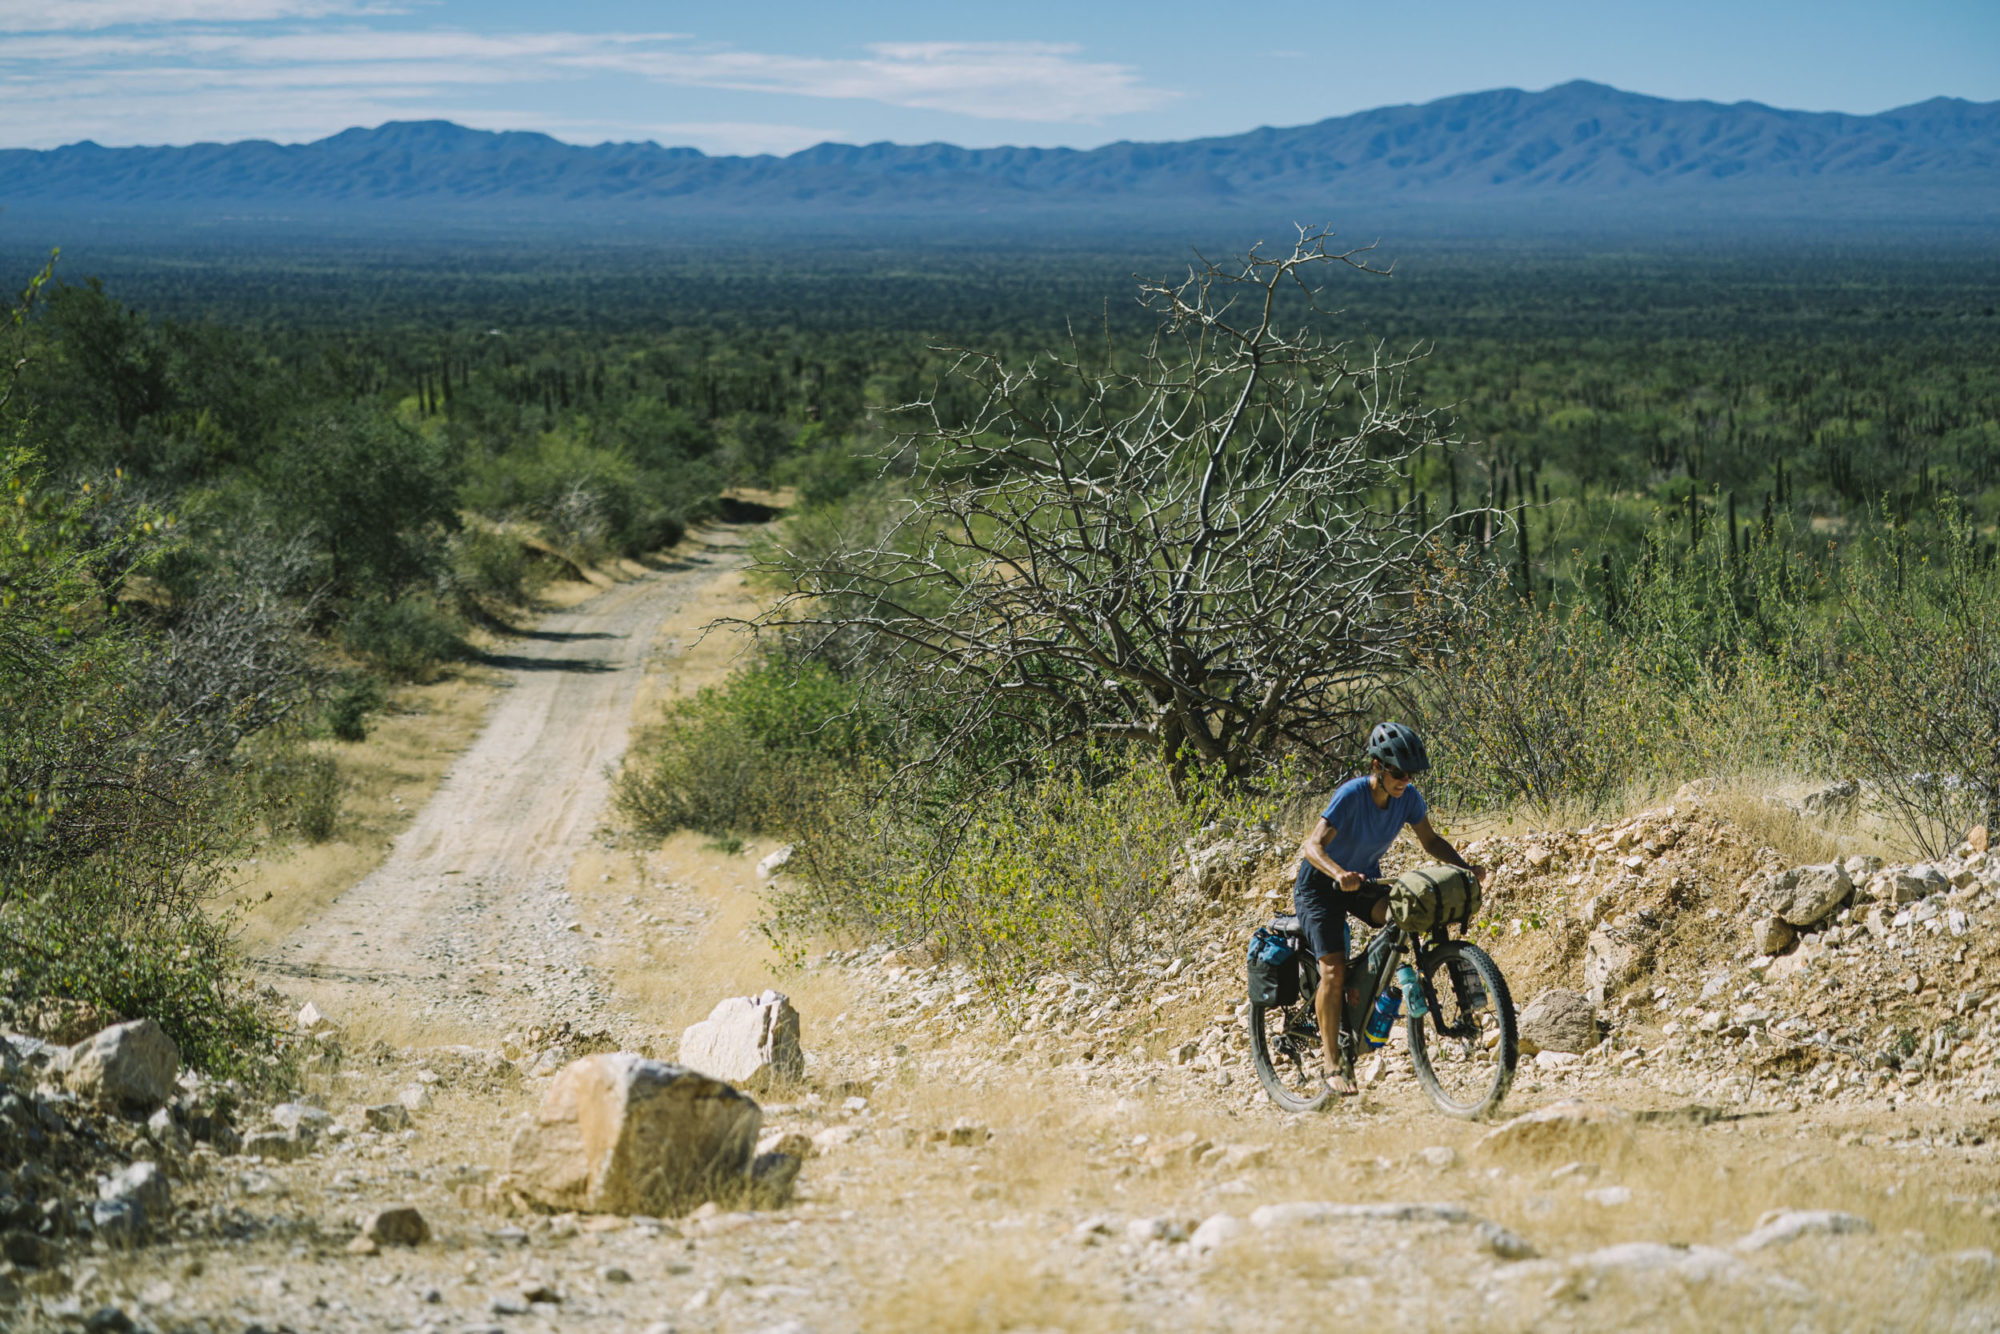
Another thing I liked about the Baja Divide was their barebones approach to the written guide and materials on the website. Don’t get me wrong, the PDF booklet is a comprehensive enough resource, as are the POIs and mapping, but it leaves enough out so there are always surprises. You have to do your own share of homework to plan your way through the route, which retains the spirit of adventure in the experience. Here at BIKEPACKING.com, we’ve always felt that there’s an art to creating the perfectly rounded route guide. We’ve been doing it longer than anyone, and of course our process and ideas have evolved—and continue to—as many of our older guides are improved, upgraded, and reworked. But, we’ve always asked the question, “How much information is too much?”
Adventure is at the heart of bikepacking, after all. If we were to spell out every last detail about what to expect on a route, it might give away some of that charm and magic that’s an important part of what makes bikepacking special. As such, our guides don’t tell all the secrets and details. Our modus operandi, particularly in newer routes, involves telling the story behind the landscape, culture, and essence of the route, providing just enough logistical details to allow riders to have a safe and successful trip. However, there will always be surprises.
This is something I found in common with Nicholas and Lael’s approach to the Baja Divide materials. There’s a fair amount of information available on their website, and a detailed list of waypoints for resupply. However, it’s not all there, and there are many places where you’ll still want to study maps, ponder options, communicate with a community of riders, and anticipate challenges. Those are the hooks that drew me into bikepacking, and what keeps it magical.
Our Baja Ramble-Shred Rigs
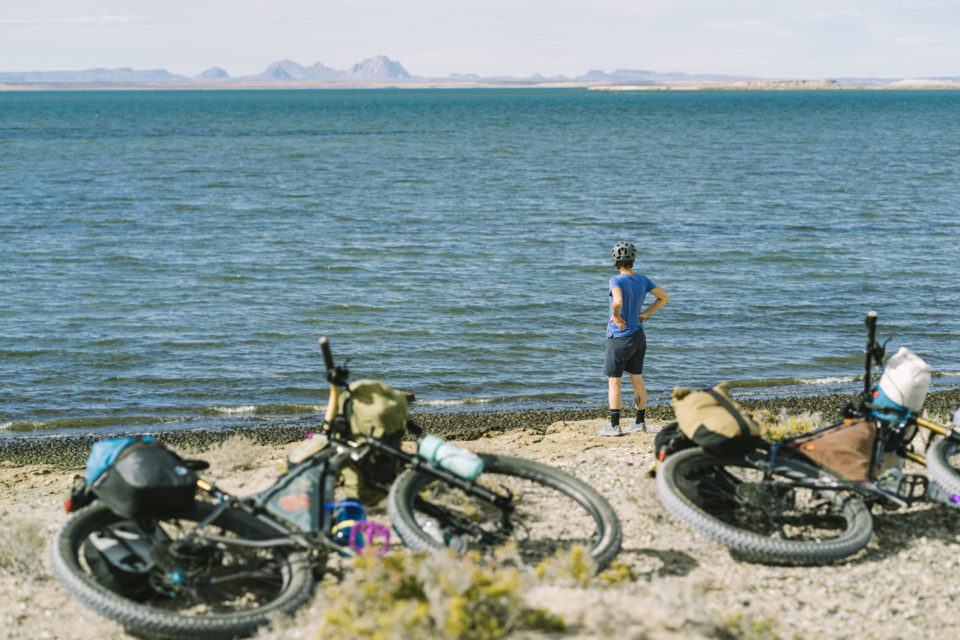
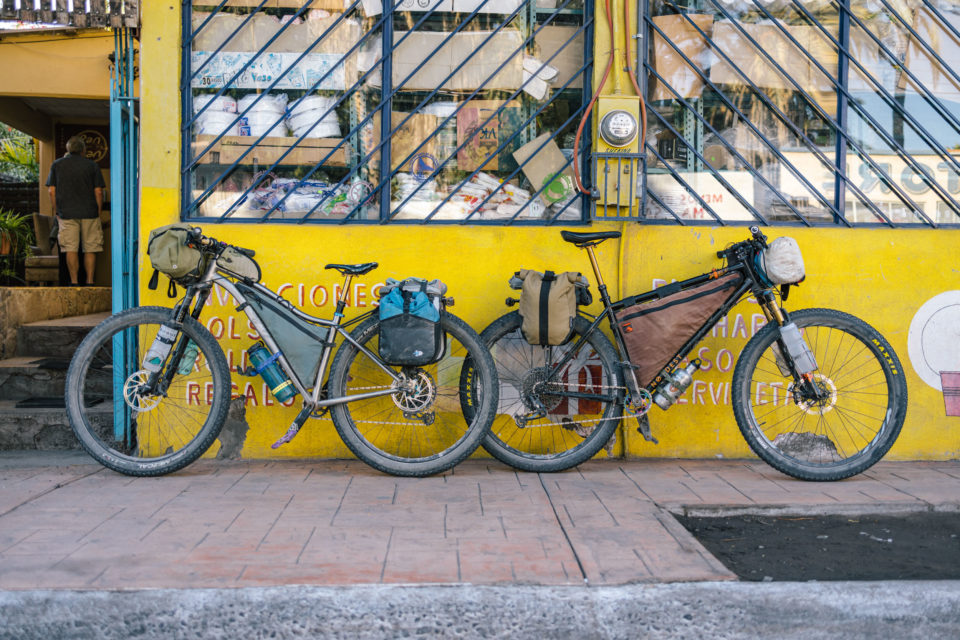
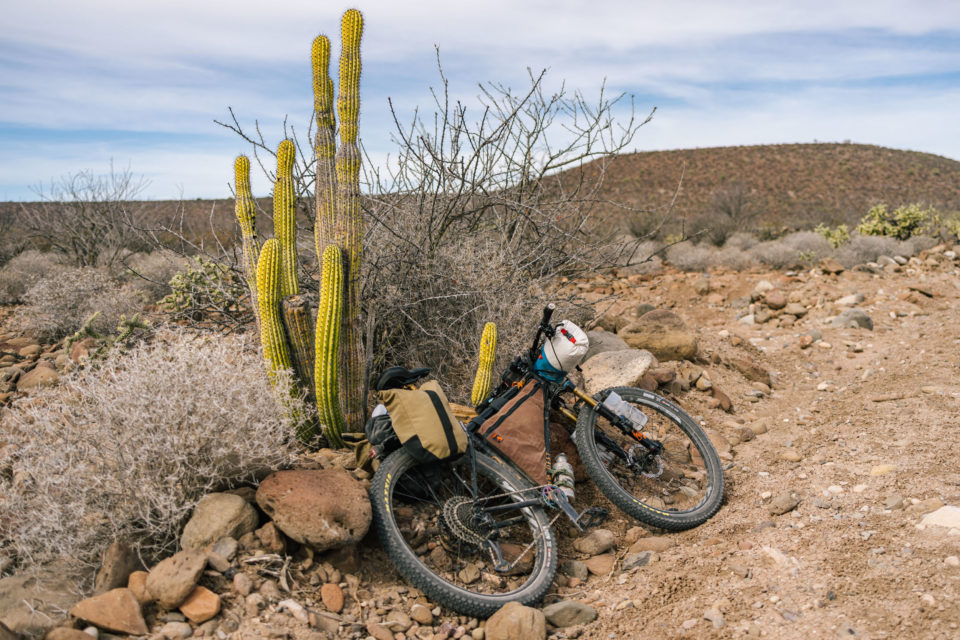
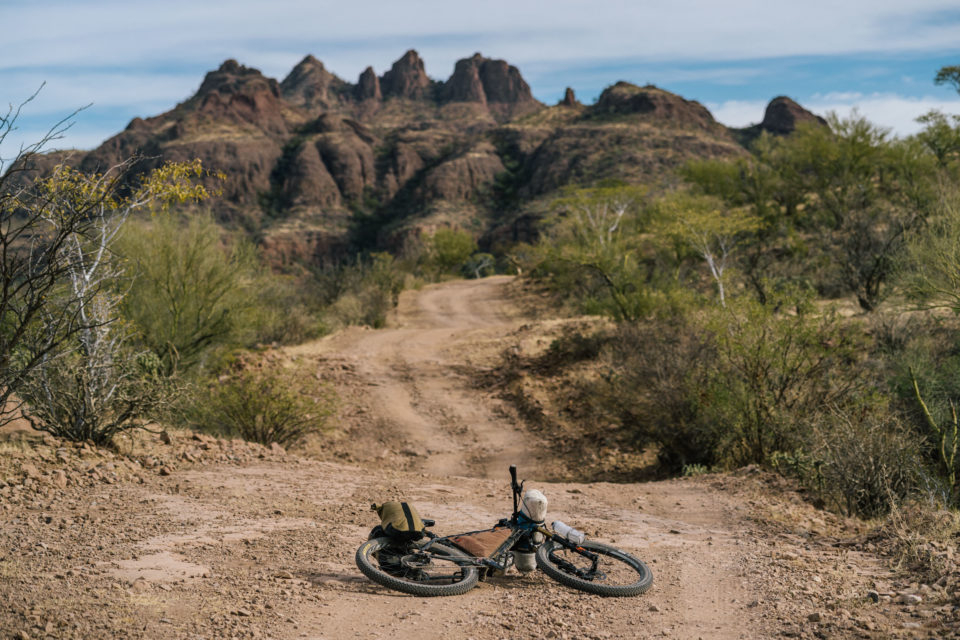
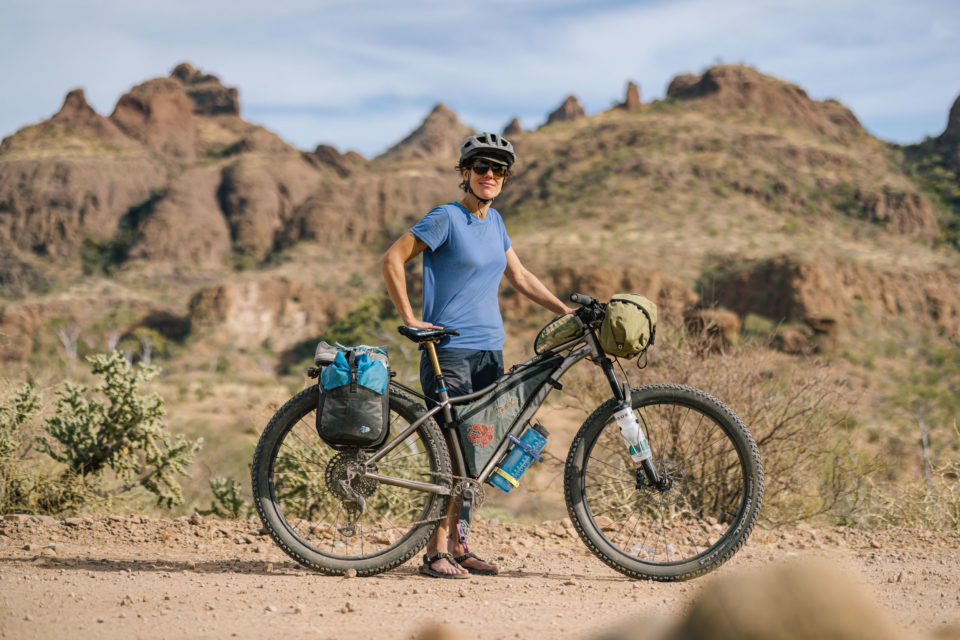
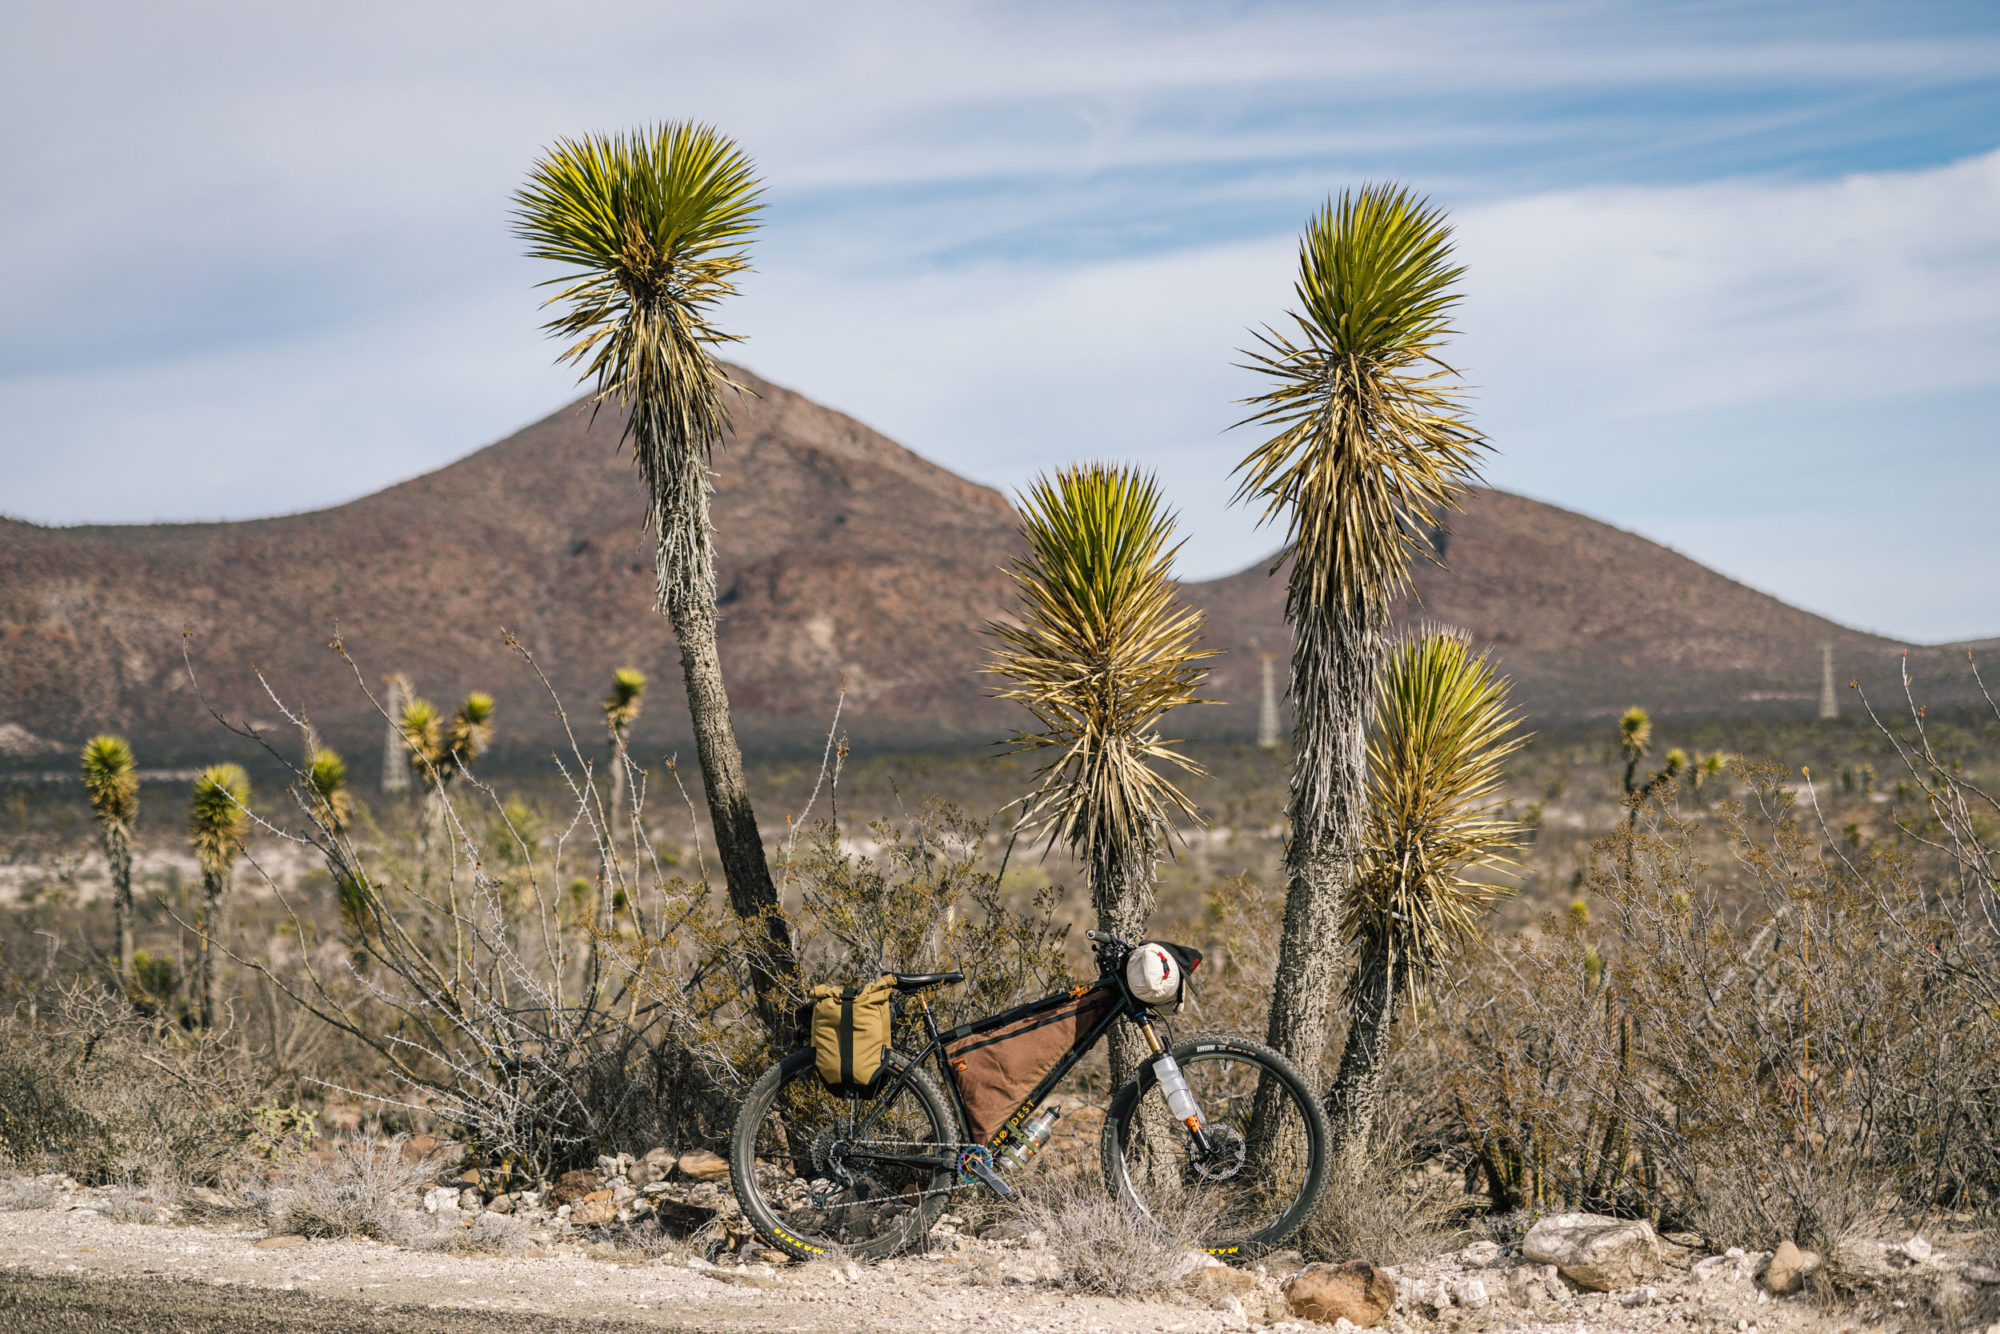
The funny thing about the Baja Divide is that it’s nothing like the Great Divide route. It has lots of sand, plenty of rowdy and chunky sections, and is pretty different from a lot of the more popular “divide” style routes and rides popping up these days, many of which are pegged for modern gravel bikes or drop-bar MTBs. But Baja ain’t no place for gravel bikes. We needed bikes that could handle it’s sandy and chunky demeanor, as well as more technical mountain biking on singletrack beyond Baja. I jokingly called them “Ramble-Shred Rigs,” but that kind of stuck as it pretty well summed up the two bikes we brought. They’re both relatively capable hardtails that can do a little bit of everything, yet they still have fairly conservative geometries that remain comfortable on long days in the saddle. Suspension forks and hydraulic brakes made the cut, but not without deliberation. Find our bike builds, reflections on what worked and what didn’t, and full gear lists below.
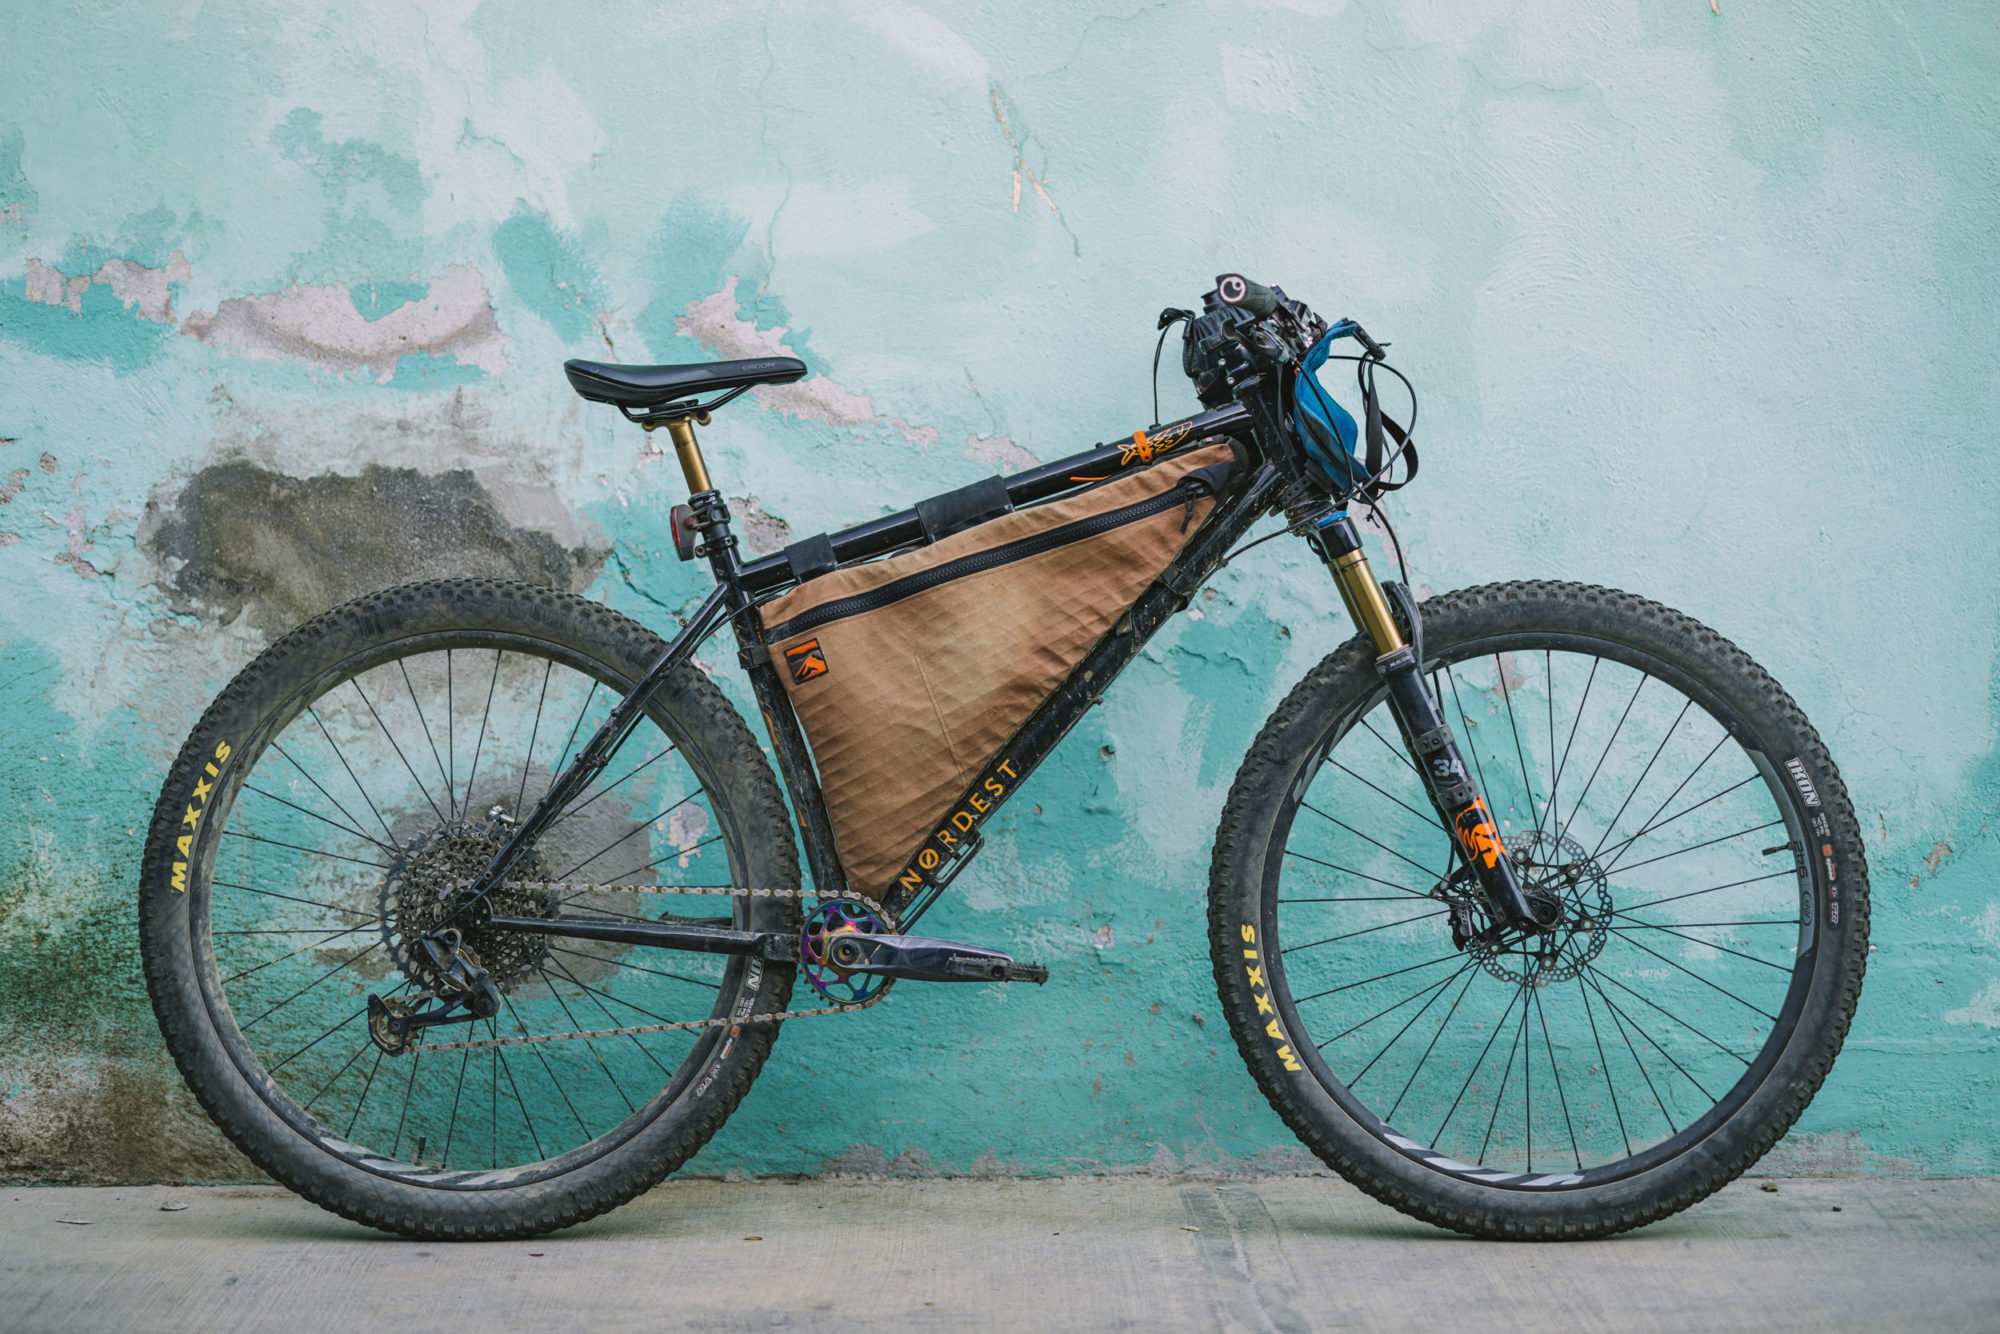
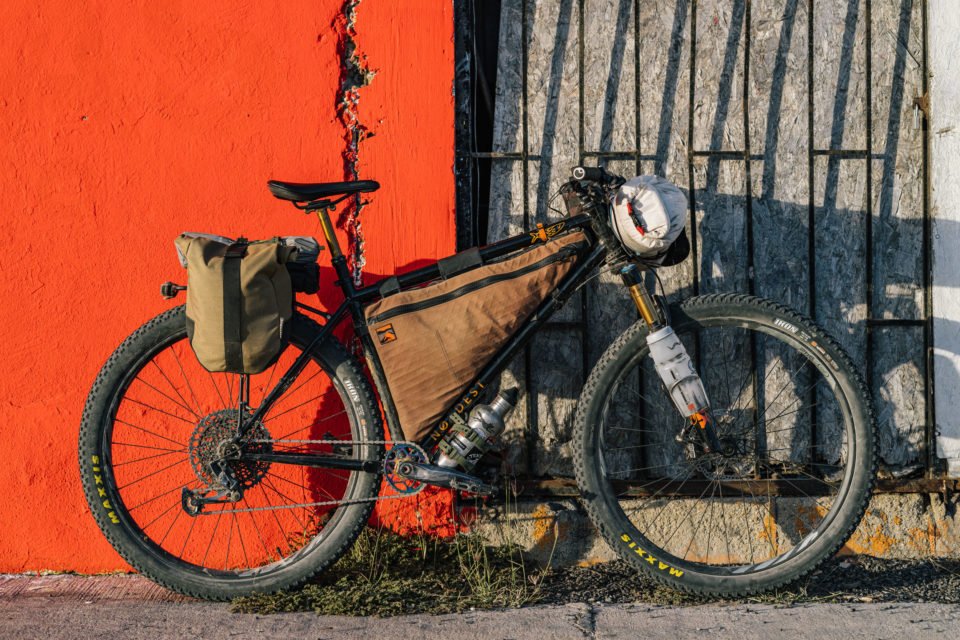
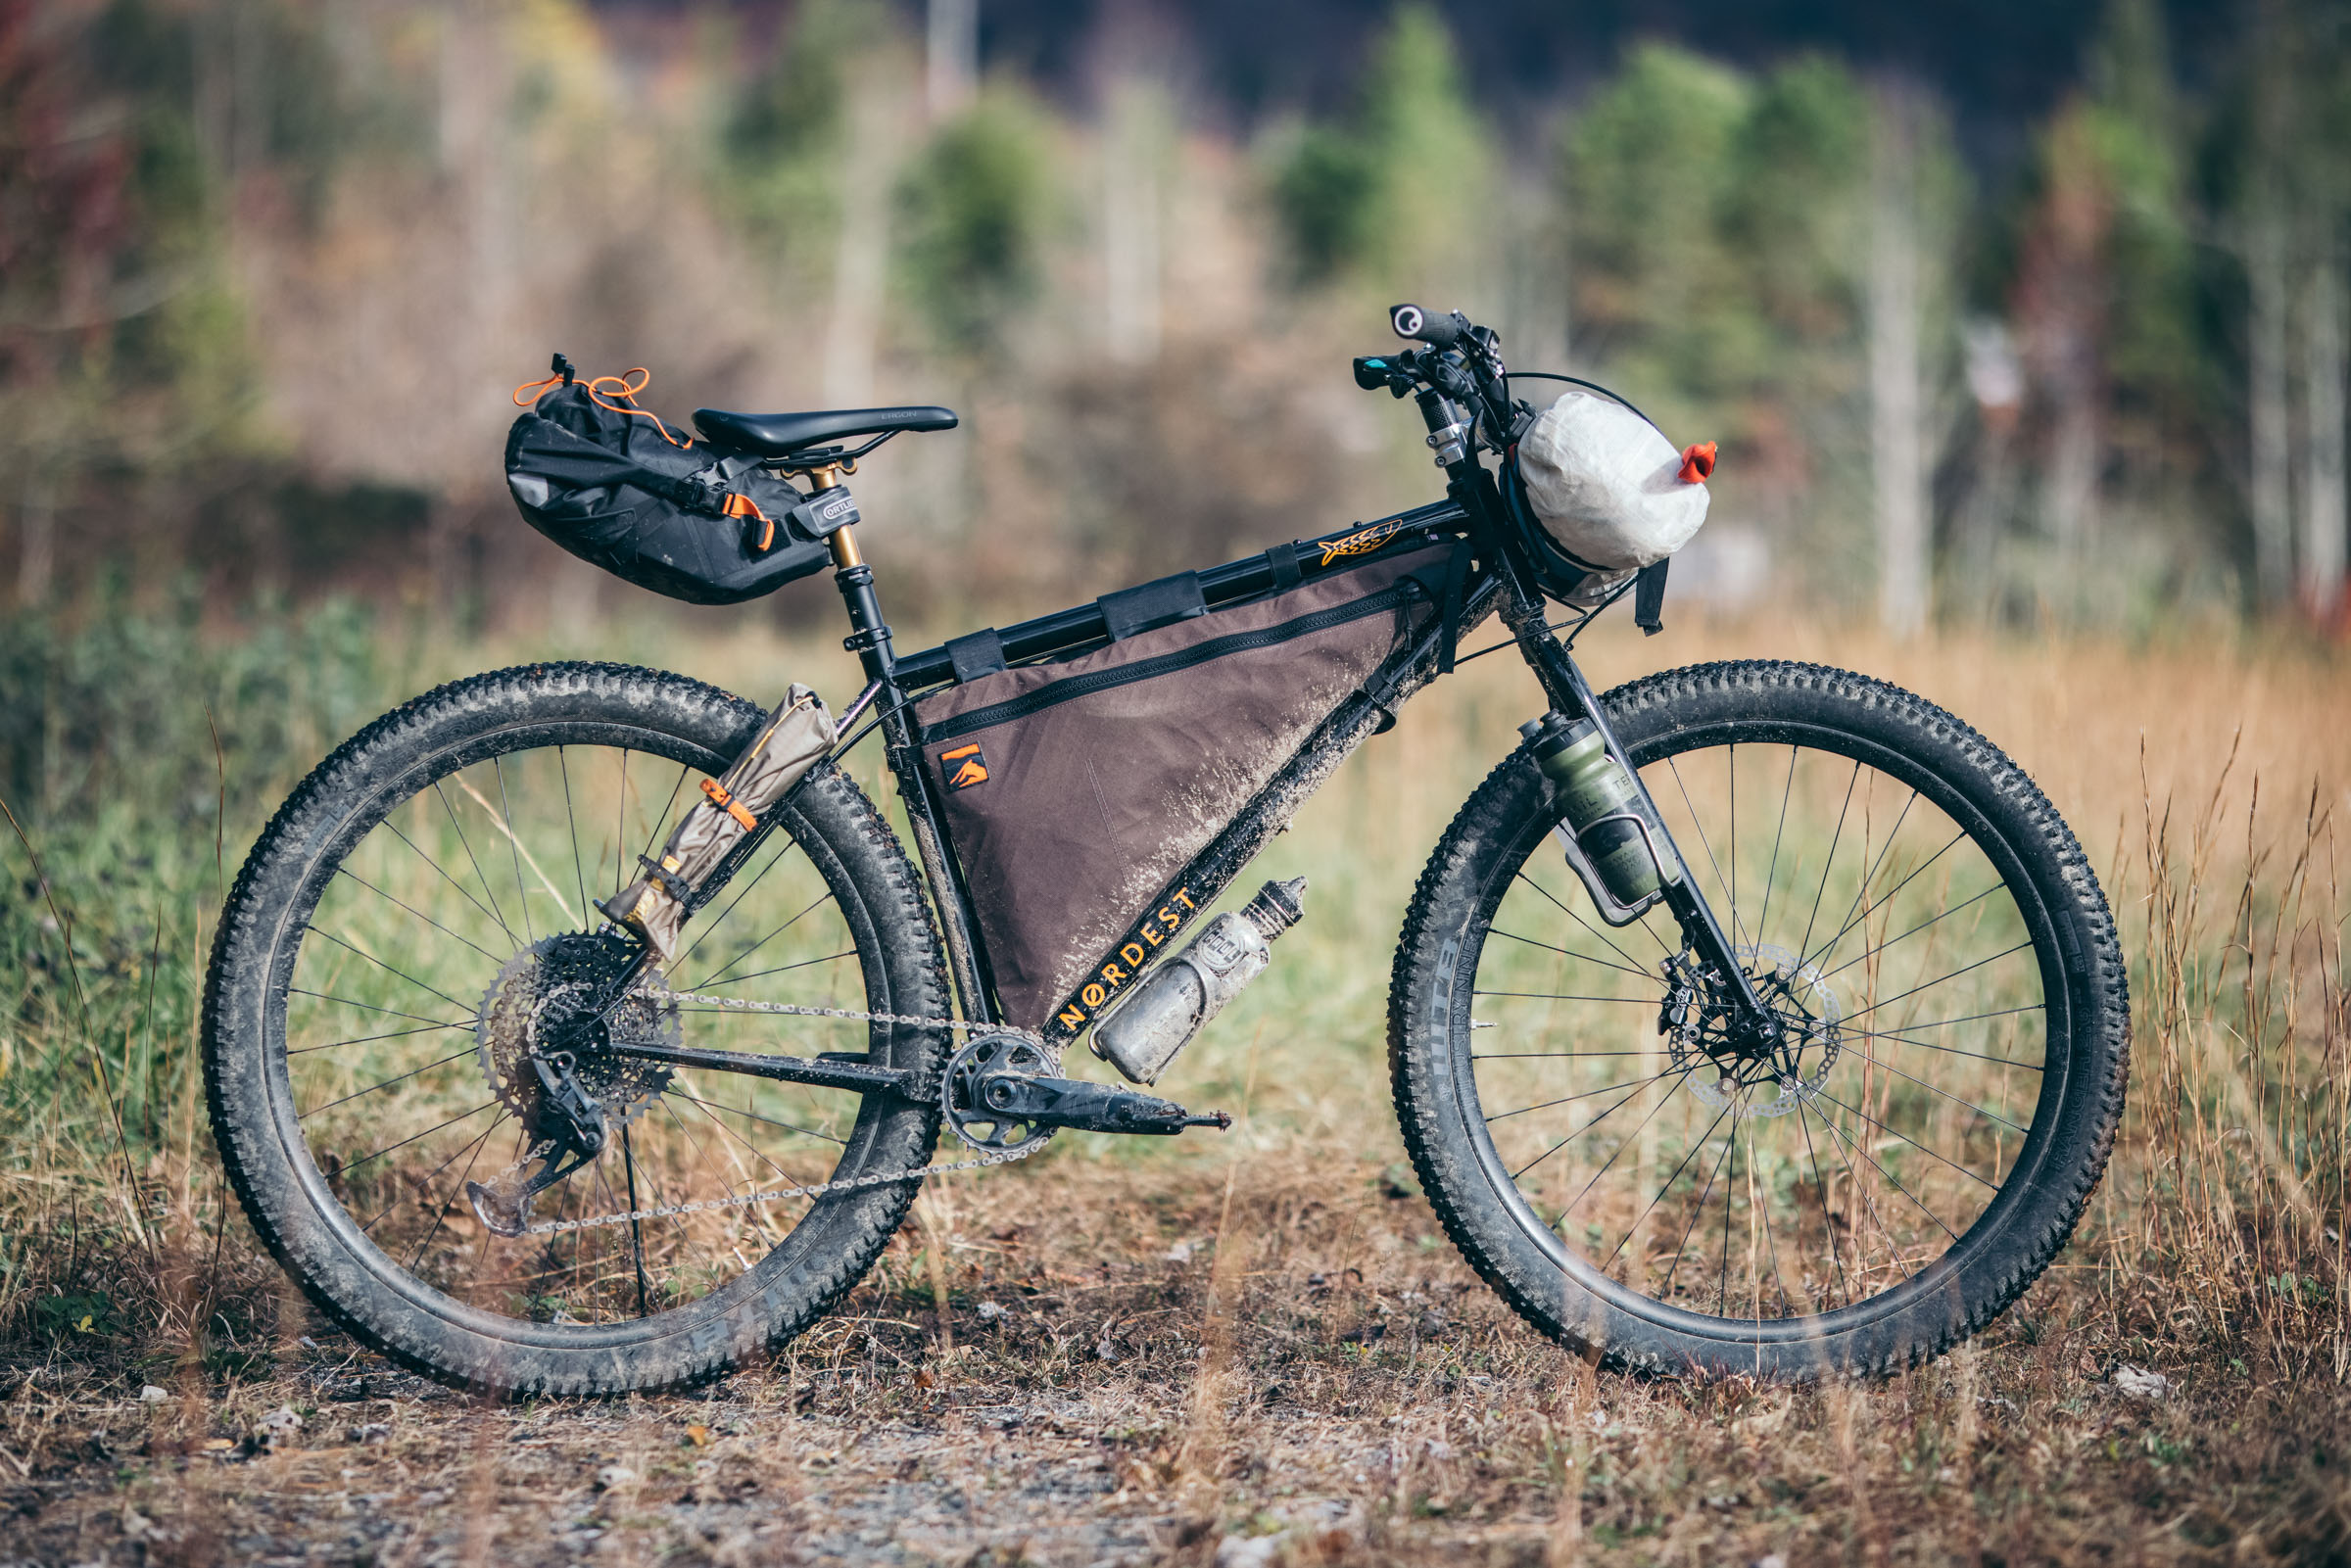
Logan’s Nordest Sardinha
With no review bike lined up that fit the bill, it was an easy decision as to which rig to bring along on this trip. The Nordest Sardinha II is one of the best-fitting bikes I own, and with a large frame bag and a fun, singletrack-friendly geometry, it was the perfect choice. Here’s the build kit:
- Frame Nordest Sardinha II (Large)
- Fork Fox 34 Factory (110mm)
- Wheels Ibis S35/29 CARBON I9, 36mm IW
- Tires Maxxis Ikon 29 x 2.6″, EXO
- Crankset SRAM Eagle GX
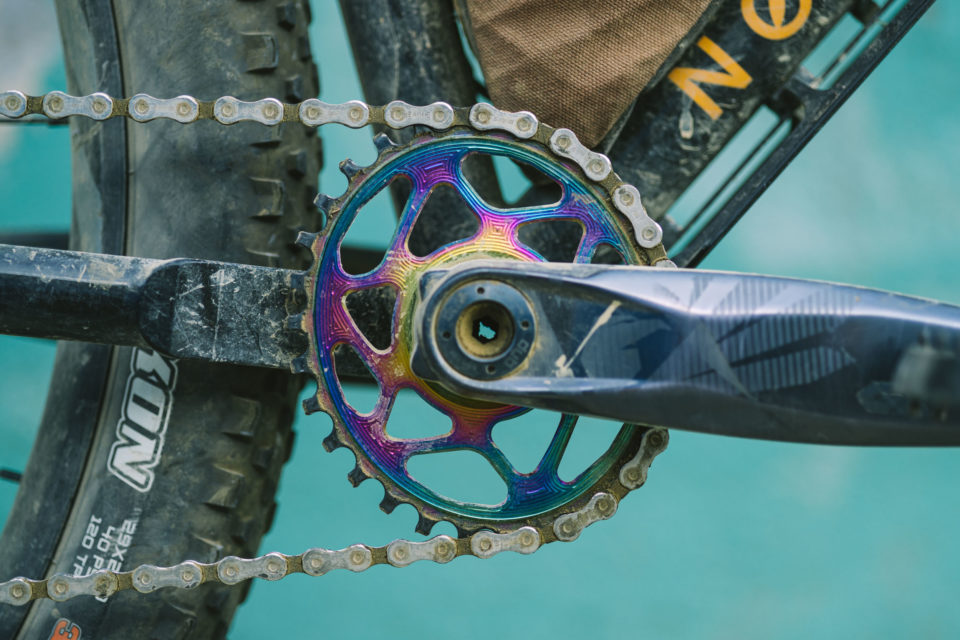
- Chainring Absolute Black 30T Oval
- Derailleur SRAM Eagle GX 12-speed
- Shifter SRAM Eagle GX 12-speed
- Cassette SRAM Eagle GX 10-52T
- Bottom Bracket SRAM DUB
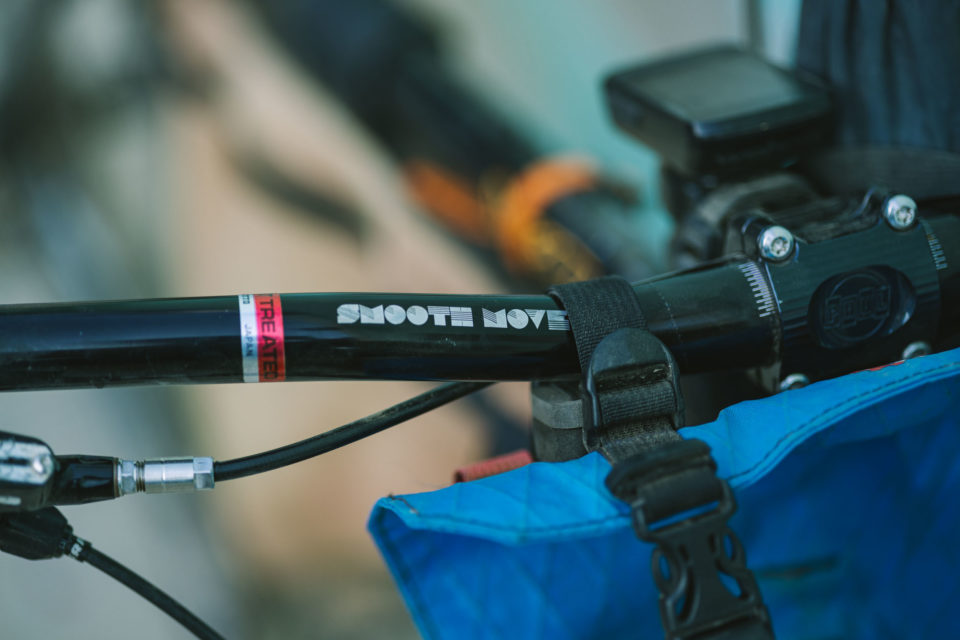
- Handlebar Hunter Smooth Move 780mm Chromo
- Stem PAUL Boxcar 70mm
- Grips Ergon GA3 (Large)
- Headset Cane Creek Forty
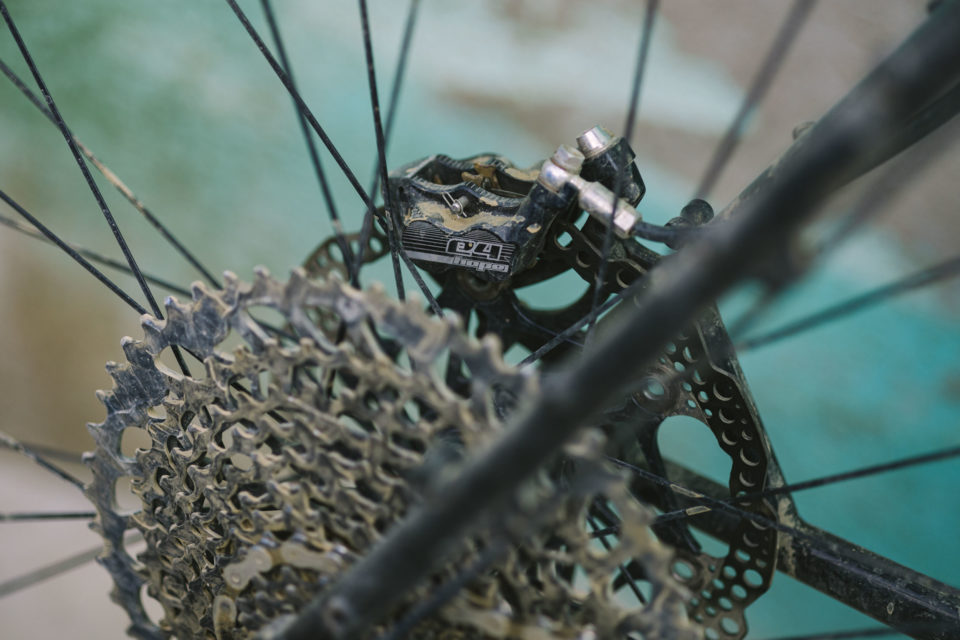
- Brakes Hope Tech3 E4 (180mm Rotors)
- Saddle Ergon SMC Core
- Seatpost Fox Transfer 175mm
- Pedals OneUp Composite
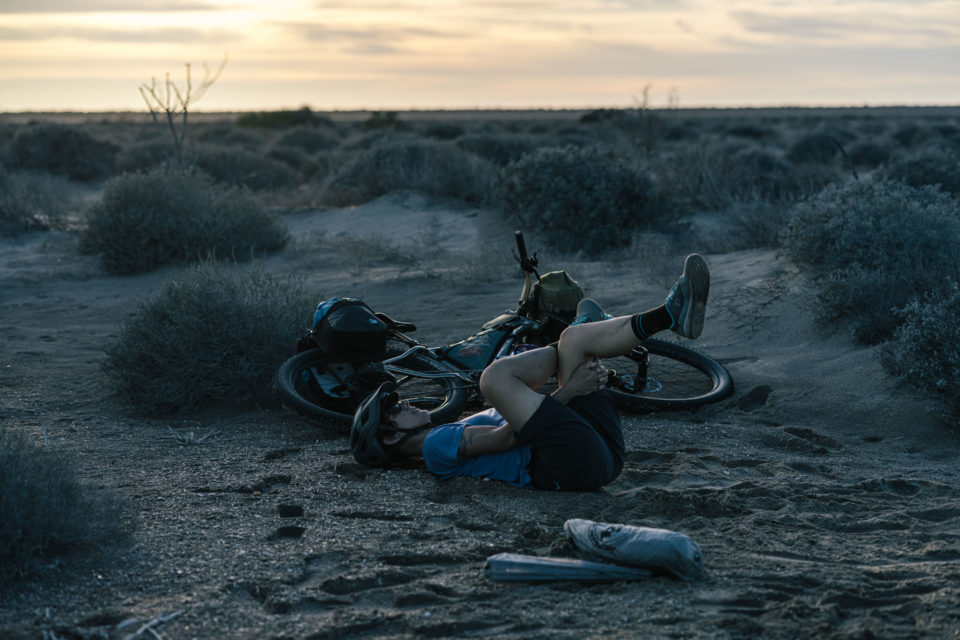
I’d make zero changes to the build kit on the Nordest as specced above, save one little tweak. The backstory is that I decided to switch from a 32T chainring to a 30T at the last minute, thinking there was a chance we’d be visiting mountainous Oaxaca after our stint on the Baja Divide. The only 30T ring I had laying around was an Absolute Black Oval. And while it’s a lovely chainring, I managed to break a chain for the first time in over a decade on this trip. I was climbing up a super steep grade and the chain simply sheared off the side of the oval while in the 52-tooth cog on the cassette. Fortunately I had a spare Eagle quick link, but my theory was that the Oval ring might be a little sketchy with the large 52-tooth cog, creating a dramatic chainline allowing it to catch on the fat side of the oval when under a lot of stress. That said, I think it may have been a result of a little too much cable tension. Eagle derailleurs are super finicky to tune, and given the fact that I’m not the best at doing so, it led to the catastrophe. To avoid that, I think a round ring would be a better option with the 52T Eagle cassette.
Logan’s Pack List
As with most trips further afield, we put a lot of thought into what to bring on our Baja Divide ride, and a few decisions were easier than others. For example, what type of luggage was a simple choice. For this trip, we both decided to use micro-panniers and Tumbleweed racks, allowing us to get full travel with our dropper posts and the ability to expand and contract based on extra food stores and water bladders. But, as always, it was easy to get mired down in the minutiae, such as whether or not to bring those creature comforts, like a camping chair. Here’s my full kit.
On me
– Kitsbow Haskell Shorts / underwear
– Old Specialized Wool T-shirt
– Merino Socks
– Leatt Helmet
– Porcelain Rocket Big Dumpling with Camera, Passport, etc.
– Oakley Frogskins
– iPhone
– Wahoo Bolt (on bike)
Water Storage
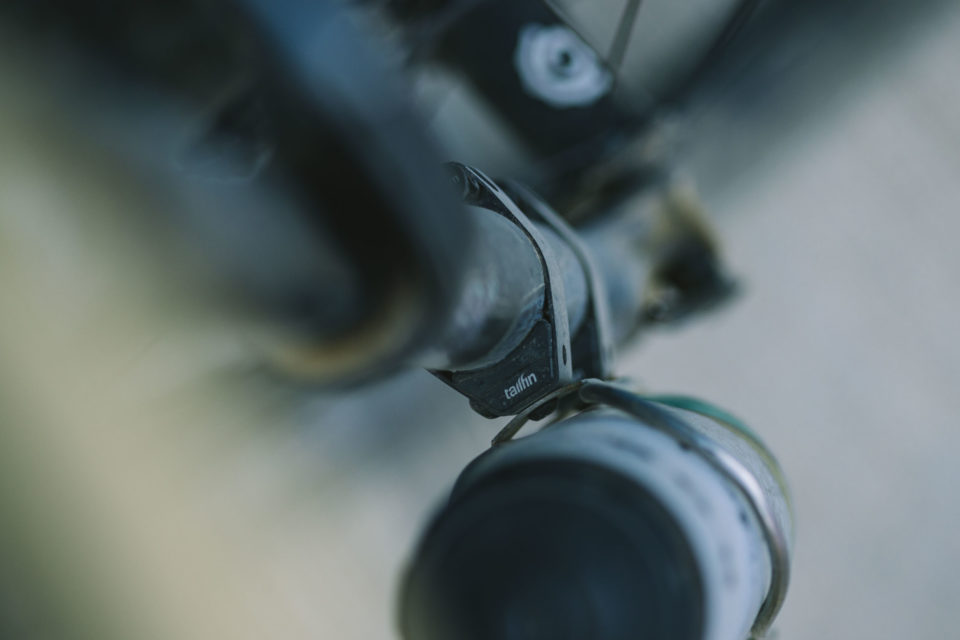
– Tailfin Suspension Fork Mounts (two per leg)
– King Cage cages (2)
– Tailfin Small Cargo Cage
– 750ml water bottle (2)
– 40oz Klean Kanteen
Frame Bag (Rockgeist custom)
– Tools and Spares Kit (extensive tire repair kit with sealant, 1 spare tube, needle and thread, patches and boots, lever, super glue); a few spare bolts, including a spare Fox Transfer bolt assembly; Silca T-Ratchet + extra 8mm bit; OneUp EDC Pump with extra tire plugs, chain-breaker, spare pair of Eagle quicklinks, tire plugger tool, and quick-link tool; WT-1 Lube)
– Titanium mug
– Cotton bag with cordage, Leatherman Squirt, pocket knife, spare water purification tablets, Black Diamond ReVolt headlamp
– Dry bag for food
Rear Panniers (Stealth Mountain Panniers)
– IPad/Keyboard inside DIY foam case and plastic bag
– Spare clothing in Ultra-Sil dry bag (lightweight PEdALED shorts, merino t-shirt, 1 pair of socks, Patagonia Merino Air leggings, Club Ride Go Long button-down shirt)
– Sawyer Squeeze water filter, included filter bag, and spare Platypus 3-liter bladder
– Montbell Anorak puff jacket
– Spare Ultra-Sil dry bag
– Electronics in Ultra-sil dry bag (camera batteries, cables, charging block, etc.)
Tumbleweed T-Rack (top)
– Two 25” Voilé Straps
– Helinox Chair Zero
– Bedrock 3d Cairn Pro Sandals
Handlebars (Revelate Pronghorn (M))
– Big Agnes Tiger Wall UL3 Carbon tent
– Nemo Tensor Insulated Sleeping Pad
– Enlightened Equipment Revelation 30° Quilt
– Hyperlite Stuff Pillow
– Big Agnes AirCore Pillow
Stem Bag (Revelate Mountain Feed Bag)
– Spare camera lens
– Can koozie
– Lip balm
– Sunscreen
Most of the gear in this list are tried and true items that I’ve used a lot and love. However, there are a few things that were new to me and proved to be quite impressive. The latest Montbell Anorak is new and improved. I love this jacket, and the newest model seems to have an improved down fill that’s even warmer than its predecessor. The Tailfin items in the list were also great and took up the water-carrying duties. The Suspension Fork Mounts are more remarkable in person than they were in Cass’ review, which says a lot. And the Tailfin cage is also quite nice, perhaps the best in its class that I’ve used. There’s a lot of engineering details on both items that work very well, such as the well-proportioned slots in the cage that keep the Voilé straps in place when you remove the bottles. Both of these items got me interested in trying more products from this up and coming company.
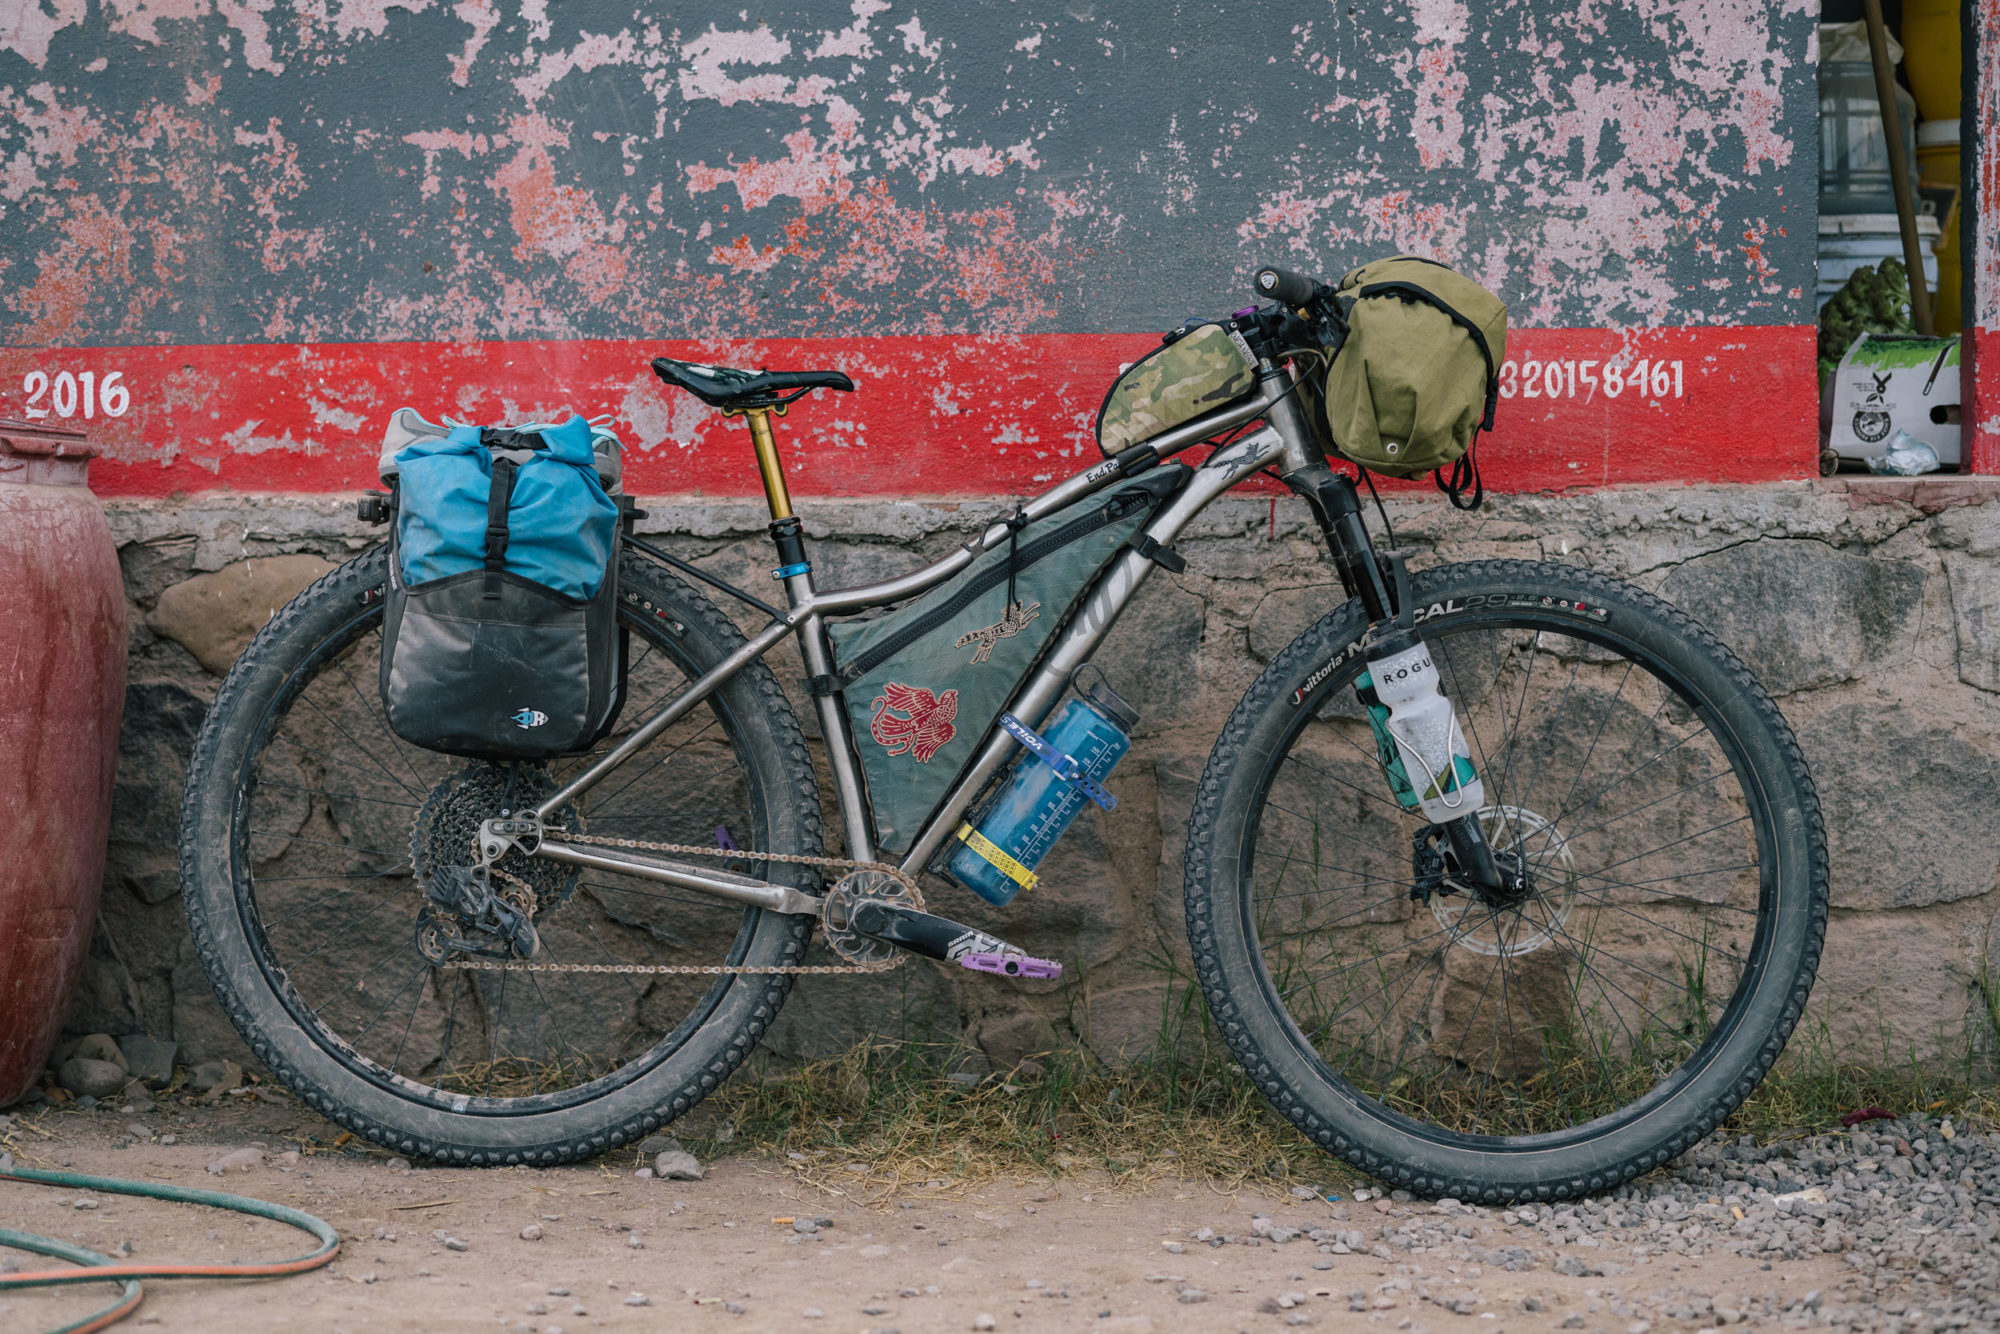
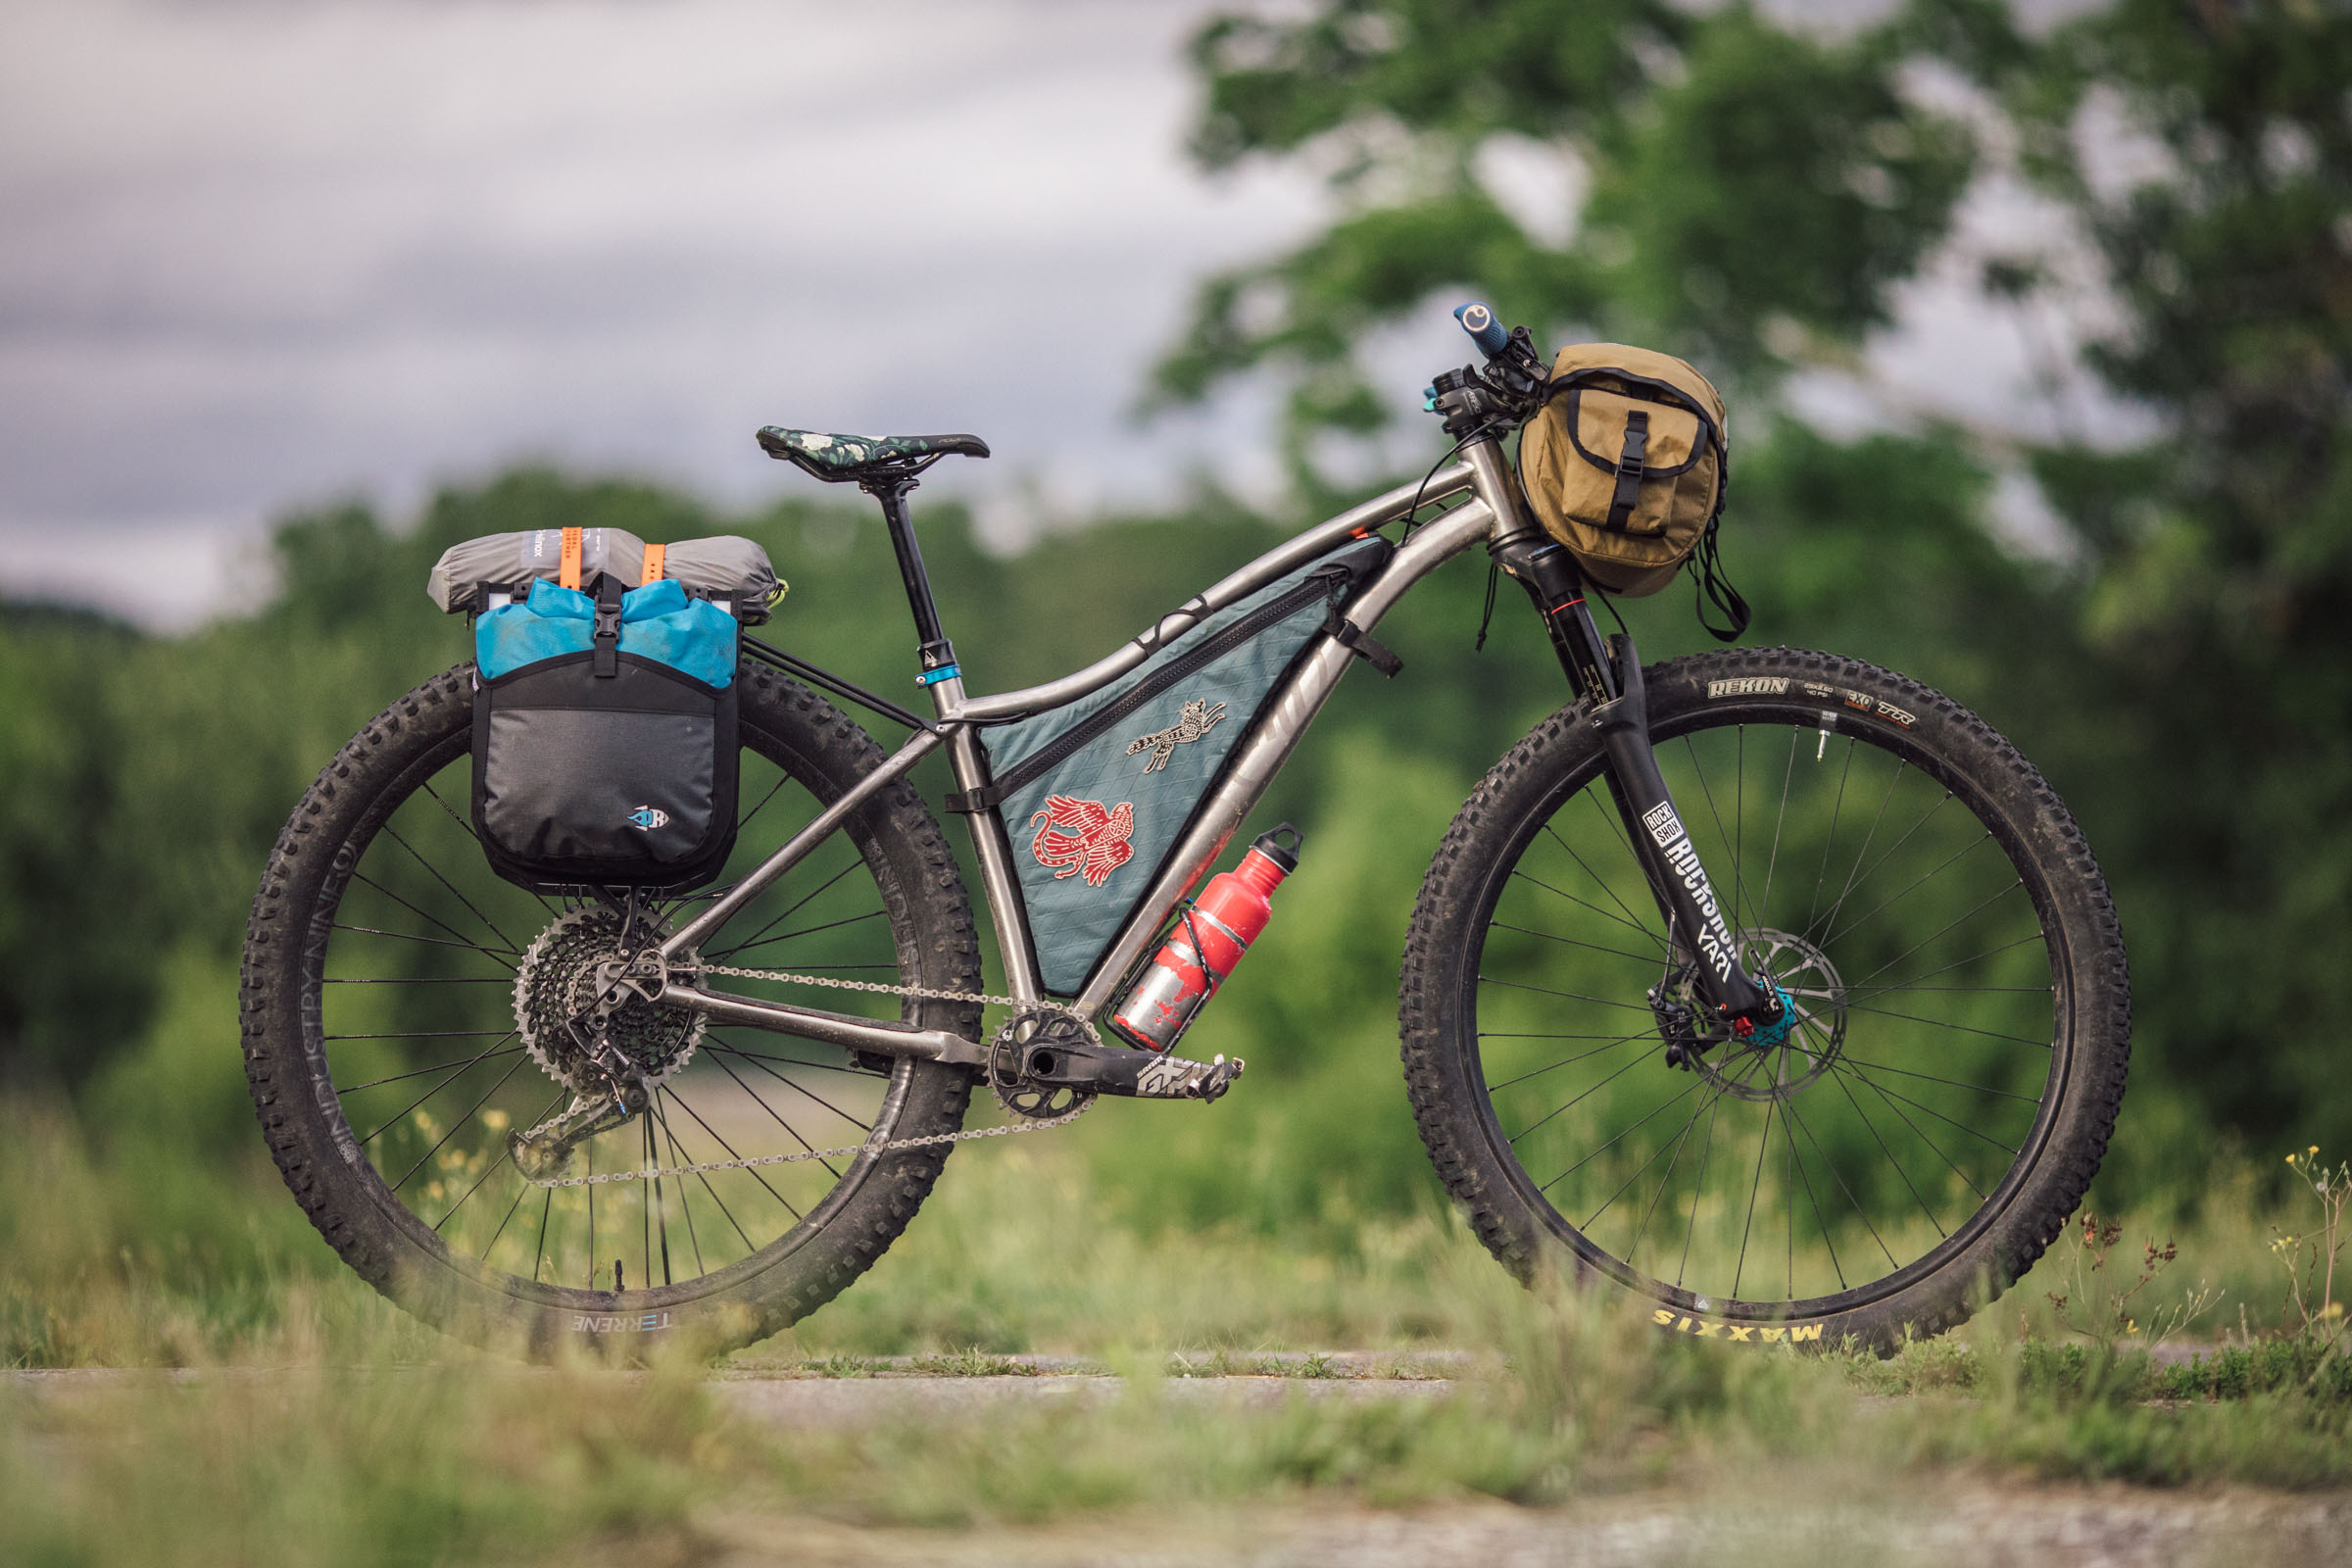
Virginia’s Why Cycles Wayward
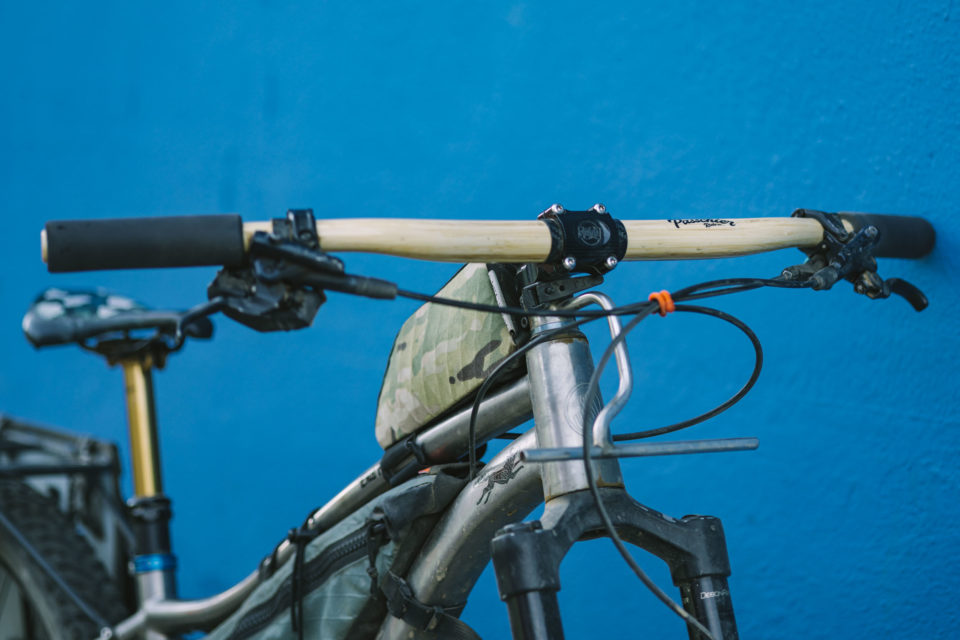
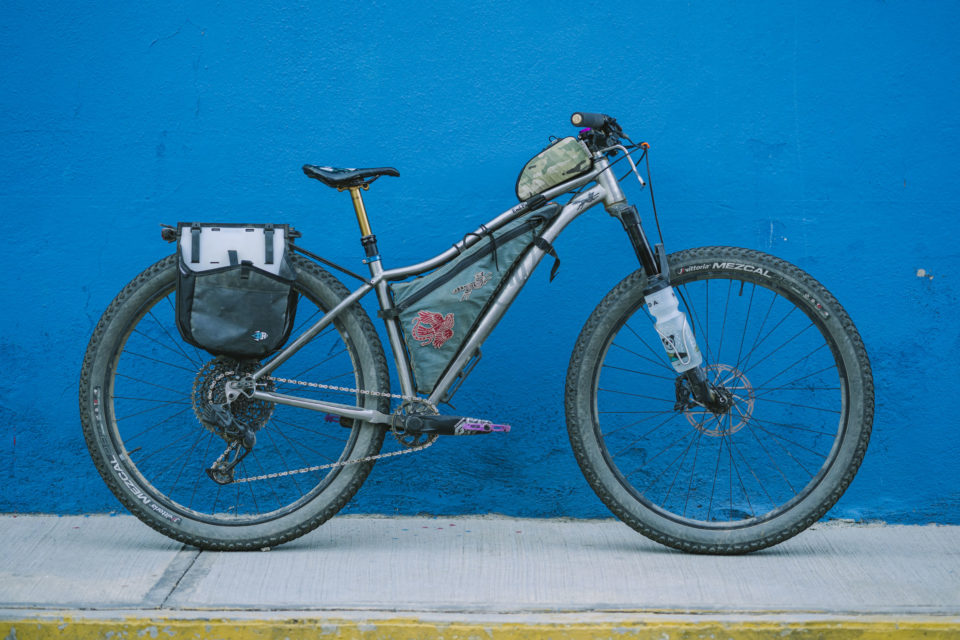
Virginia’s Why Cycles Wayward is pretty close to the build that we outlined here, with a few tweaks. As discussed in her recent Ibis Ripley AF Worthy Builds article, Virginia has had a few hand and wrist issues over the years, resulting in carpal tunnel surgery. The three major modifications we made to combat this were the new ultra-flexible Passchier Gump bamboo handlebars, ESI foam grips, and the GX AXS drivetrain, all with the goal of alleviating extra stress and vibrations. They were all worthy additions. We’ll further discuss the Gump bar in an upcoming review. Here’s the full build kit:
- Frame Why Cycles Wayward (medium)
- Fork Rockshox Pike 29 120
- Rims WTB Asym i35 (32h)
- Hubs Industry Nine Hydra
- Tires Vittoria Mezcal 29 x 2.6″
- Headset Cane Creek Forty
- Stem PAUL Boxcar 50mm
- Handlebar Passchier Gump, Bamboo, 760mm
- Grips ESI Superchunky Foam
- Seatpost Fox Transfer 150
- Seatpost Lever PNW Loam Lever
- Brakes Shimano SLX
- Crankset SRAM Eagle GX (170mm)
- Derailleur SRAM Eagle GX AXS 12-speed
- Shifter SRAM Eagle GX AXS
- Saddle Specialized Power Expert with Mimic (Machines for Freedom edition)
- Pedals OneUp Composite
Virginia’s Pack List
On Virginia
– Smith Venture helmet
– 7 Mesh shorts
– Pearl Izumi chamois
– Patagonia merino crew tee-shirt
– Sock Guy lightweight socks
– Bikepacking.com/PEdALED riding cap
Water Storage
– Tailfin Suspension Fork Mounts (two per leg)
– King Cage cages (1 Iris, 1 regular)
– Tailfin Small Cargo Cage
– 750ml water bottle (2)
– __oz Nalgene
Frame Bag (Rockgeist custom)
– Baggu reusable shopping bag
– Small net bag (for drying wet clothing and/or carrying small produce)
– Passport, Proof of Immunization, backup cash
– Insignia cache battery
– Charging cords for headlamp and Steripen, and iphone
– Charging cube
– Earbuds
– Plastic flask-sized bottle for denatured alcohol
– Re-usable plastic jar with Trailwinds Green Tea drink mix
– Food
Porcelain Rocket/Rockgeist Microwave Panniers
Pannier #1:
– Clothing: 1 pair Athleta lightweight cargo pants, Patagonia Nano Puff jacket, Patagonia Houdini, Search and State button down shirt, Bikepacking.com tee-shirt , 2 pair Exofficio underwear, 1 no-name bra, 1 bikini bottom, Patagonia capilene midweight baselayer bottoms, DIY merino lightweight arm warmers, Small handmade linen towel, Outdoor Research sun hat
Pannier #2:
– Vargo titanium pot with lid and pot stand/windbreaker
– Trangia alcohol stove
– Lighter
– GSI pot scraper
– Nalgene screw top tiny salt container
– Kershaw folding knife
– 2 Fozzil folding bowls/lightweight cutting board
– Re-purposed energy shot plastic bottle for olive oil (which we never filled or needed)
– REI very used washcloth (super lightweight) for cooking clean-up and stove cushioning
– Emergency/First Aid and Re-supply kit including: (4) 2×3” Non-stick sterile pads, Small stack 4×4” gauze pads, 1 roll silk tape, 2 maxi pads, 3-4 tampons, 5 pairs disposable contact lenses, Small pill bottle with Ibuprofen and Tylenol, Pill bottle containing: 2 courses of Cipro, 1 course of Amoxicillin (for an intermittent tooth infection), Imodium, and Gas-X, Backup face mask, 2 batteries and charger for derailleur and shifter, Eye glasses
– Toiletry kit including: 1 tiny pill bottle with Meow Meow Tweet powdered shampoo, 1/3 bar body/face soap, Small toothpaste, Toothbrush, Tiny Dental Floss, Small Nalgene with Micellar facial wash, (2) ½ sized cotton bandanas, 3 pairs disposable contact lenses, Facial moisturizer, Eye drops
Tumbleweed Pannier Rack (top)
– Bedrock sandals or Pearl Izumi X-Alp Launch shoes (flats)
Handlebars (Bags By Bird Teardrop)
– Nemo Tensor Insulated Sleeping Pad (regular)
– Enlightened Equipment Revelation 30° Quilt
– Sea to Summit Aeros pillow
– Snow Peak titanium mug
– Reusable plastic squeeze bottle of alcohol-based hand sanitizer
– Steripen (freedom) rechargeable
– Biolite headlamp
Top Tube Bag (Oveja Negra Snack Pack)
– Iphone
– Lip sunscreen
– Face mask
– Wallet
– Ombraz sunglasses
As far as changes, Virginia mentioned that the only alteration she’d consider in her pack list is leaving the shoes at home and wearing nothing but the Bedrock Cairn 3d sandals, which she loves. She also really liked the Swood Twisted T-rack for its lack of cable interference and stability.
Related Content
Find the past two reports from this trip below, plus more on the two bikes...
Please keep the conversation civil, constructive, and inclusive, or your comment will be removed.


